I tried to remove the brackets on the underside of the XT500 seat. I had applied WD40 the night before, but I still managed to break the first bolt, and the second, and well, all of them. They had to be drilled out as the “nuts” are actually small plates moulded into the plastic.
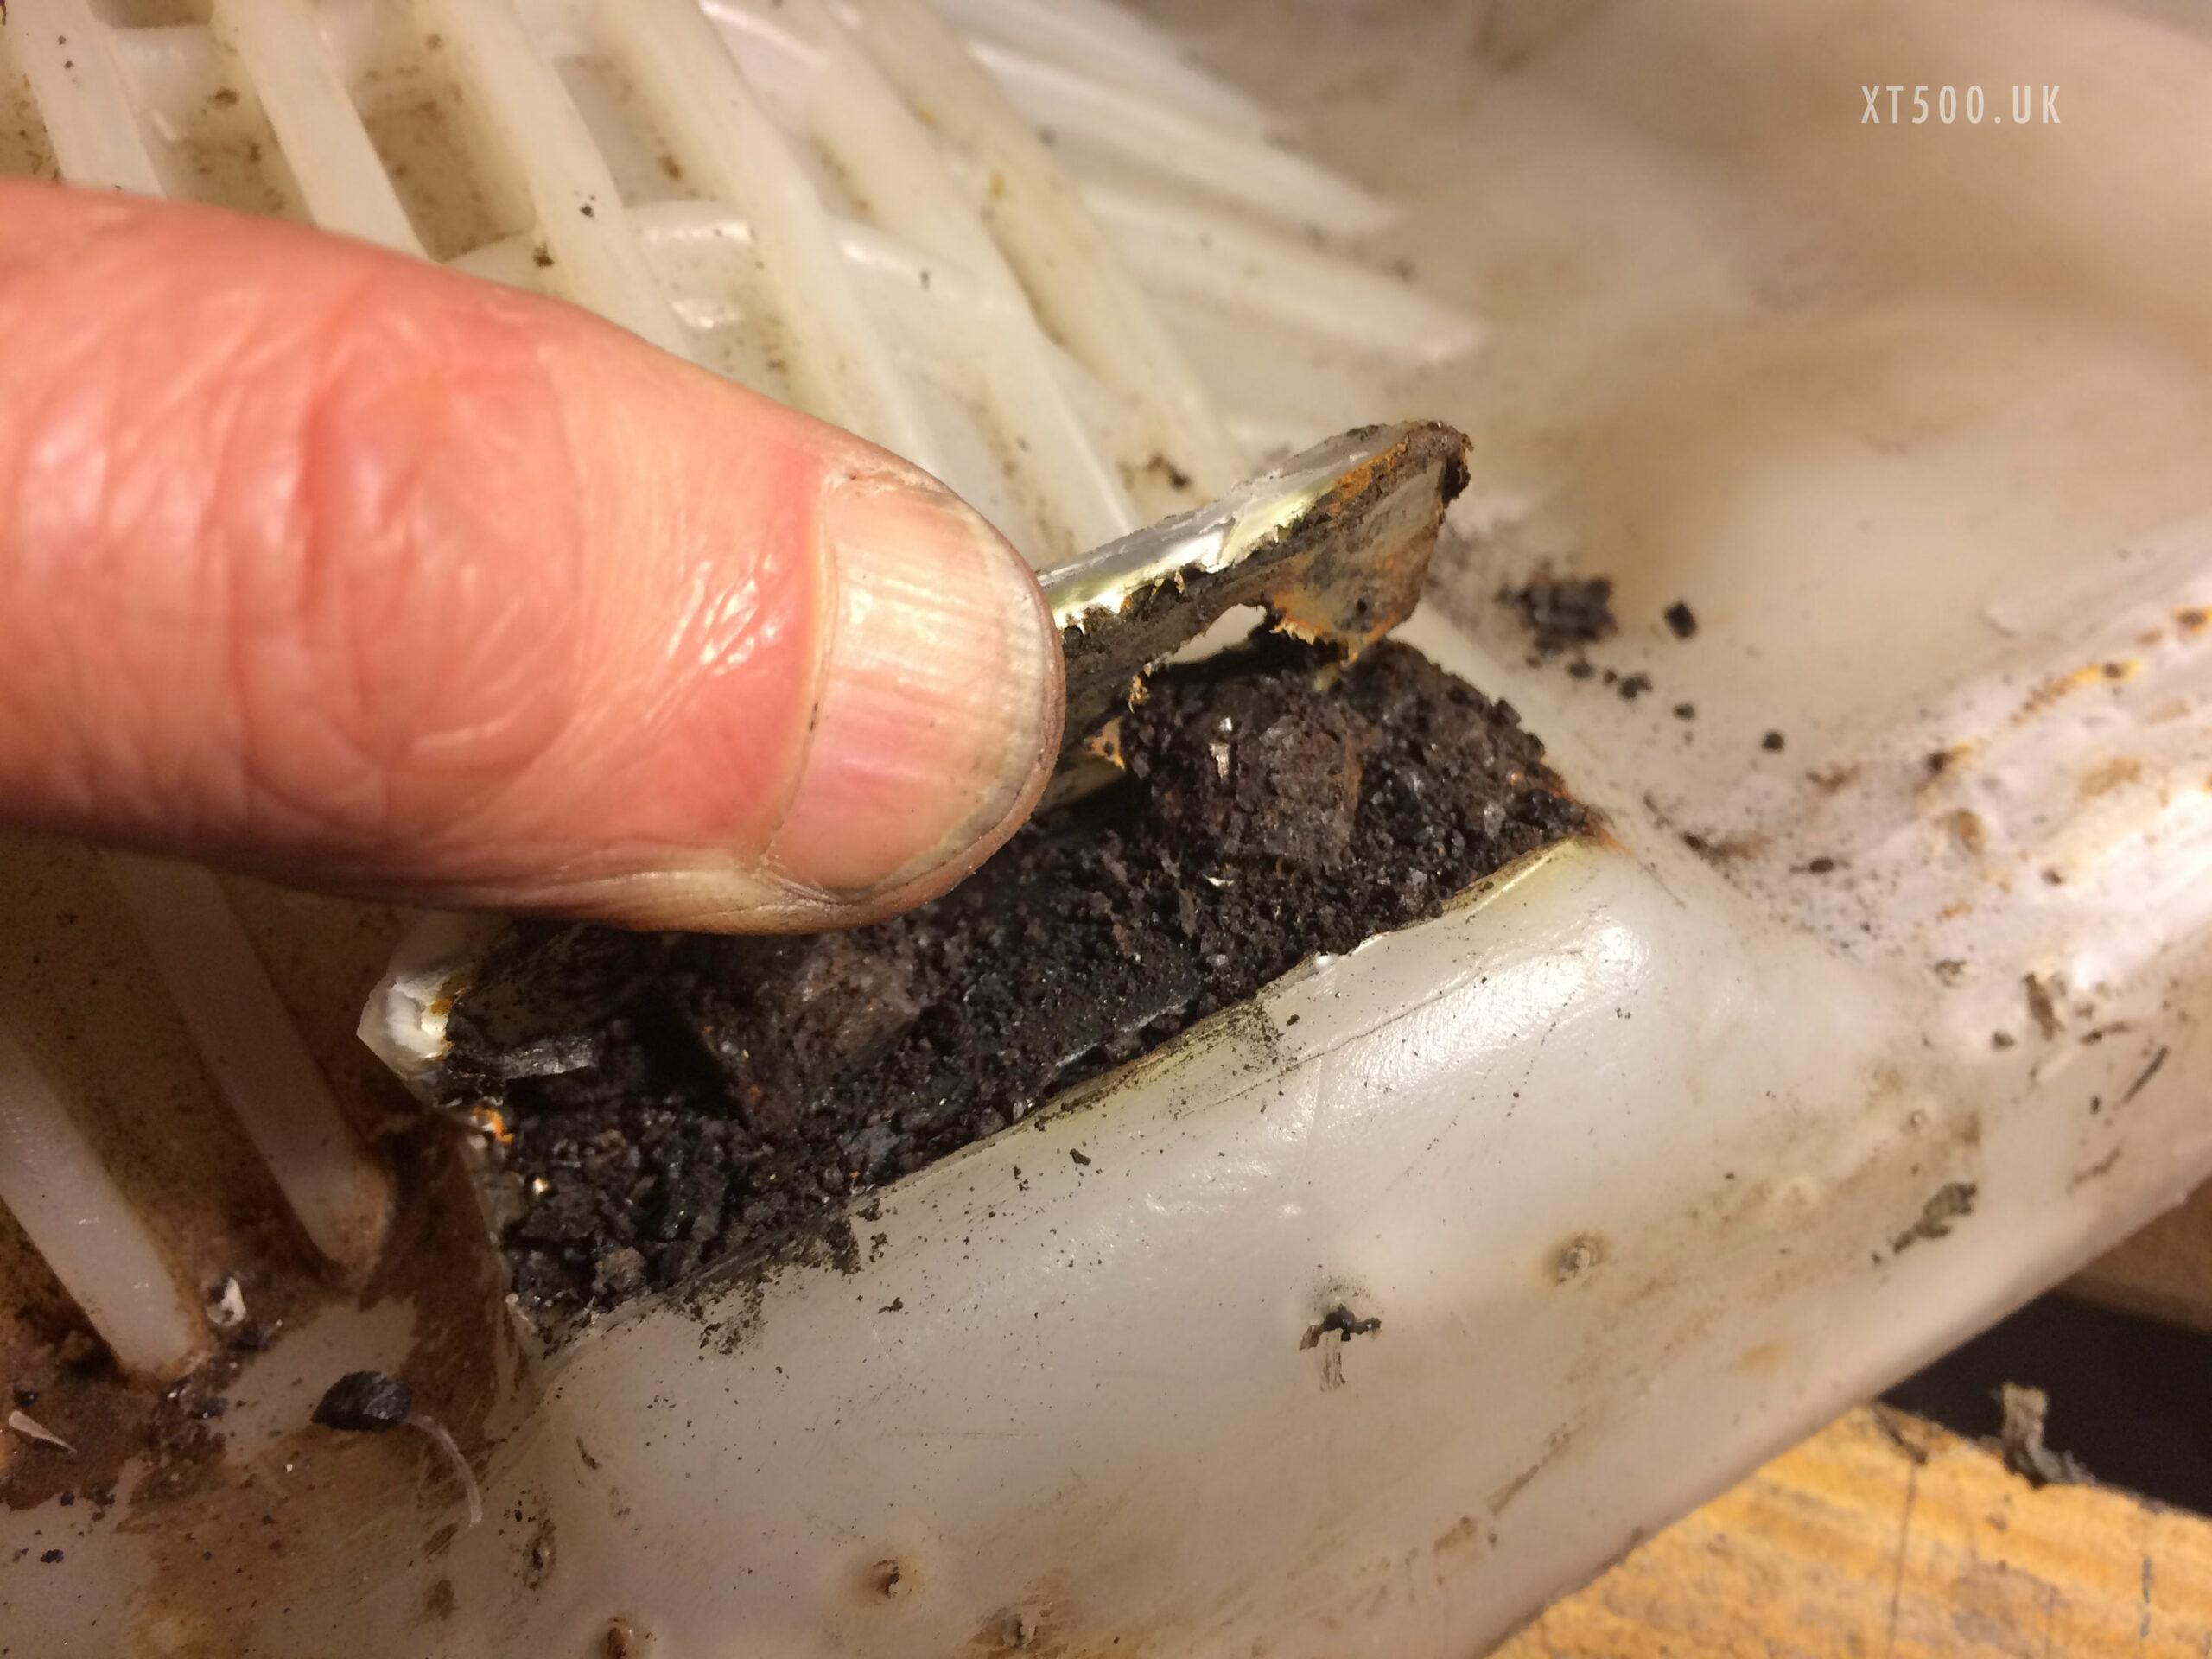
After removing the seat cover and the foam, it was obvious that they could never have been unscrewed. They were completely fused to the plates by rust. I managed to drill out the two for the front mount, but for the sides I had to ‘slice” the plastic with a hot knife. This was done on three sides of the plates to create a “lid” that I could then prise open. I needed more heat to do this, but it worked. It was then possible to remove any rusted parts that were left and treat the remains with rust converter. More on this later.
Foam
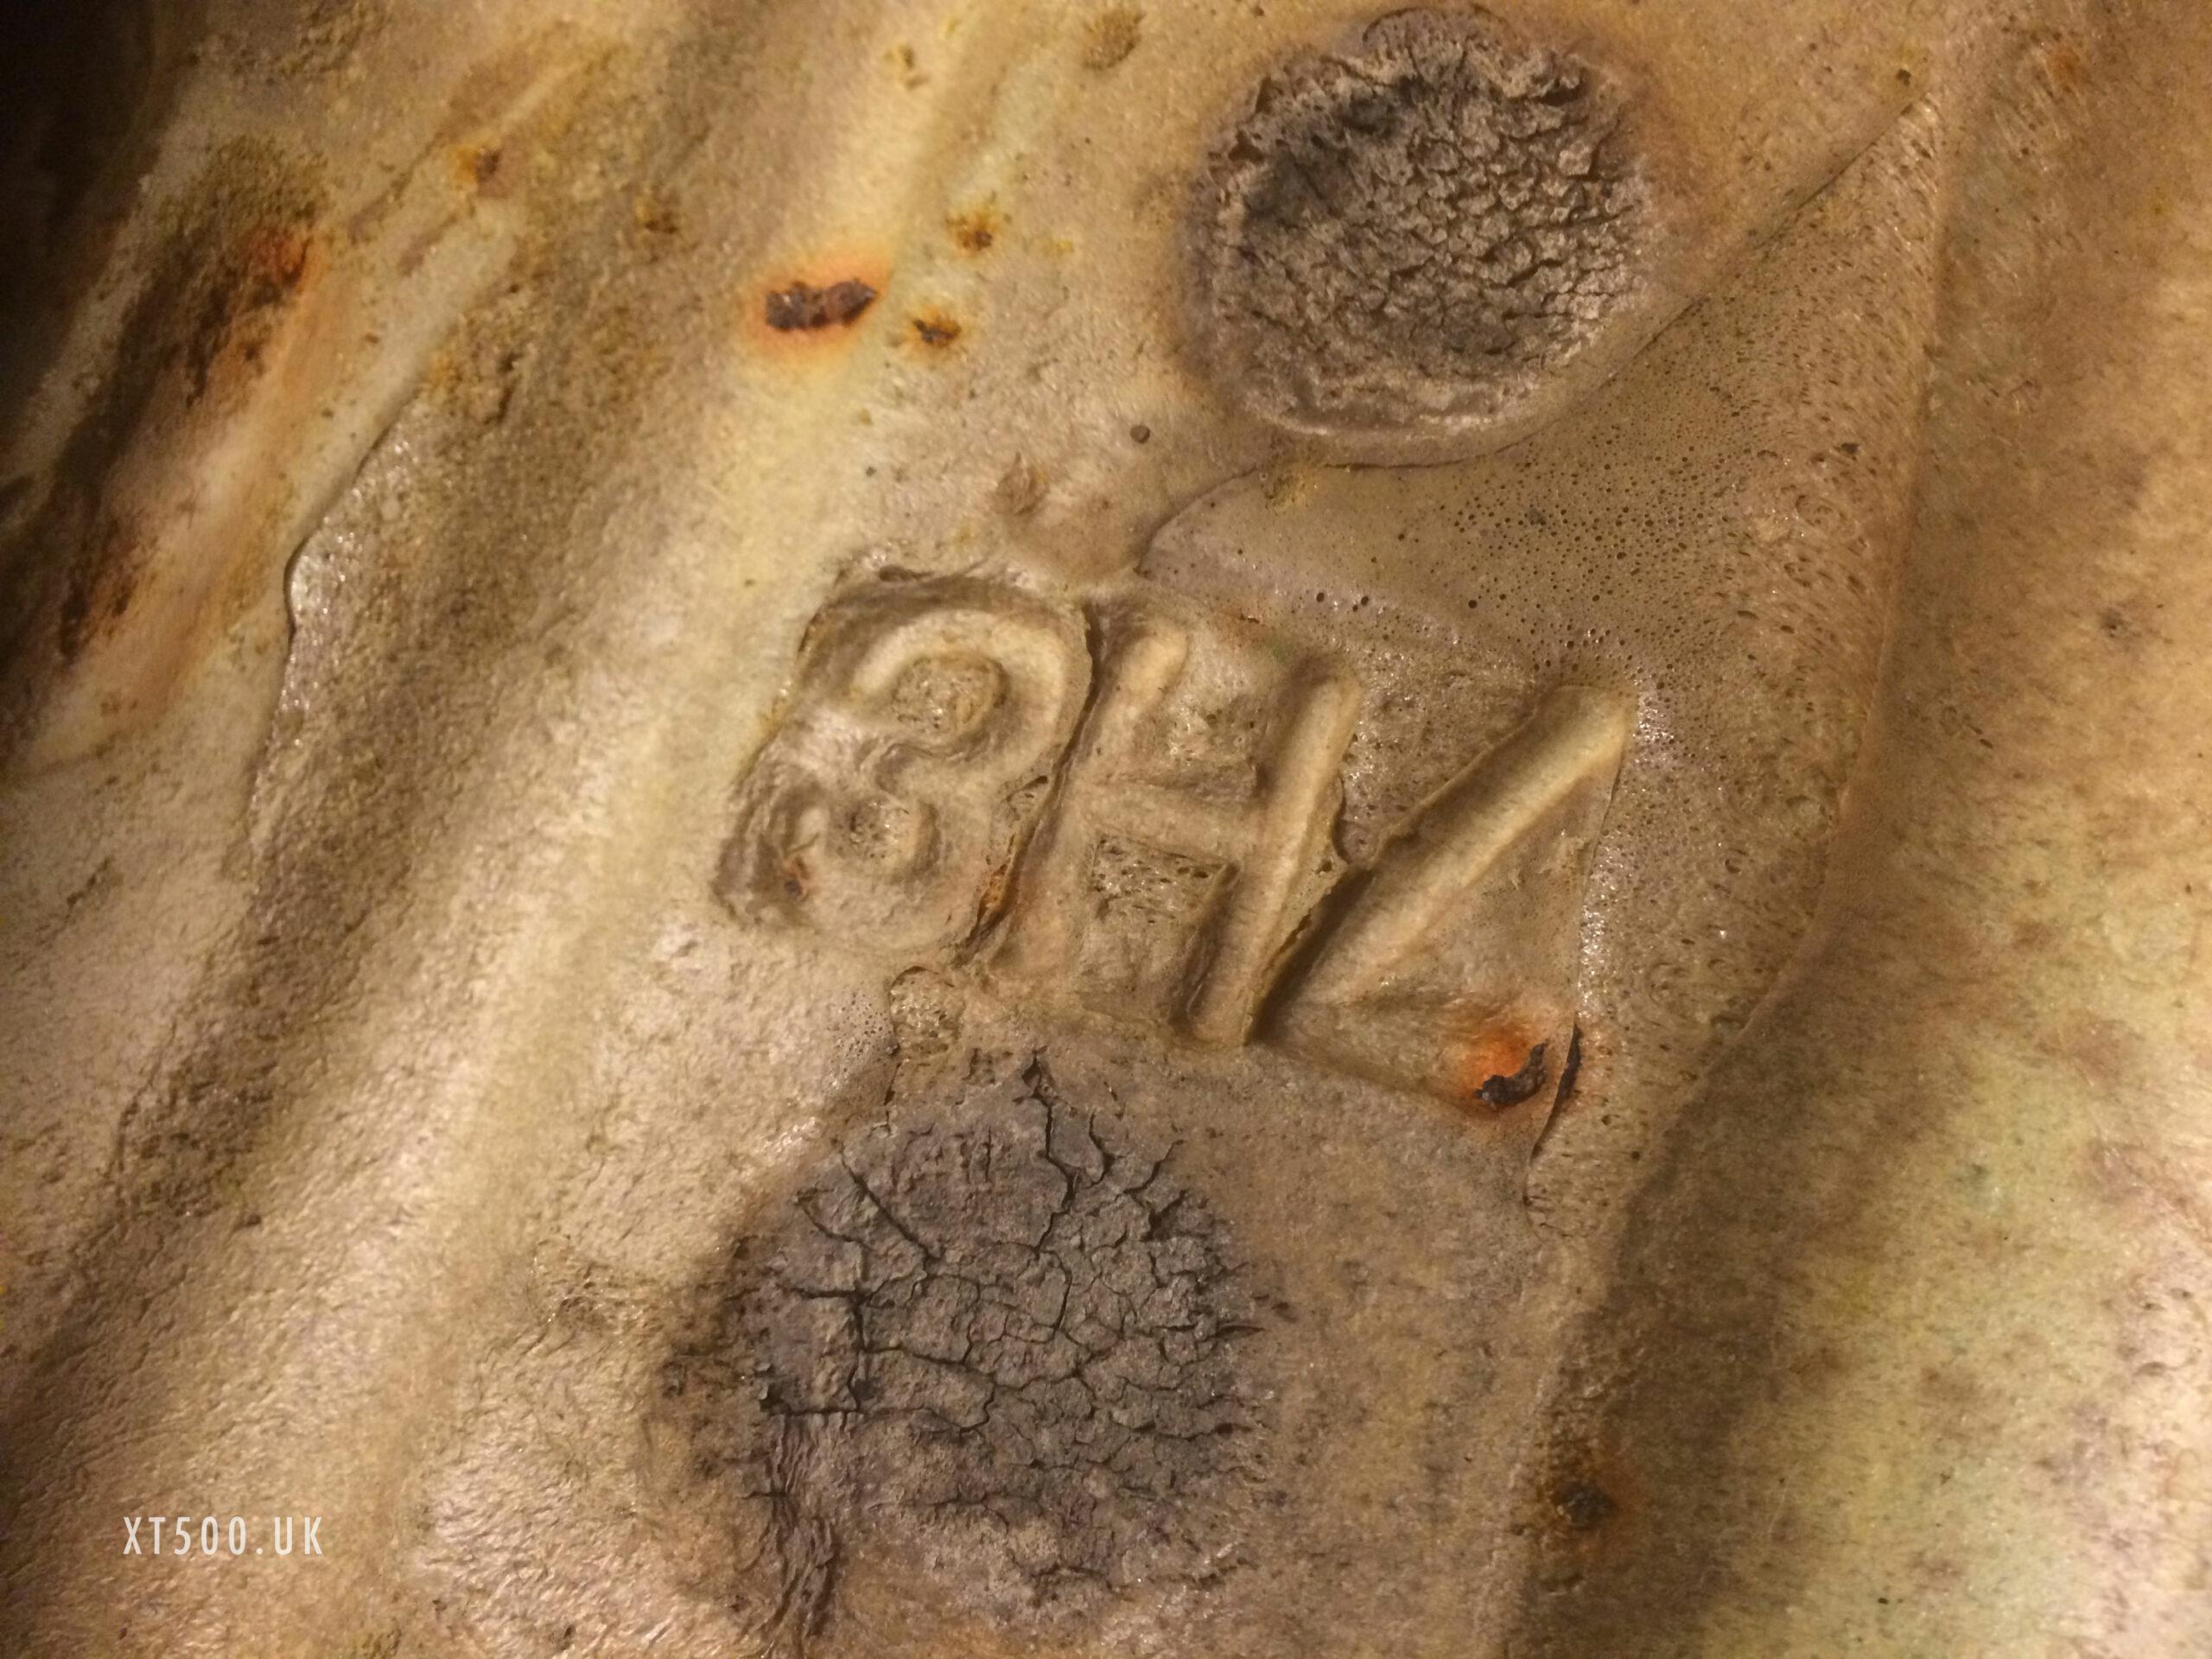
I thought I had finally found something to show that I had a part that was DEFINITELY from the original Australian Yamaha XT500 G: the seat foam. However, I soon found out that the code 3H7 is used on ALL 1980 XT500 seat foams. Except the longer 67cm version which was made specifically for the German market with the code 4E5.
XT500 Seat Sizes
The seat is the short version (60 cm long) and the foam had been altered so that the front of the seat was lower. So I went in search of a new foam and cover. The Kedo catalogue seemed a little misleading as they also offer 62cm versions for the 1980 G. The length of my foam had not been shortened and as it was clearly a 1980, I assumed this also applied to the seat. Anyway, the 60cm cover was out of stock at the time, so I found a manufacturer in Thailand.
Staples
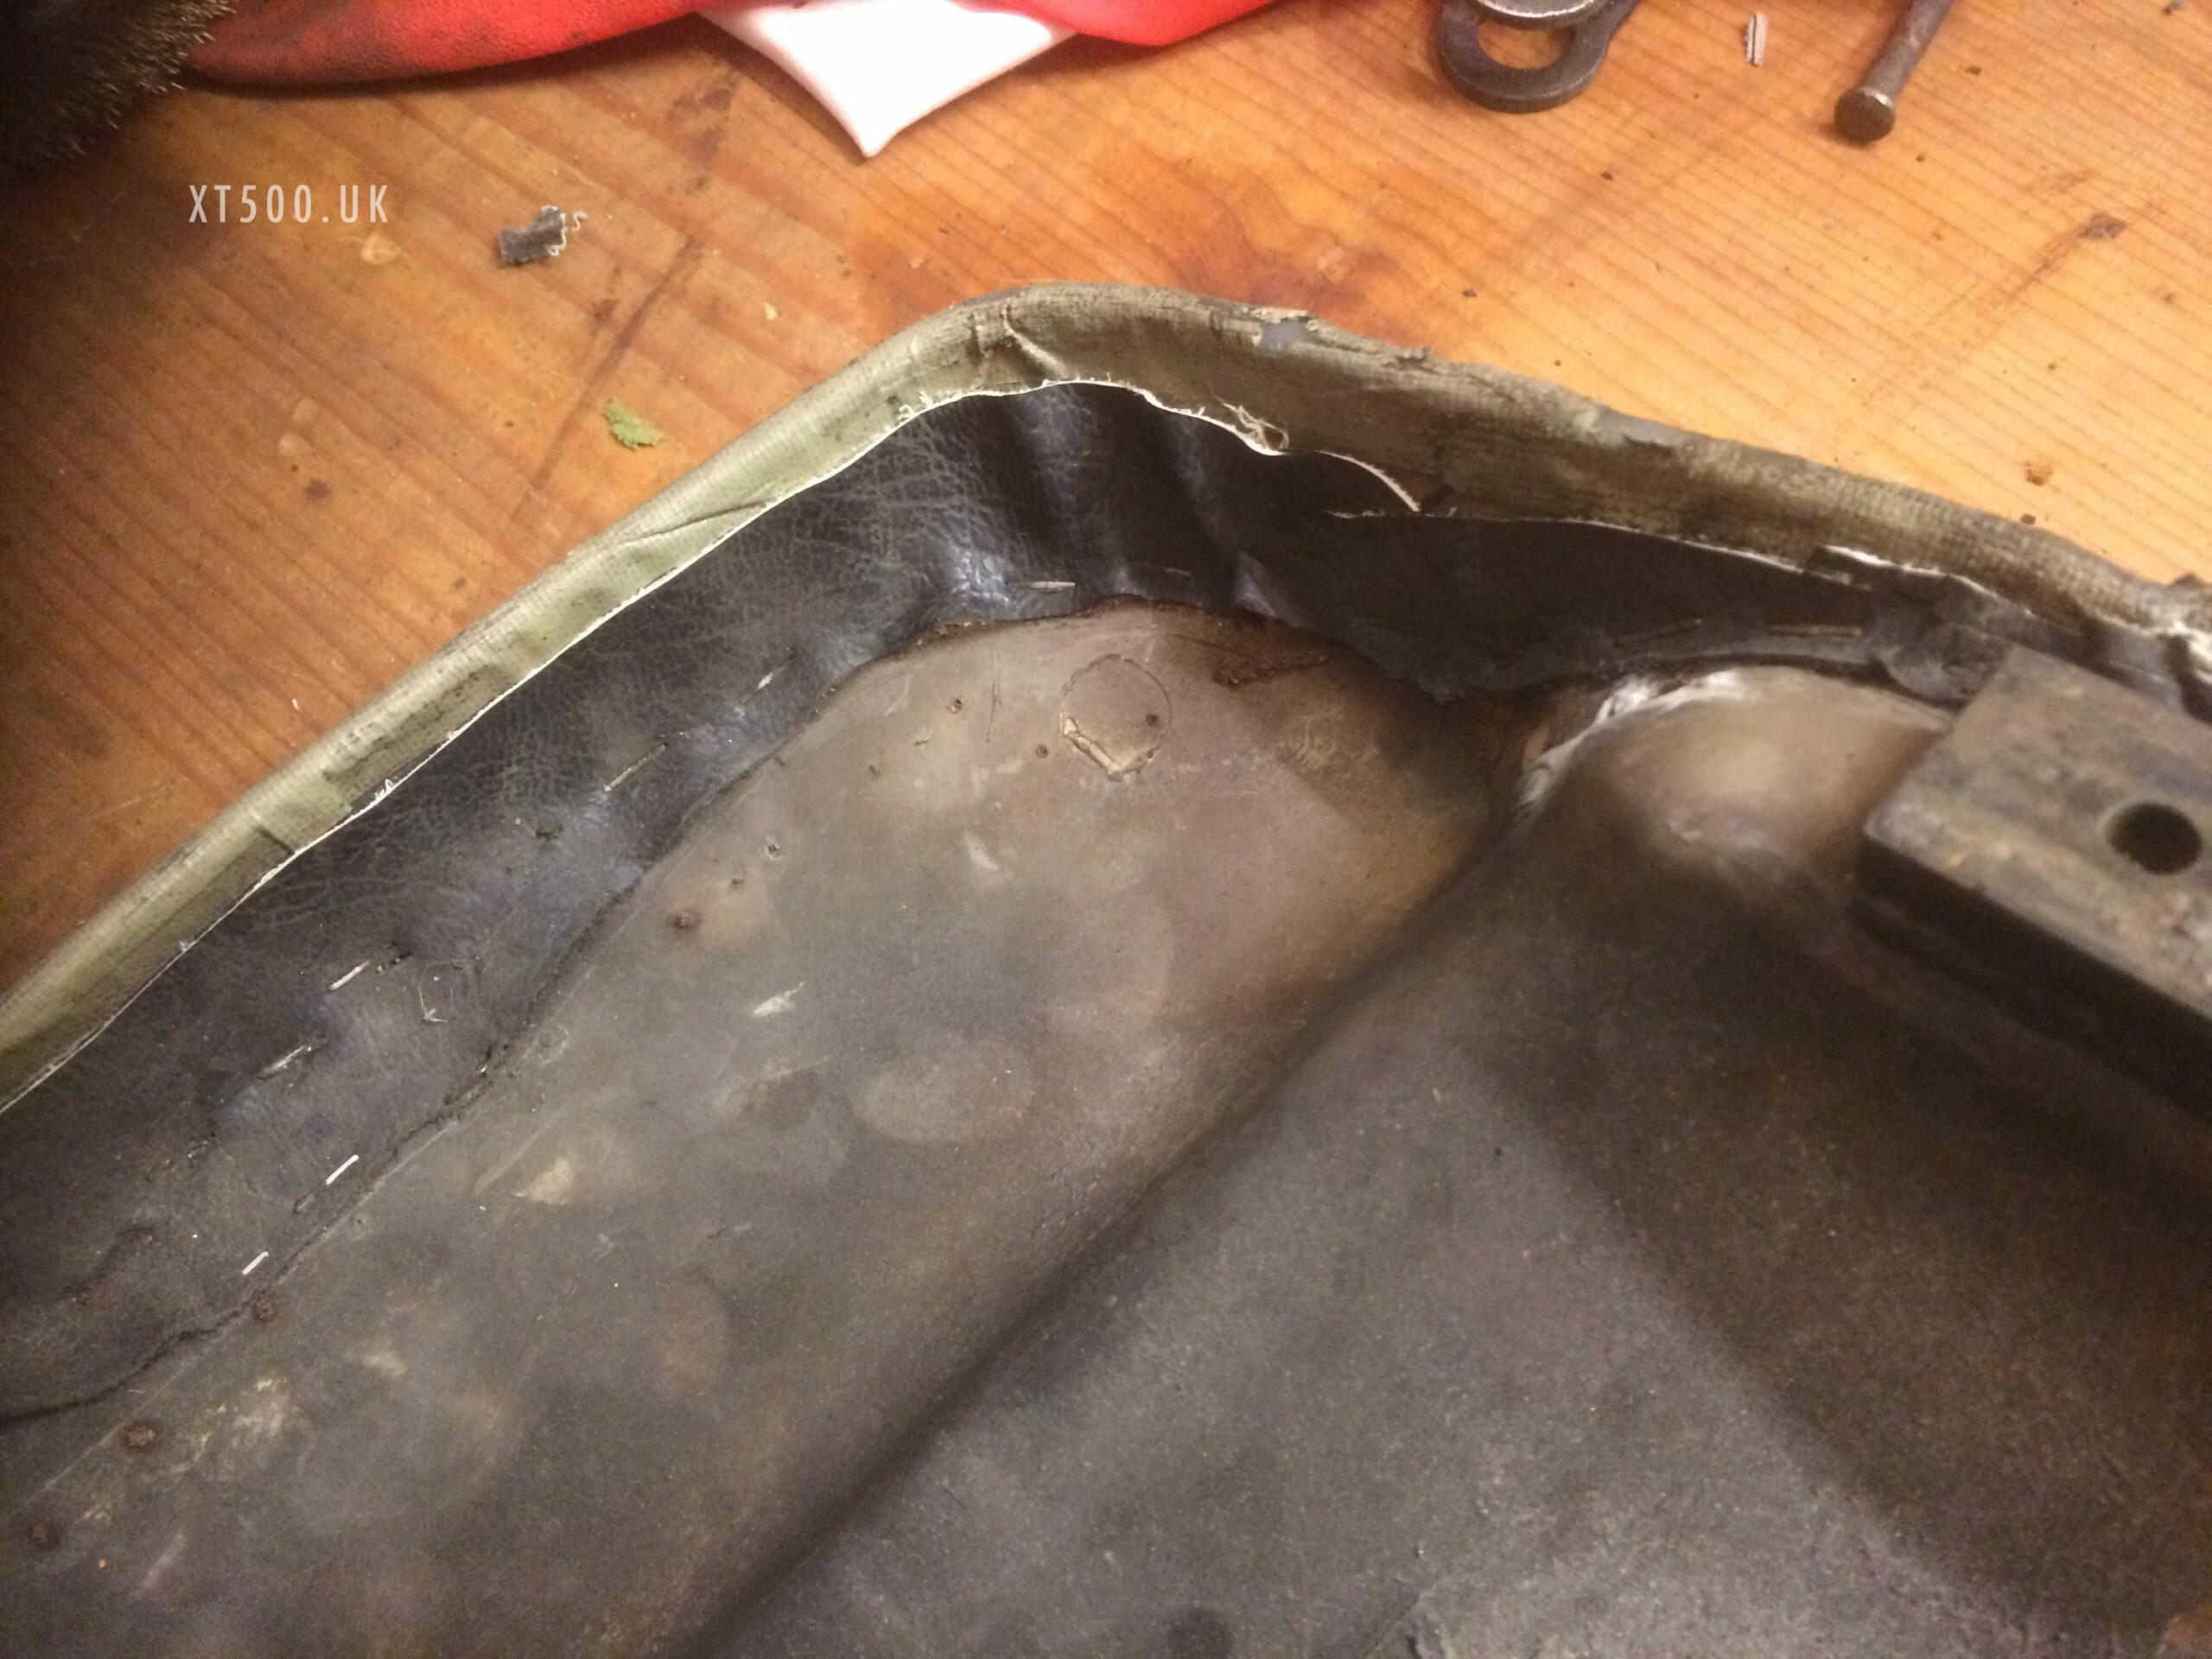
It was a painstaking job to remove the seat cover and all the staples. There are still parts of the original staples rusted into the plastic and the person who recovered it used smaller staples than the XT500 seat originals.
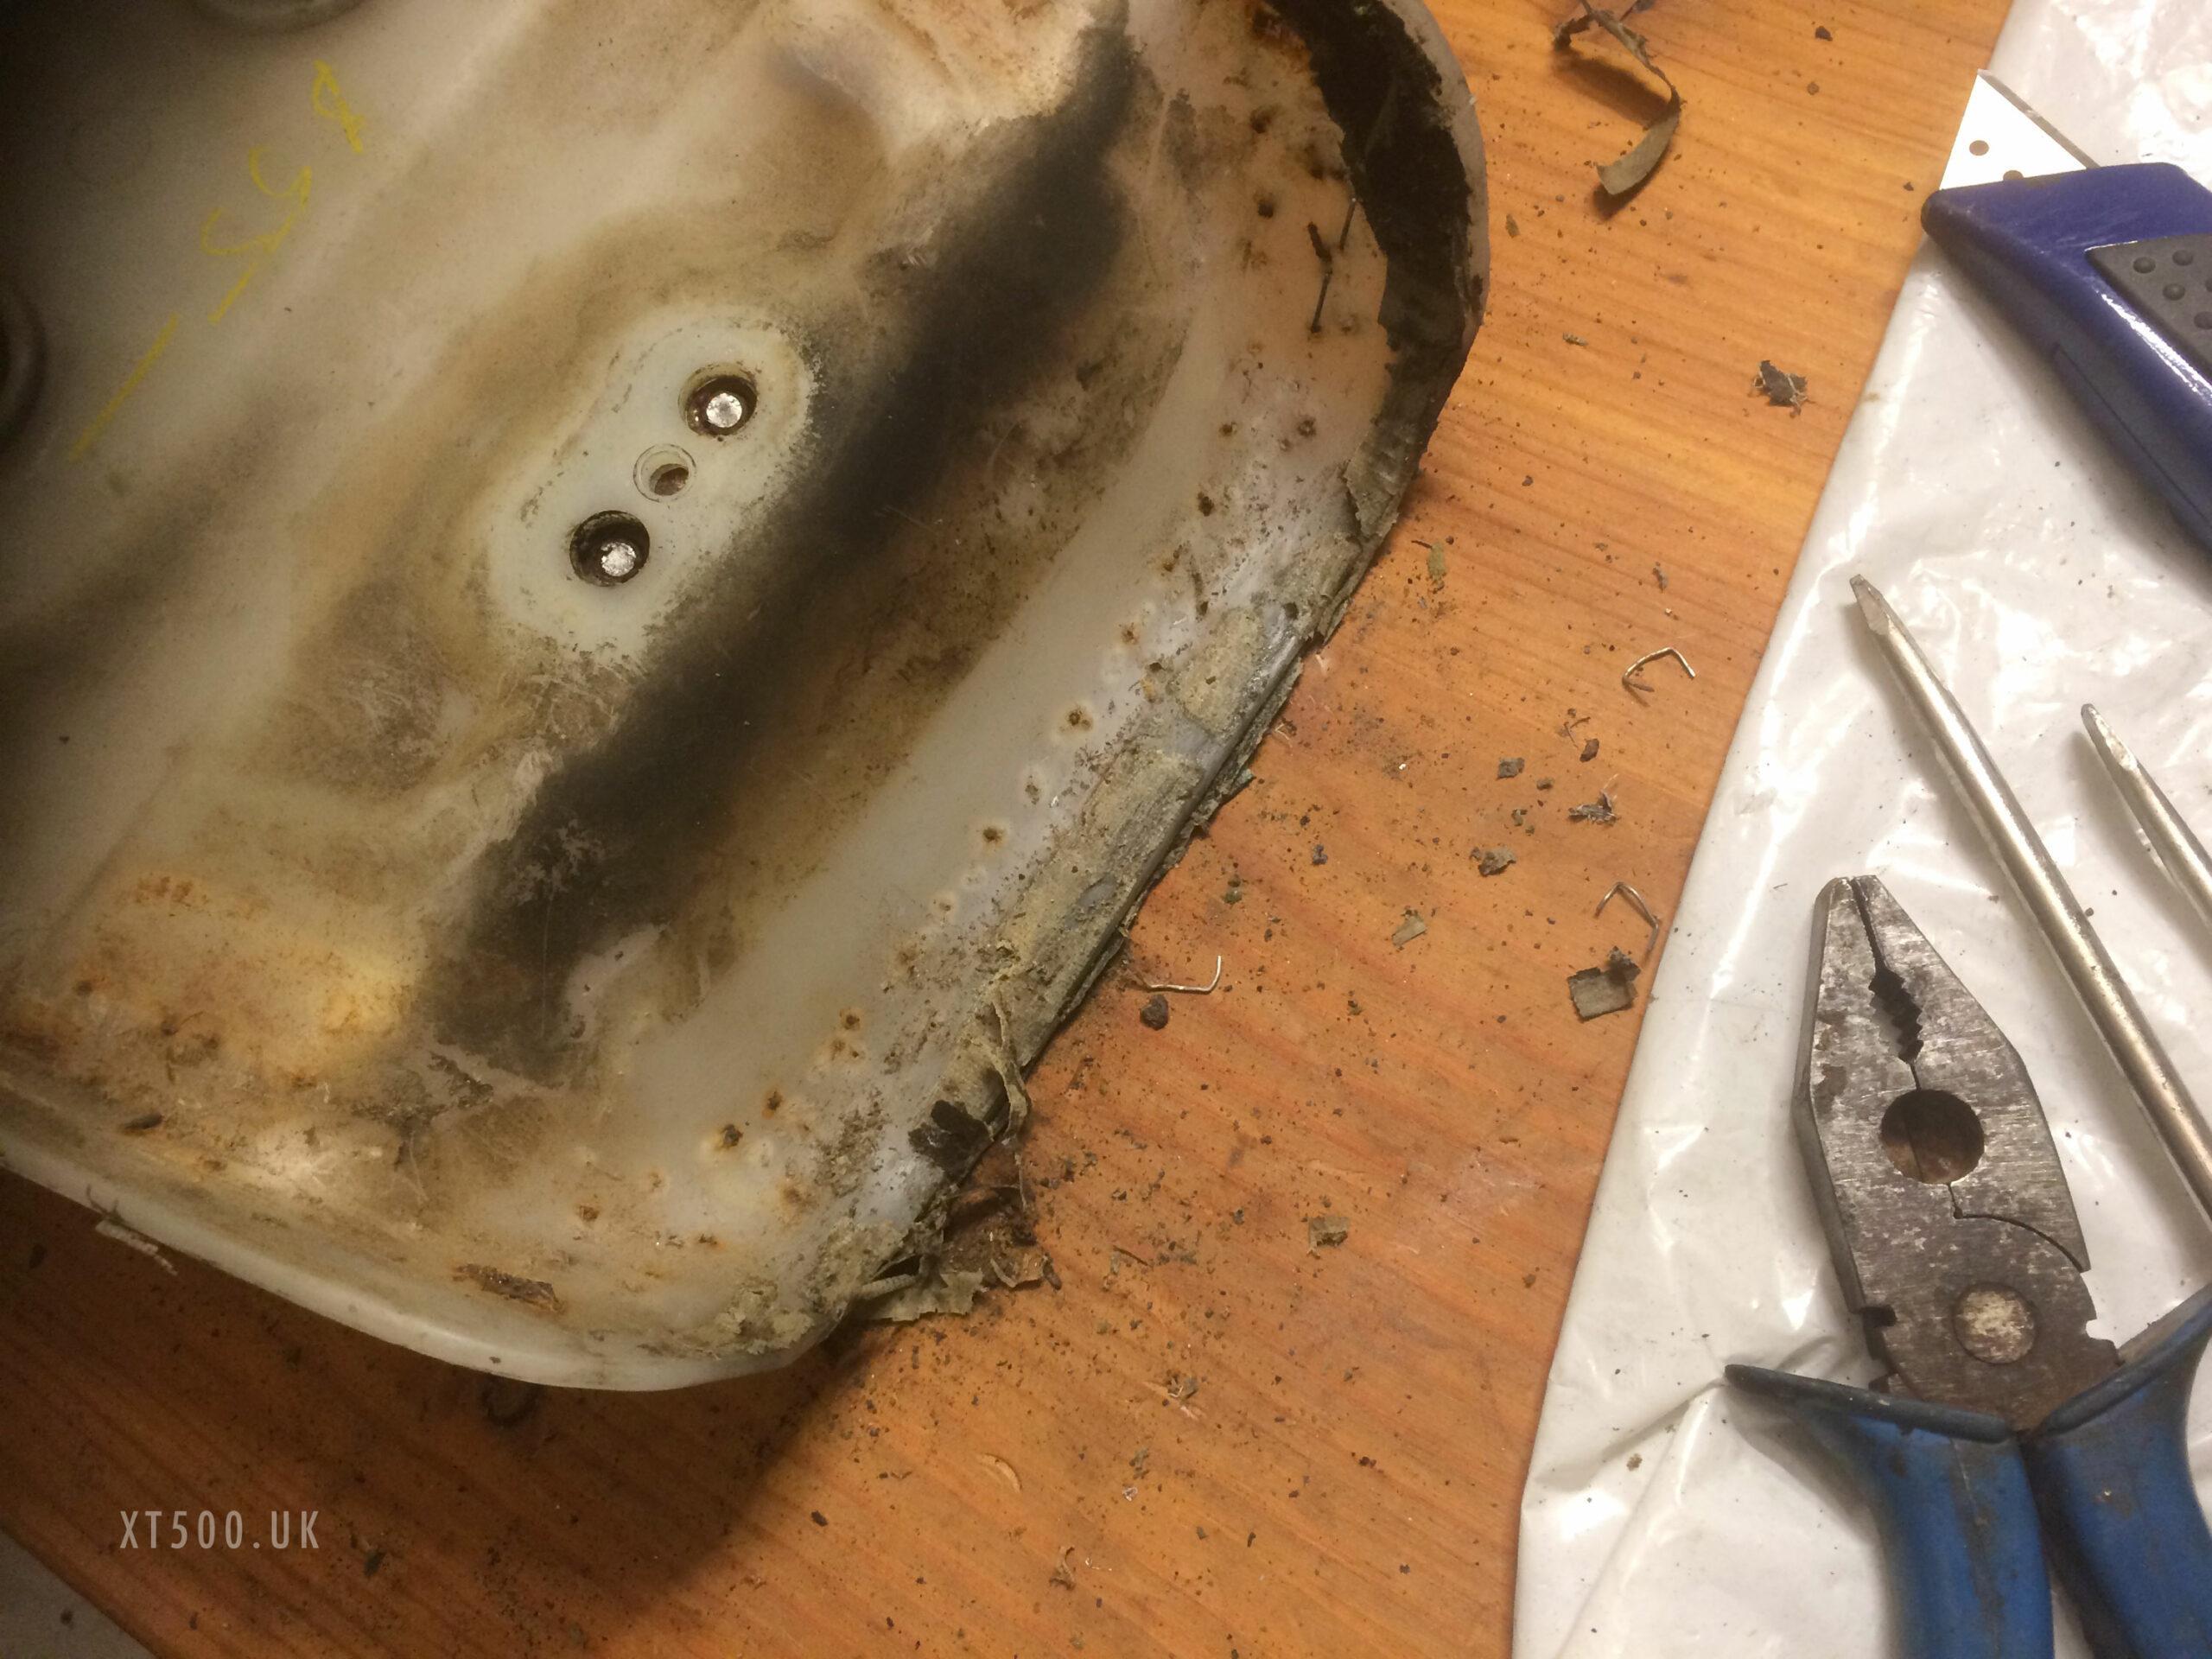
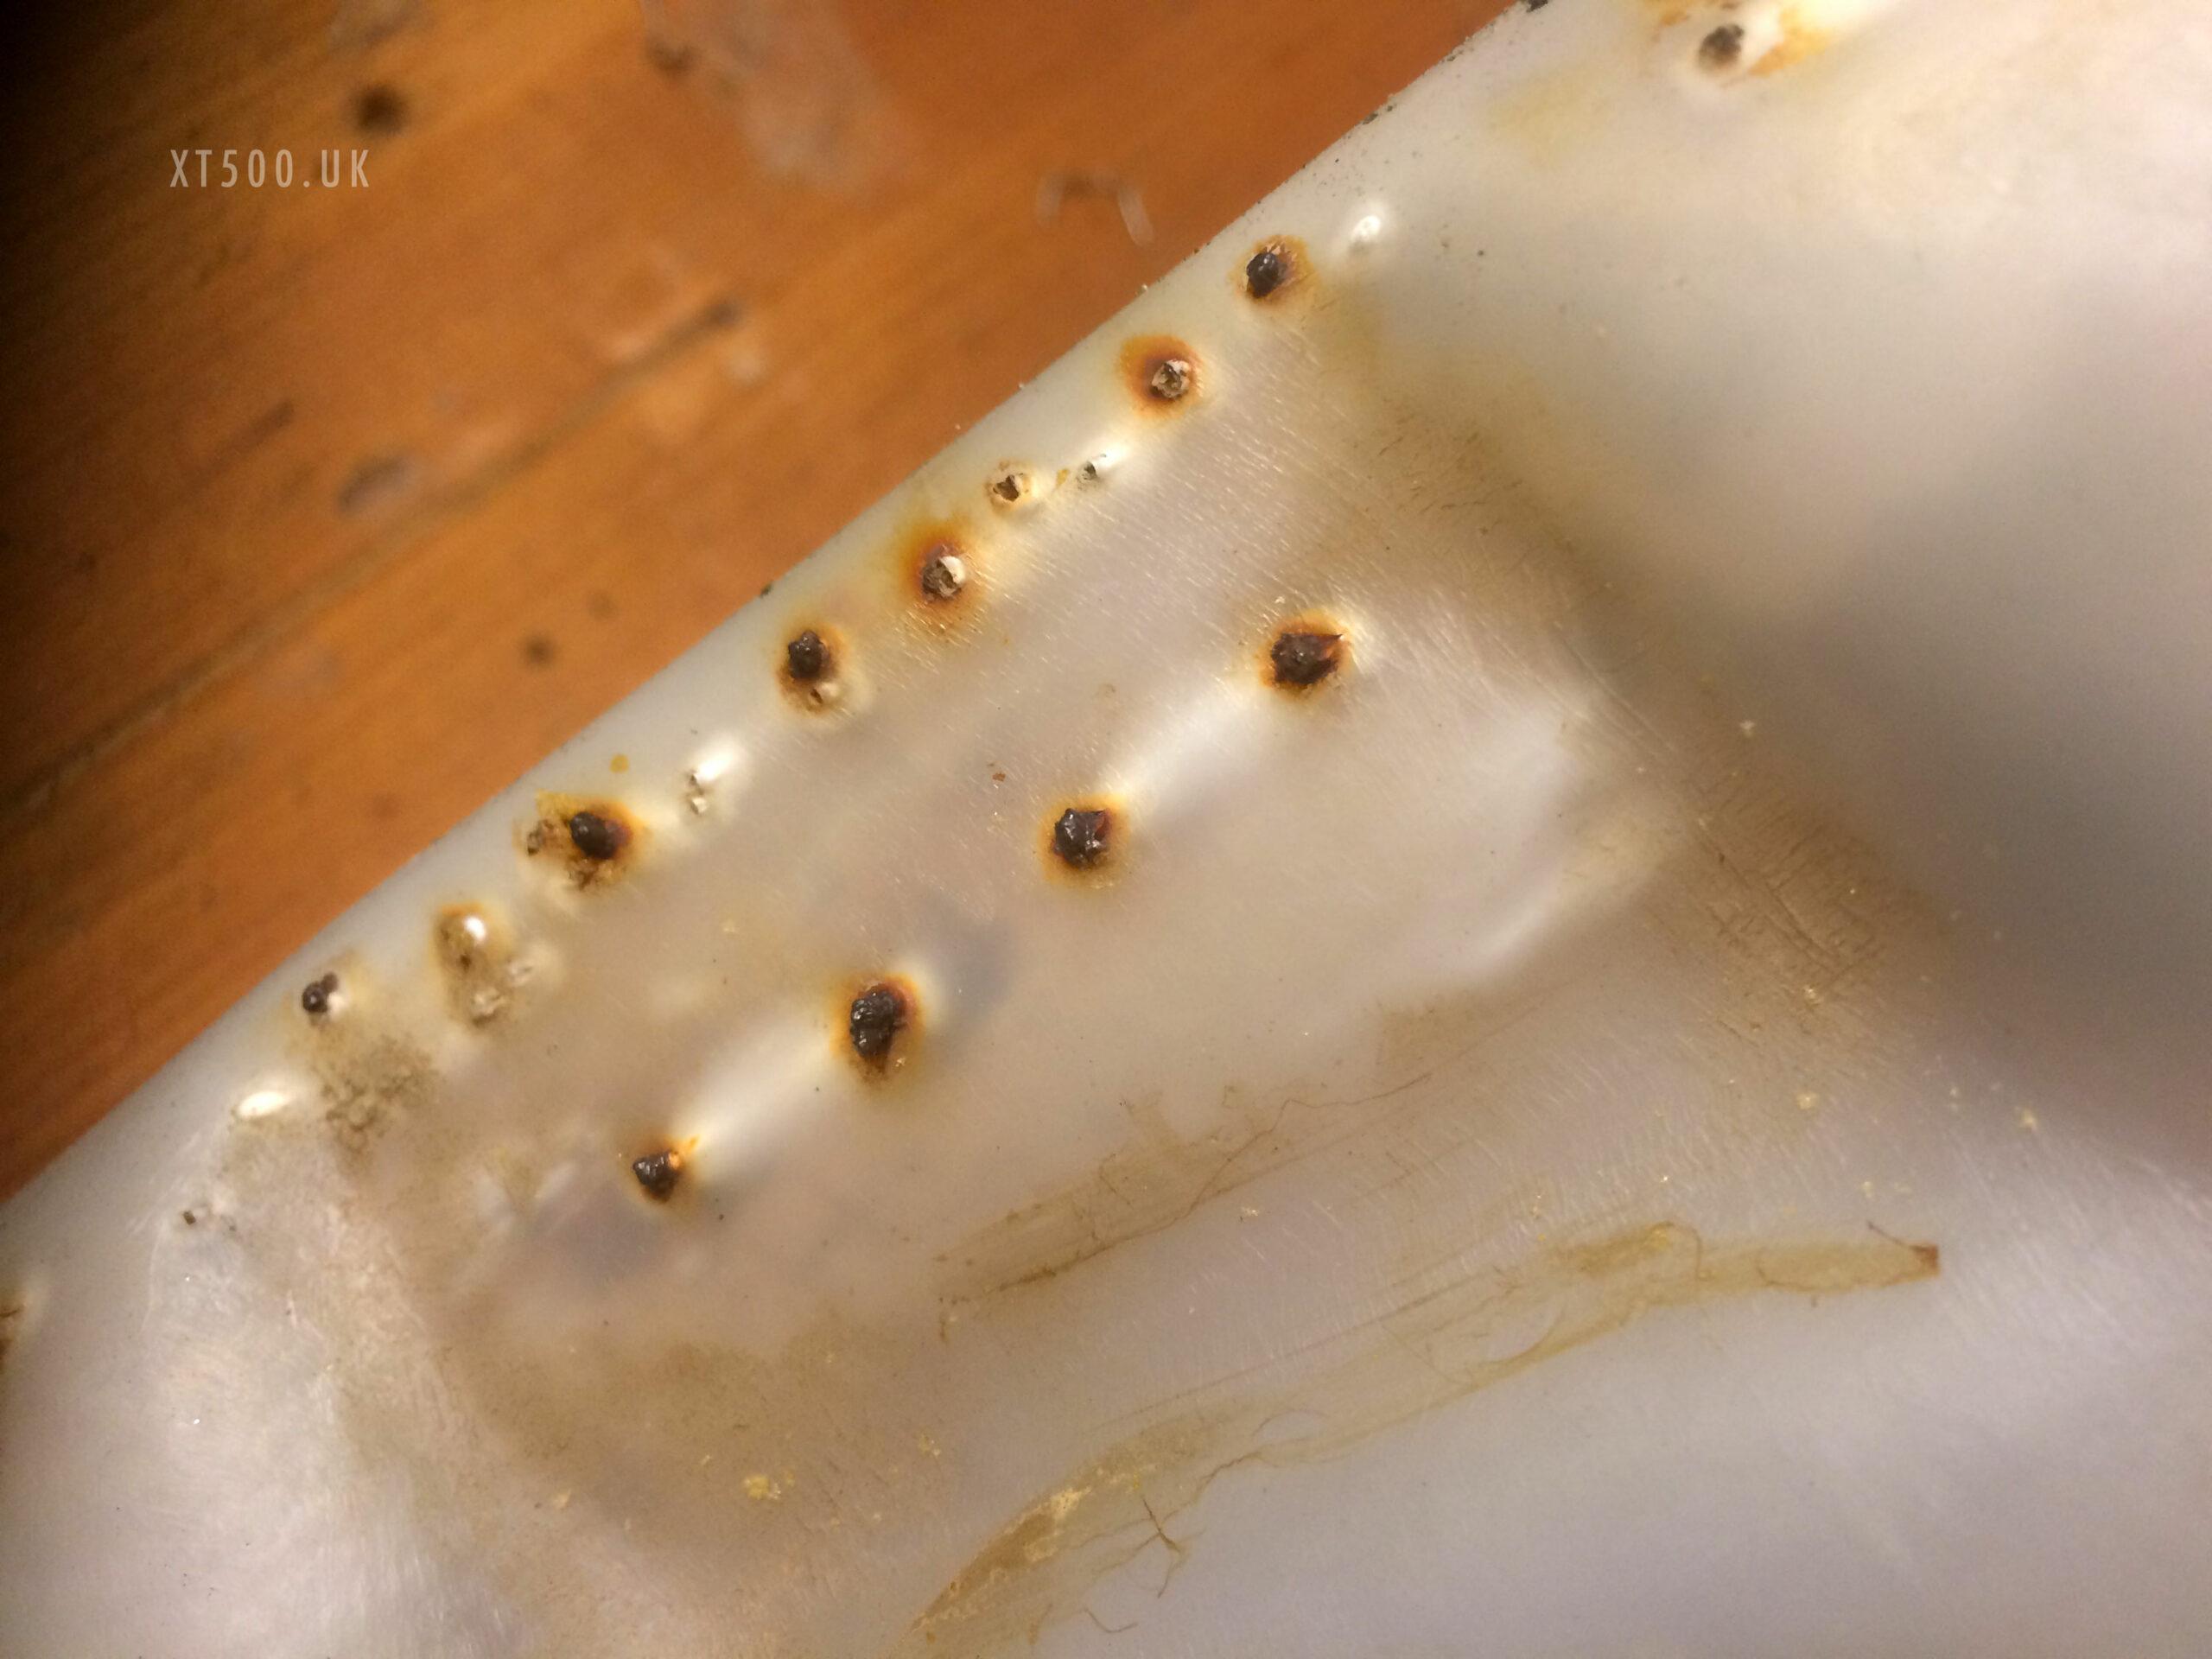
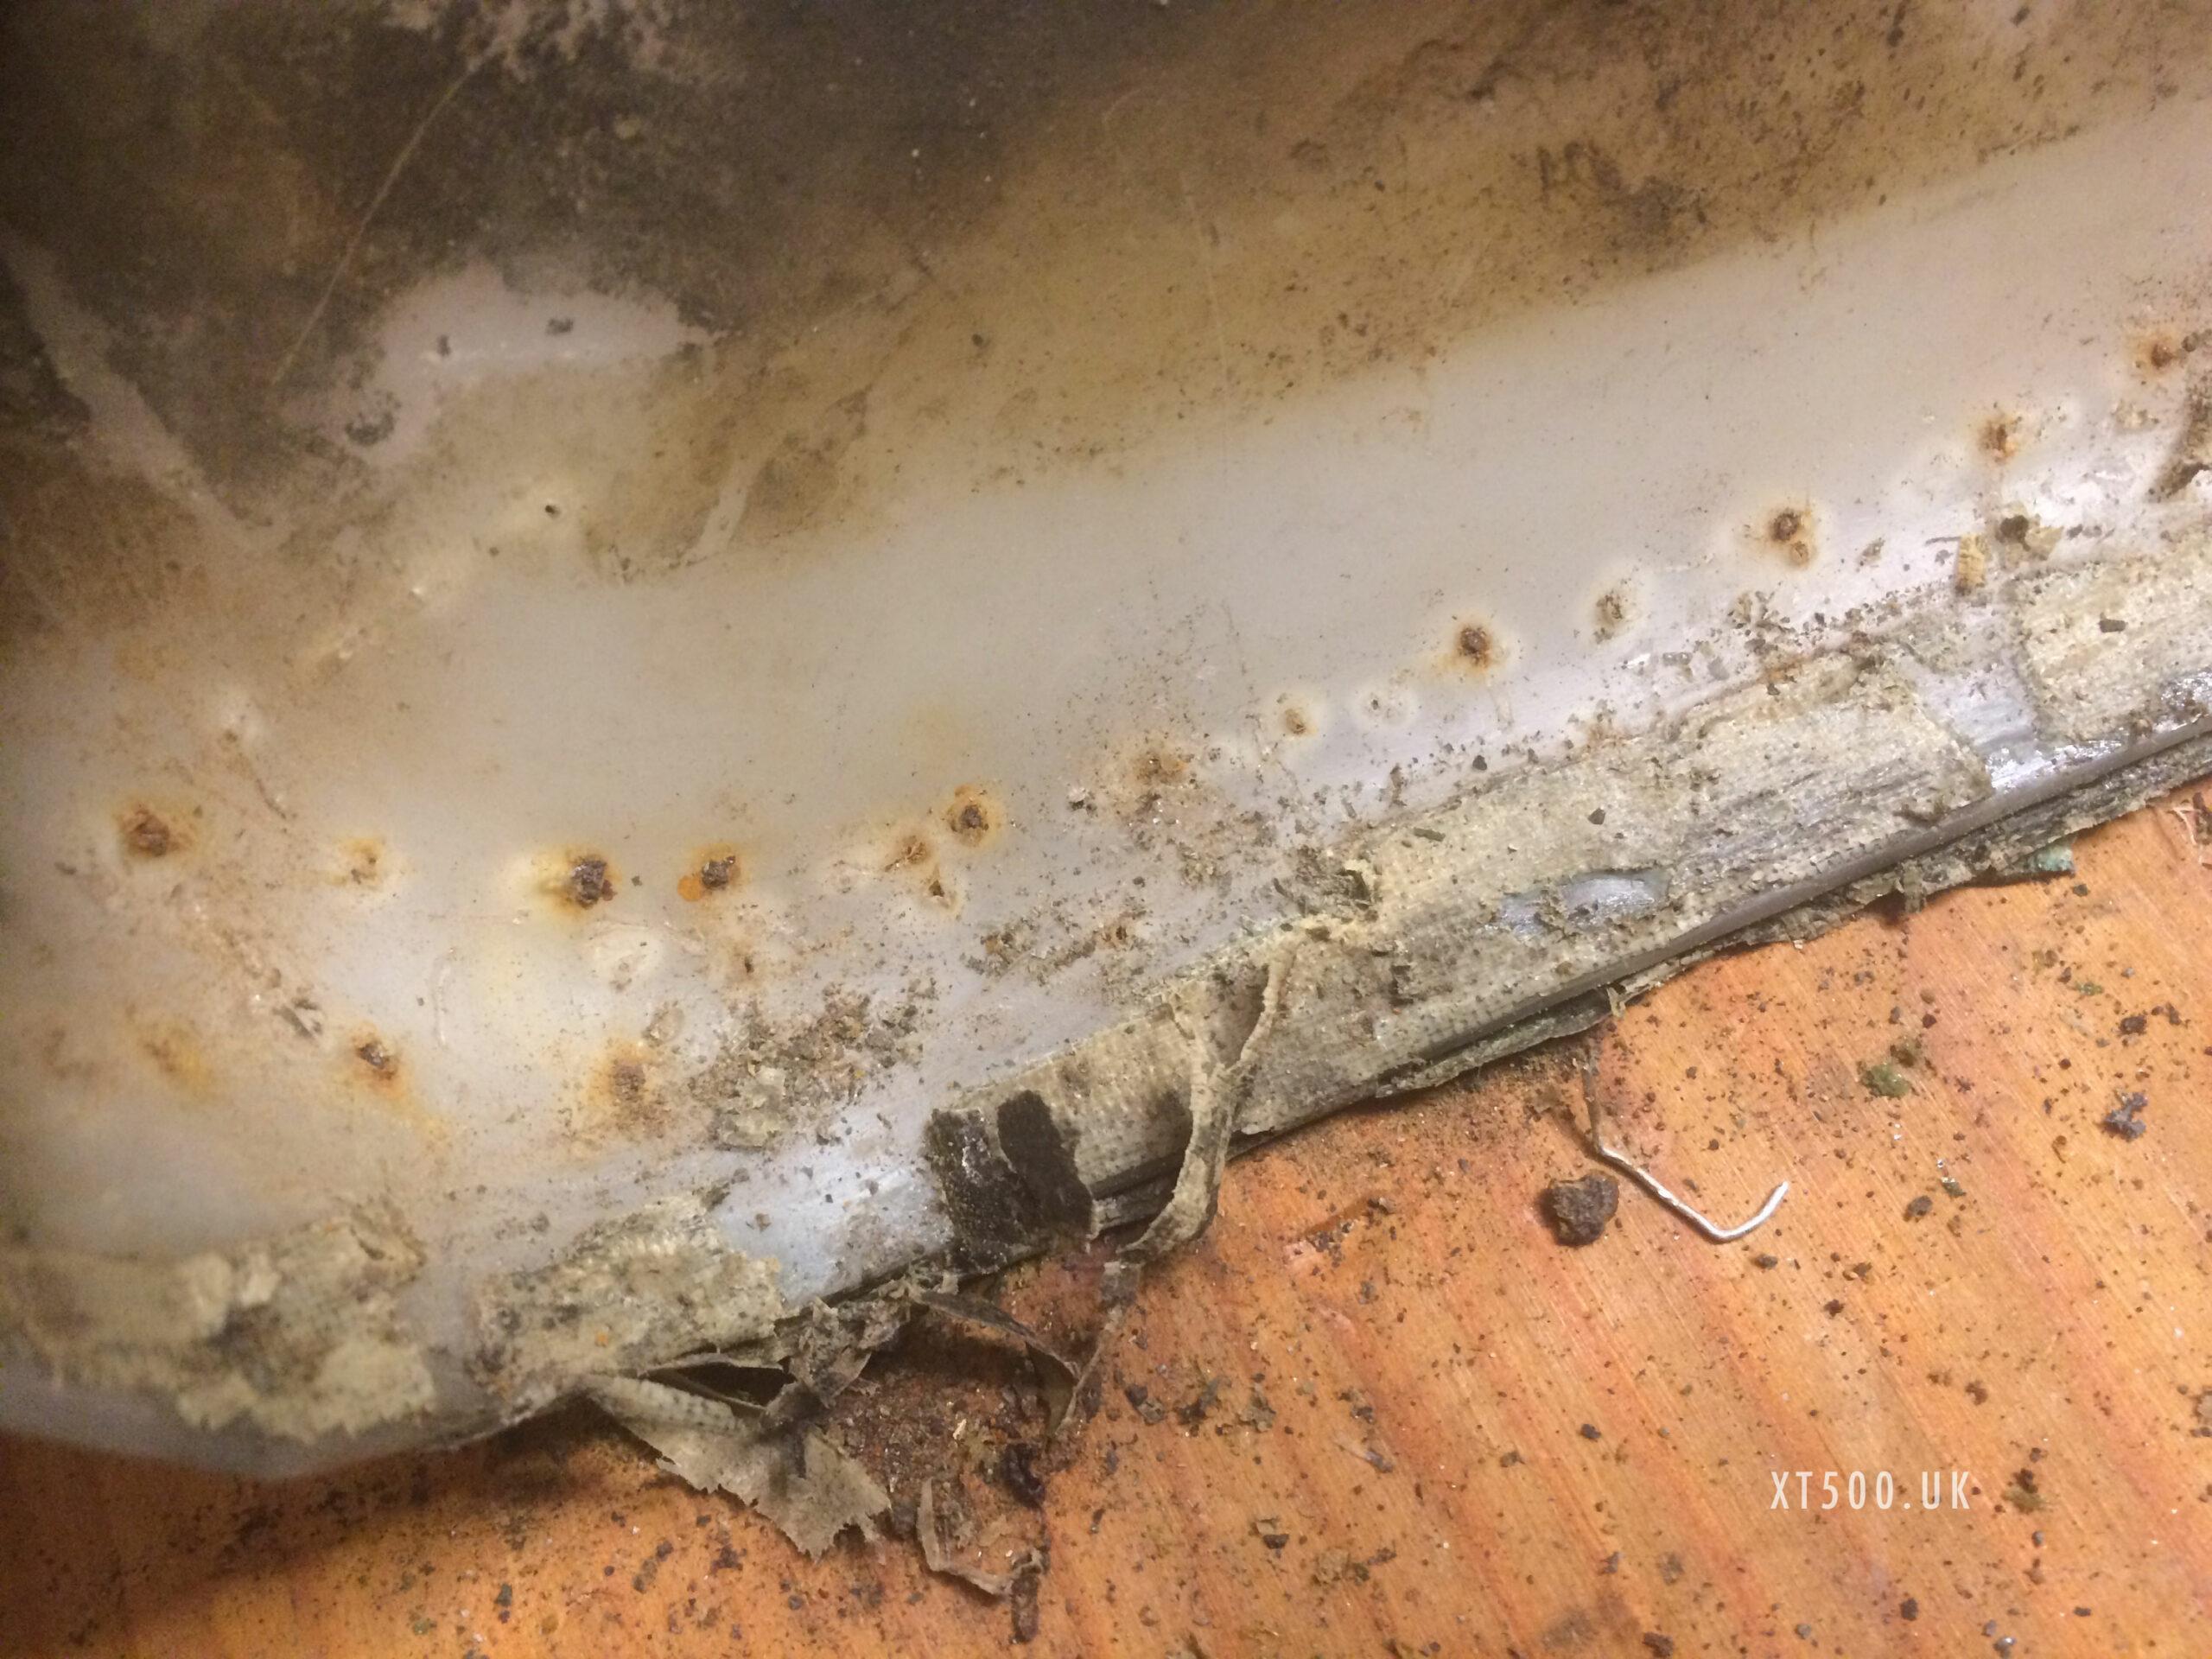
If you are also considering this, I would suggest first cutting the cover off near the staples and removing the foam. Then tap the staples with a smaller hammer from the foam side so you have room for a screwdriver to prise them out, or pliers to get a good grip.
XT500 Seat Foam
The foam was quite a mess. After seeing this, I had a flashback to a hot summer’s day, driving on a dual carriageway from Cornwall to London. A motorist overtaking me in slow-moving traffic pointed out that my bike was on fire. I turned round and saw flames licking out of my right pannier. It was a simple matter of stopping, unclipping one side and throwing the bags over the bike onto the grass verge and dumping out the contents.
It had been a hasty departure and I hadn’t fitted my usual pannier rack, but simply threw the bags over the back seat. There was a barrier between the bag and the exhaust, but it had vibrated free in a bid for freedom.
The pannier and its contents had melted. Among them was a bottle of engine oil. I was lucky that I only lost a pair of brand new trainers and one of the panniers. The fire also melted part of the XT500 seat, which meant it had to be repaired and re-covered. The foam shape had been modified a few years earlier.
In the following pictures you can see what reminded me of the “incident”.
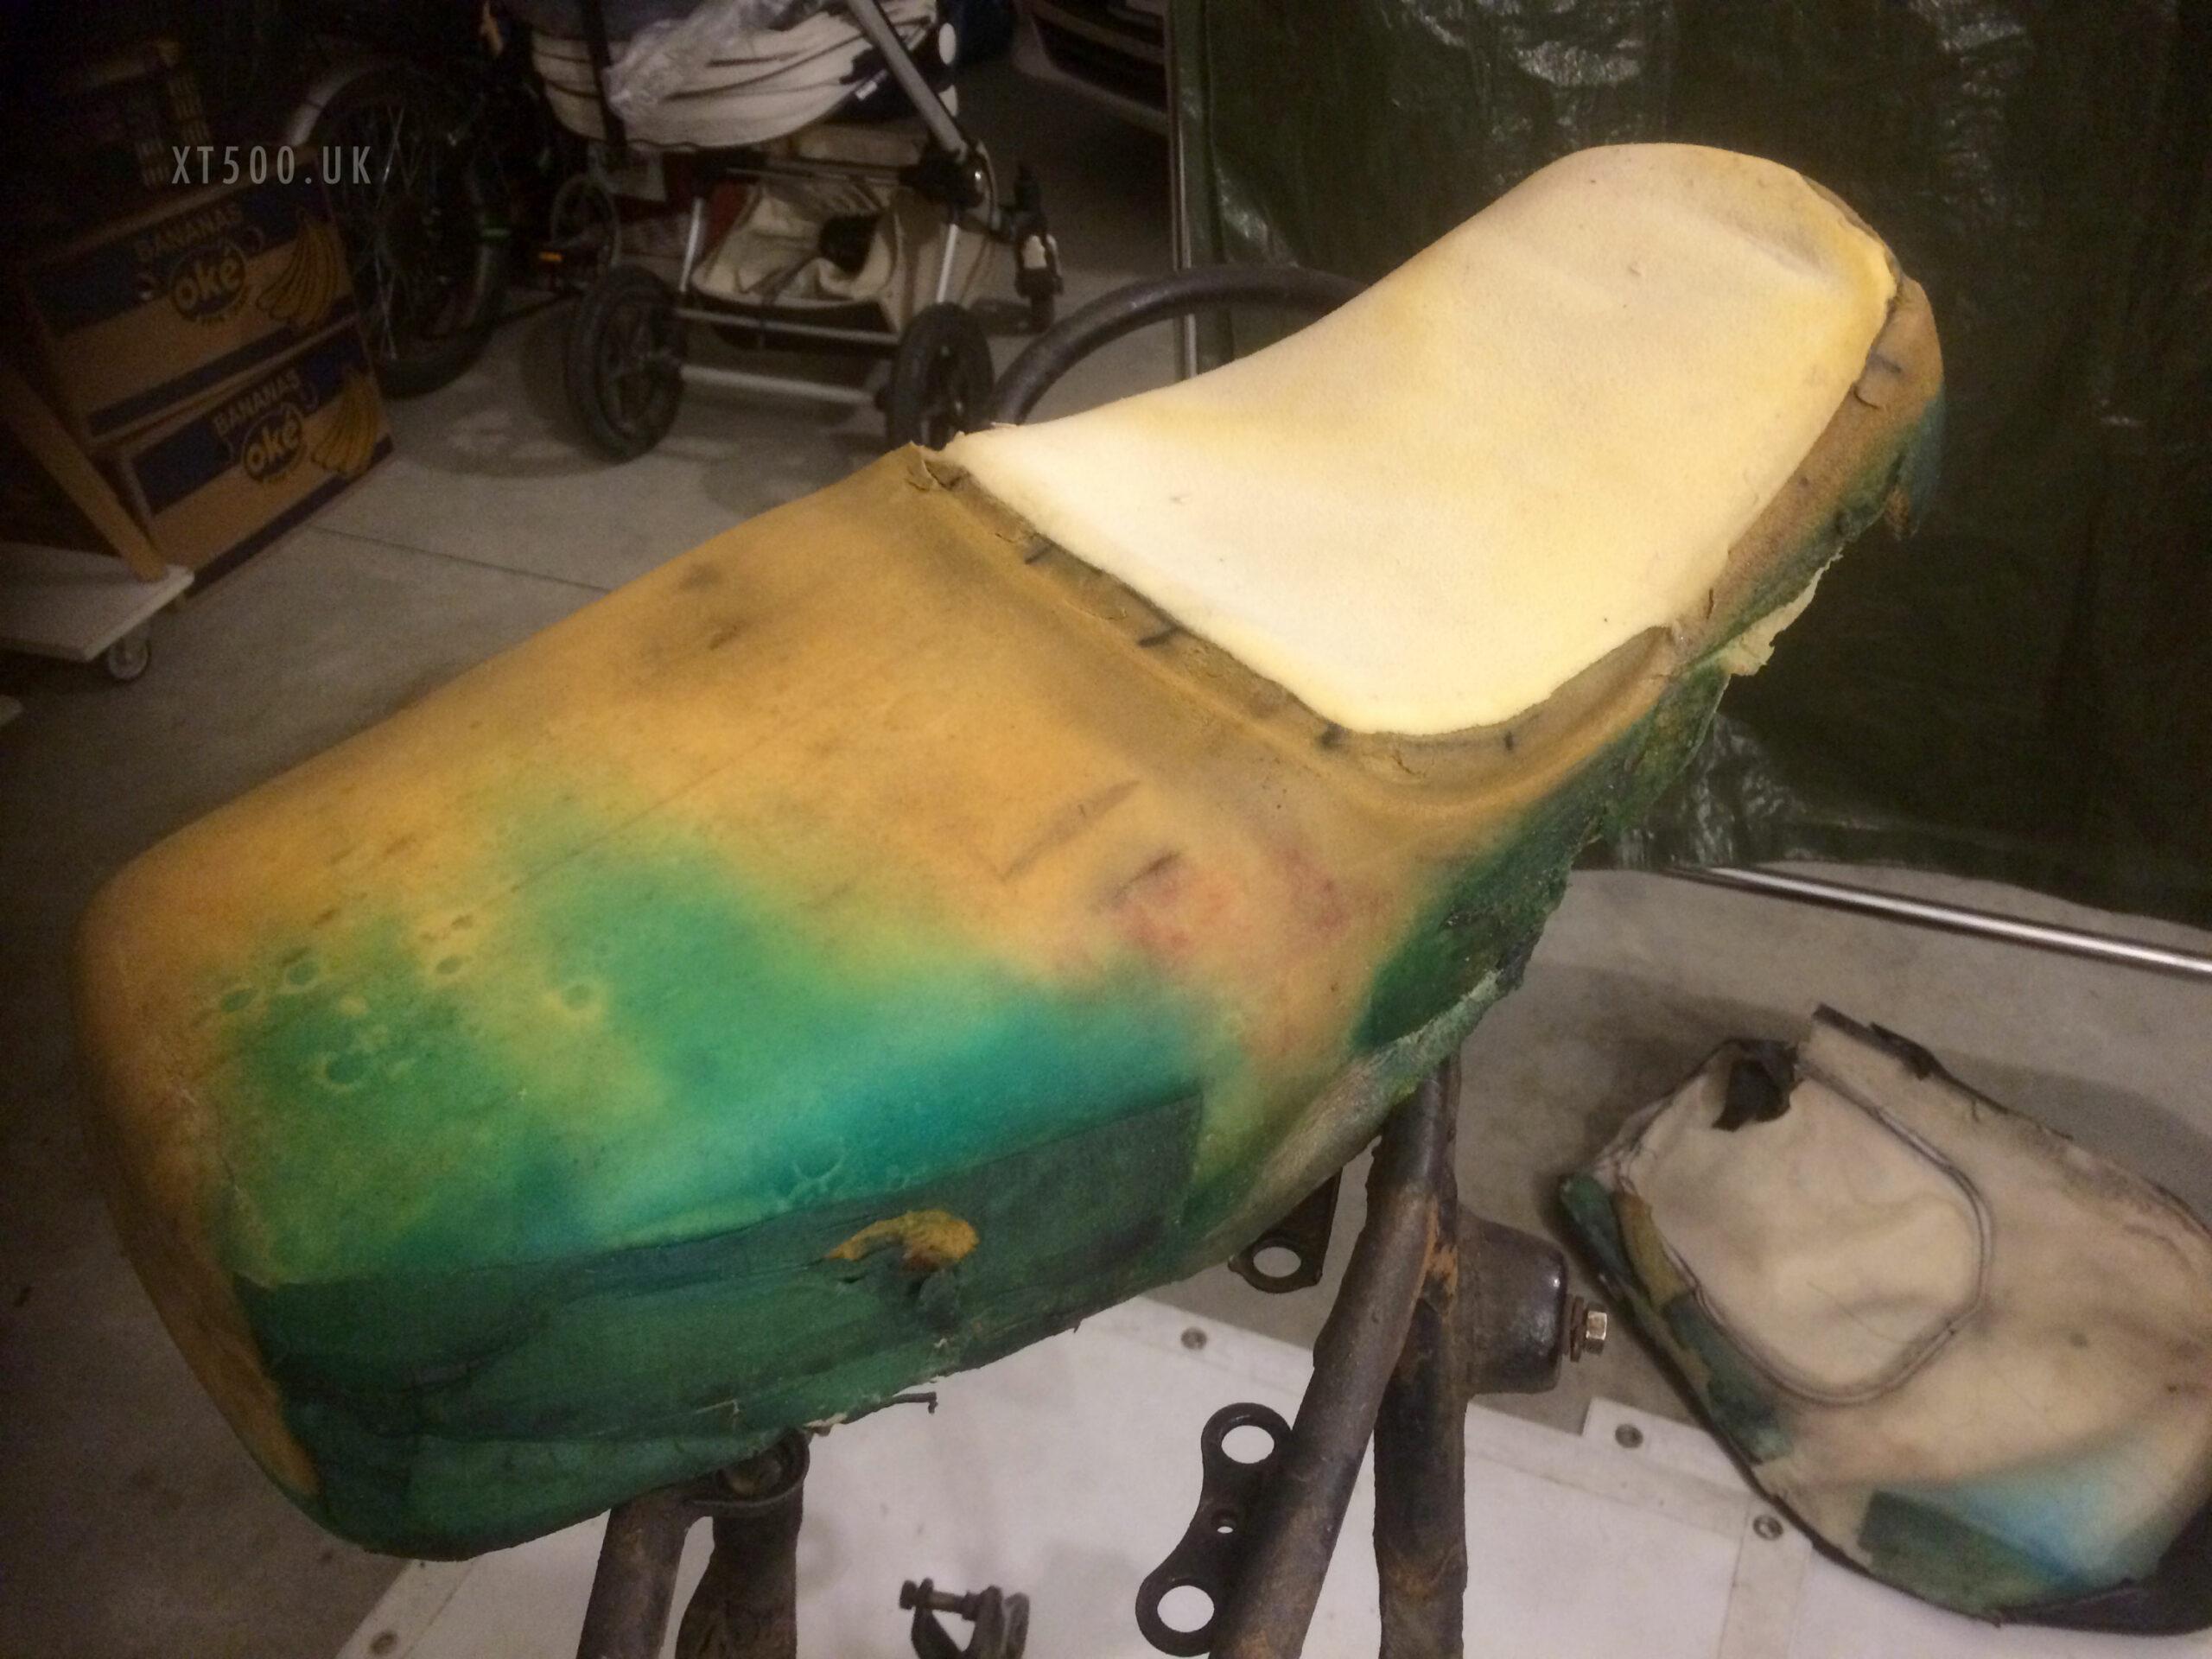
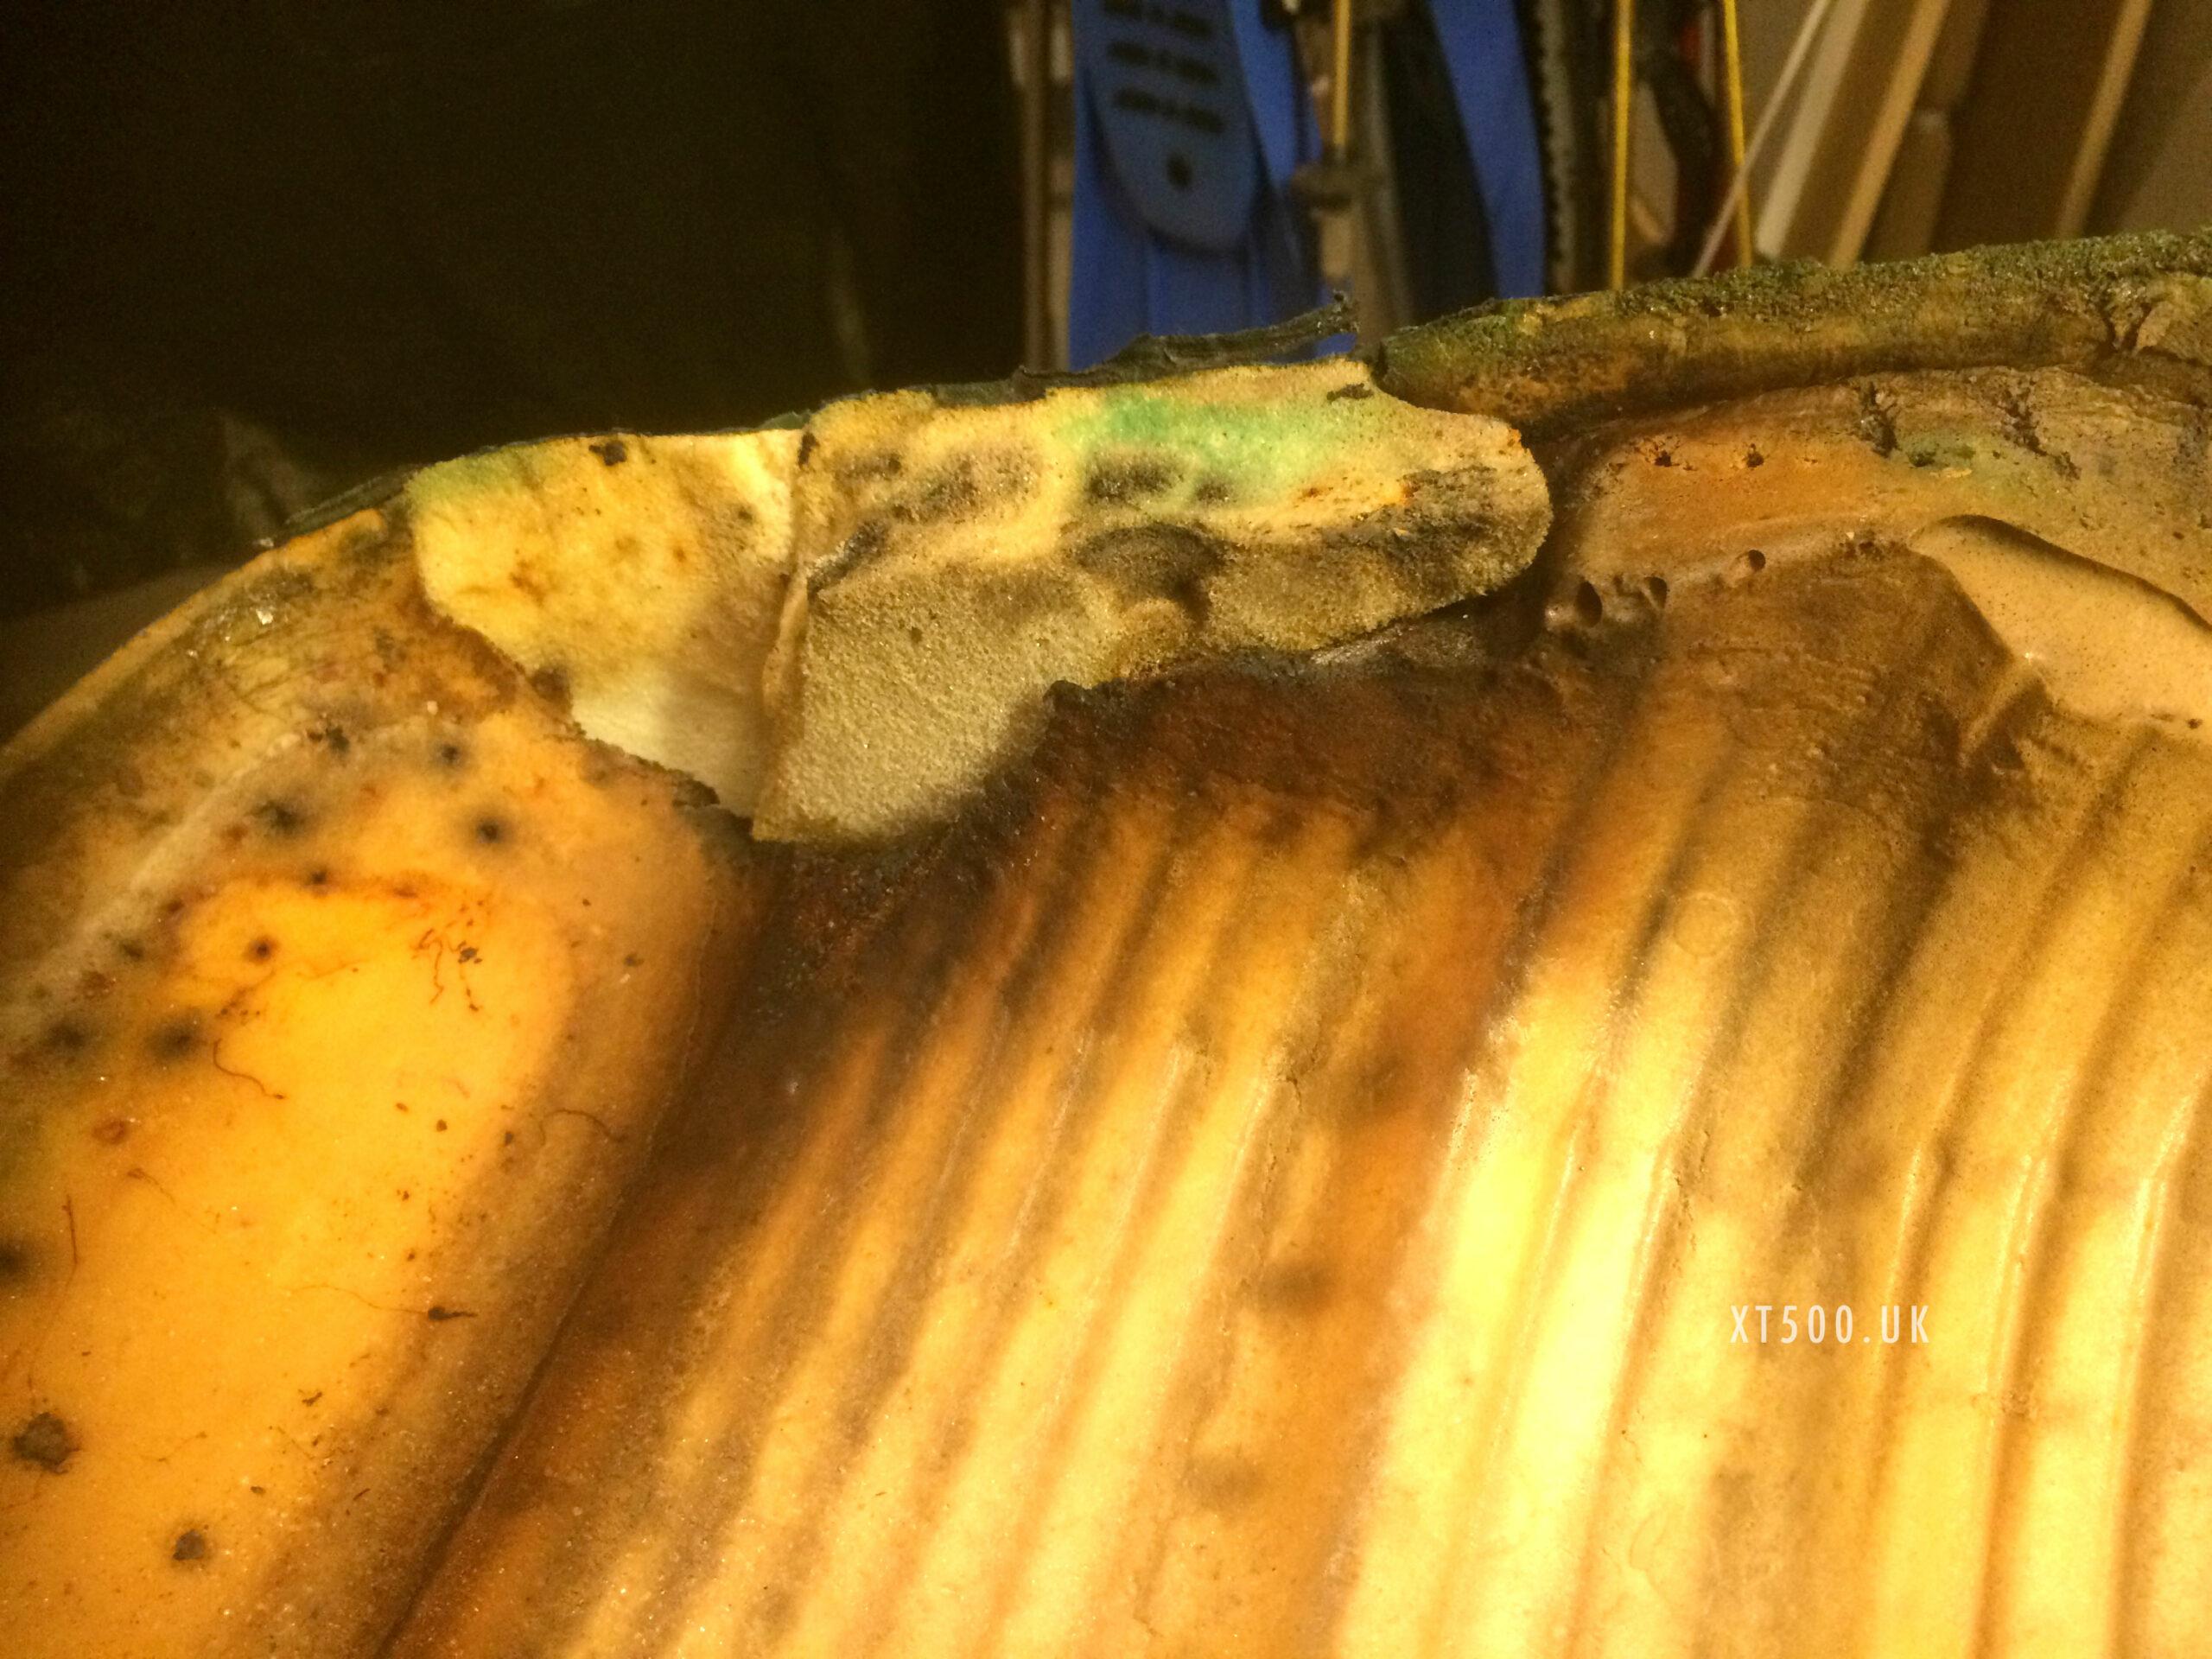
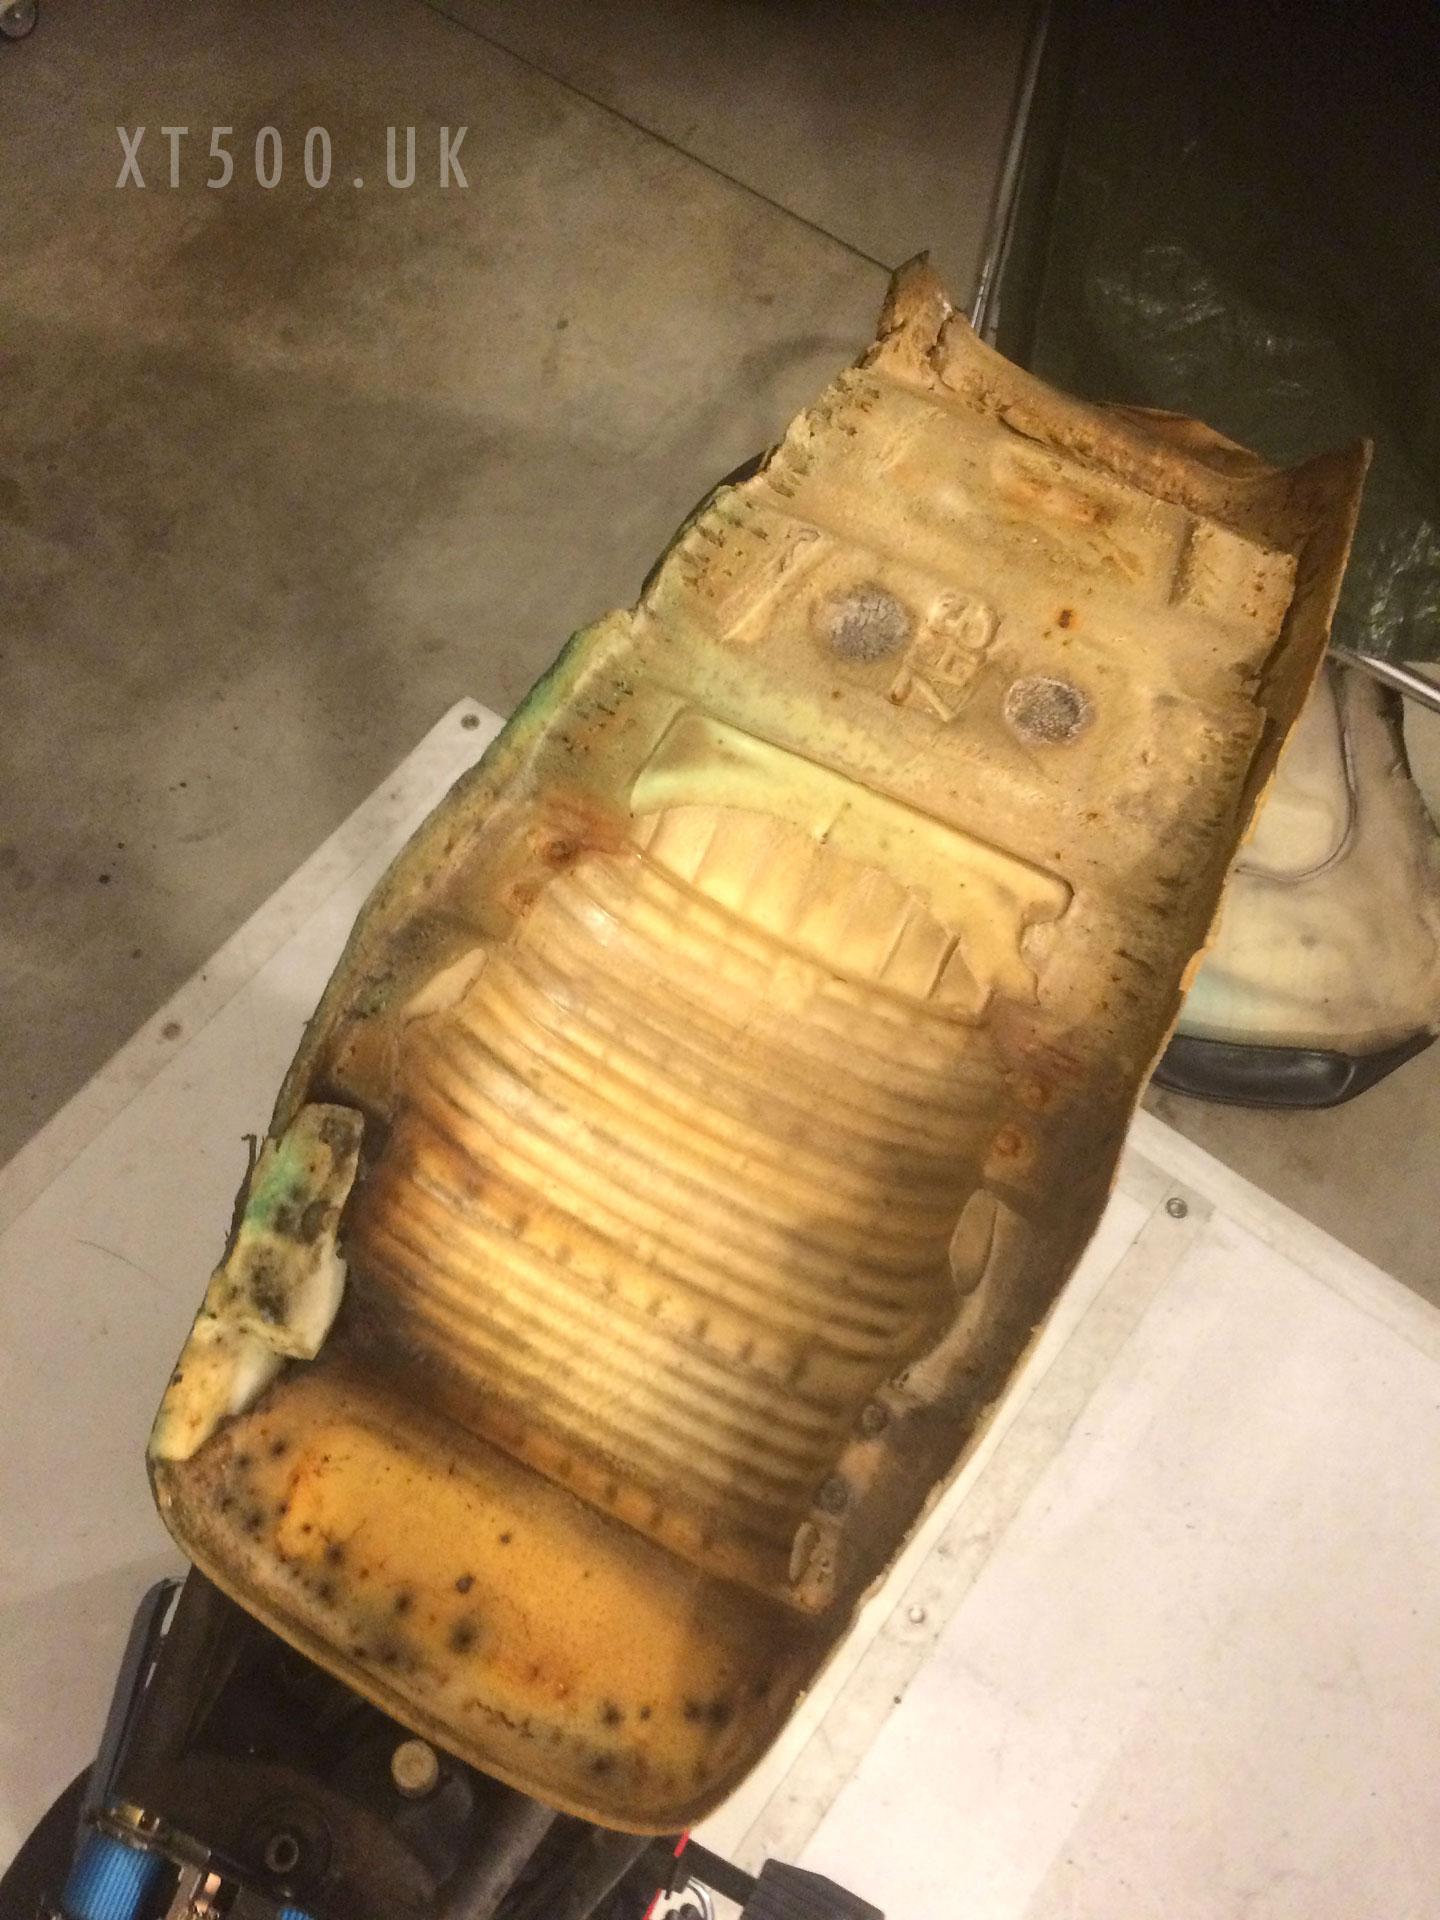
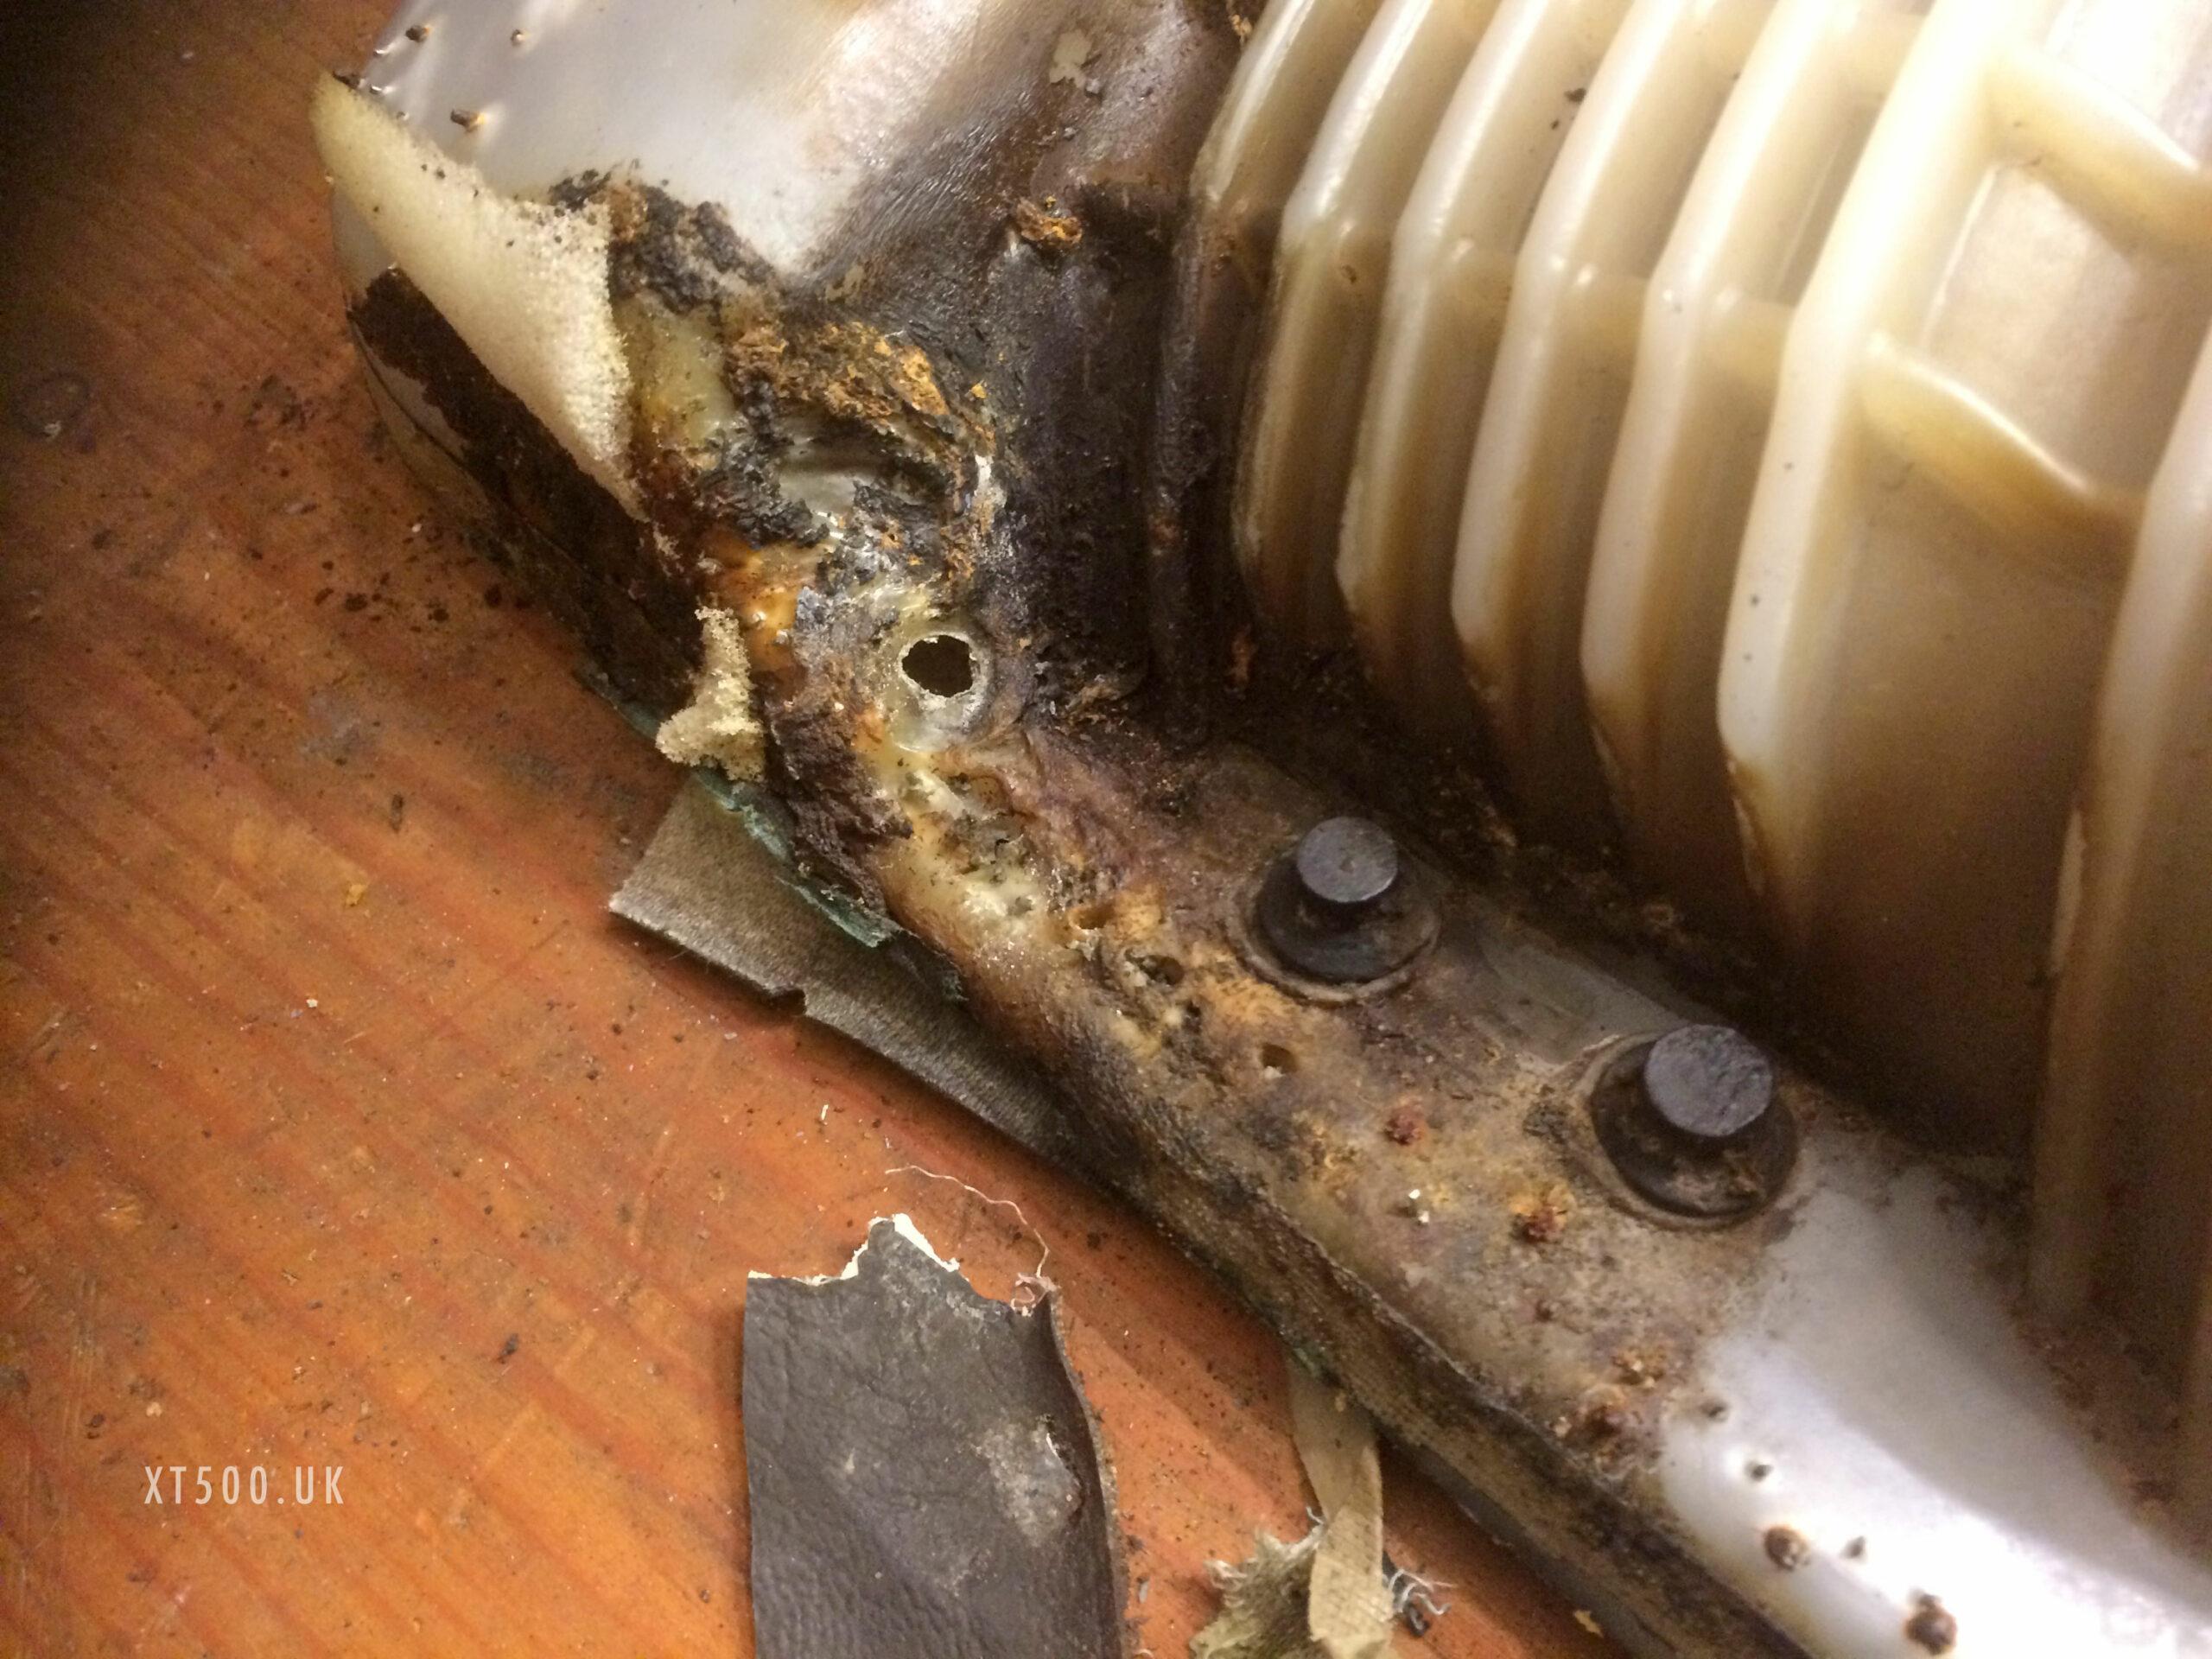
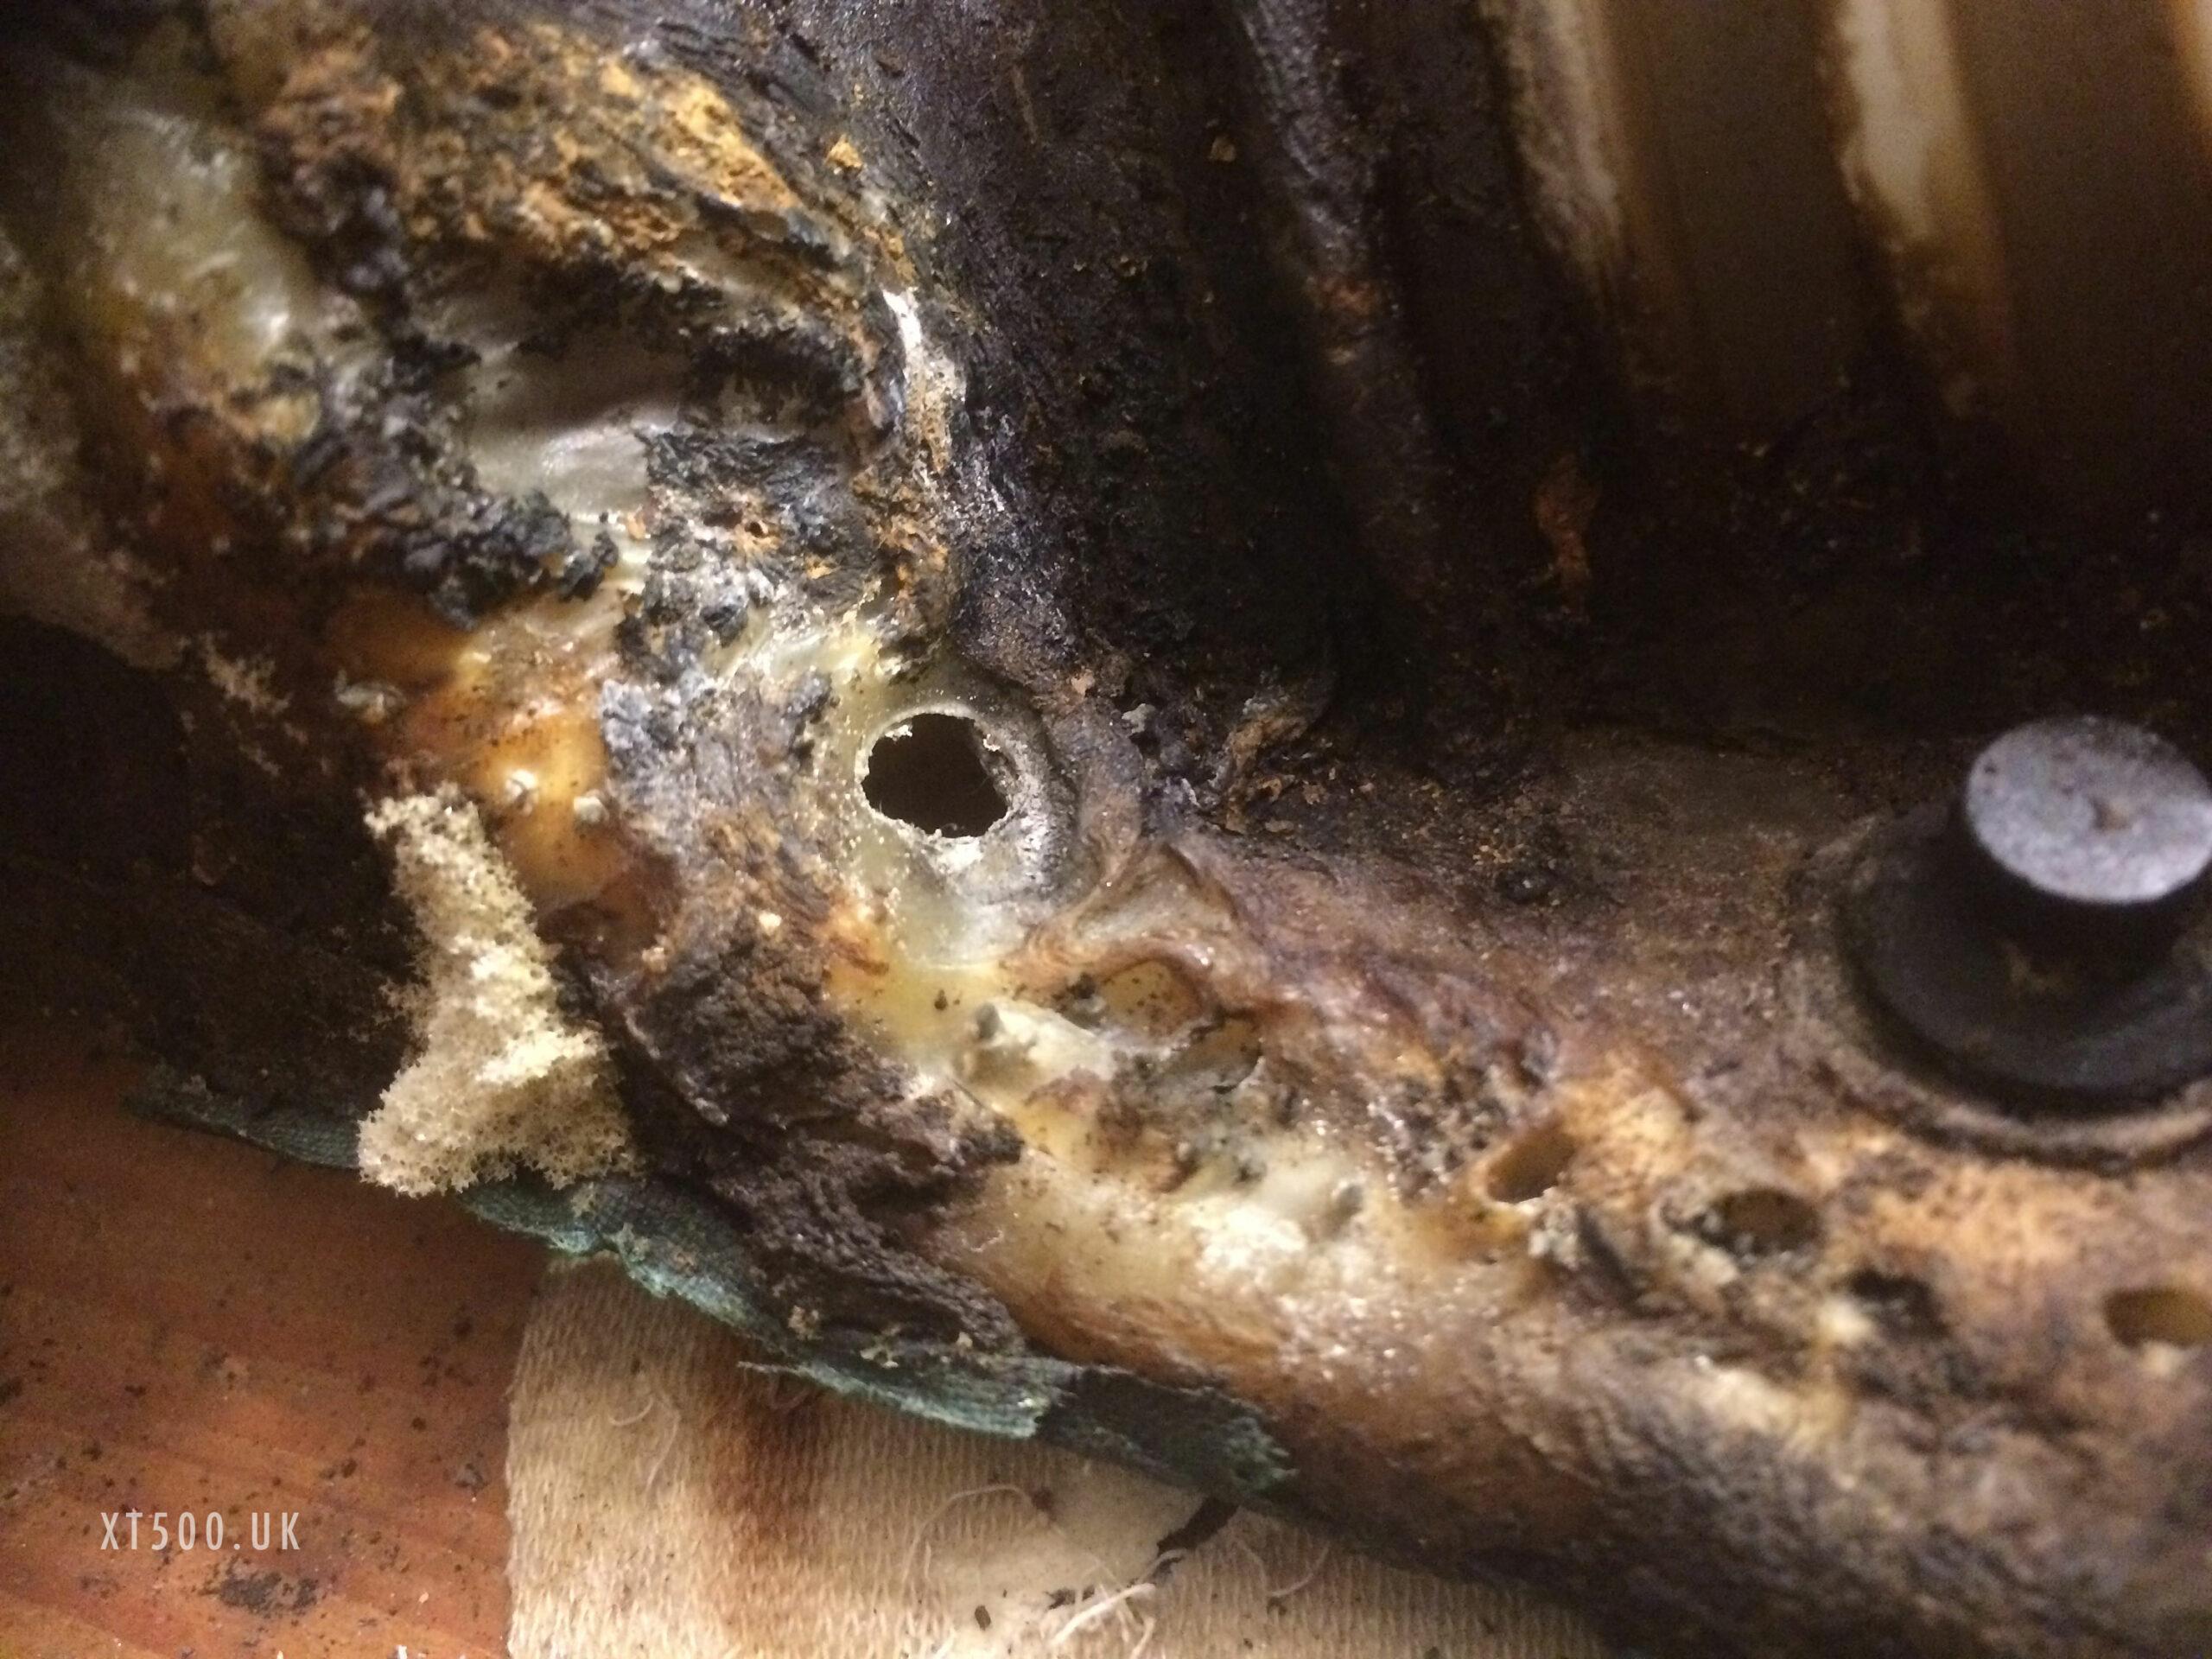
Three months passed before I was able to sit on the seat again. I was distracted by rebuilding the engine, restoring the clocks and prepping parts to be plated or powder coated.
When I finally got back to it, it only took me a weekend to finish it.
The seat had already been reupholstered twice. The last time was after fire damage.
When I removed the three brackets, all six bolts broke because they were so badly corroded with the nuts sealed within the plastic.
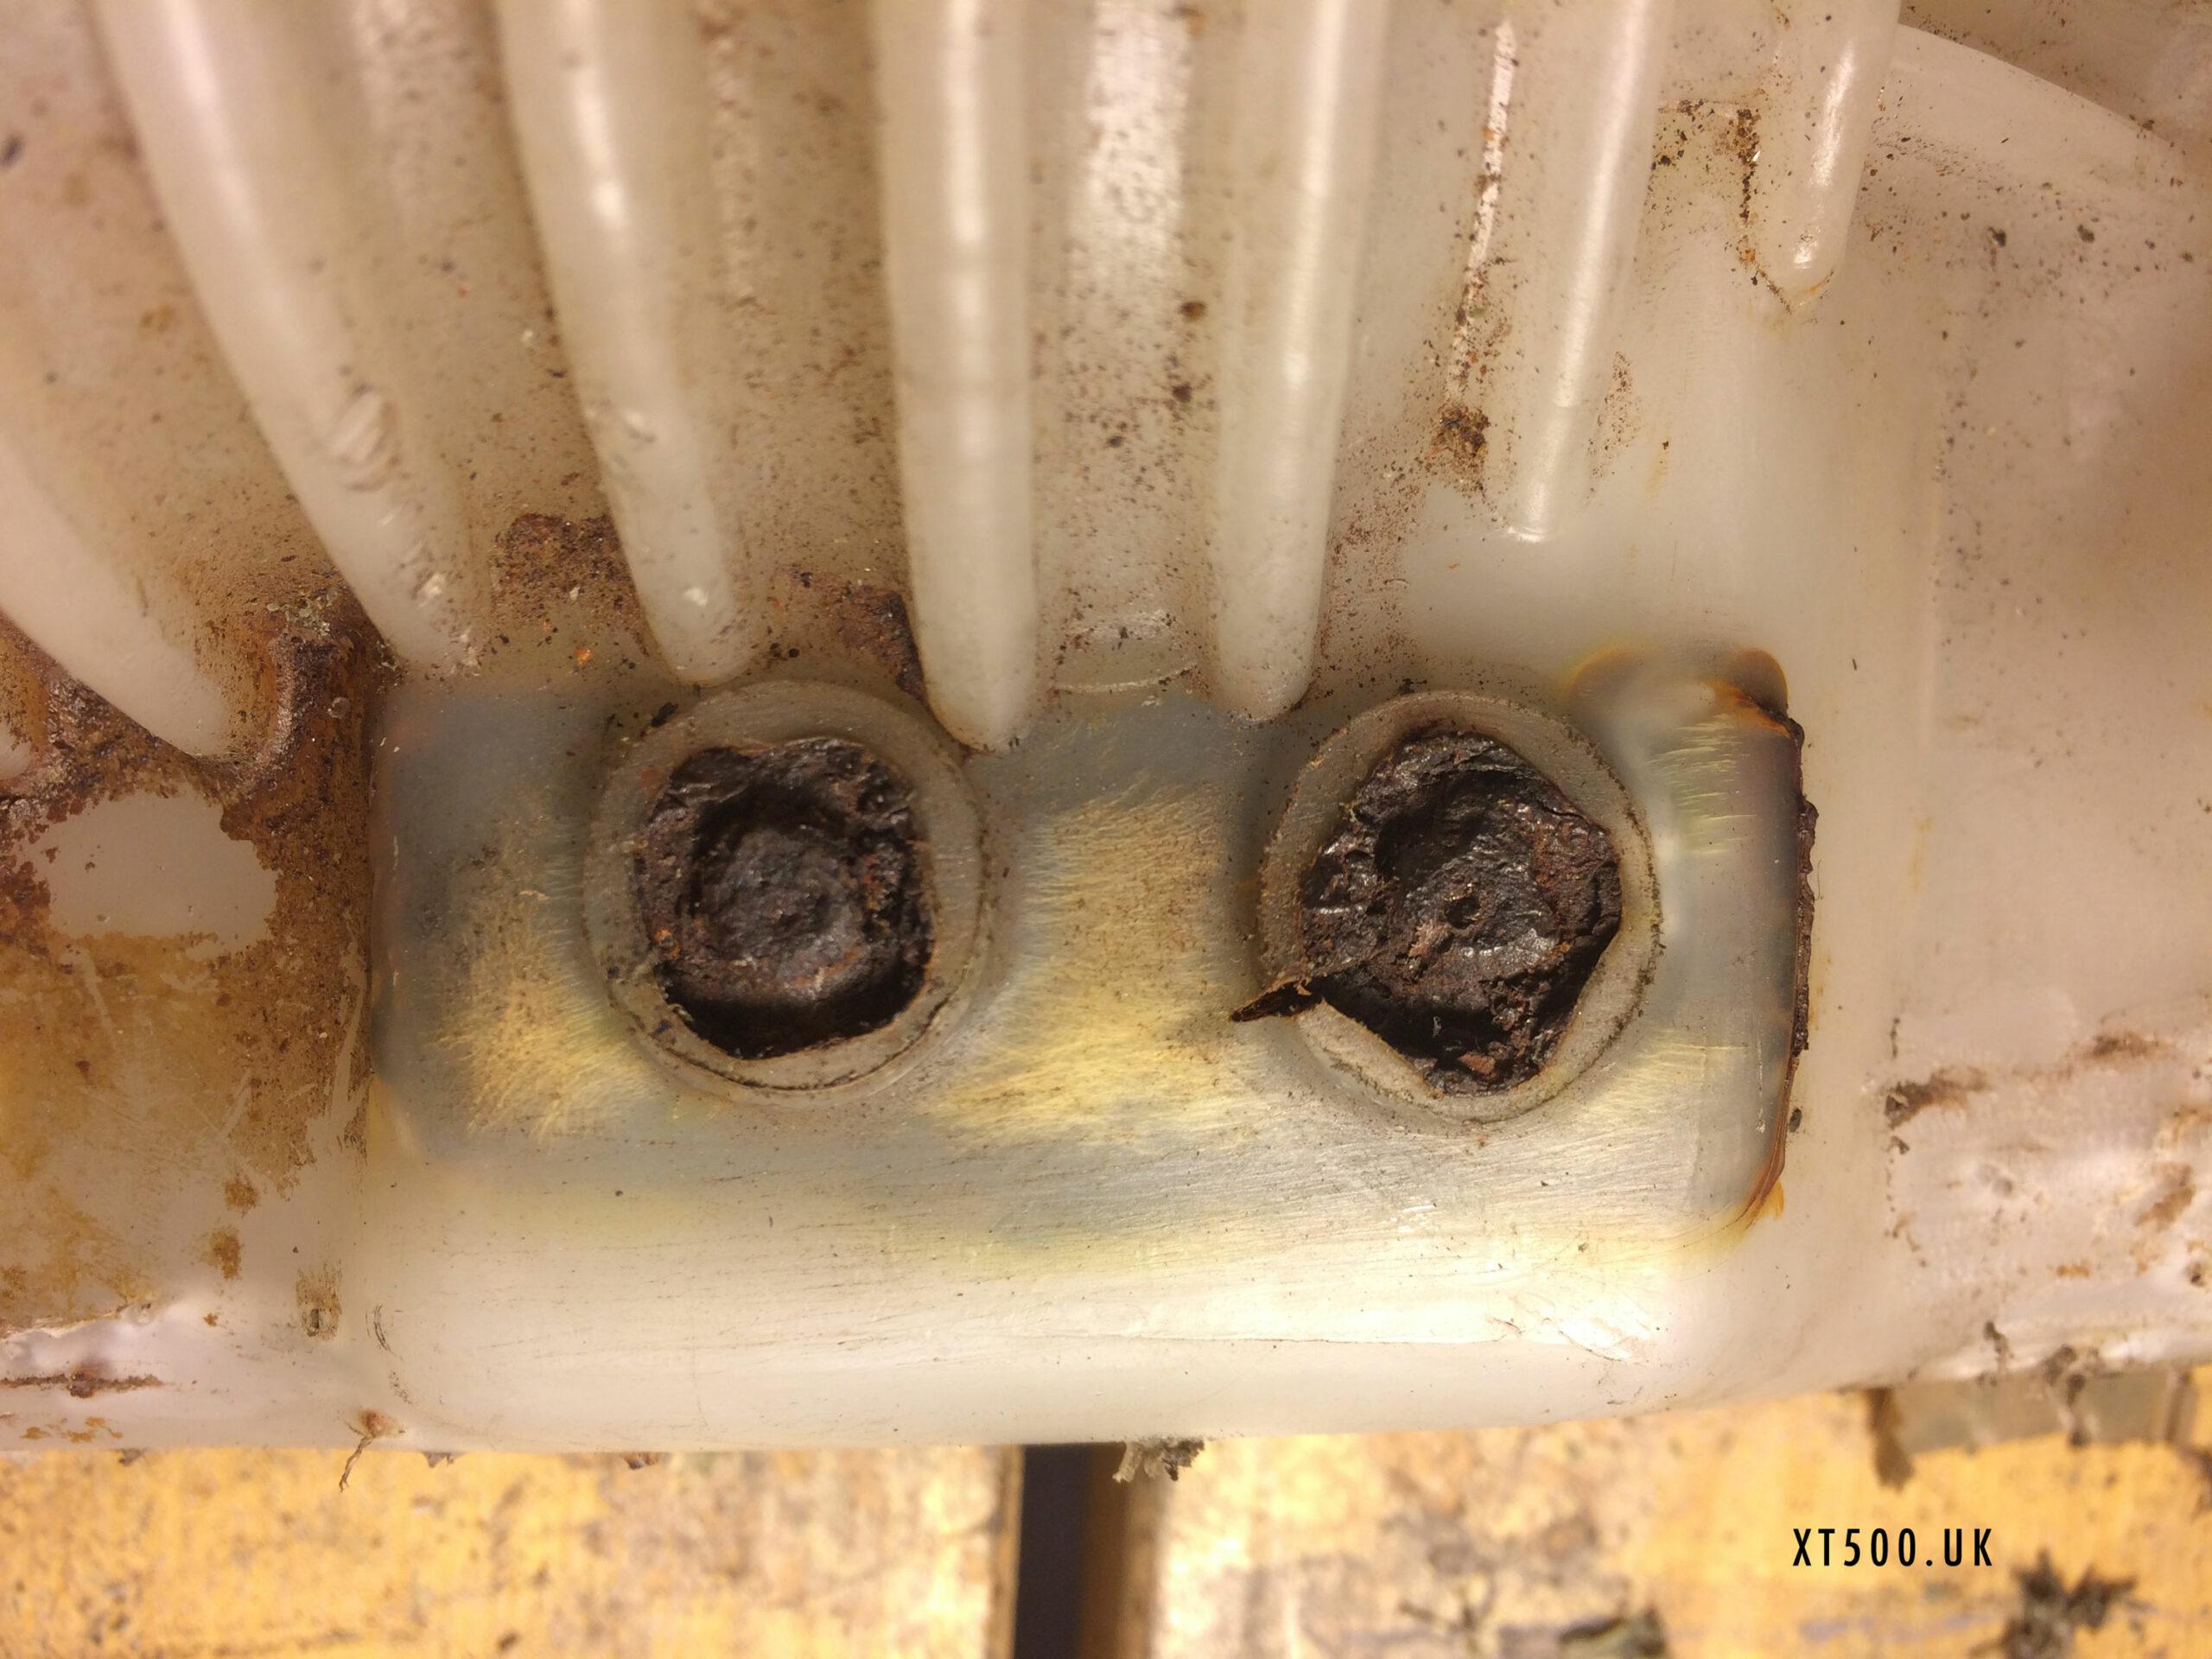
So after pulling out as many rusty staple legs as was possible, cleaning away all the grime and tape, I set to work on the problem of the mounts. They could not be drilled and tapped as there was very little metal left. You can see in the photo that it was so bad that the rust expansion had split the plastic on the short sides.
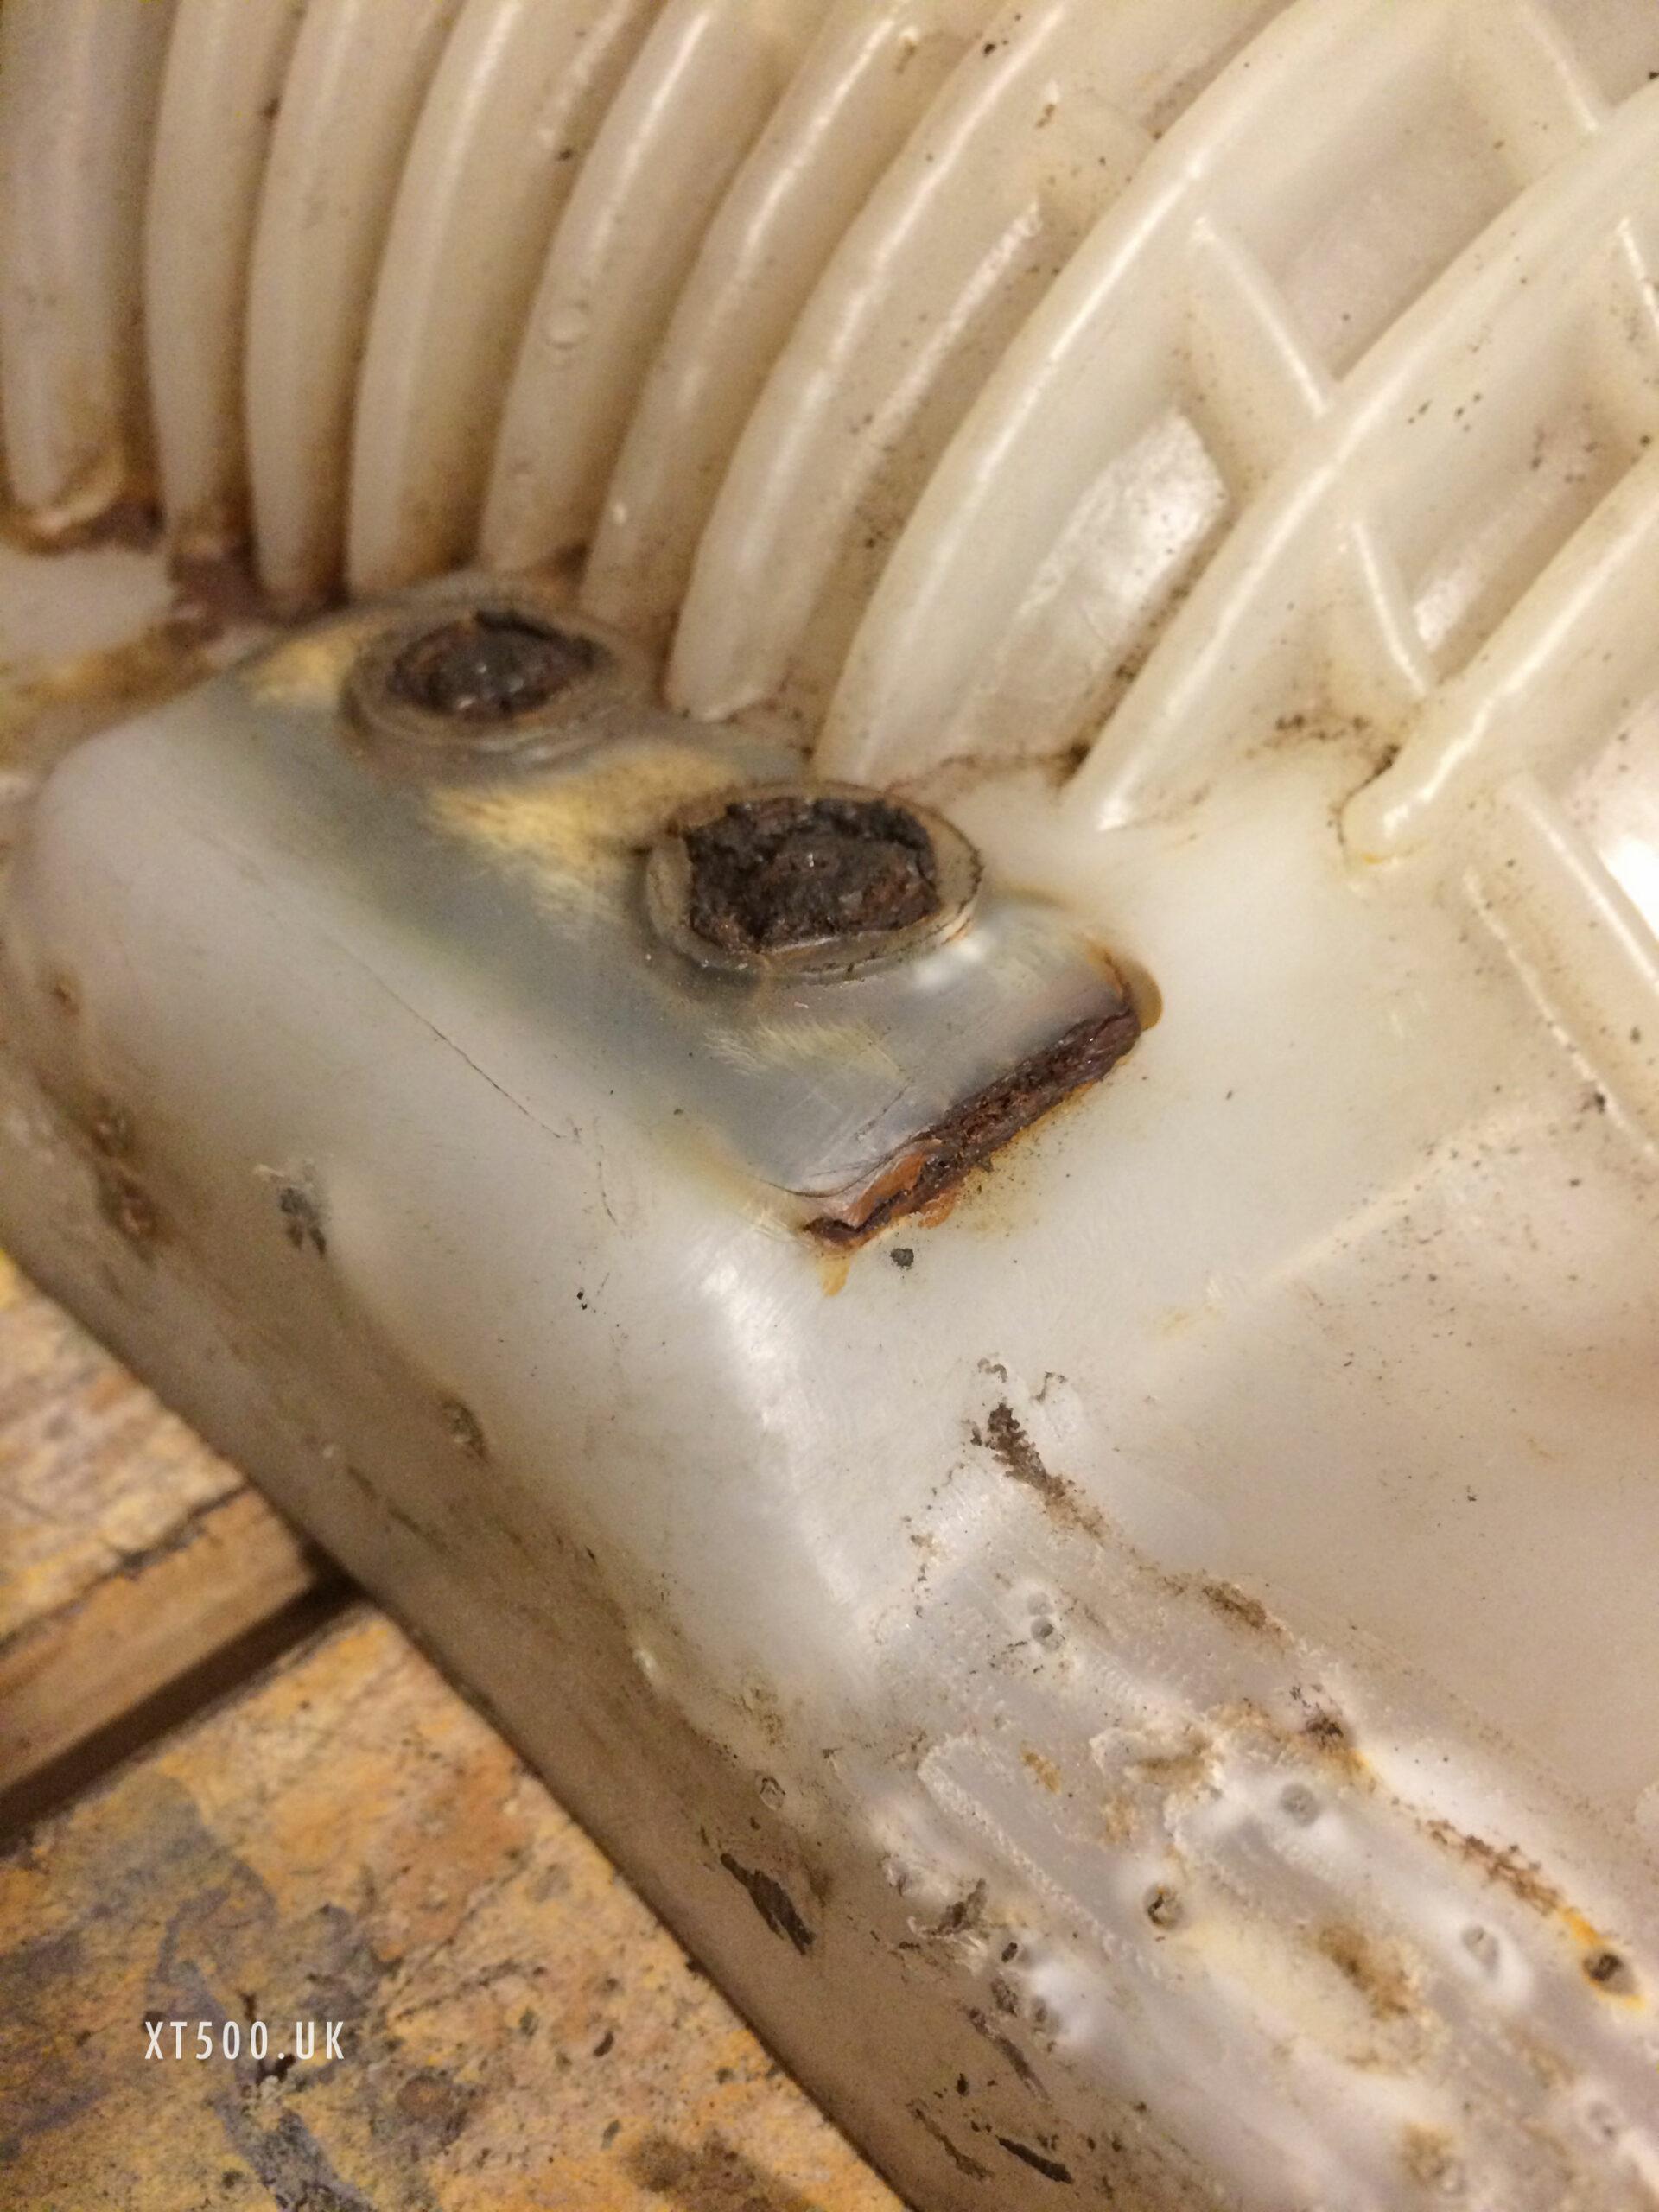
I then cut the outside long edge using a heated craft knife blade. I was able to lift it open and scrape out the rust.
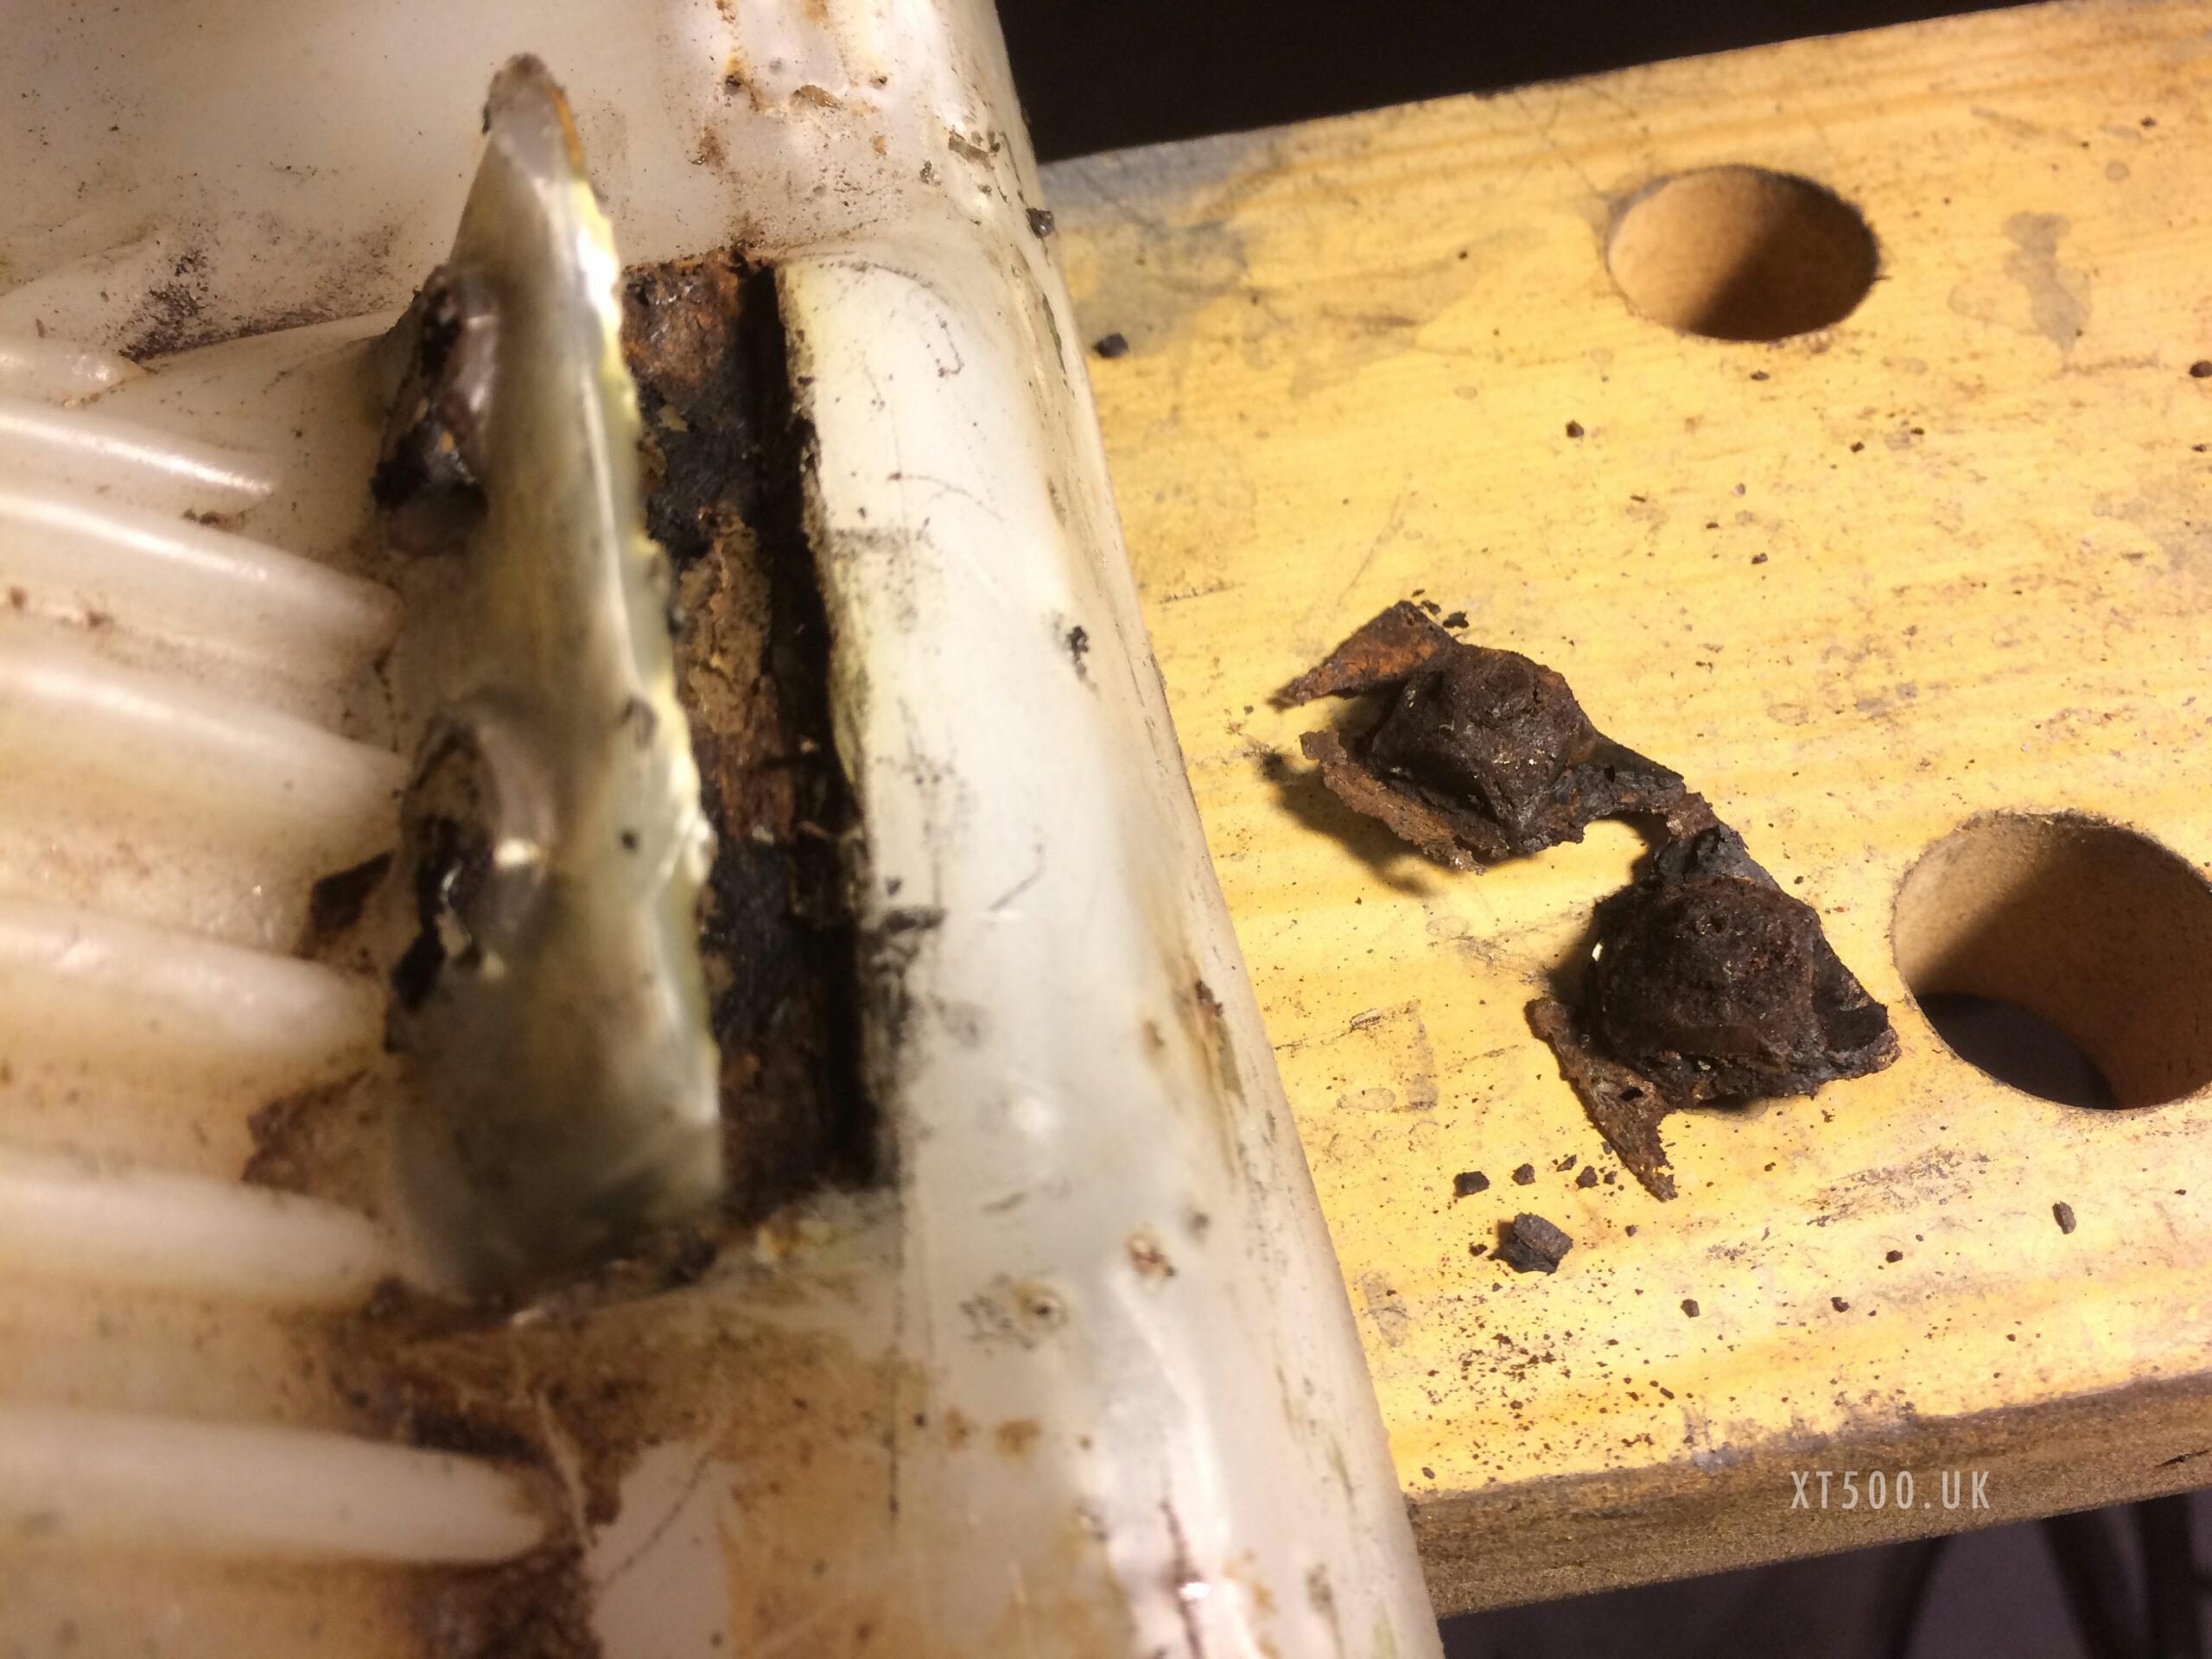
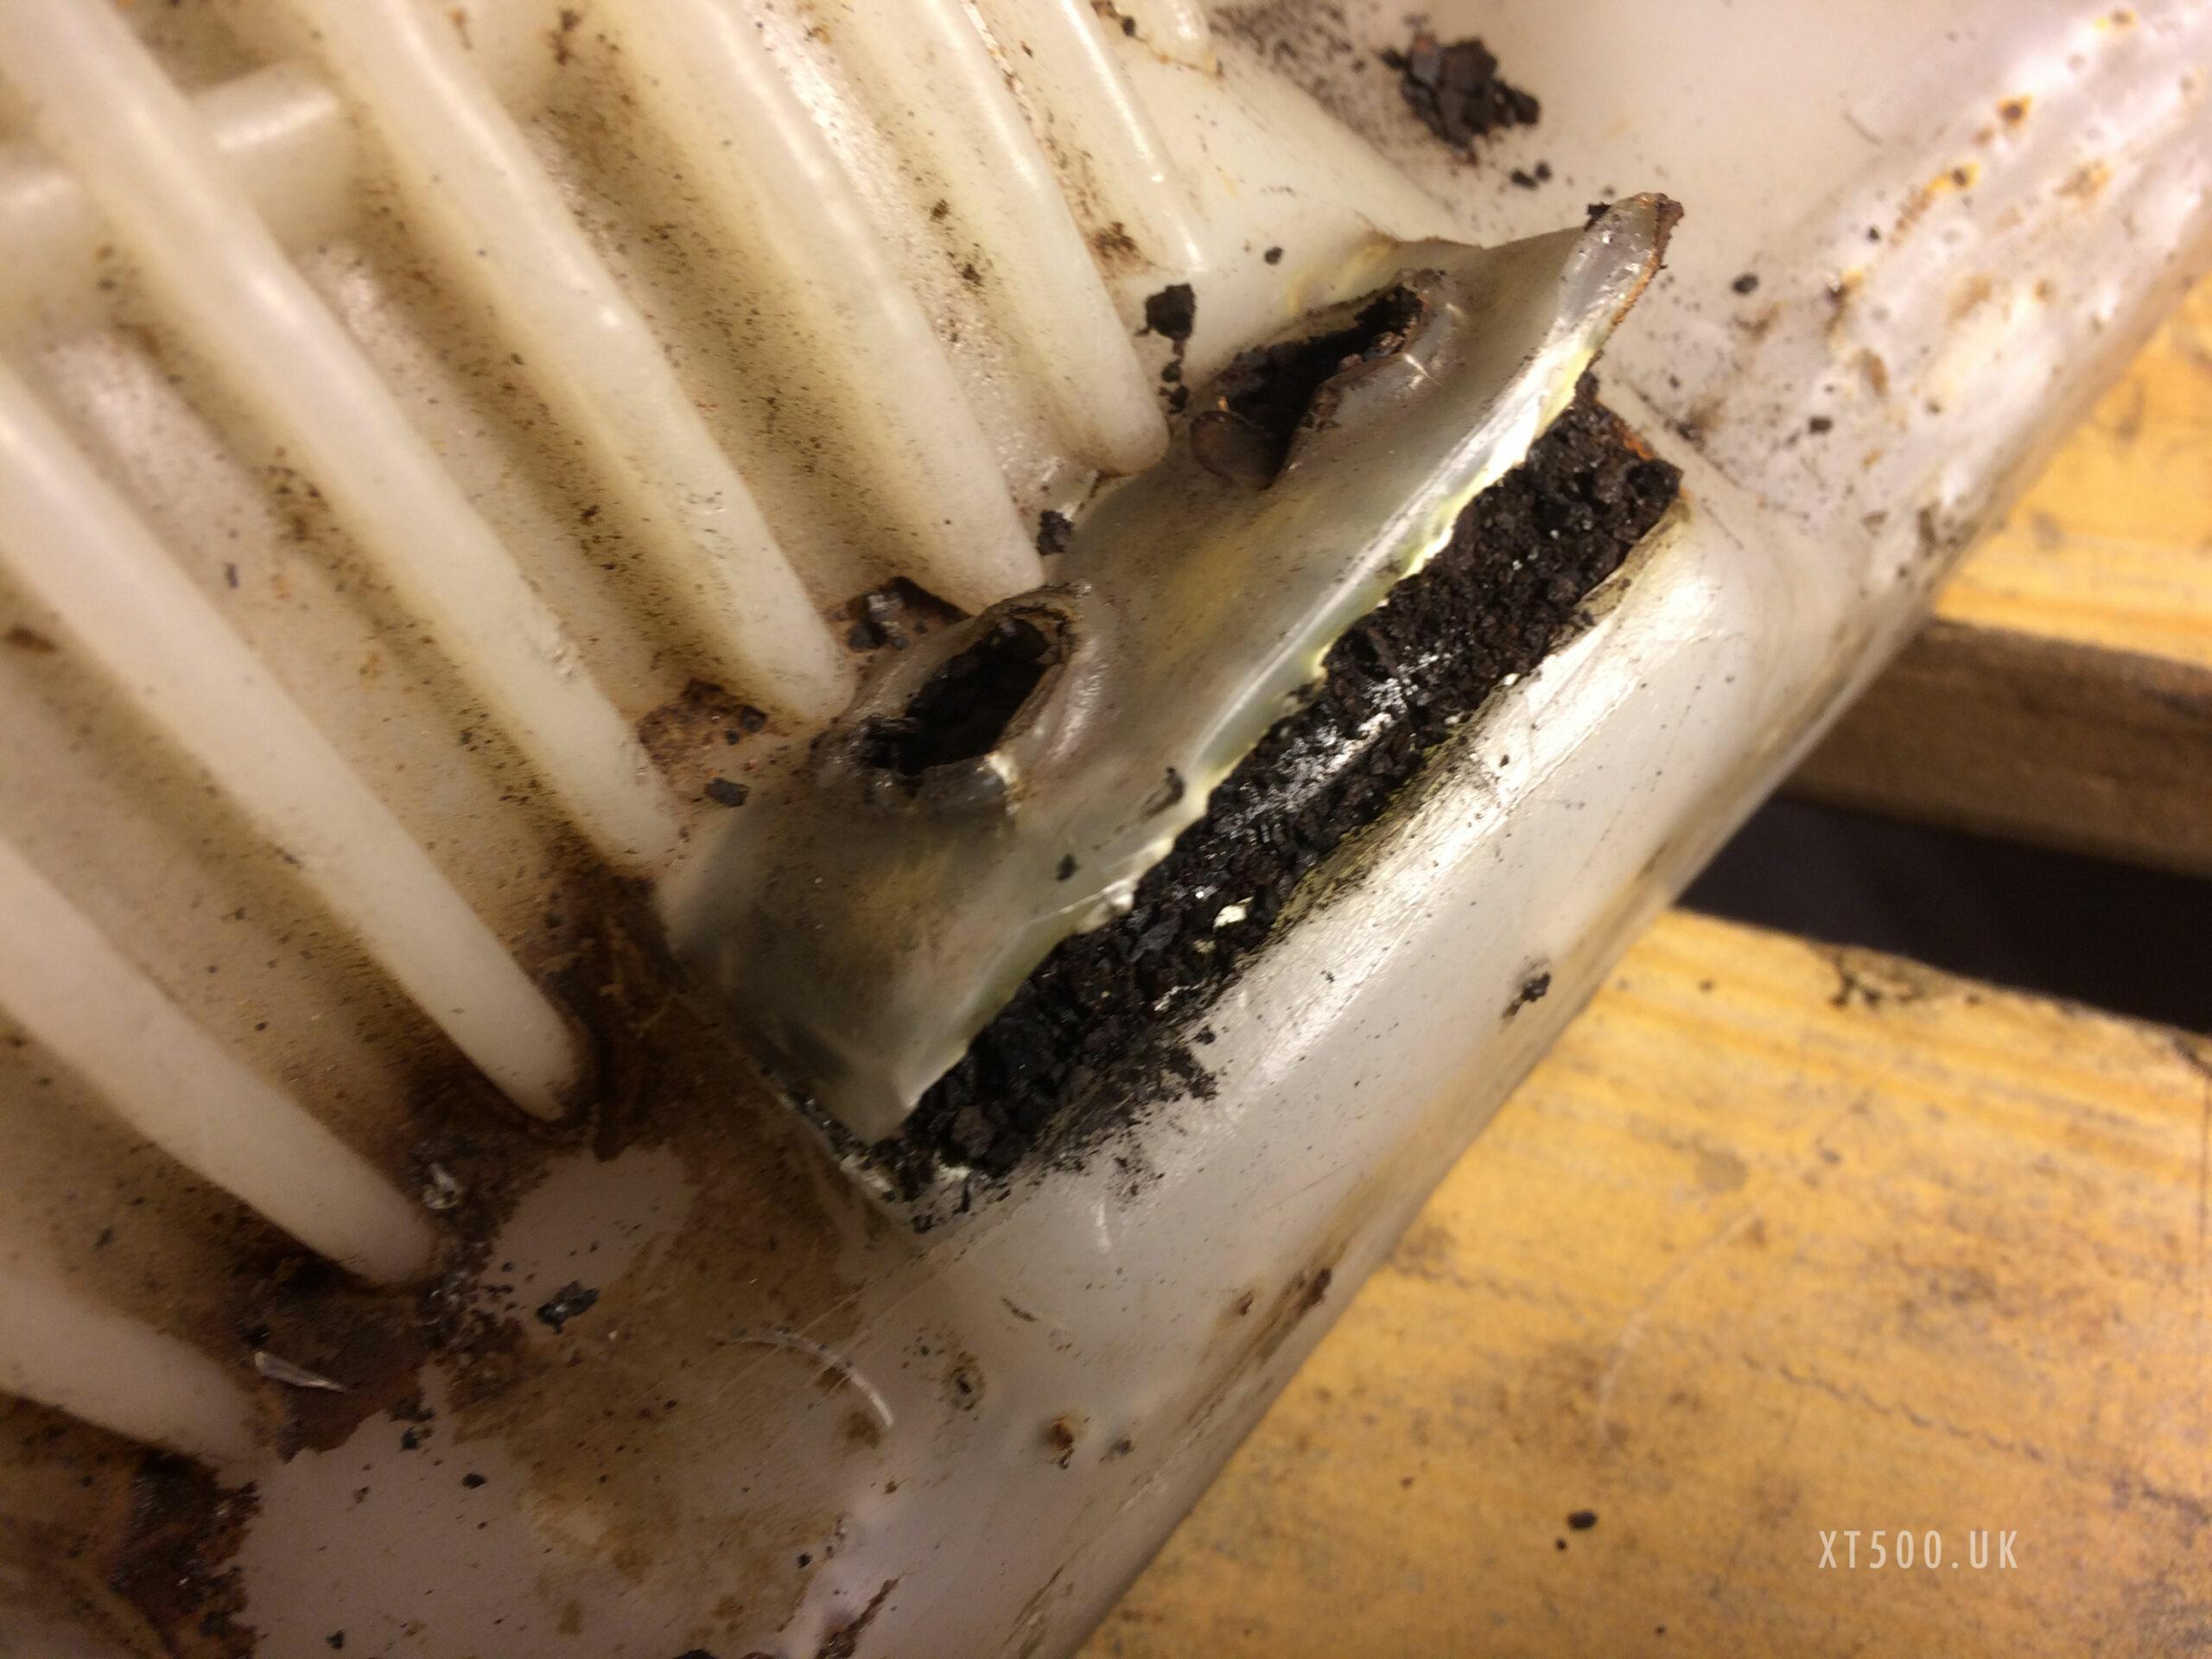
As I can neither weld nor have mates who can, I couldn’t rebuild the original. That is, two nuts about 4 mm deep welded to a thin plate of no more than 0.5 mm. I only estimate these dimensions as it is difficult to tell what is left of the remaining crustaceans.
It wasn’t possible to remove every trace of rust in the plastic, so I also applied a good dose of rust converter.
I grabbed a 2 mm thick metal plate from a box of bits and cut it to size. I drilled and tapped two M6 threads and had to grind one edge so it would fit comfortably in the same space. Then sprayed it with lacquer in a vain attempt to slow down corrosion in the future.
To bend the flap down, I needed some heat with a heat gun. Just enough to heat it, not to melt it. I applied pressure to hold the flap closed while I sealed the edges with a very hot screwdriver (heated with a heat gun). The screwdriver only holds the heat for a few seconds once you start to melt the plastic. Therefore I reheated for a minute or so each time with the heat gun on the highest setting.
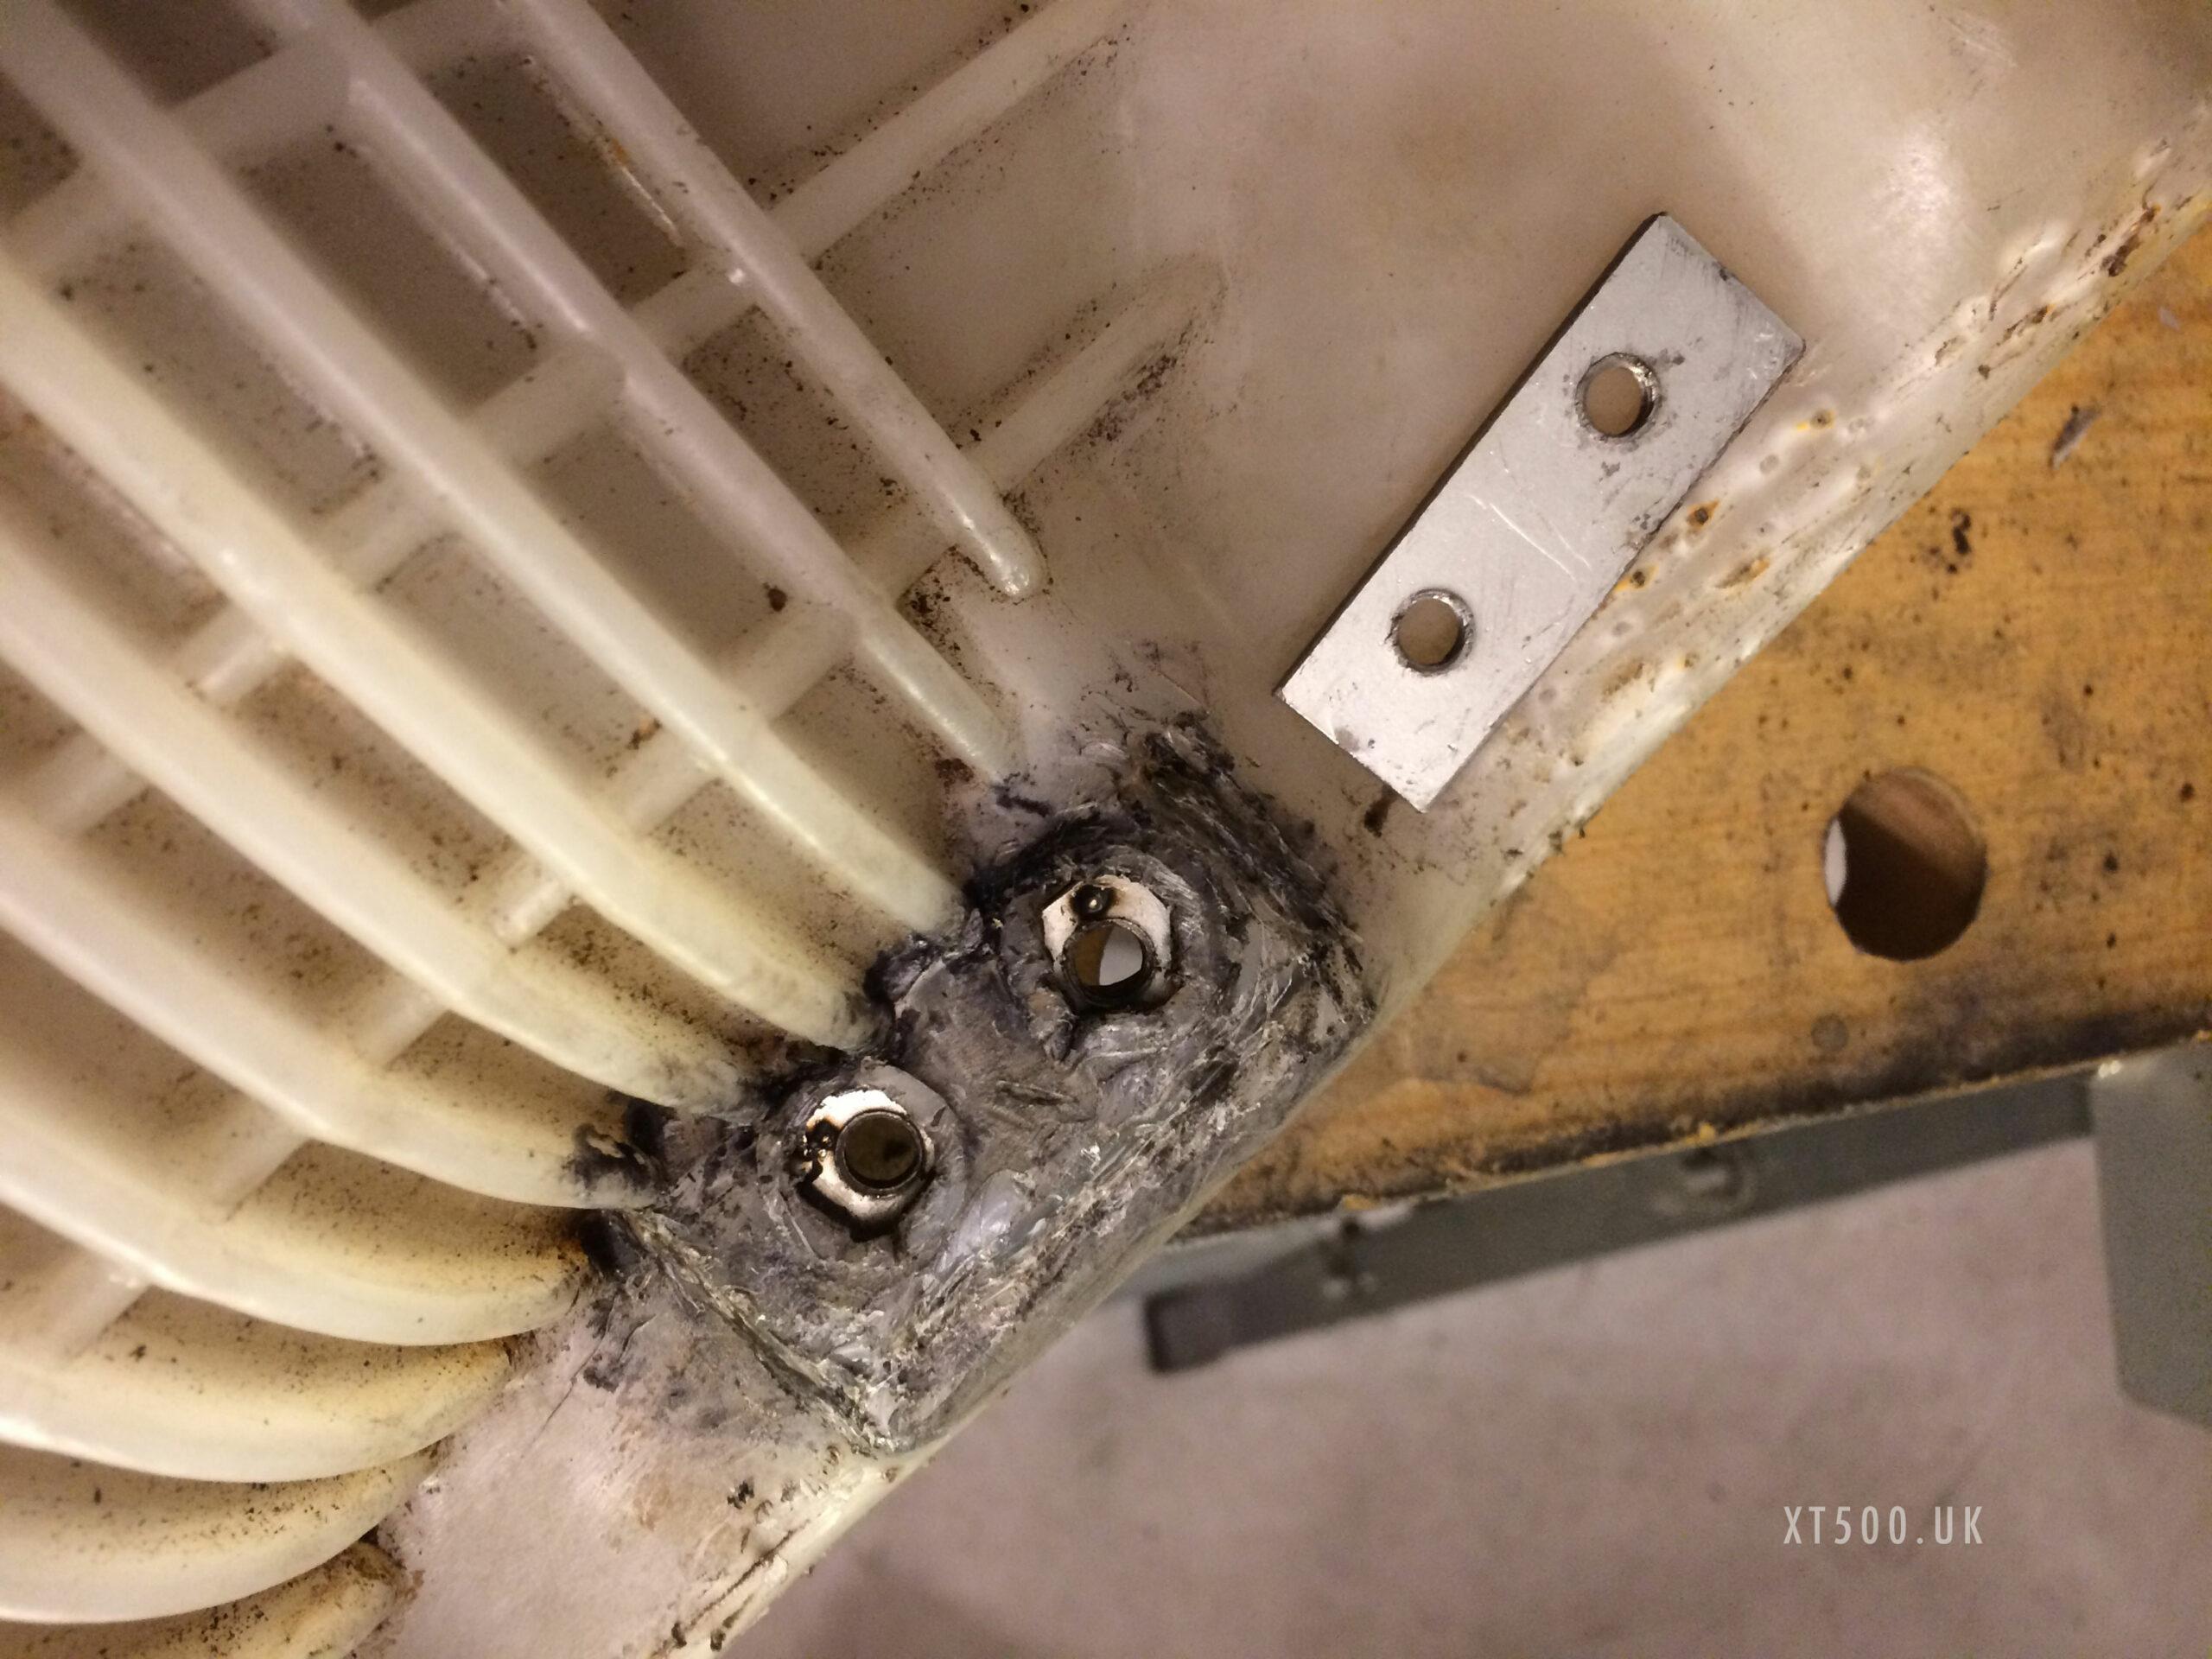
The result was not particularly pretty, but at least the brackets can now be screwed back on (once they are back from galvanising – zinc plating.
2 mm is not much, but as long as they are not overtightened they should hold well.
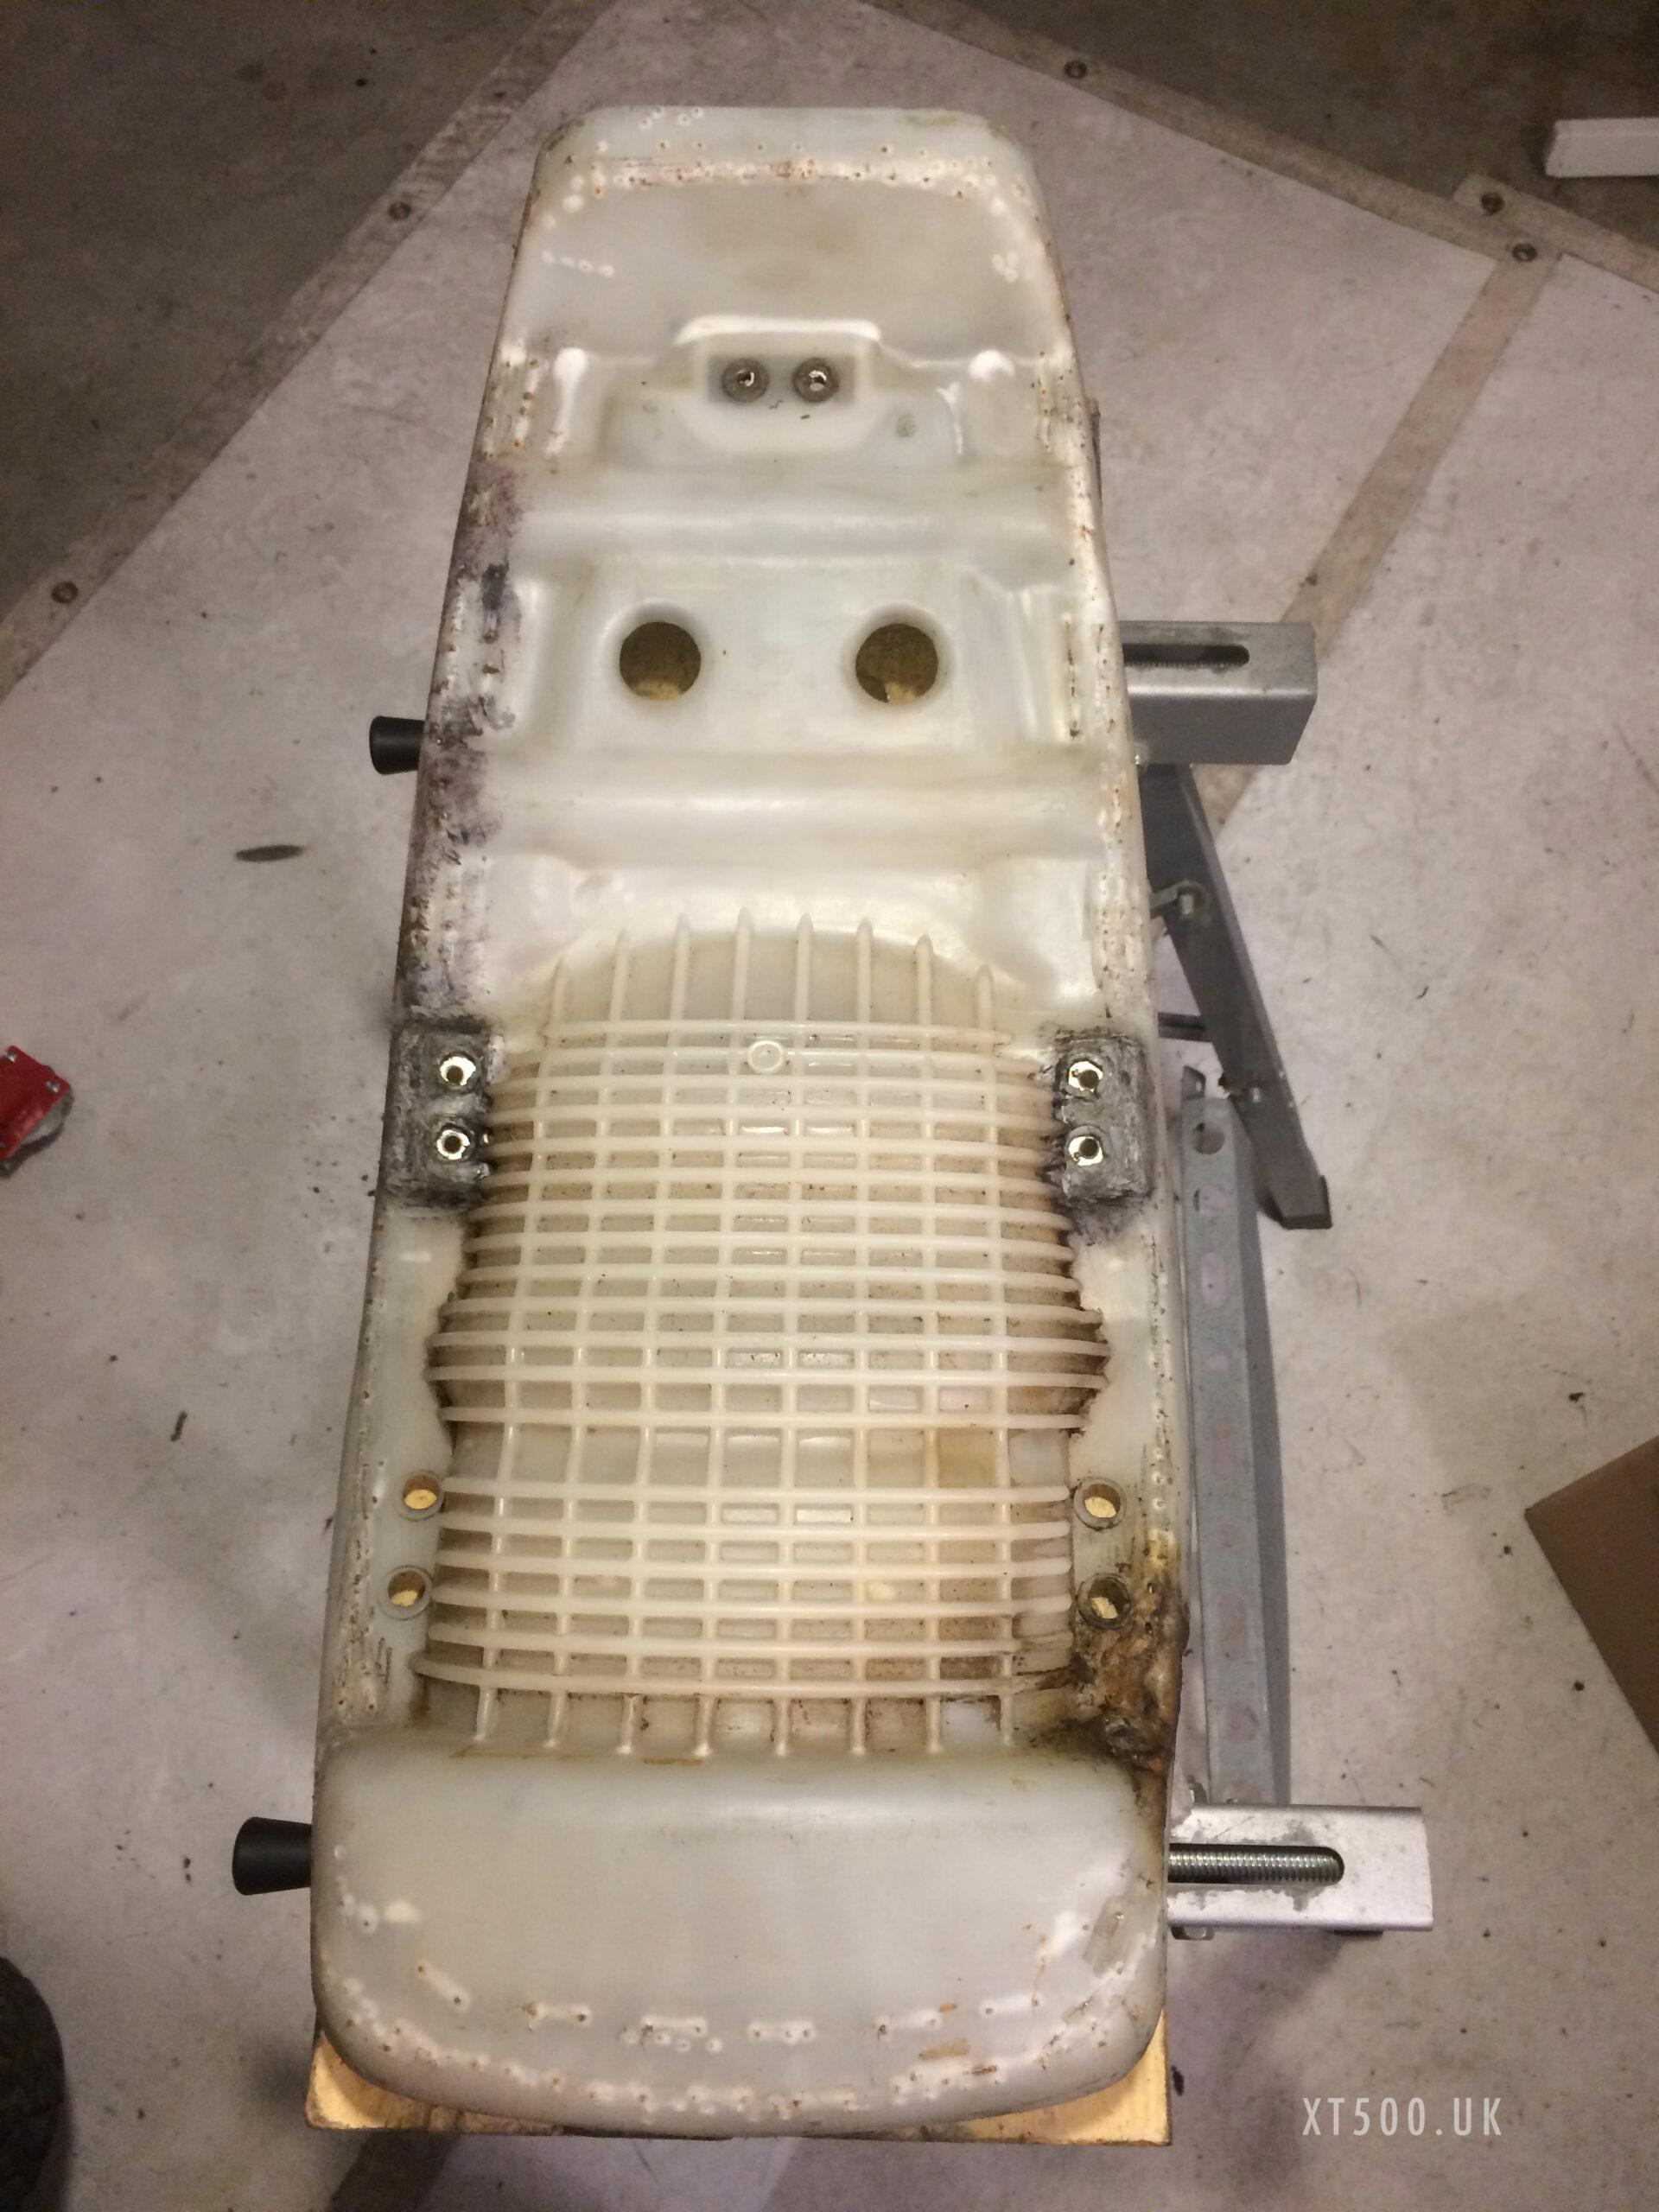
As for the fire damage on the rear right side, there were a few small holes. I repaired them by melting, as described above, and two larger ones I filled with a glue gun. It’s not the same colour or hardness as the seat pan, but it’s hard enough to take staples if one gets in there. And now everything is sealed again.
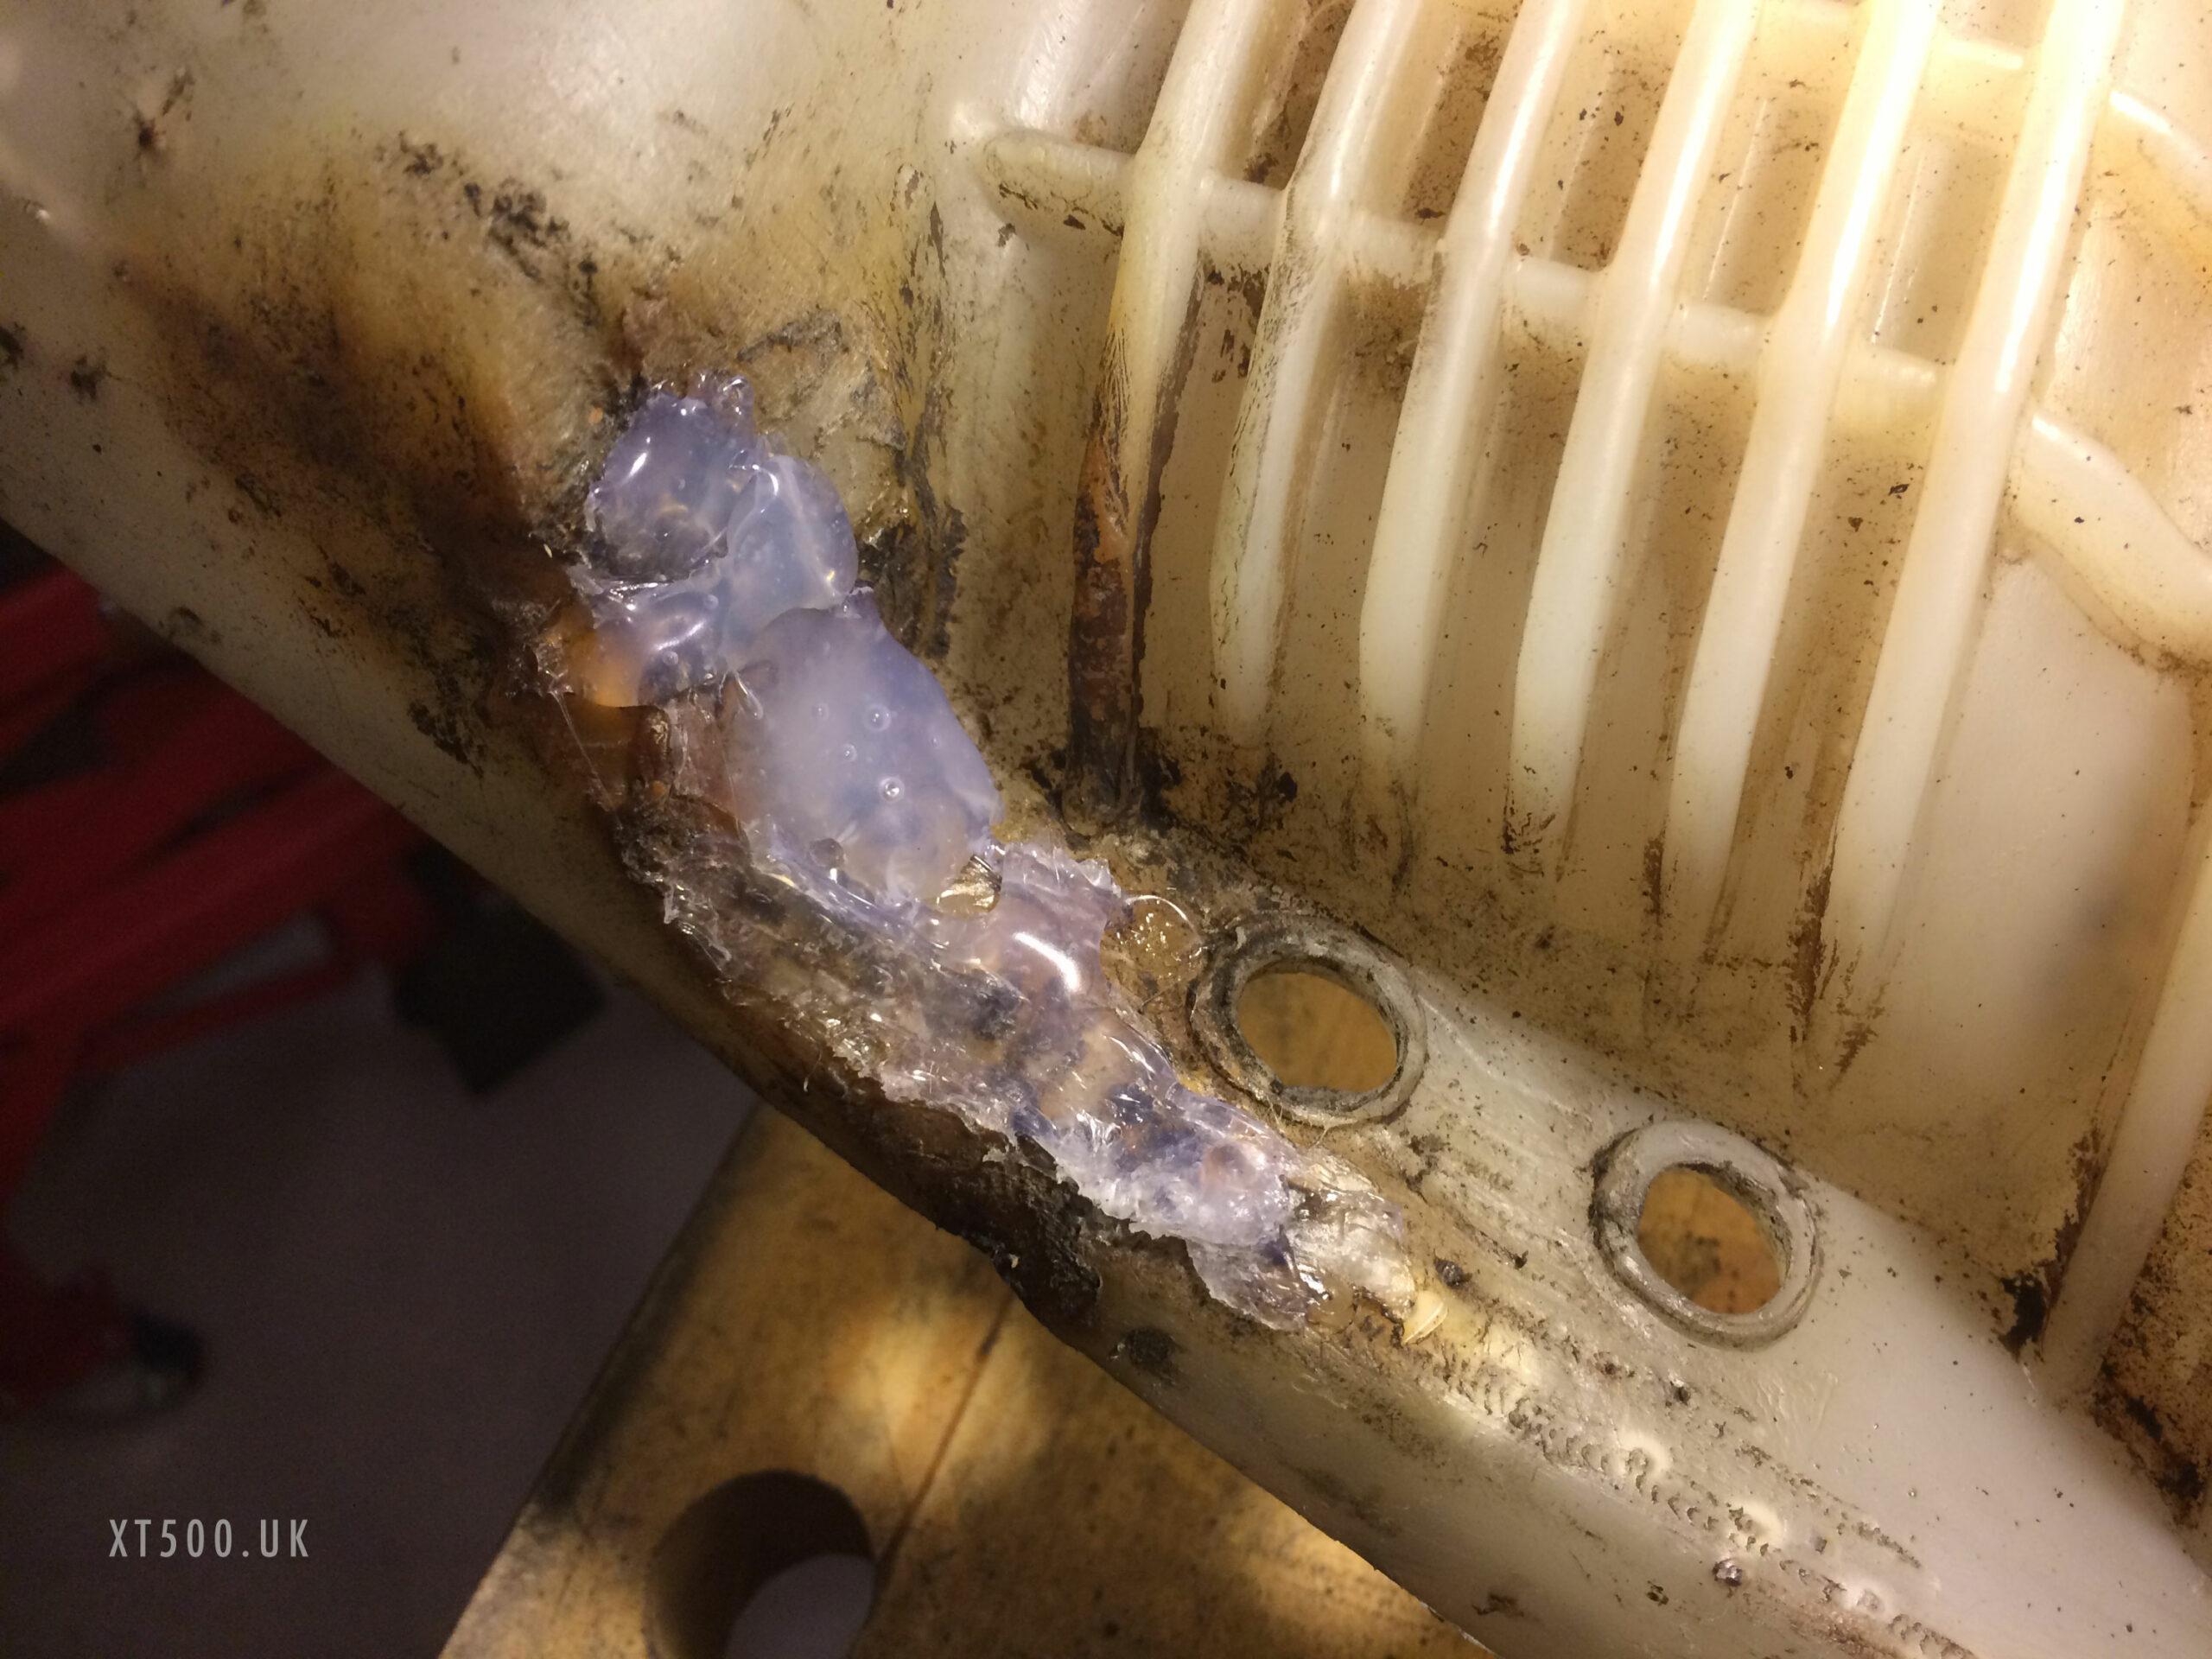
The front bracket wasn’t as rusted as the others, so I was able to simply drill out the snapped bolts, and tap new threads.
To finally seal the new plates, I screwed in two greased bolts from the underside of the pan and filled the space between them with the glue gun. When the glue was almost hardened, I removed the bolts. I will also grease these areas before reassembly.
Replica XT500 Seat Covers
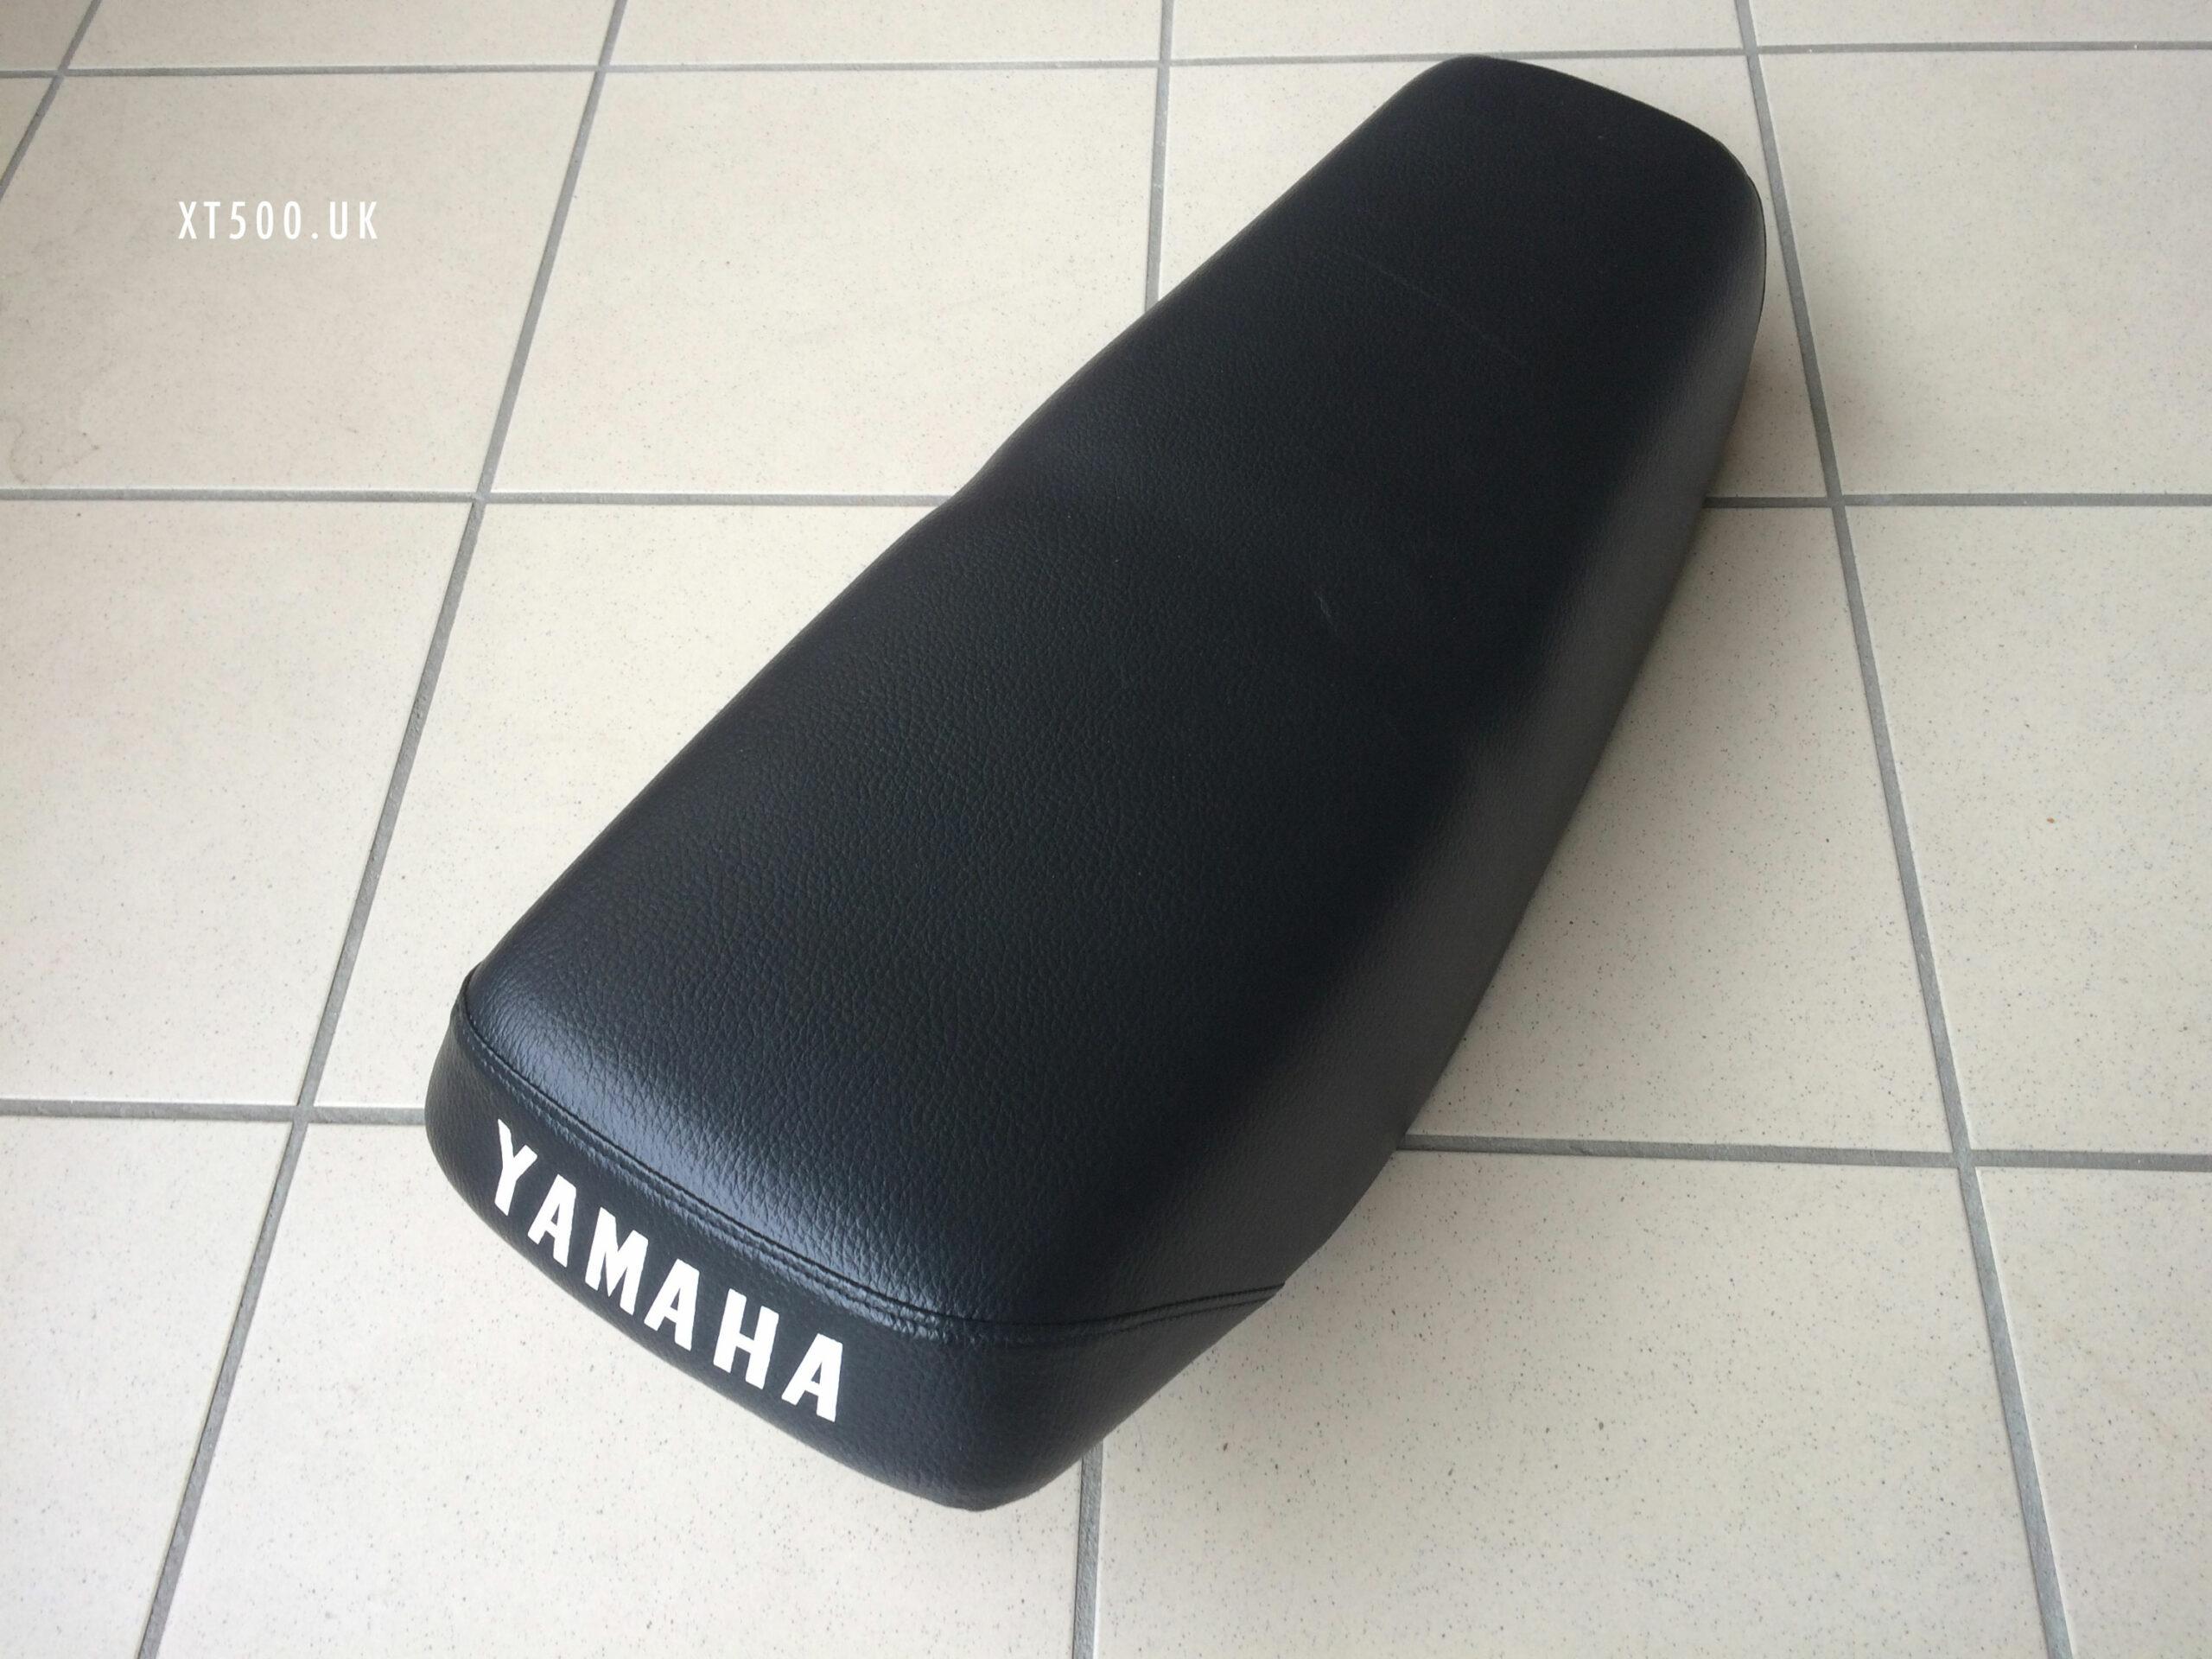
I purchased two seat covers $35 each from Thailand via eBay. From the pics the vinyl looked more like the original than the one used by Kedo. They arrived in 5 days and with free shipping!
https://www.ebay.it/itm/223501737236?ss … 1436.l2649 – this appears to have moved (update 2024)
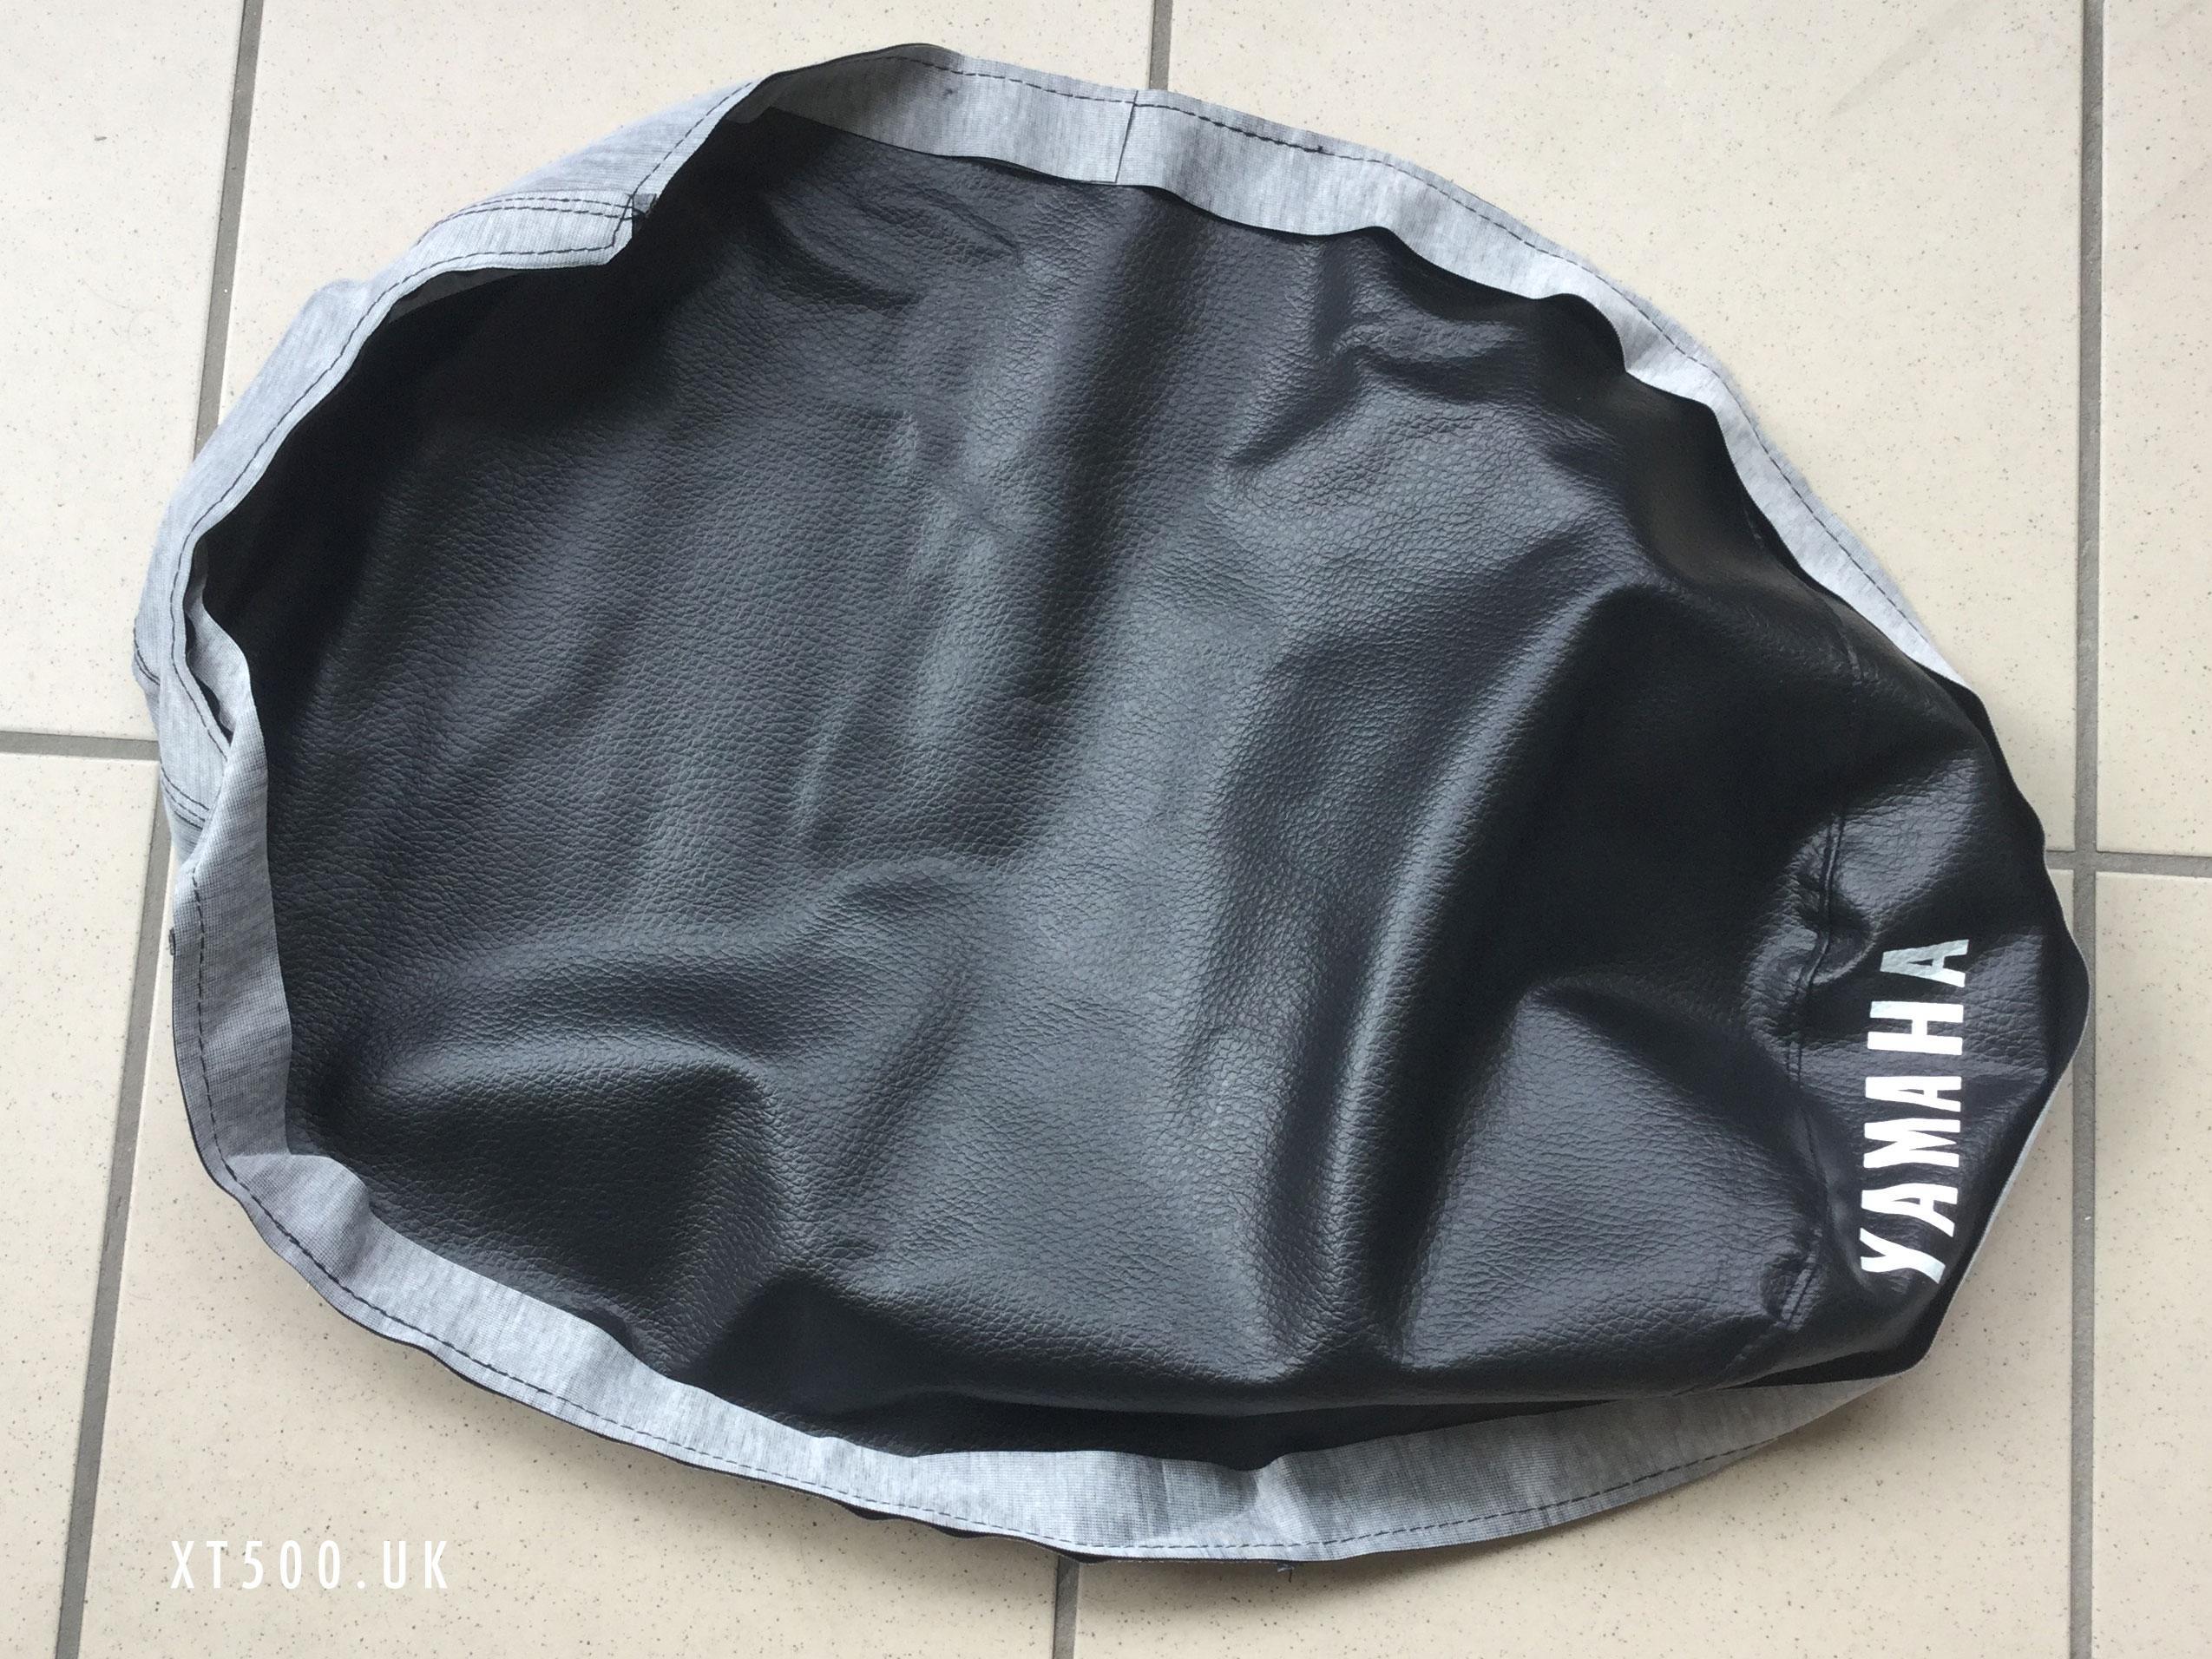
I thought that one of the most satisfying parts of this project would be stapling the seat cover. I was wrong, what a pain. It’s nice to see the seat finished, but I think for every staple that was put in correctly, there were three that weren’t. It was easier by warming the base beforehand, but I was aware that it could melt if too hot. The problem is that it’s not easy to get the stapler in the right place because of the shape of the seat pan.
I got there in the end 😀 It now looks like an XT500 seat again.
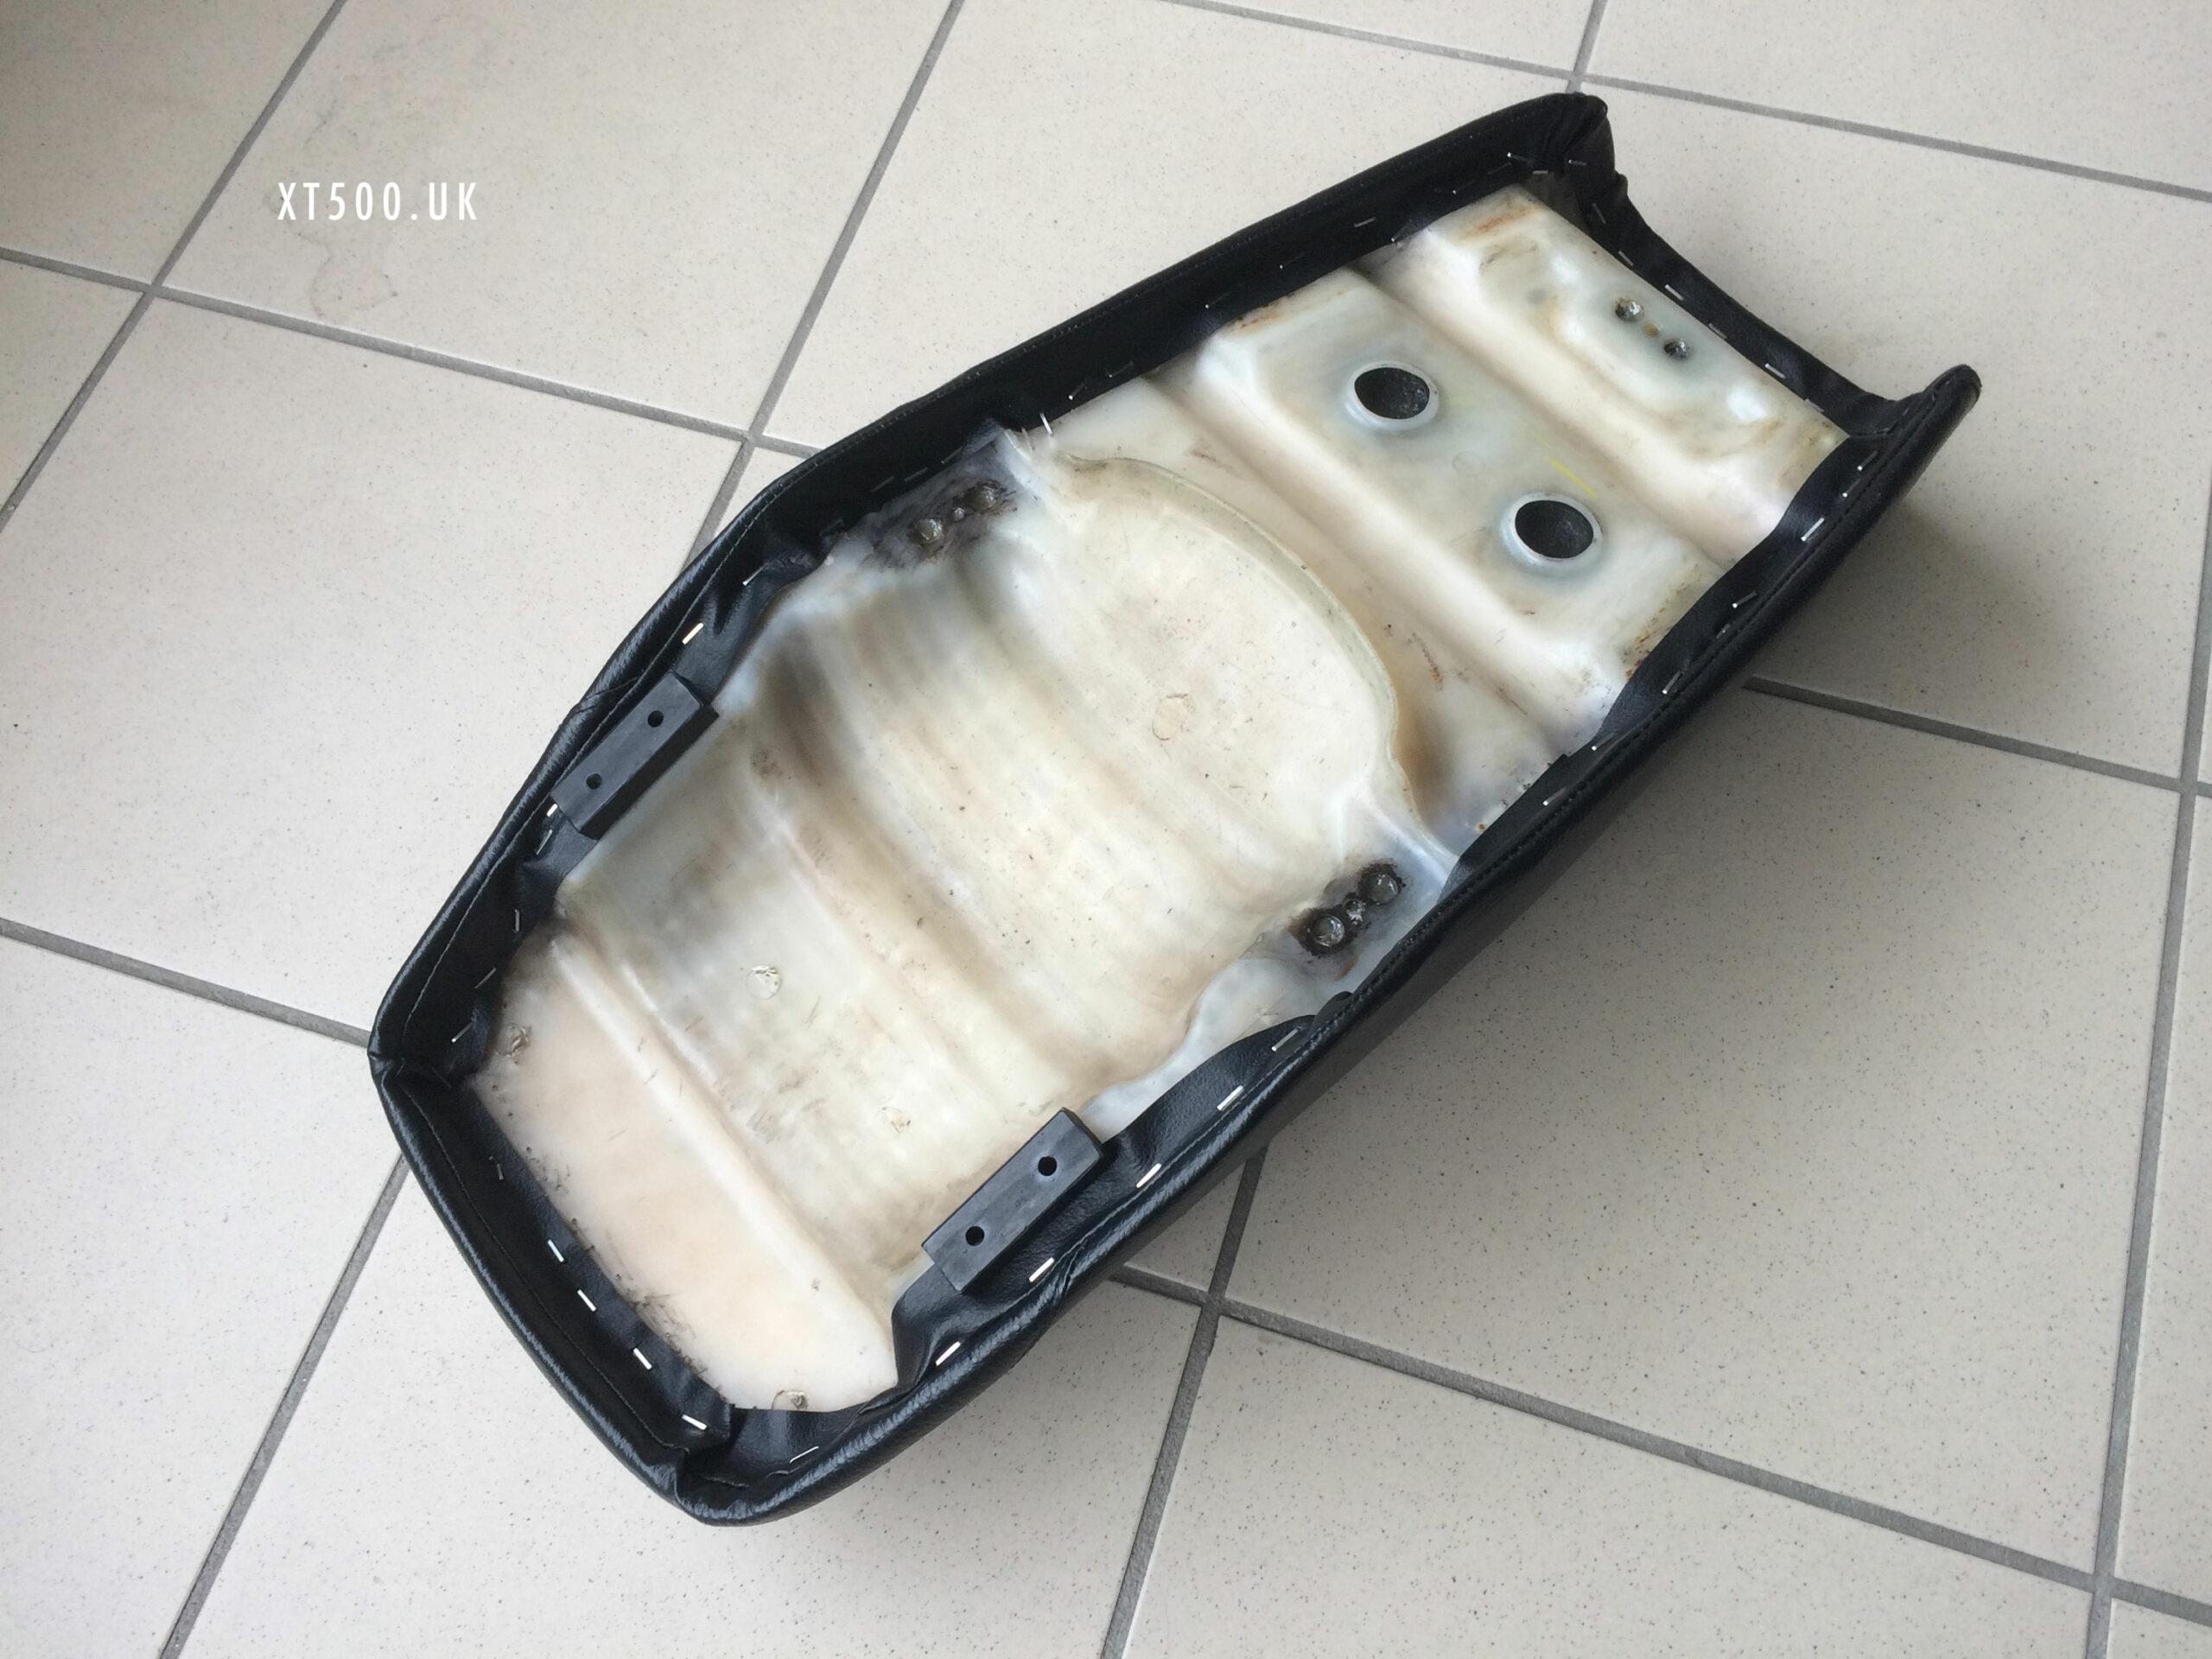
If you are going to do this get a professional staple gun, preferably that runs off an air compressor and make sure it has a long foot which can protrude into the awkward areas.
I used a Tackwise stapler with 8mm stainless steel 140 staples, which actually went in easier than the standard steel ones.
Seat Strap
I only had one seat strap worth saving but it needed the rusted and flaking brackets removing to be chromed.
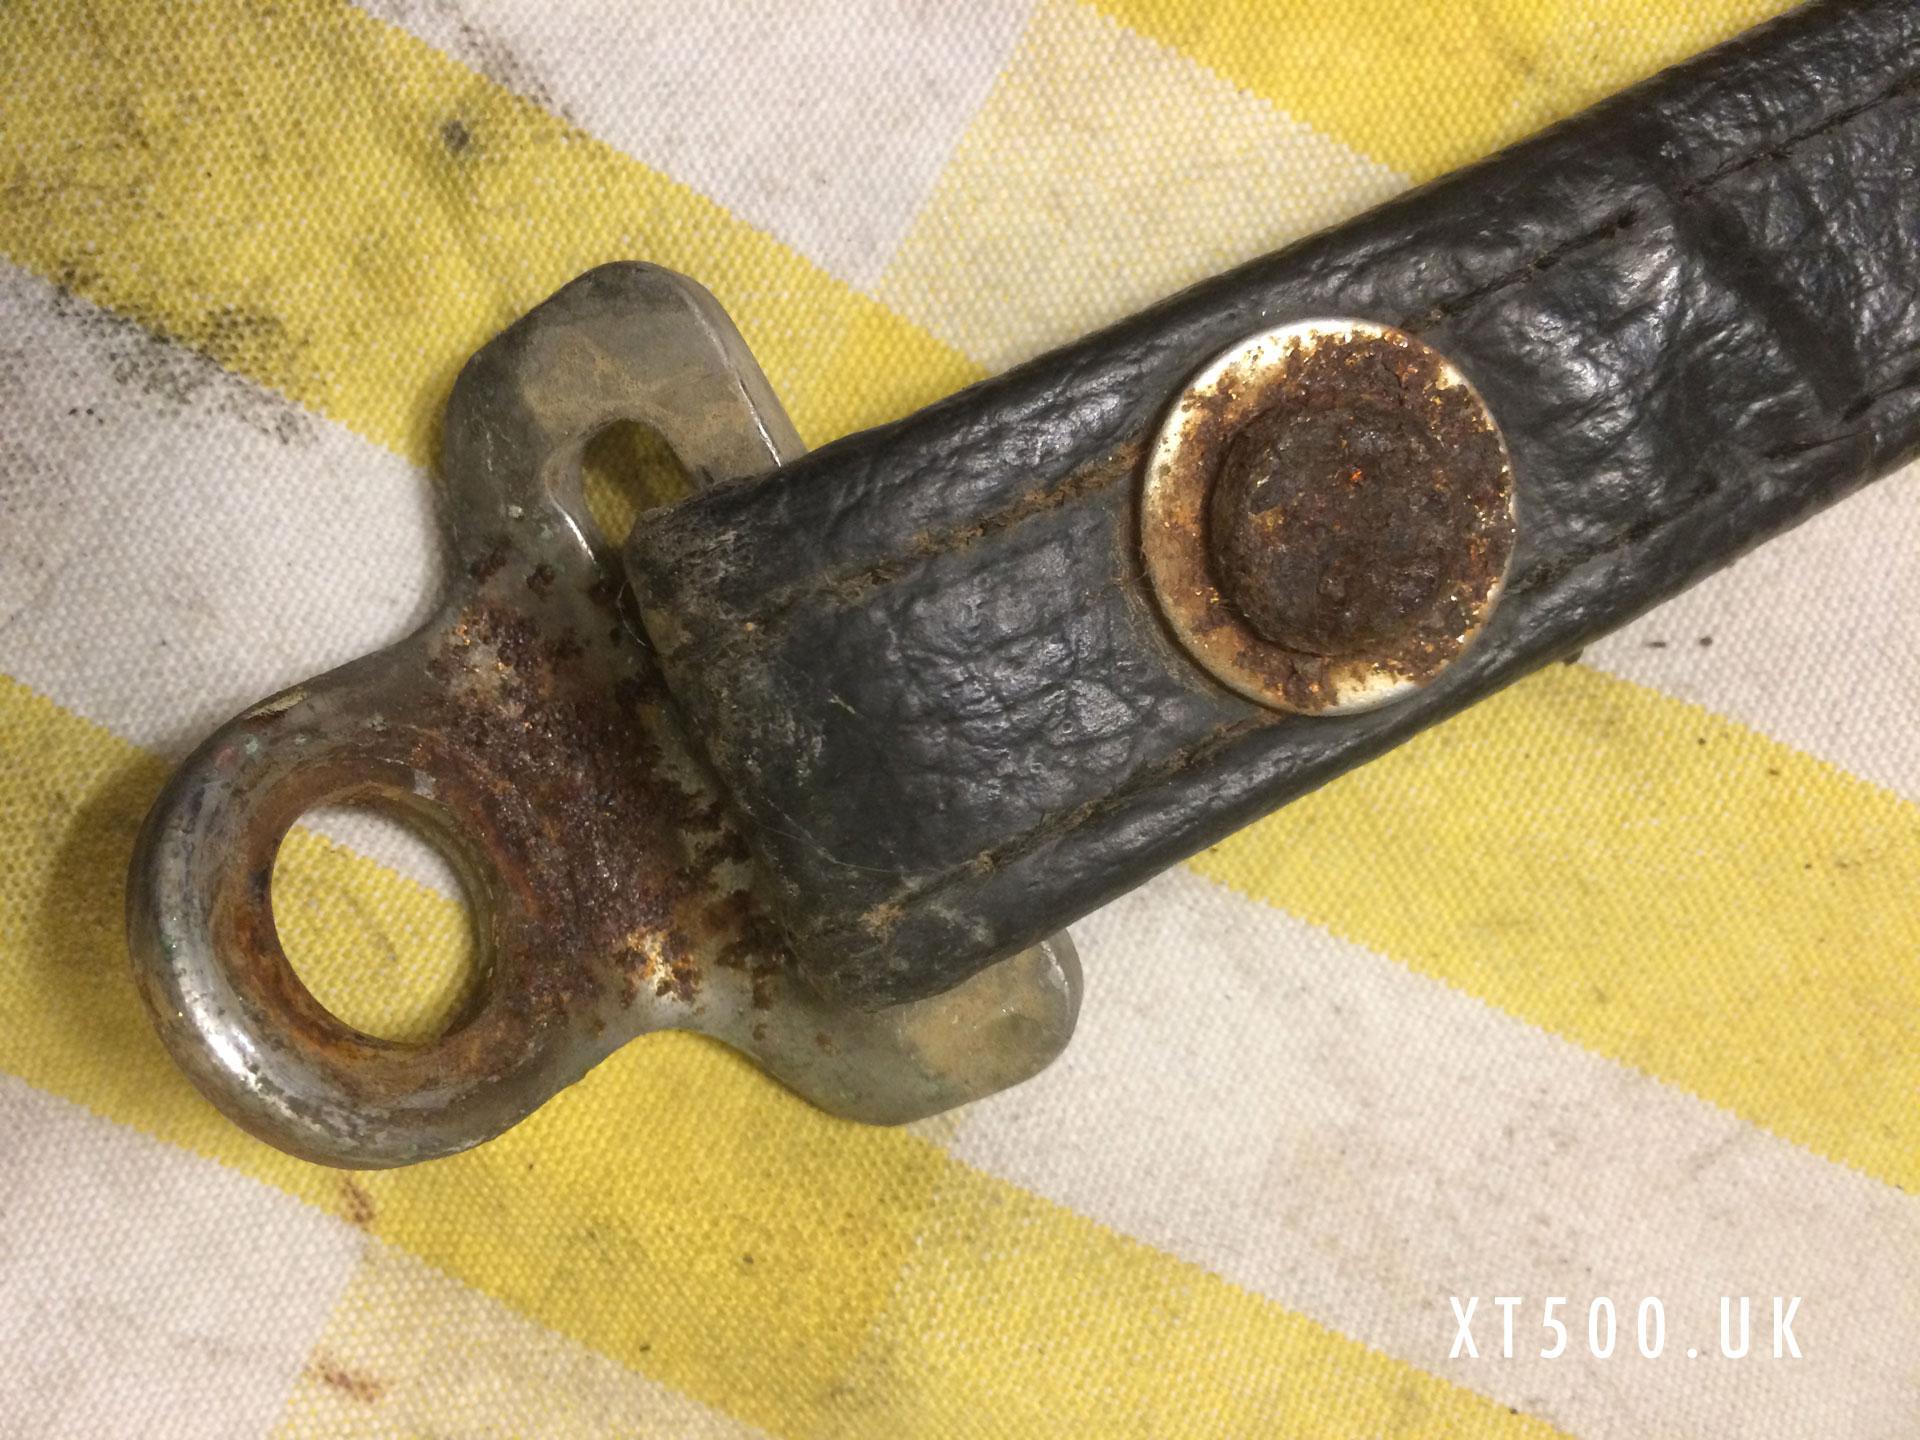
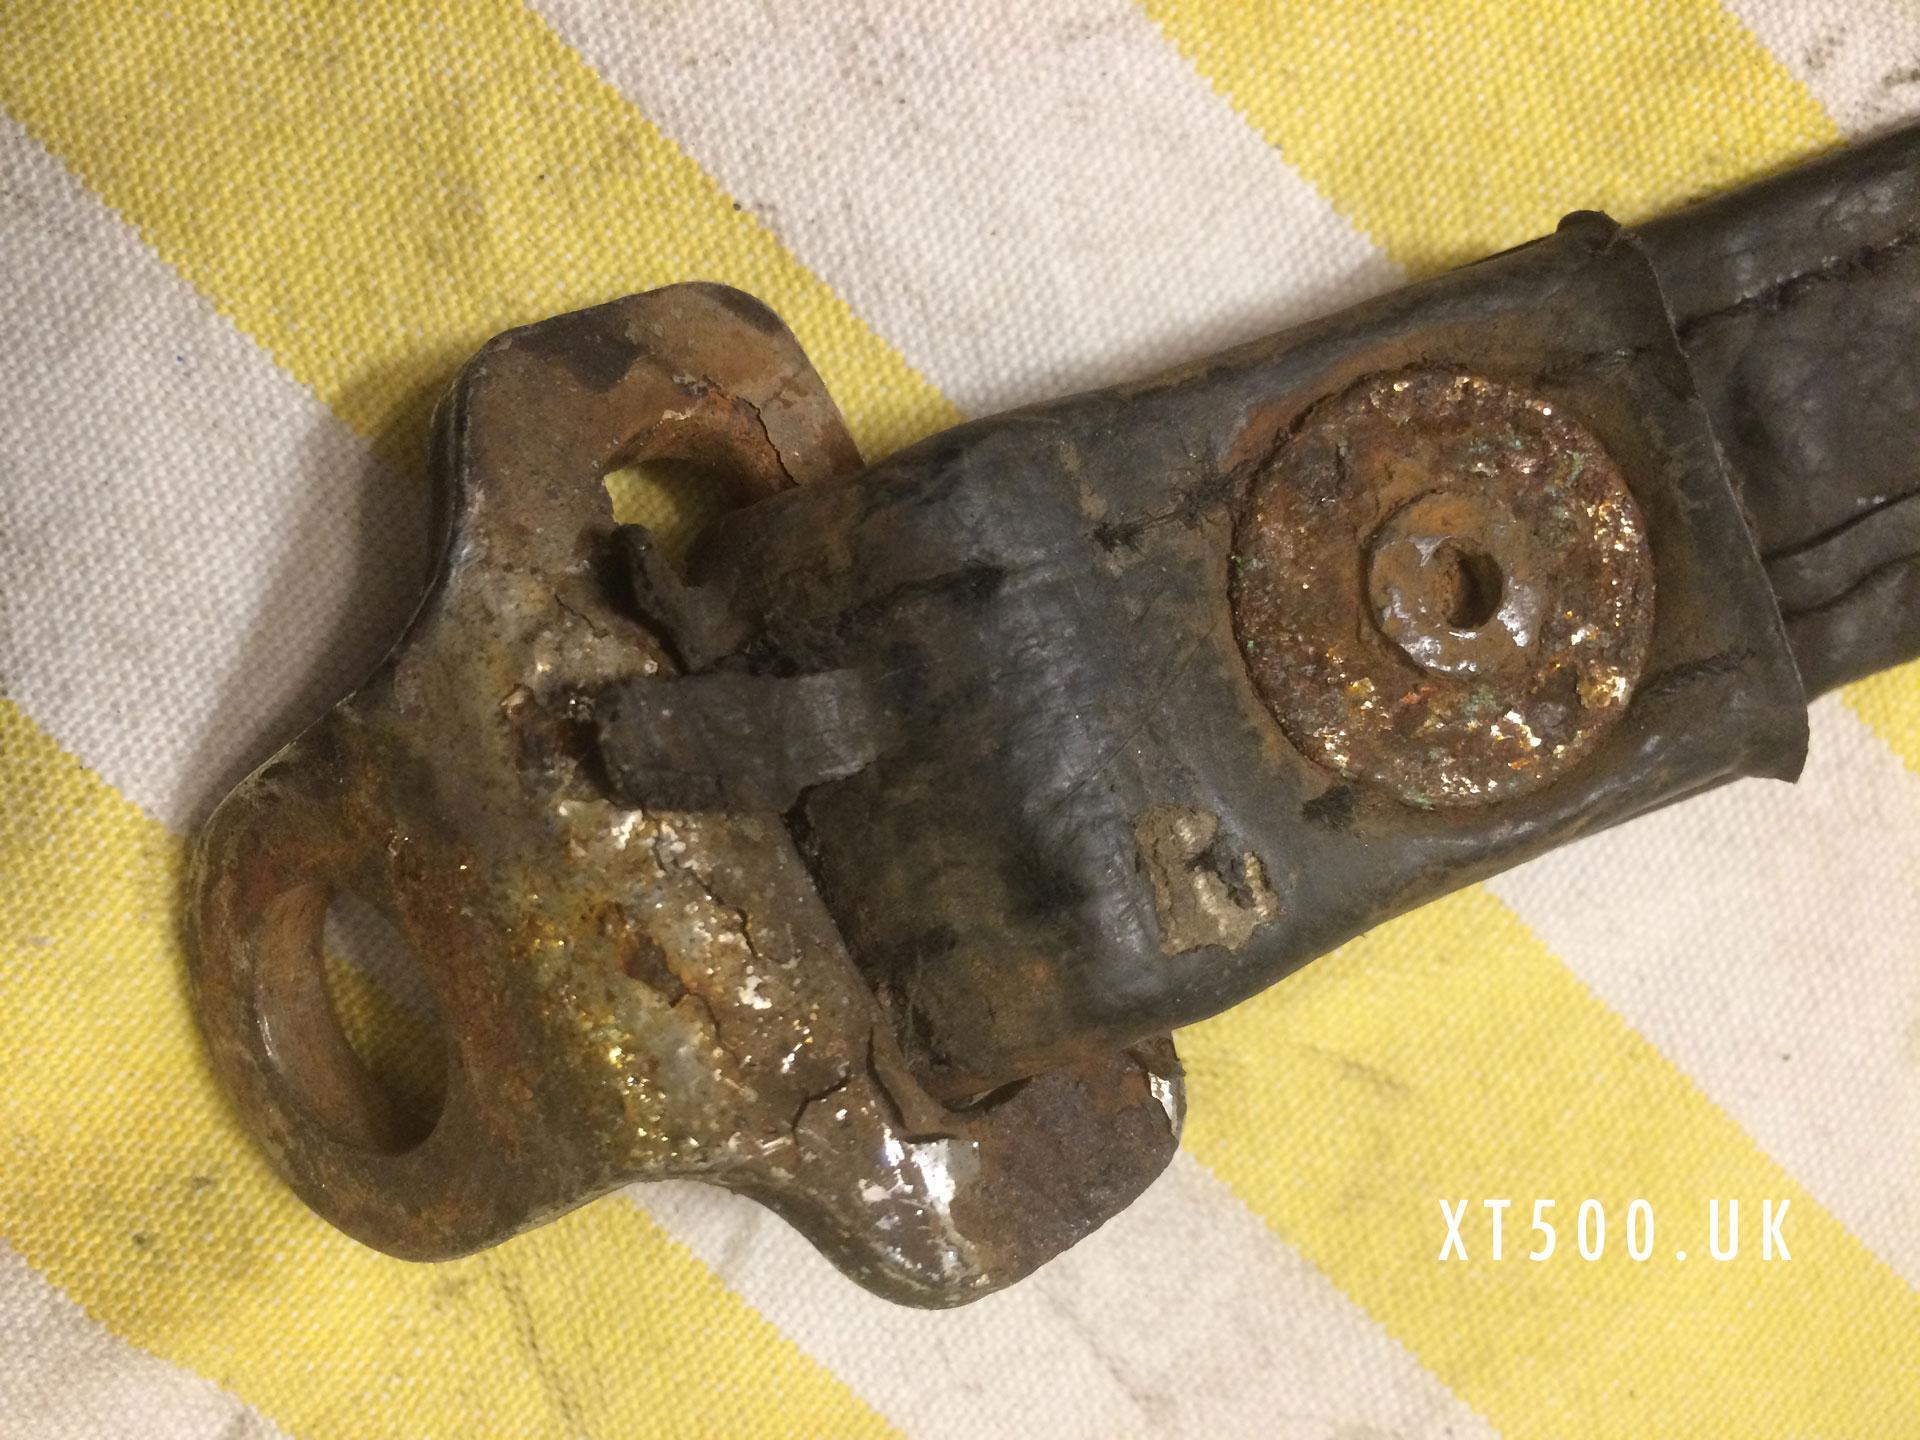
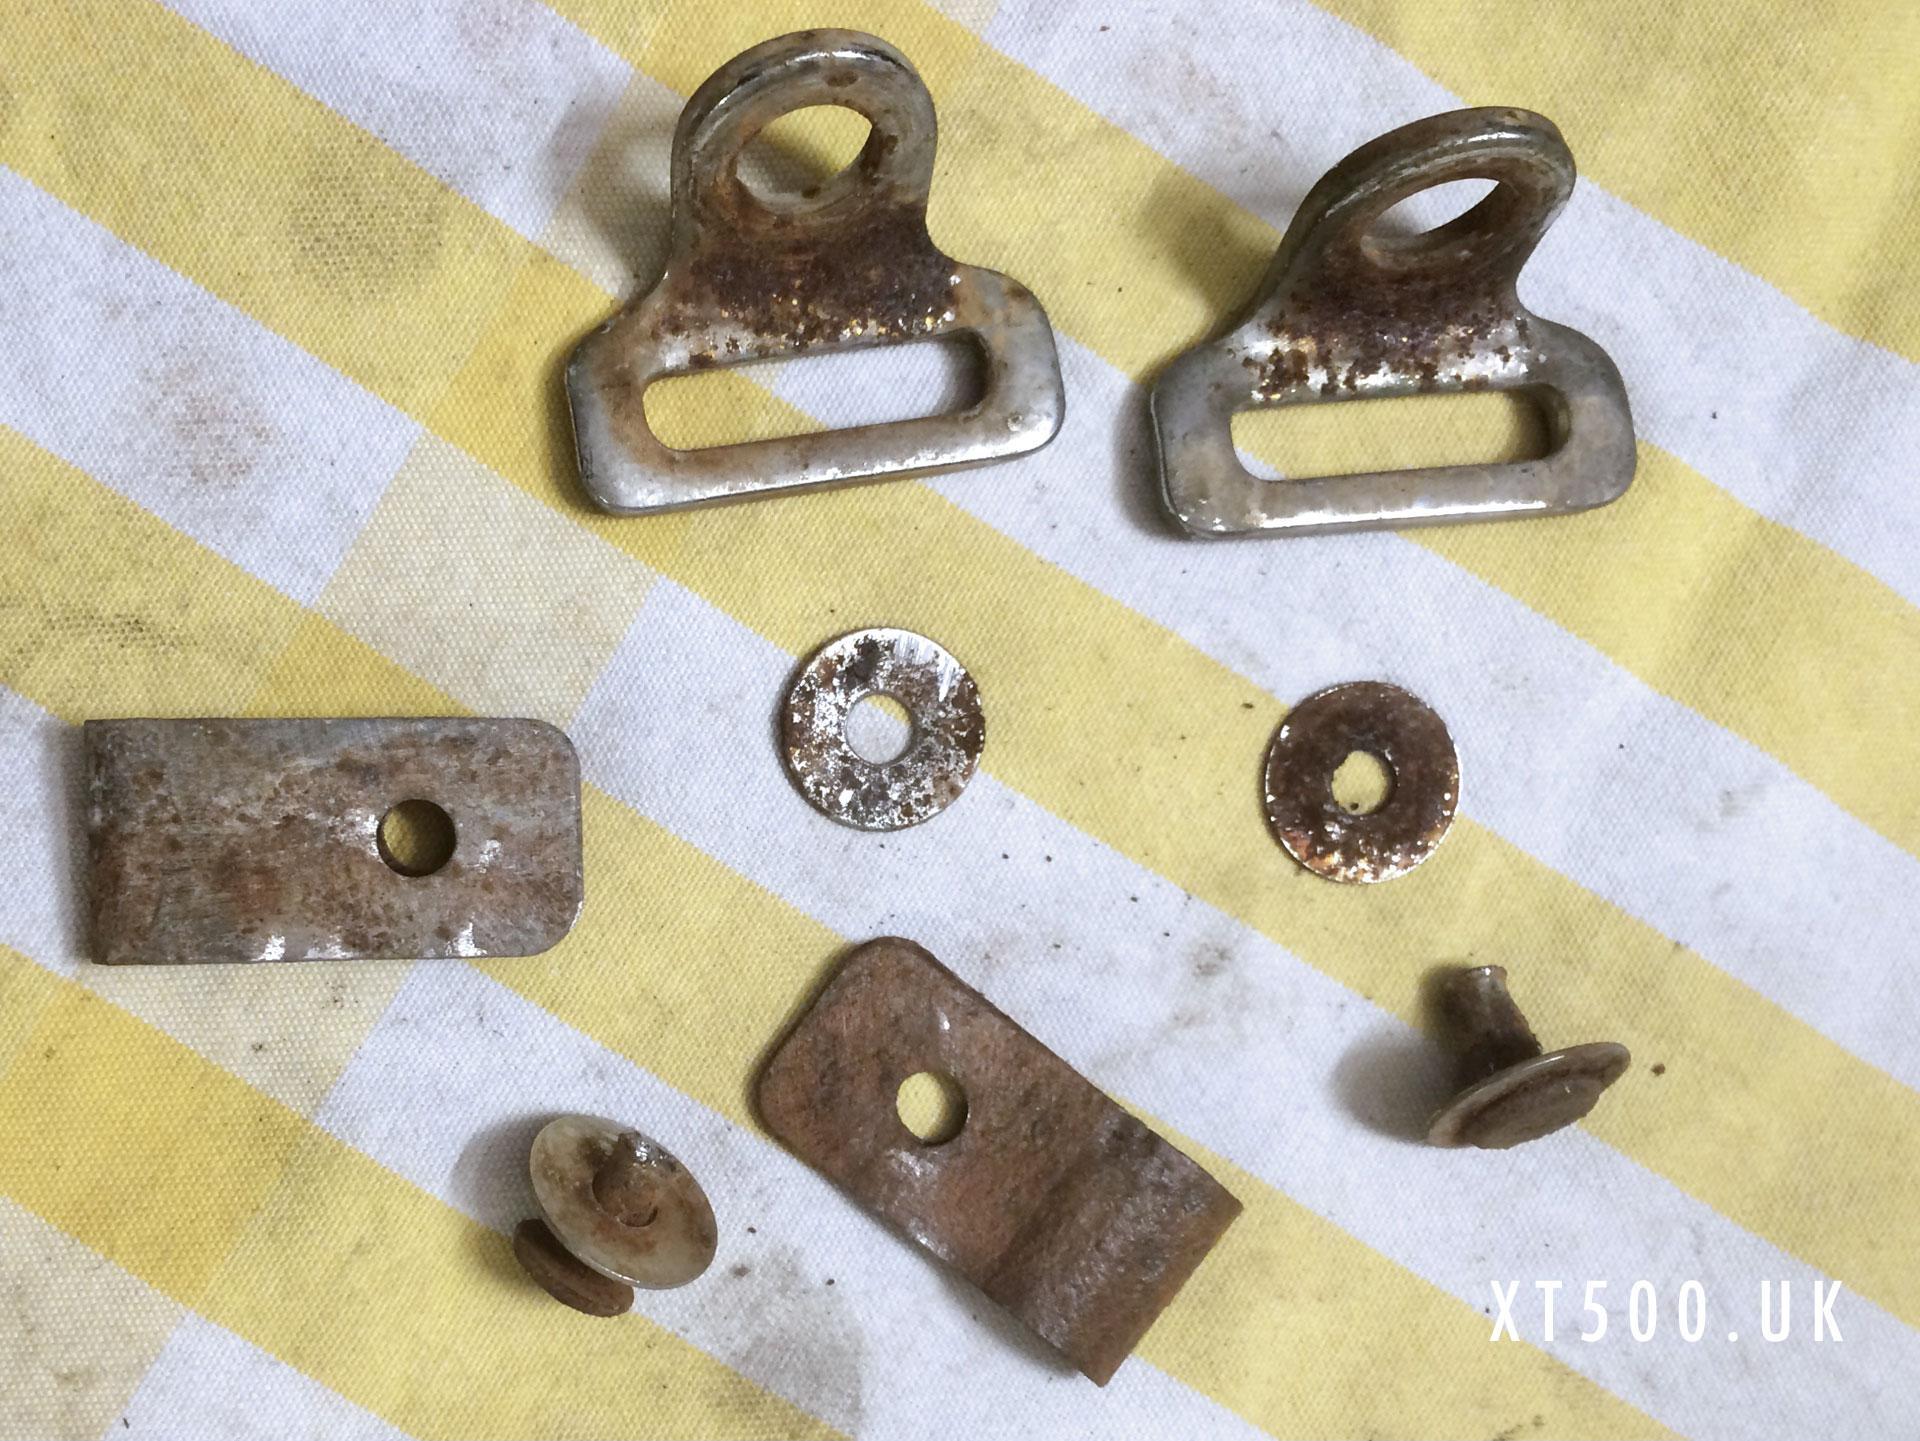
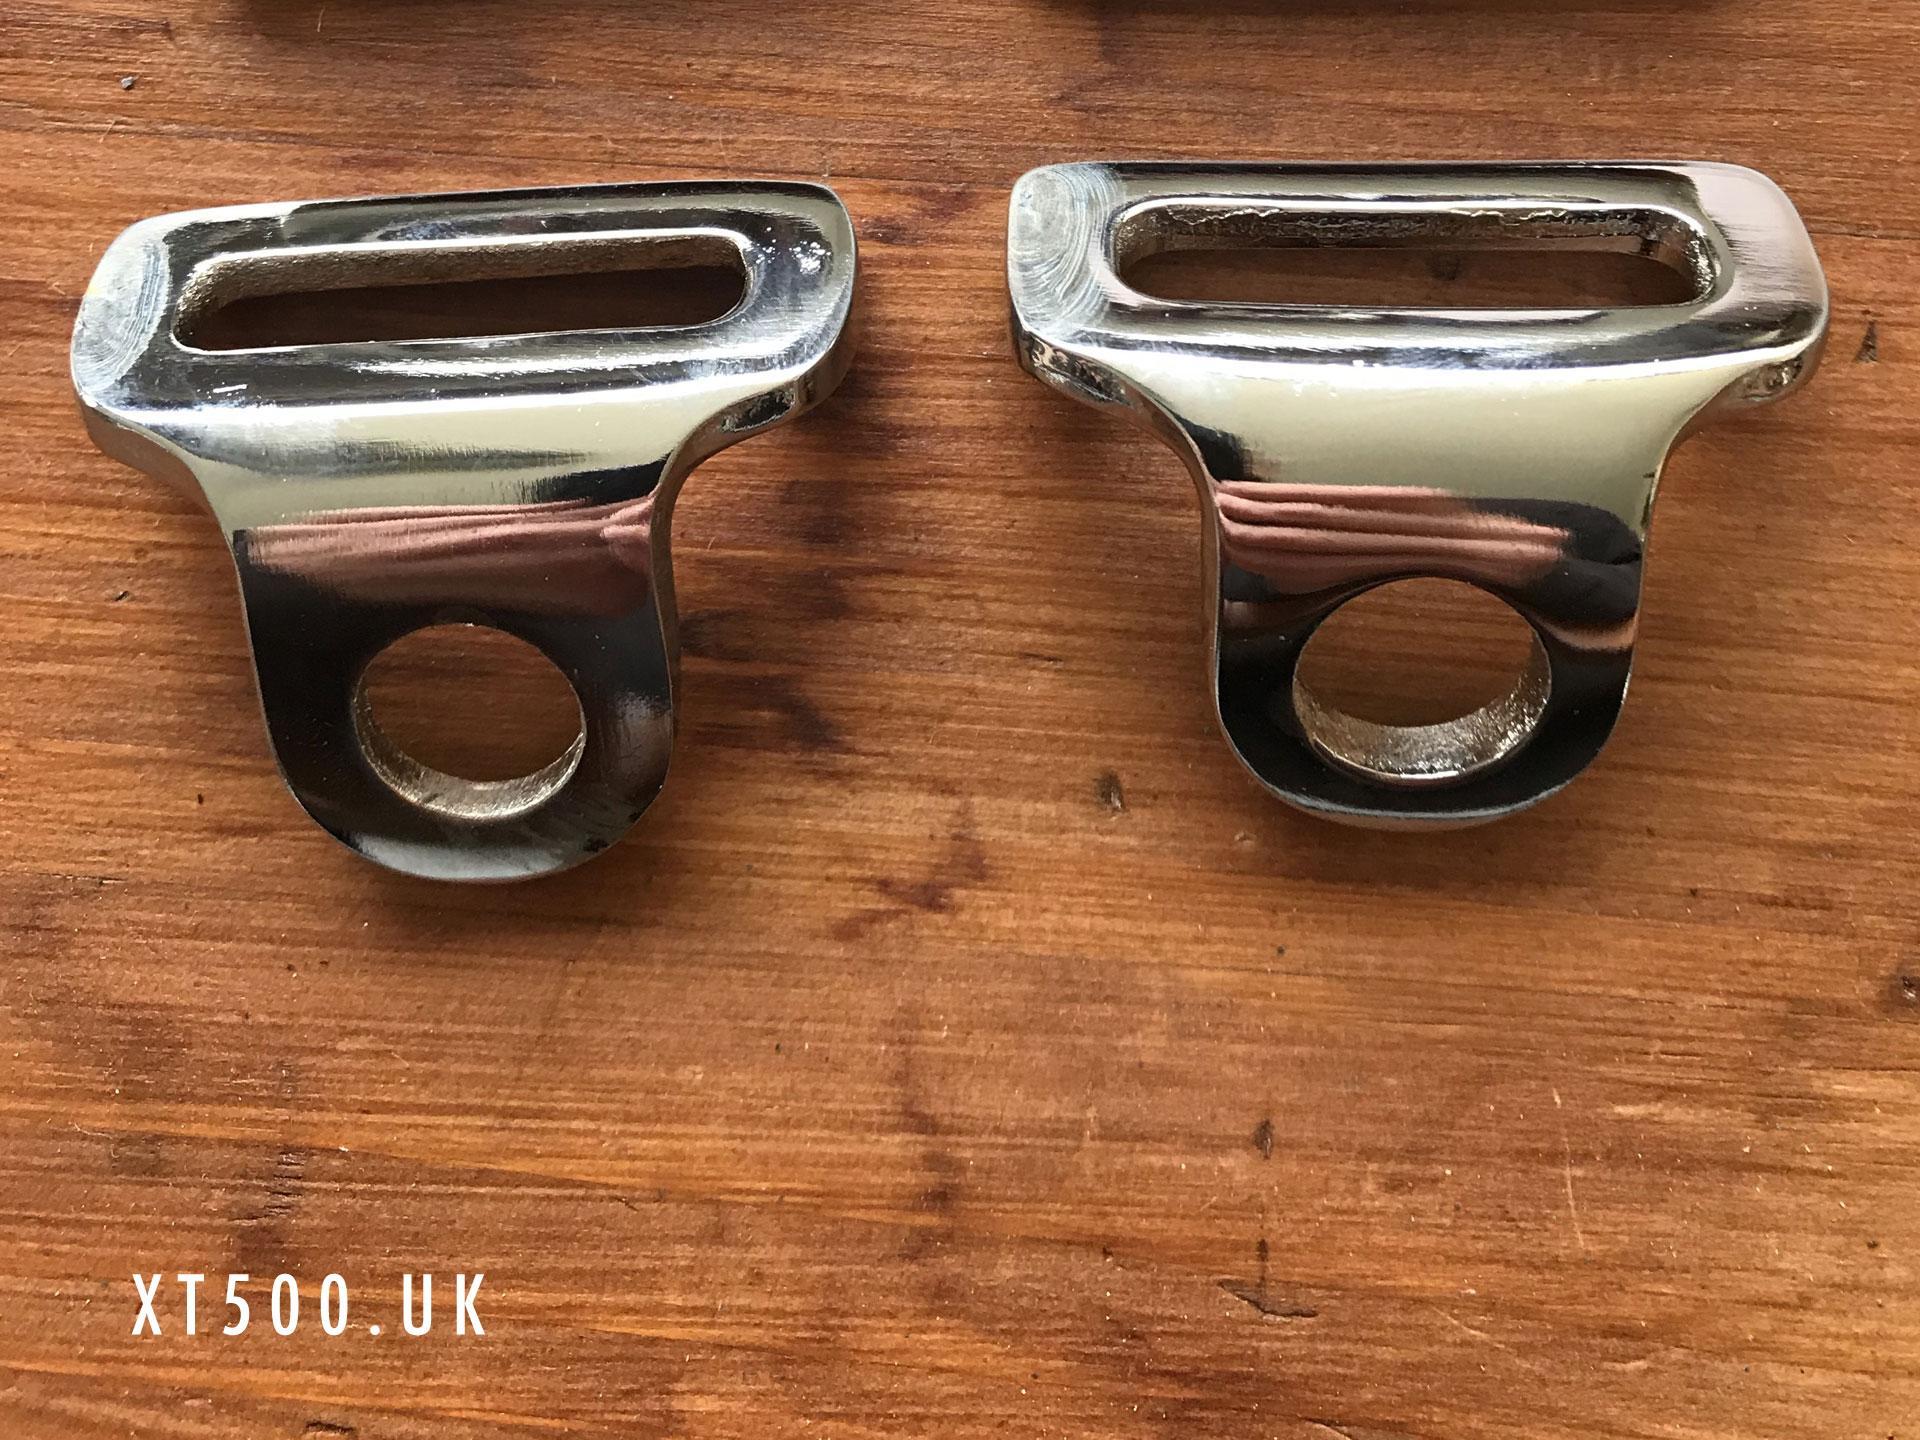
They came up really nice but as yet I haven’t been able to source the right kind of fasteners to fix them back on the strap. Someone came to my aid and donated one they didn’t need, along with some other useful bits and pieces… Thanks Gary!!
Shopping list
-
- Staple gun and stainless steel staples


