The swing arm was one of the parts I was sure would not need blasting and powder coating. I’d had it done 20+ years before and it still looked good. However, it transpired that it was not the correct one for 1980. This was realised when the new chain guard arrived and it had one more mounting point on it than the swing arm. Again, this was confirmed by using the XT500 TT500 Forum.
The swing arm you see in the above photo is from 1976. It used the shorter chain guard as did the ’77 version, but in addition it does not have a mount for a drive chain tensioner. I did have a chain tensioner attached but it was using an after market bracket which connected it to the rear bottom engine mount. I have since learned that this swing arm is not Australian as from 1976 they always used the longer plastic chain guard. I must have changed it with one in the UK at some point.
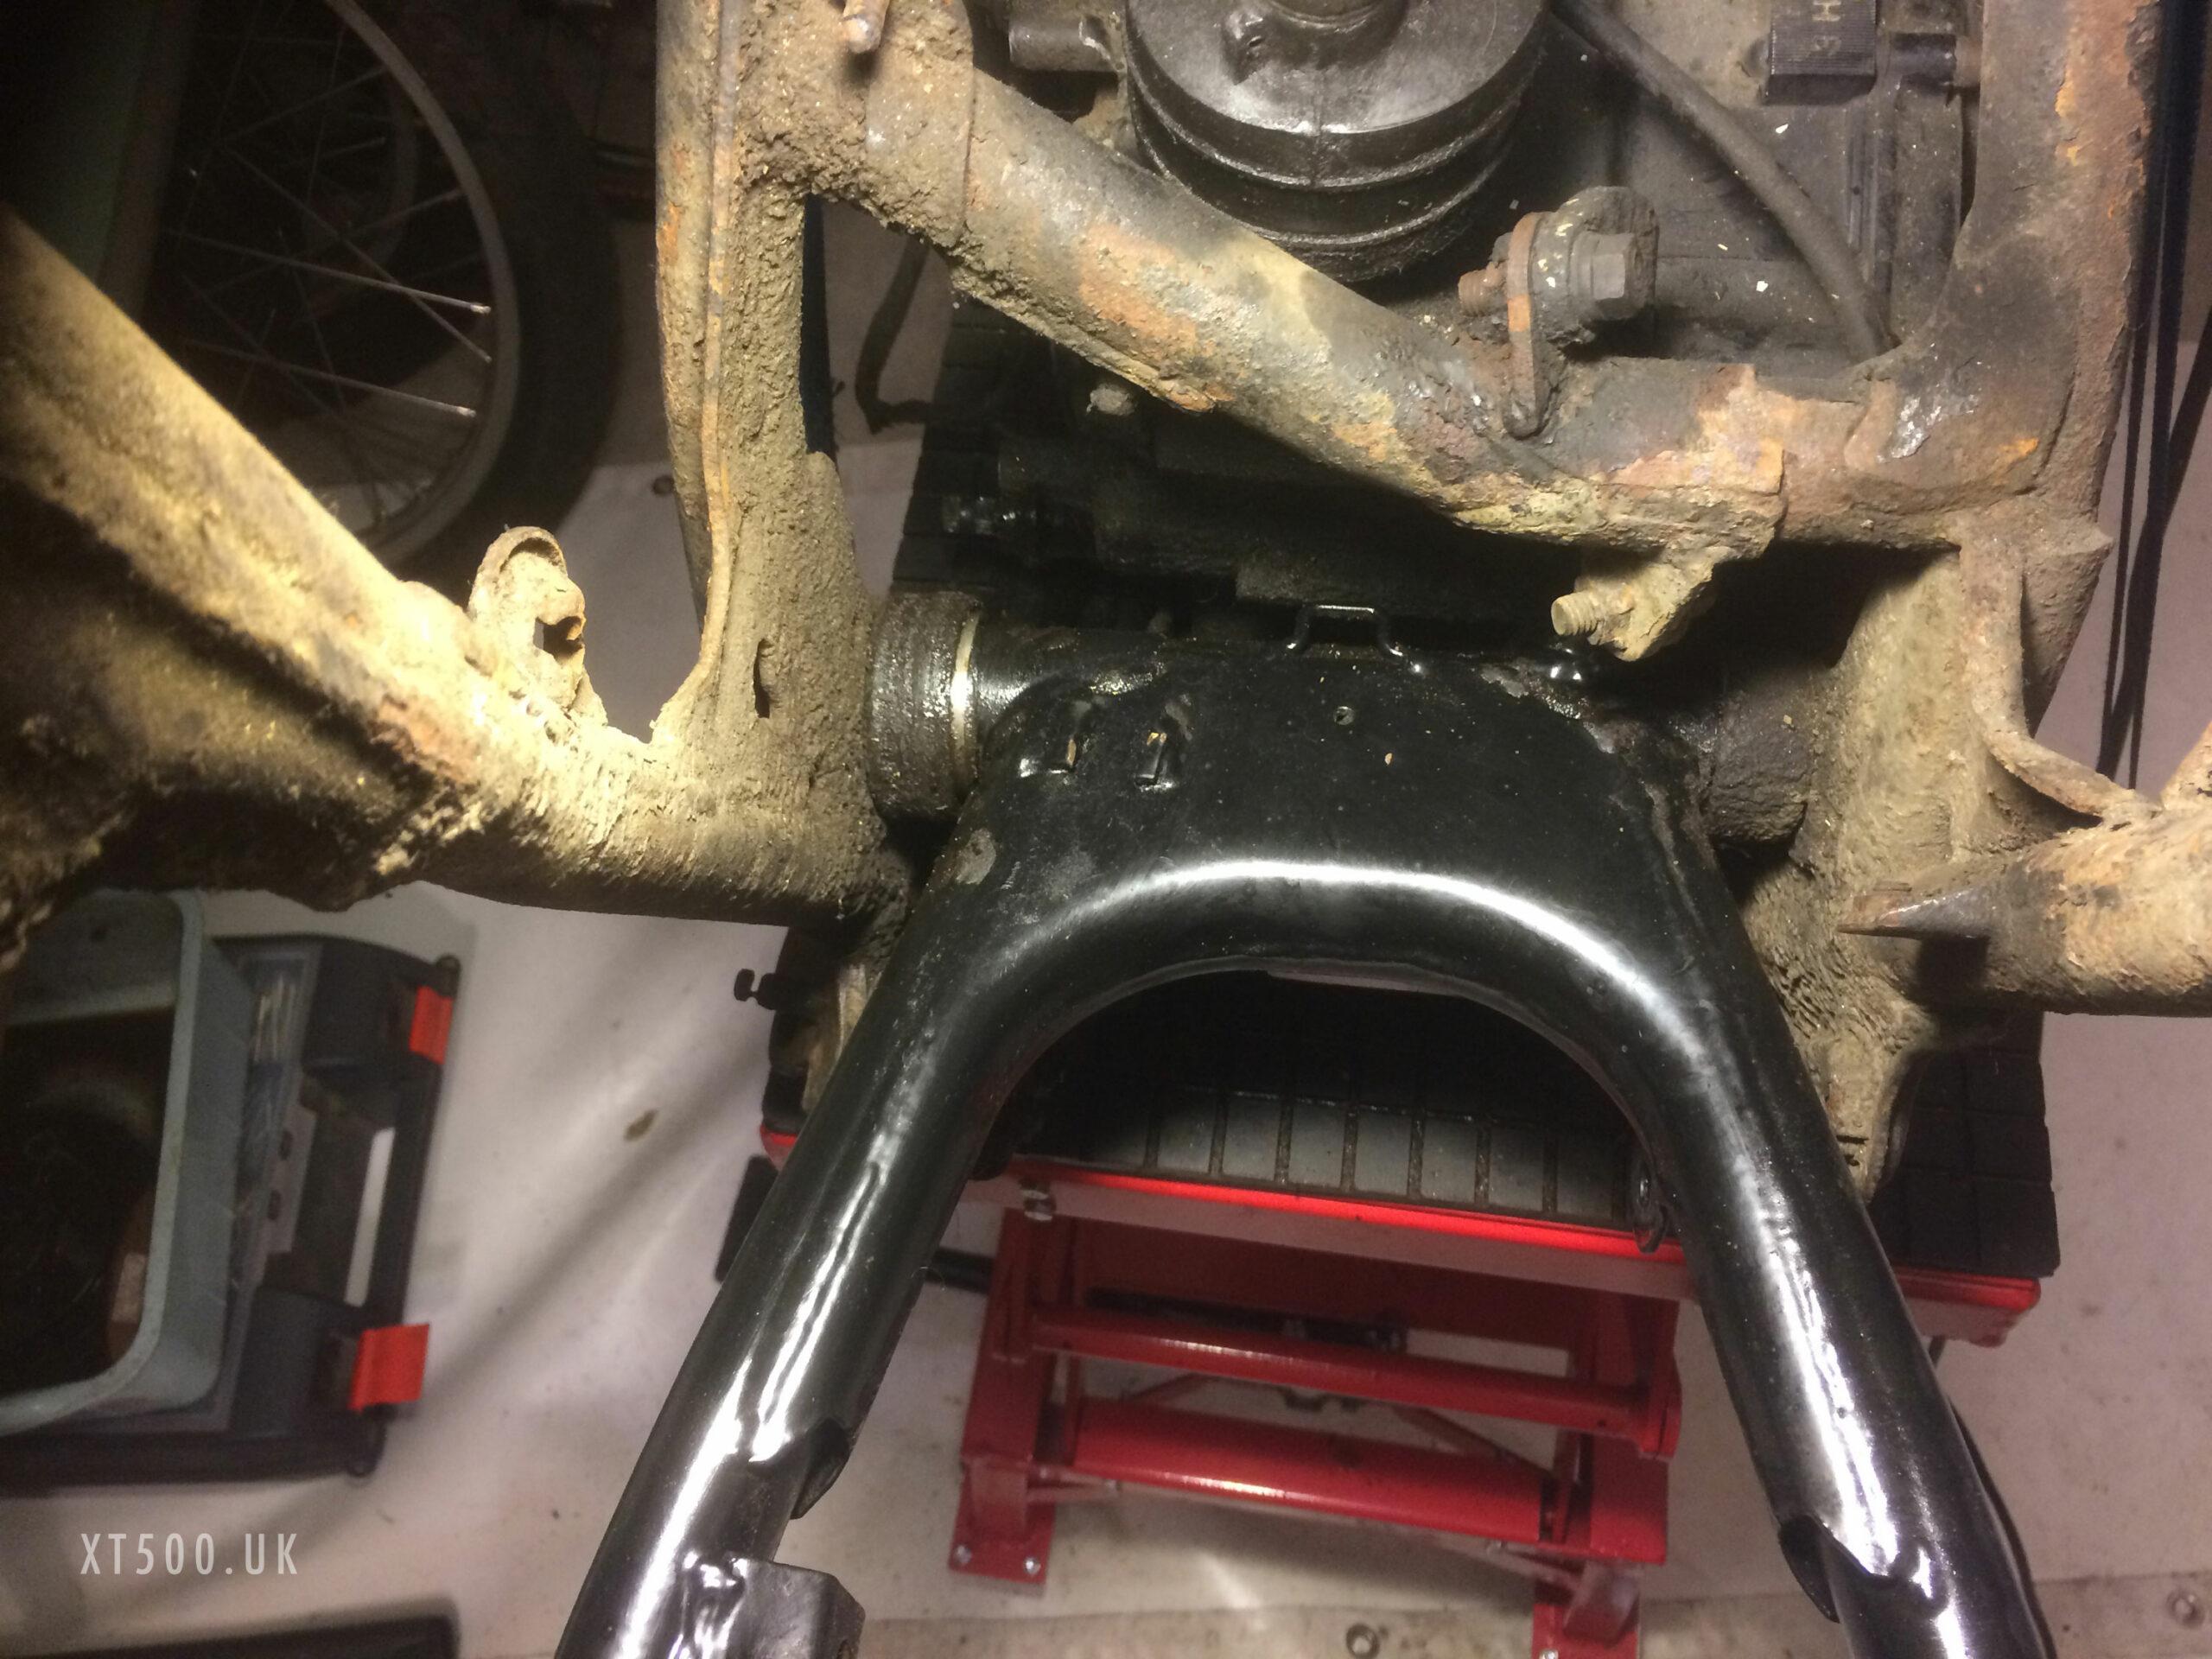
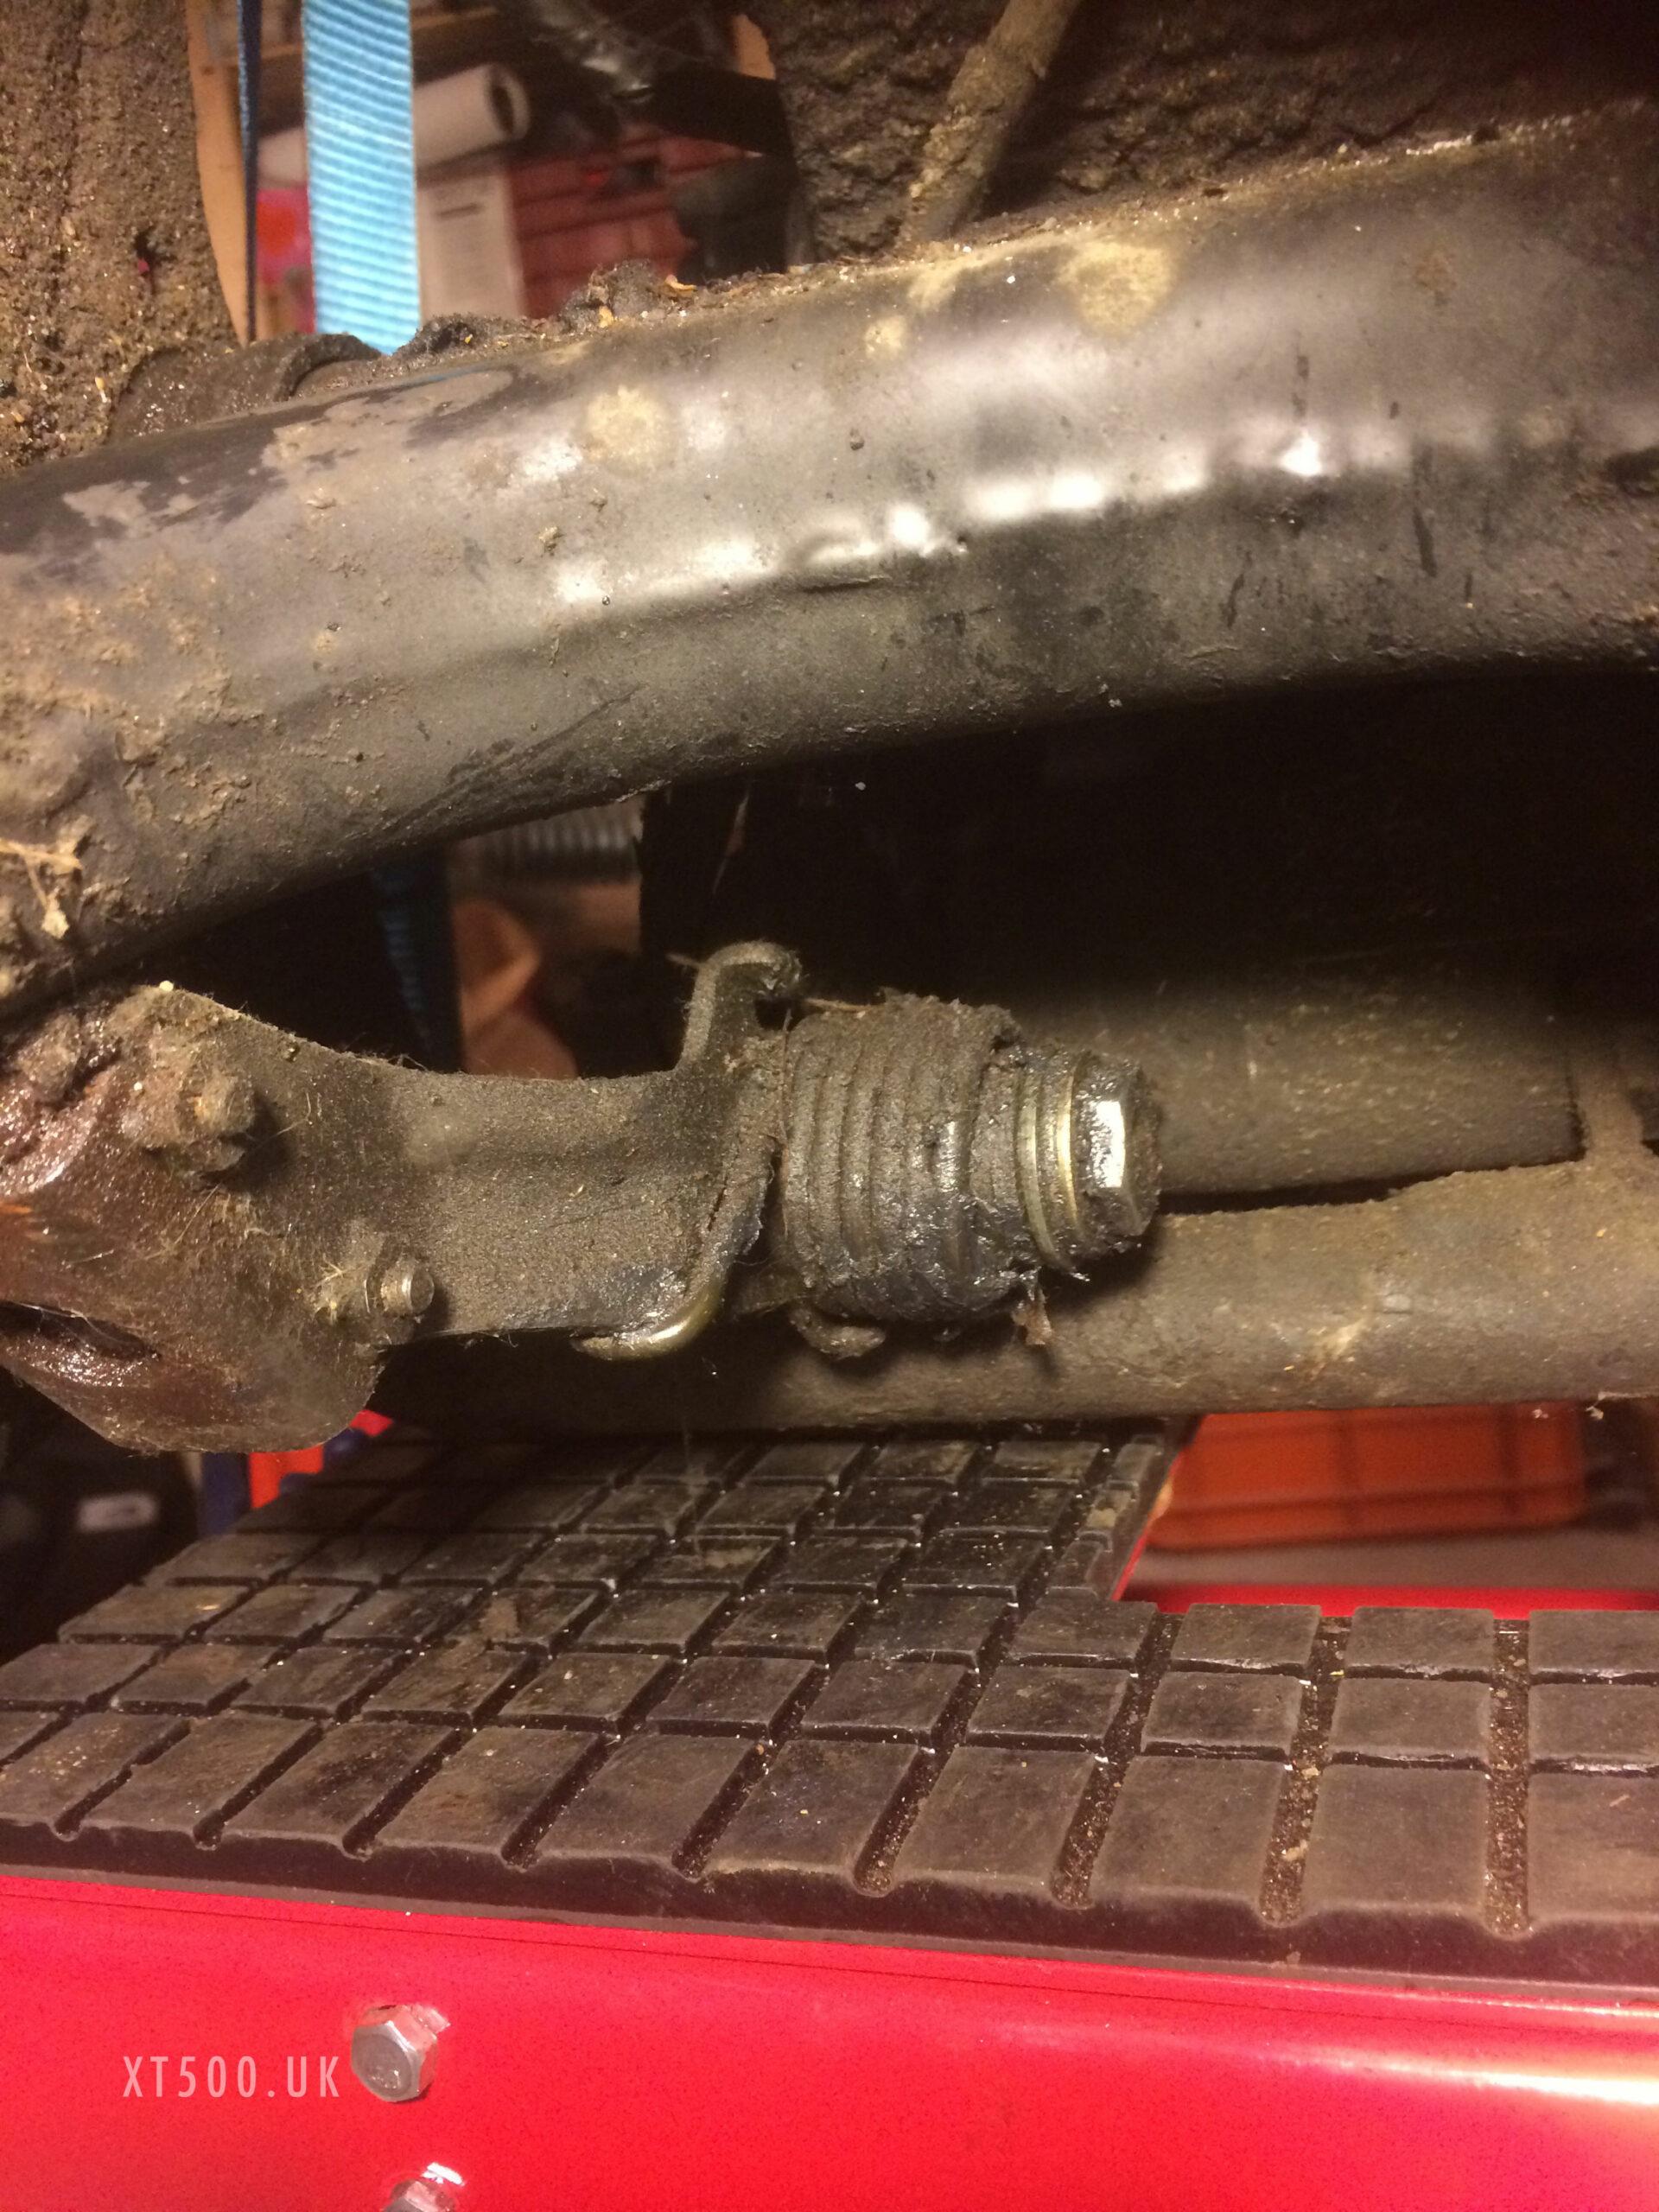
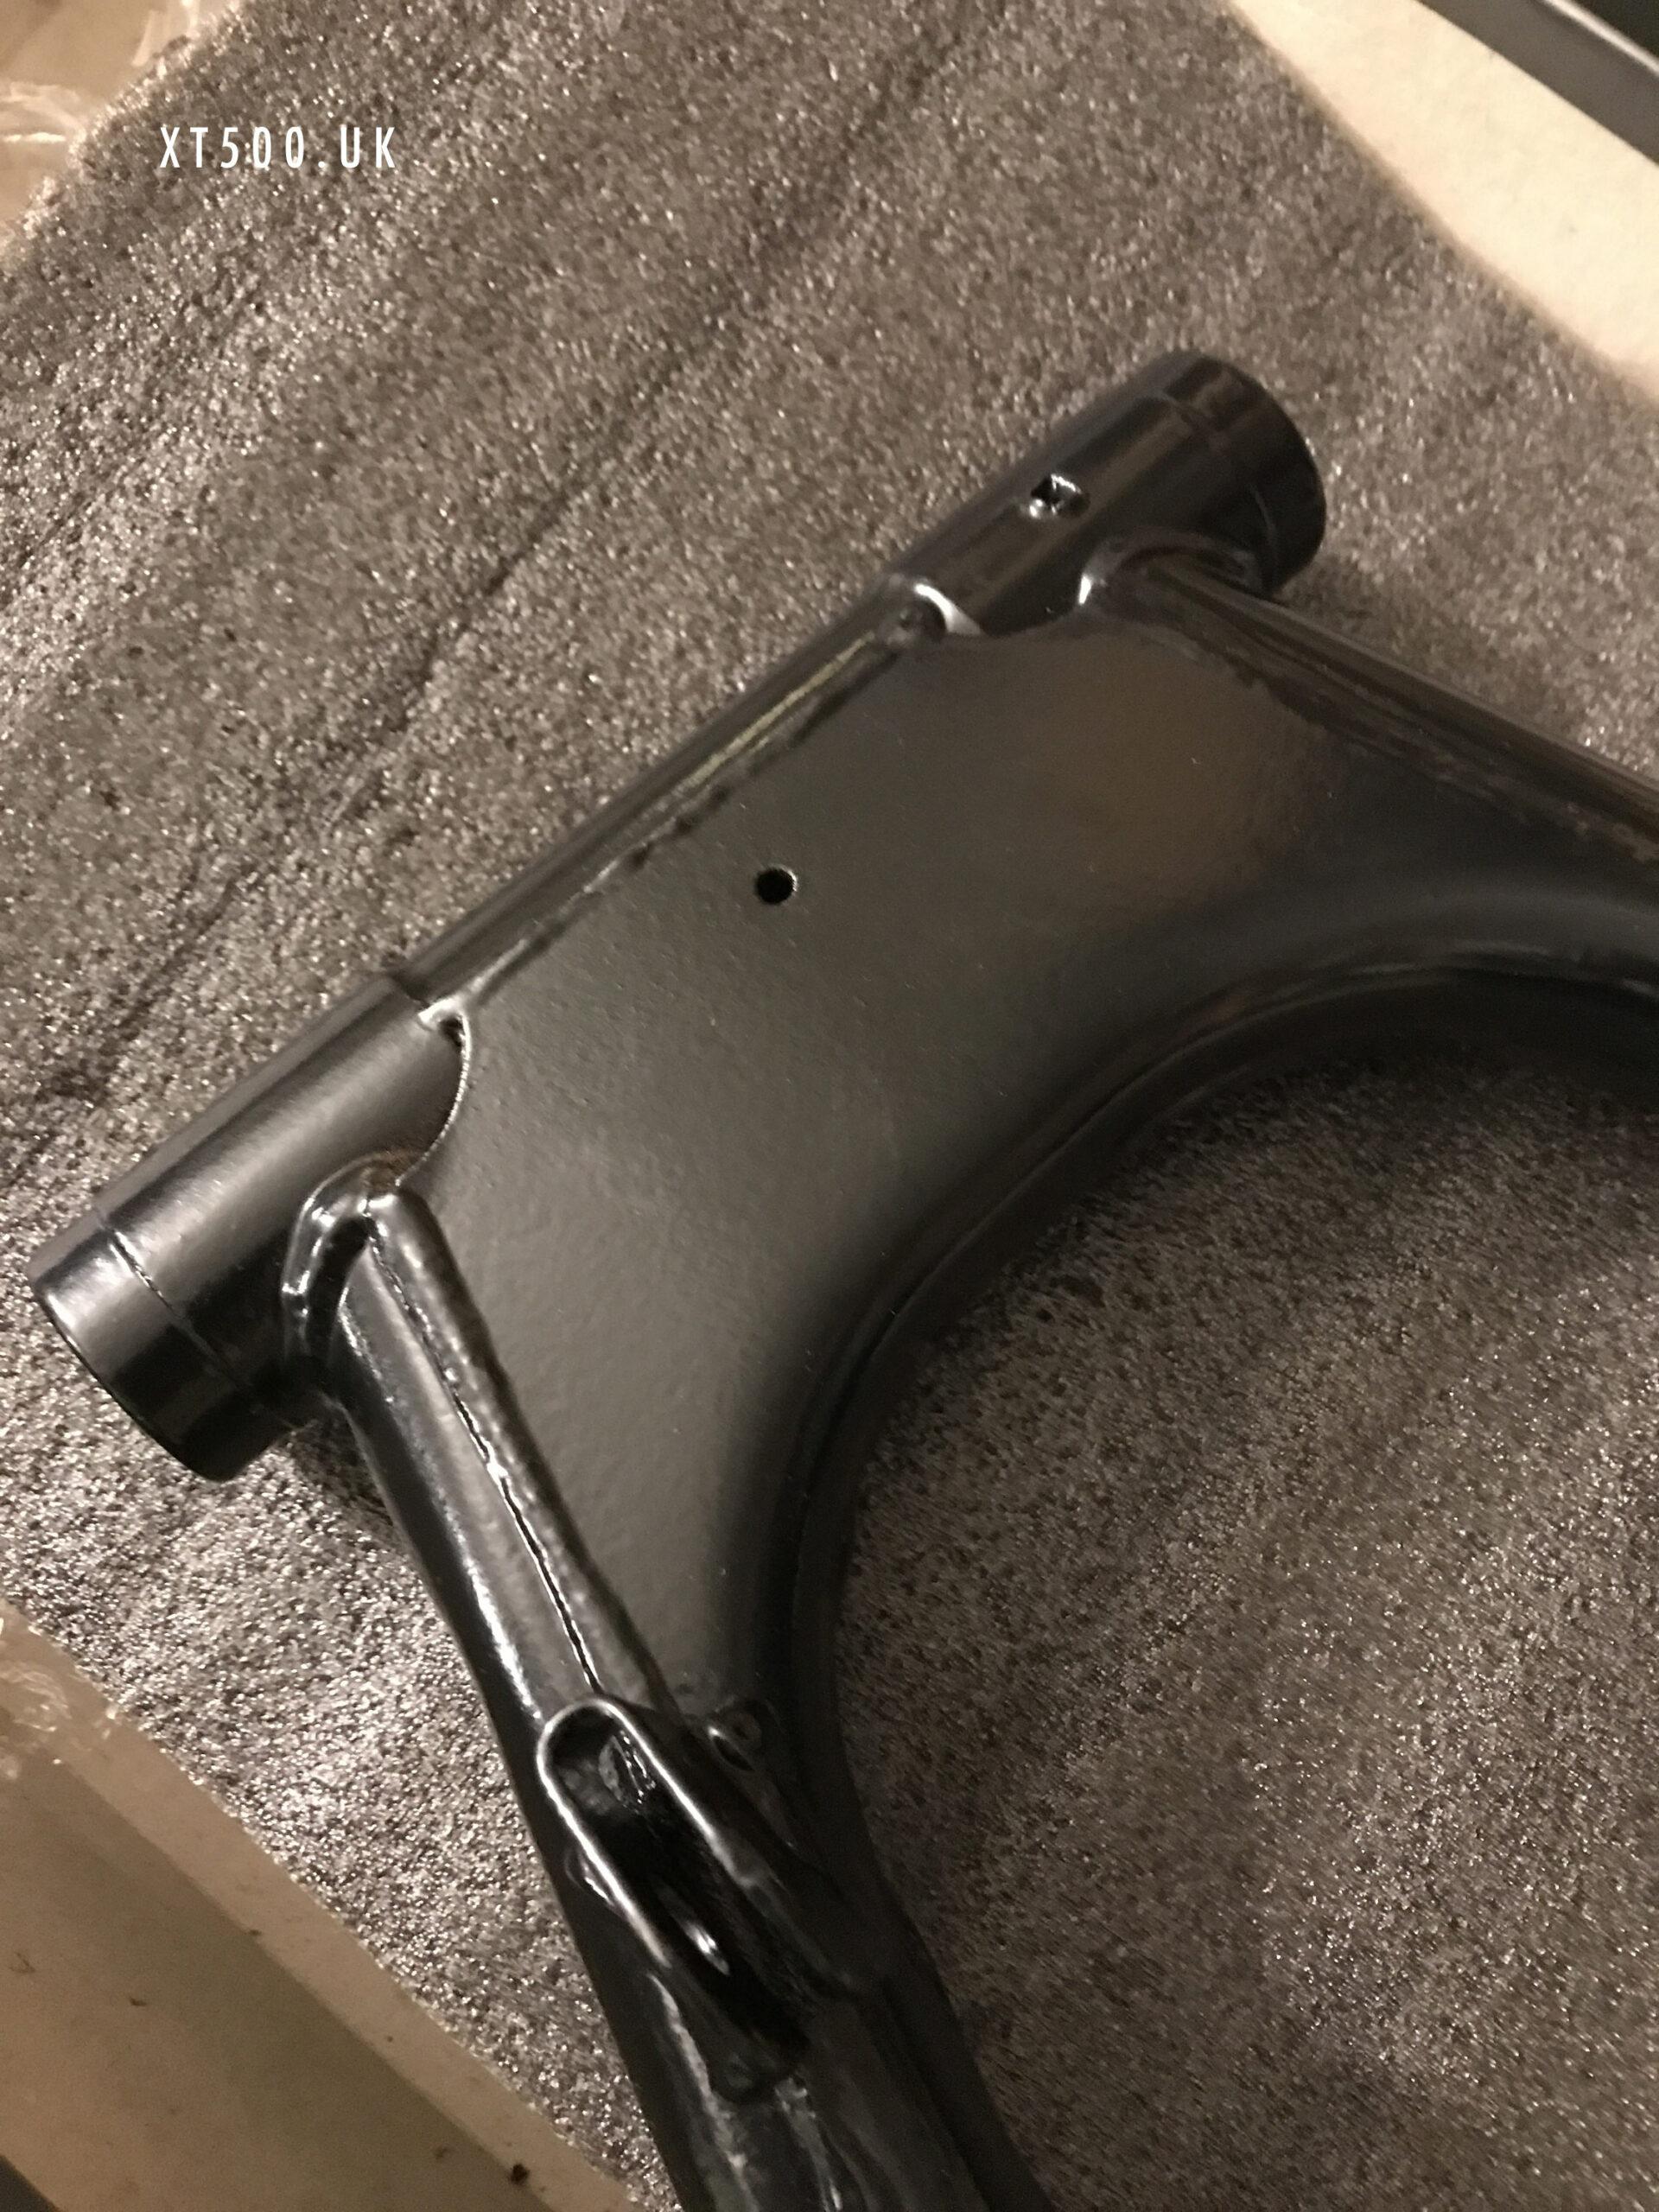
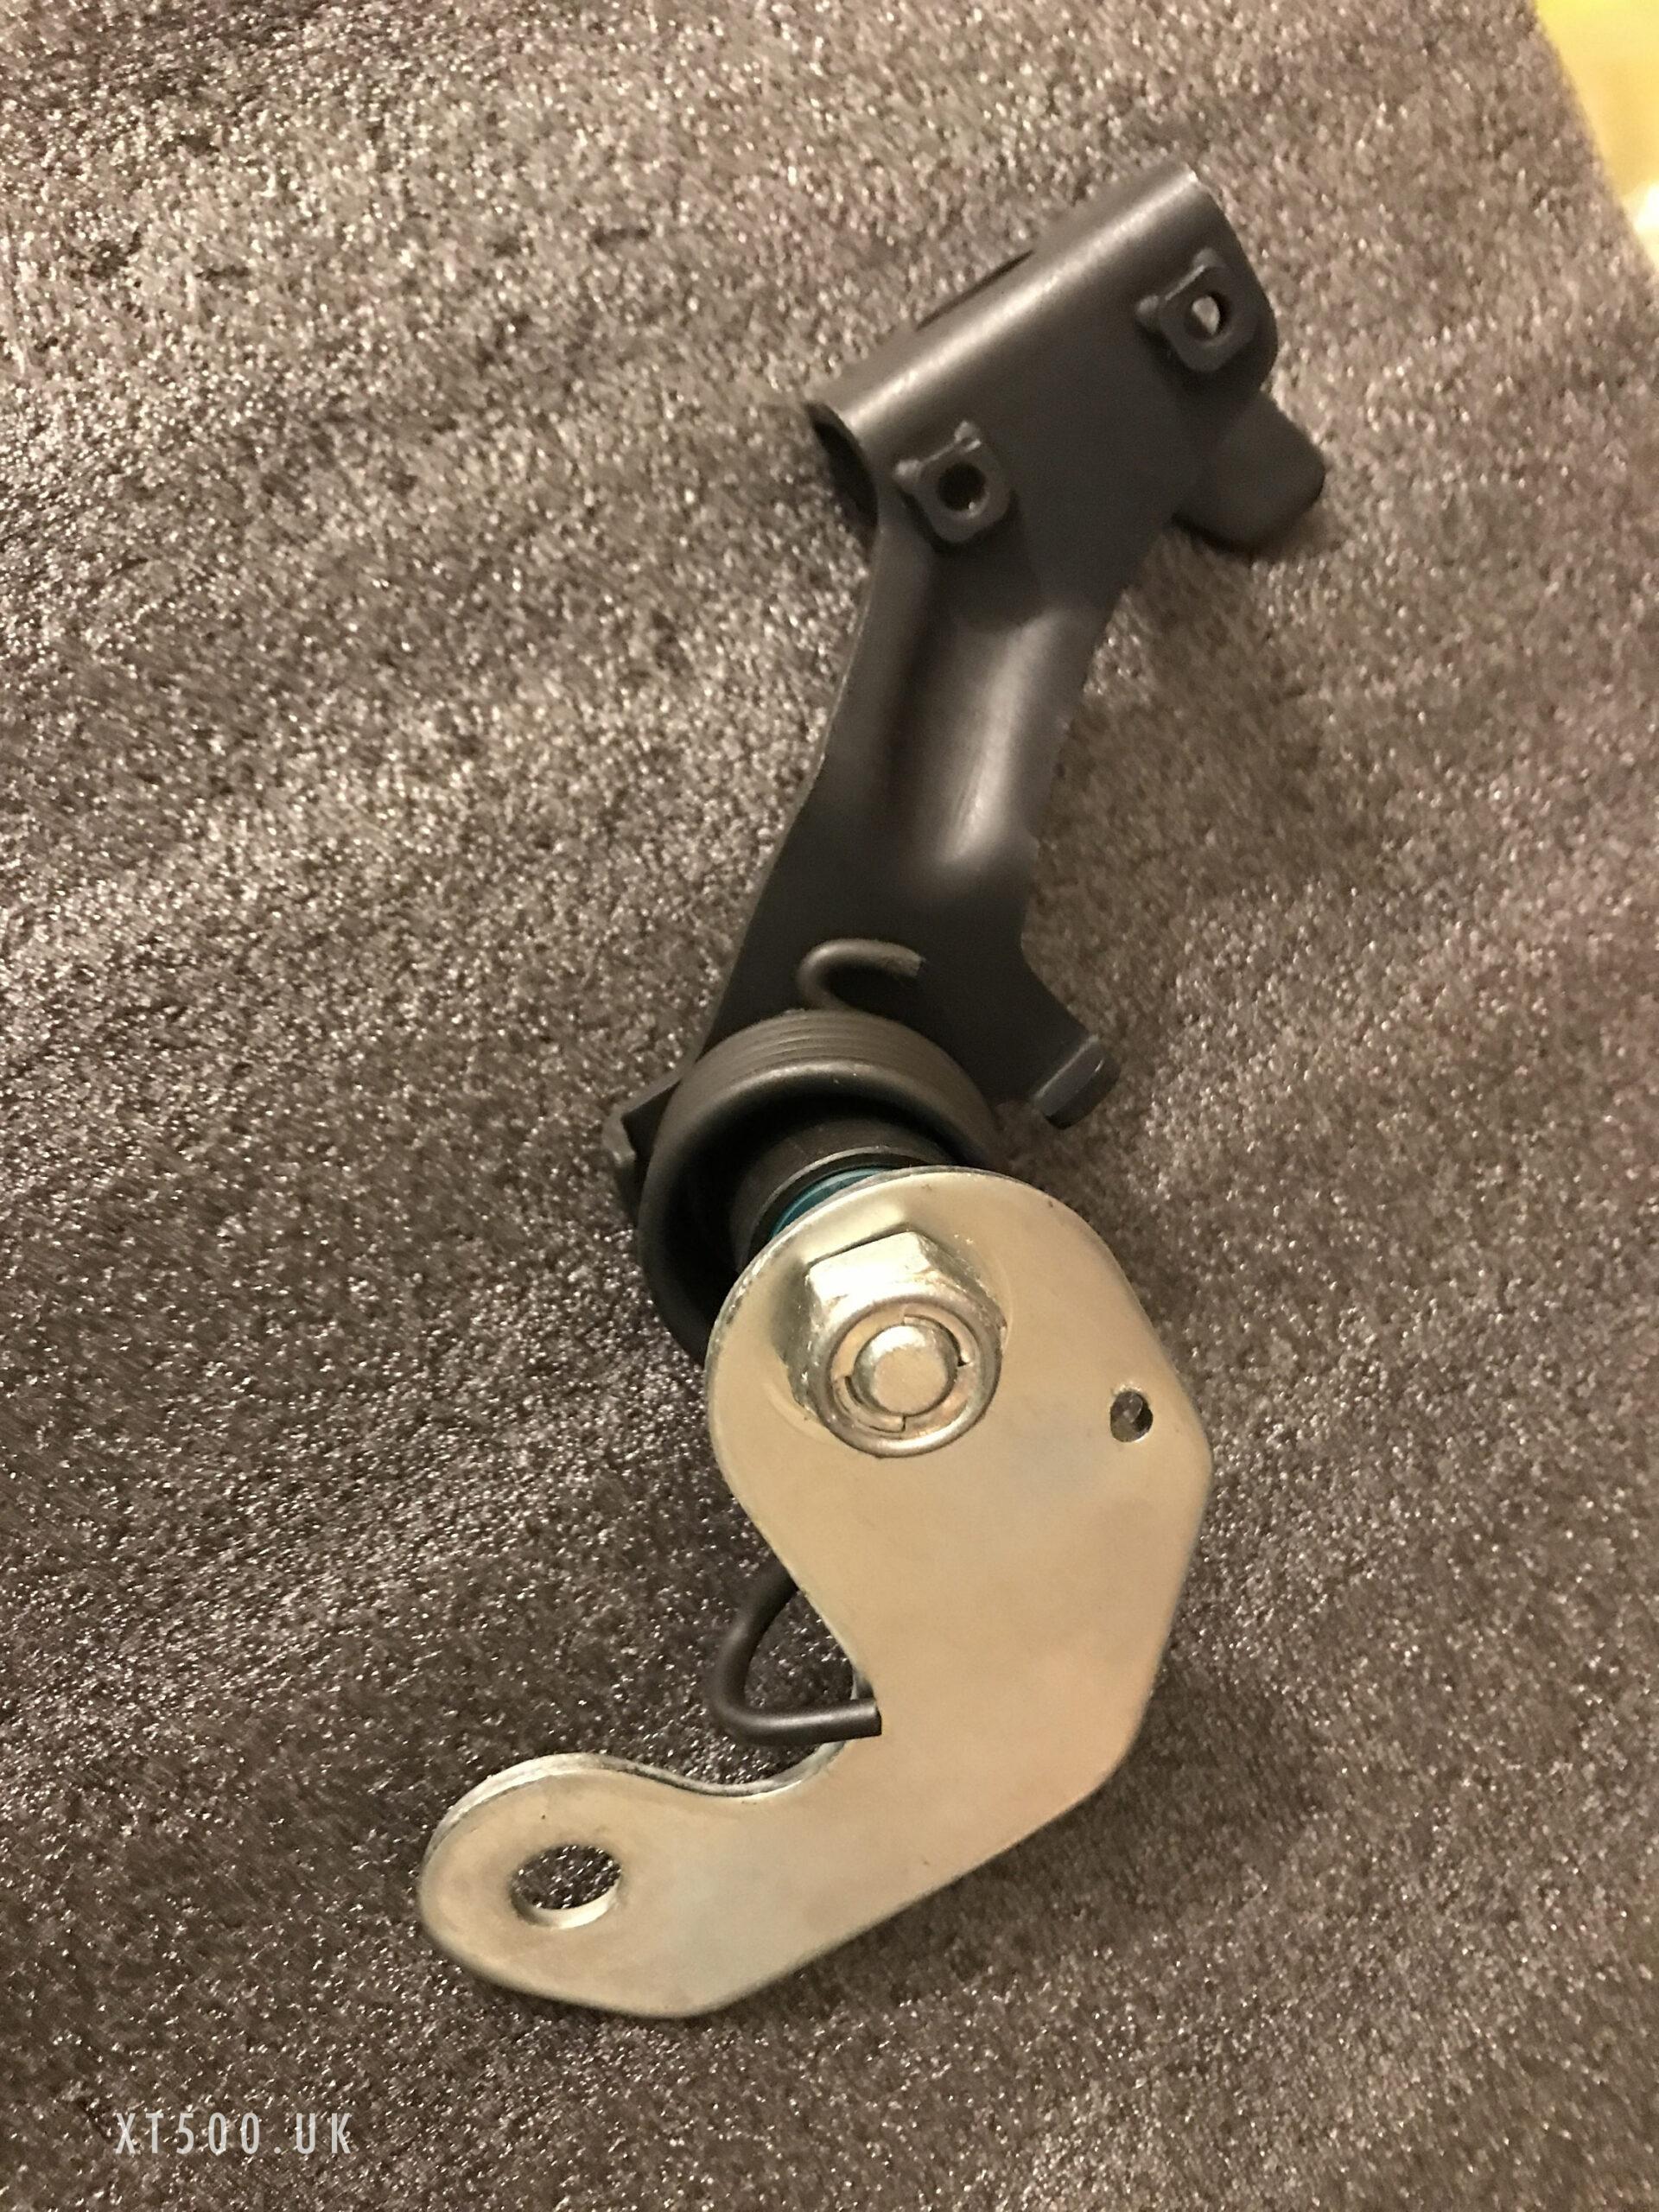
The one I needed for 1980 had a double bracket for the tensioner and a chain guard mount next to the bottom of the left side shock absorber.
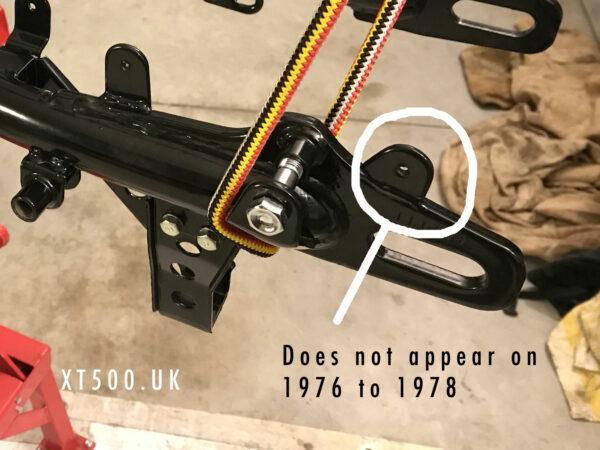
I could have stuck with this swing arm by having the mount fabricated and welded on. However it also had a damaged front mount (looks like final drive chain snapped and ripped it off) and the middle one was bent. This would explain why I had never fixed an OEM chain guard on before. I had used a fabricated one at some point to pass MOTs but I can’t remember using one in the last few years of use. My memory fades… it was a long time ago.
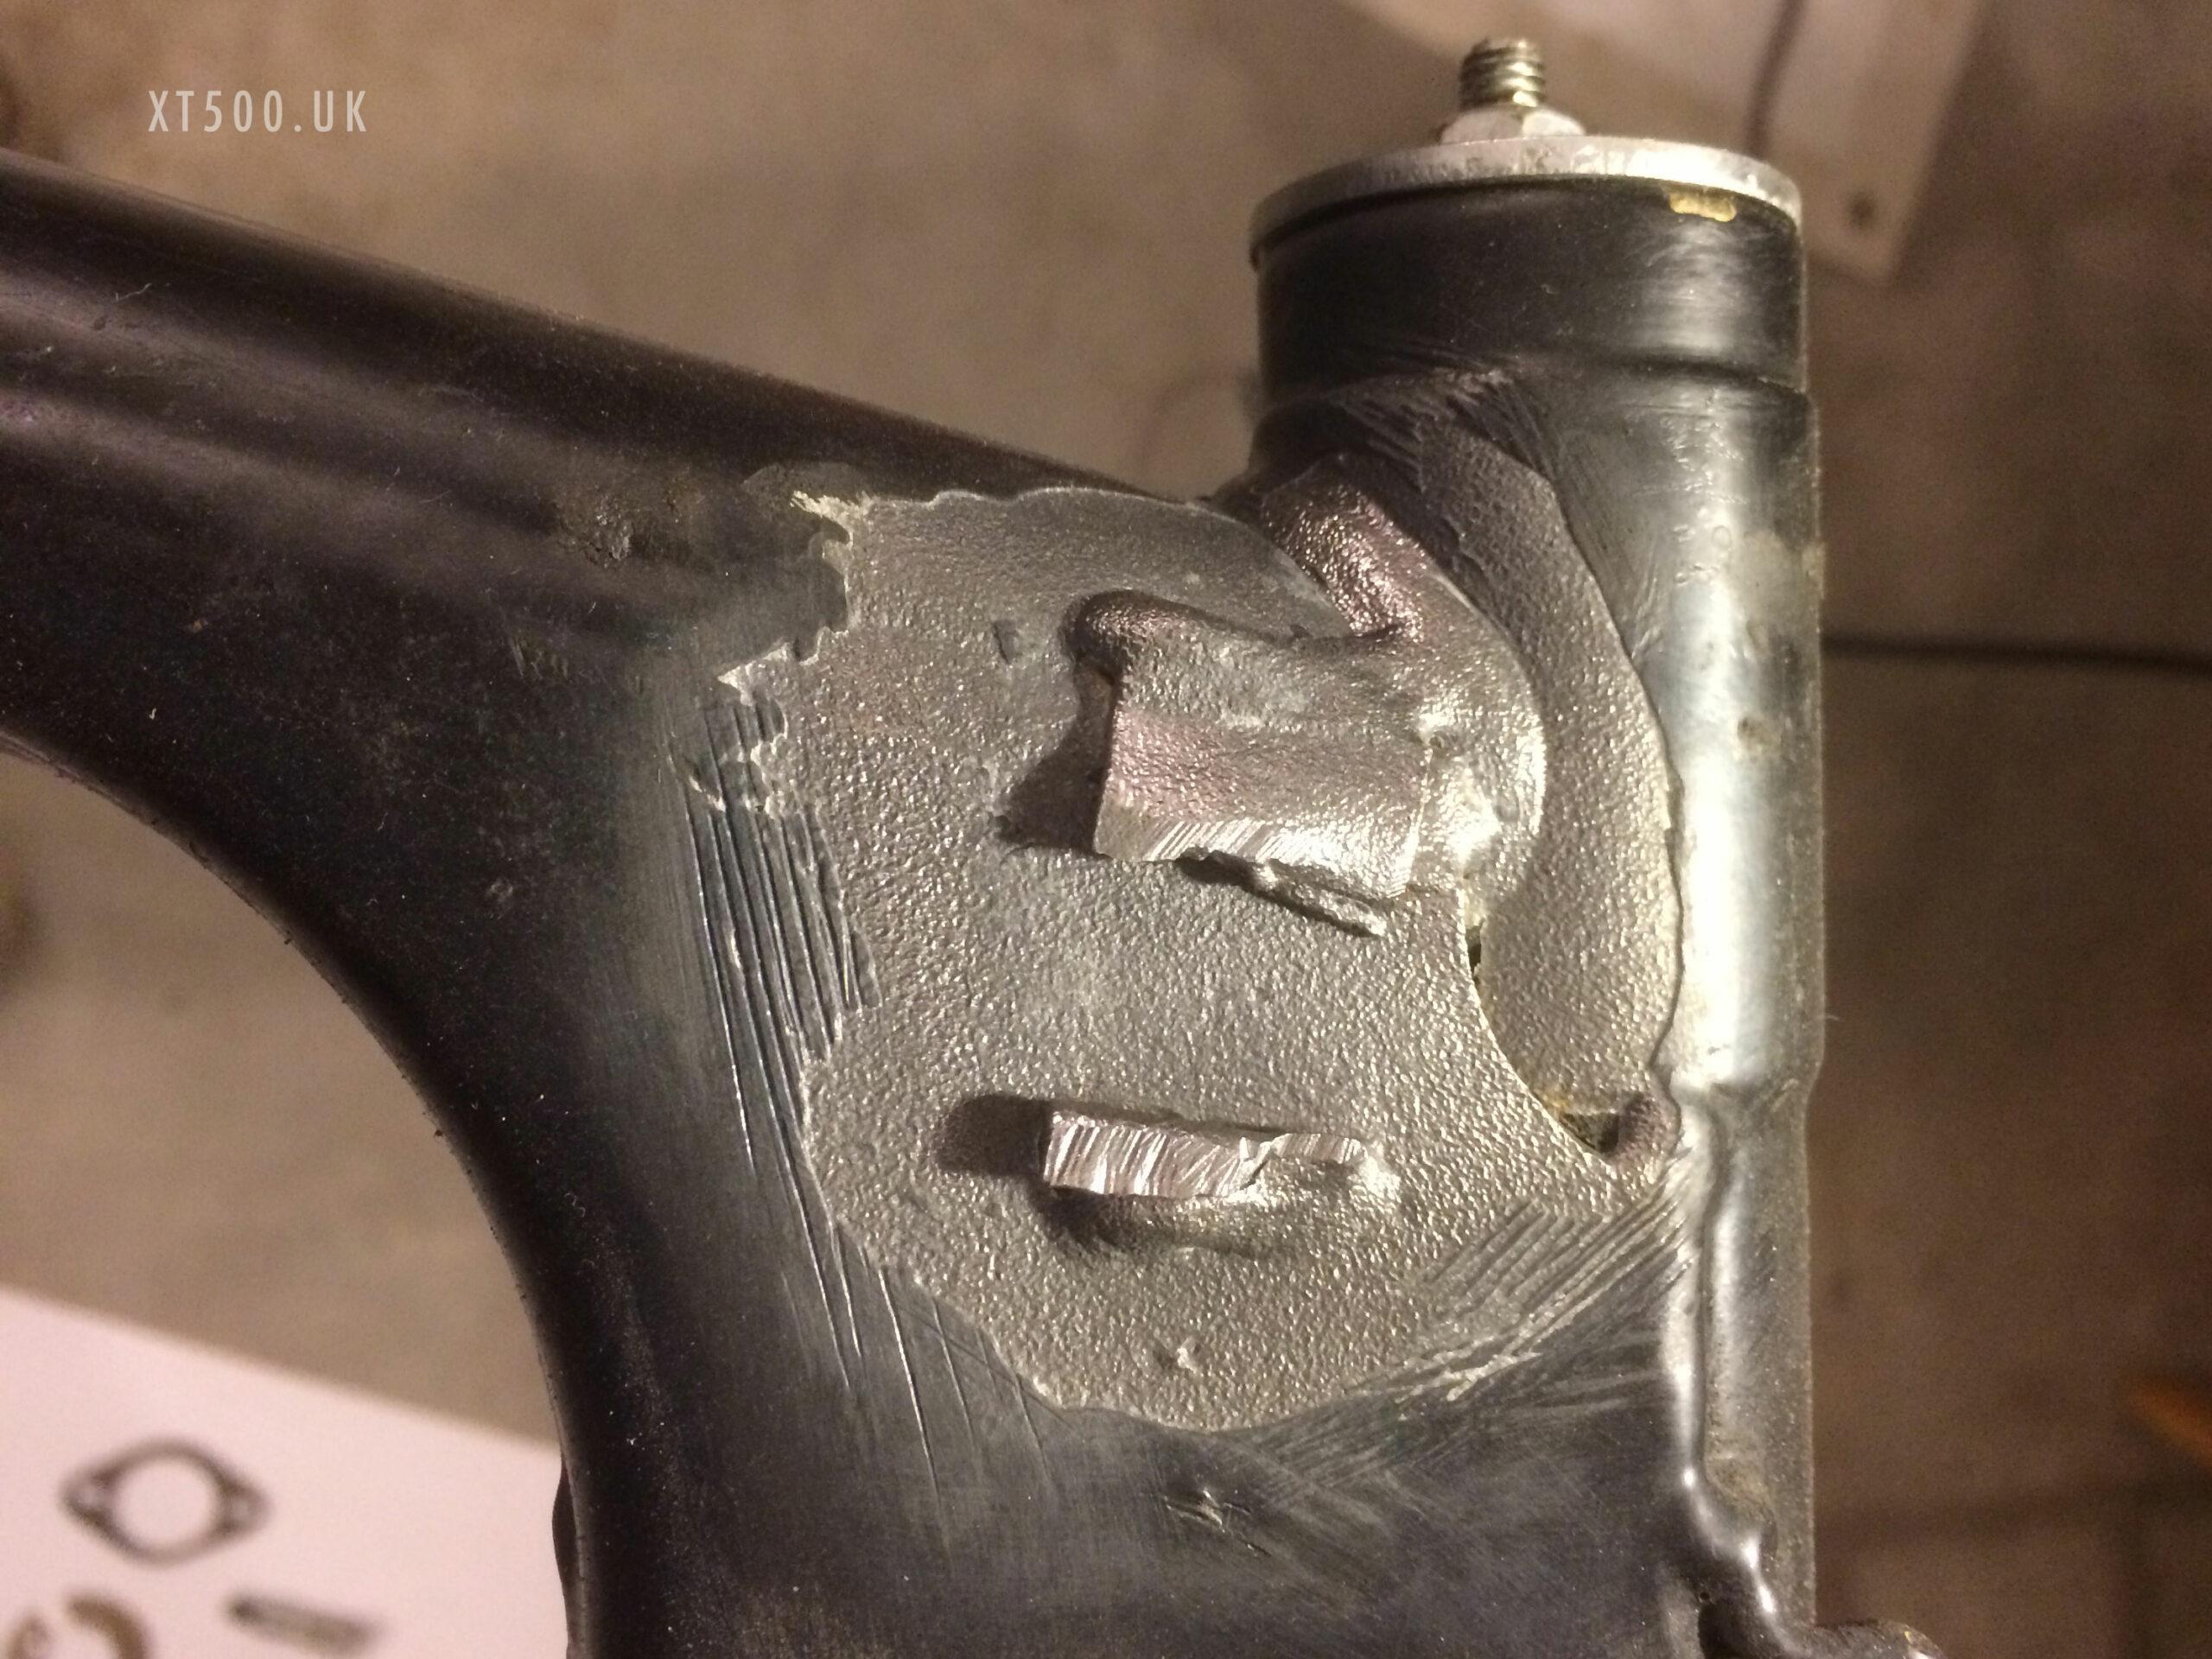
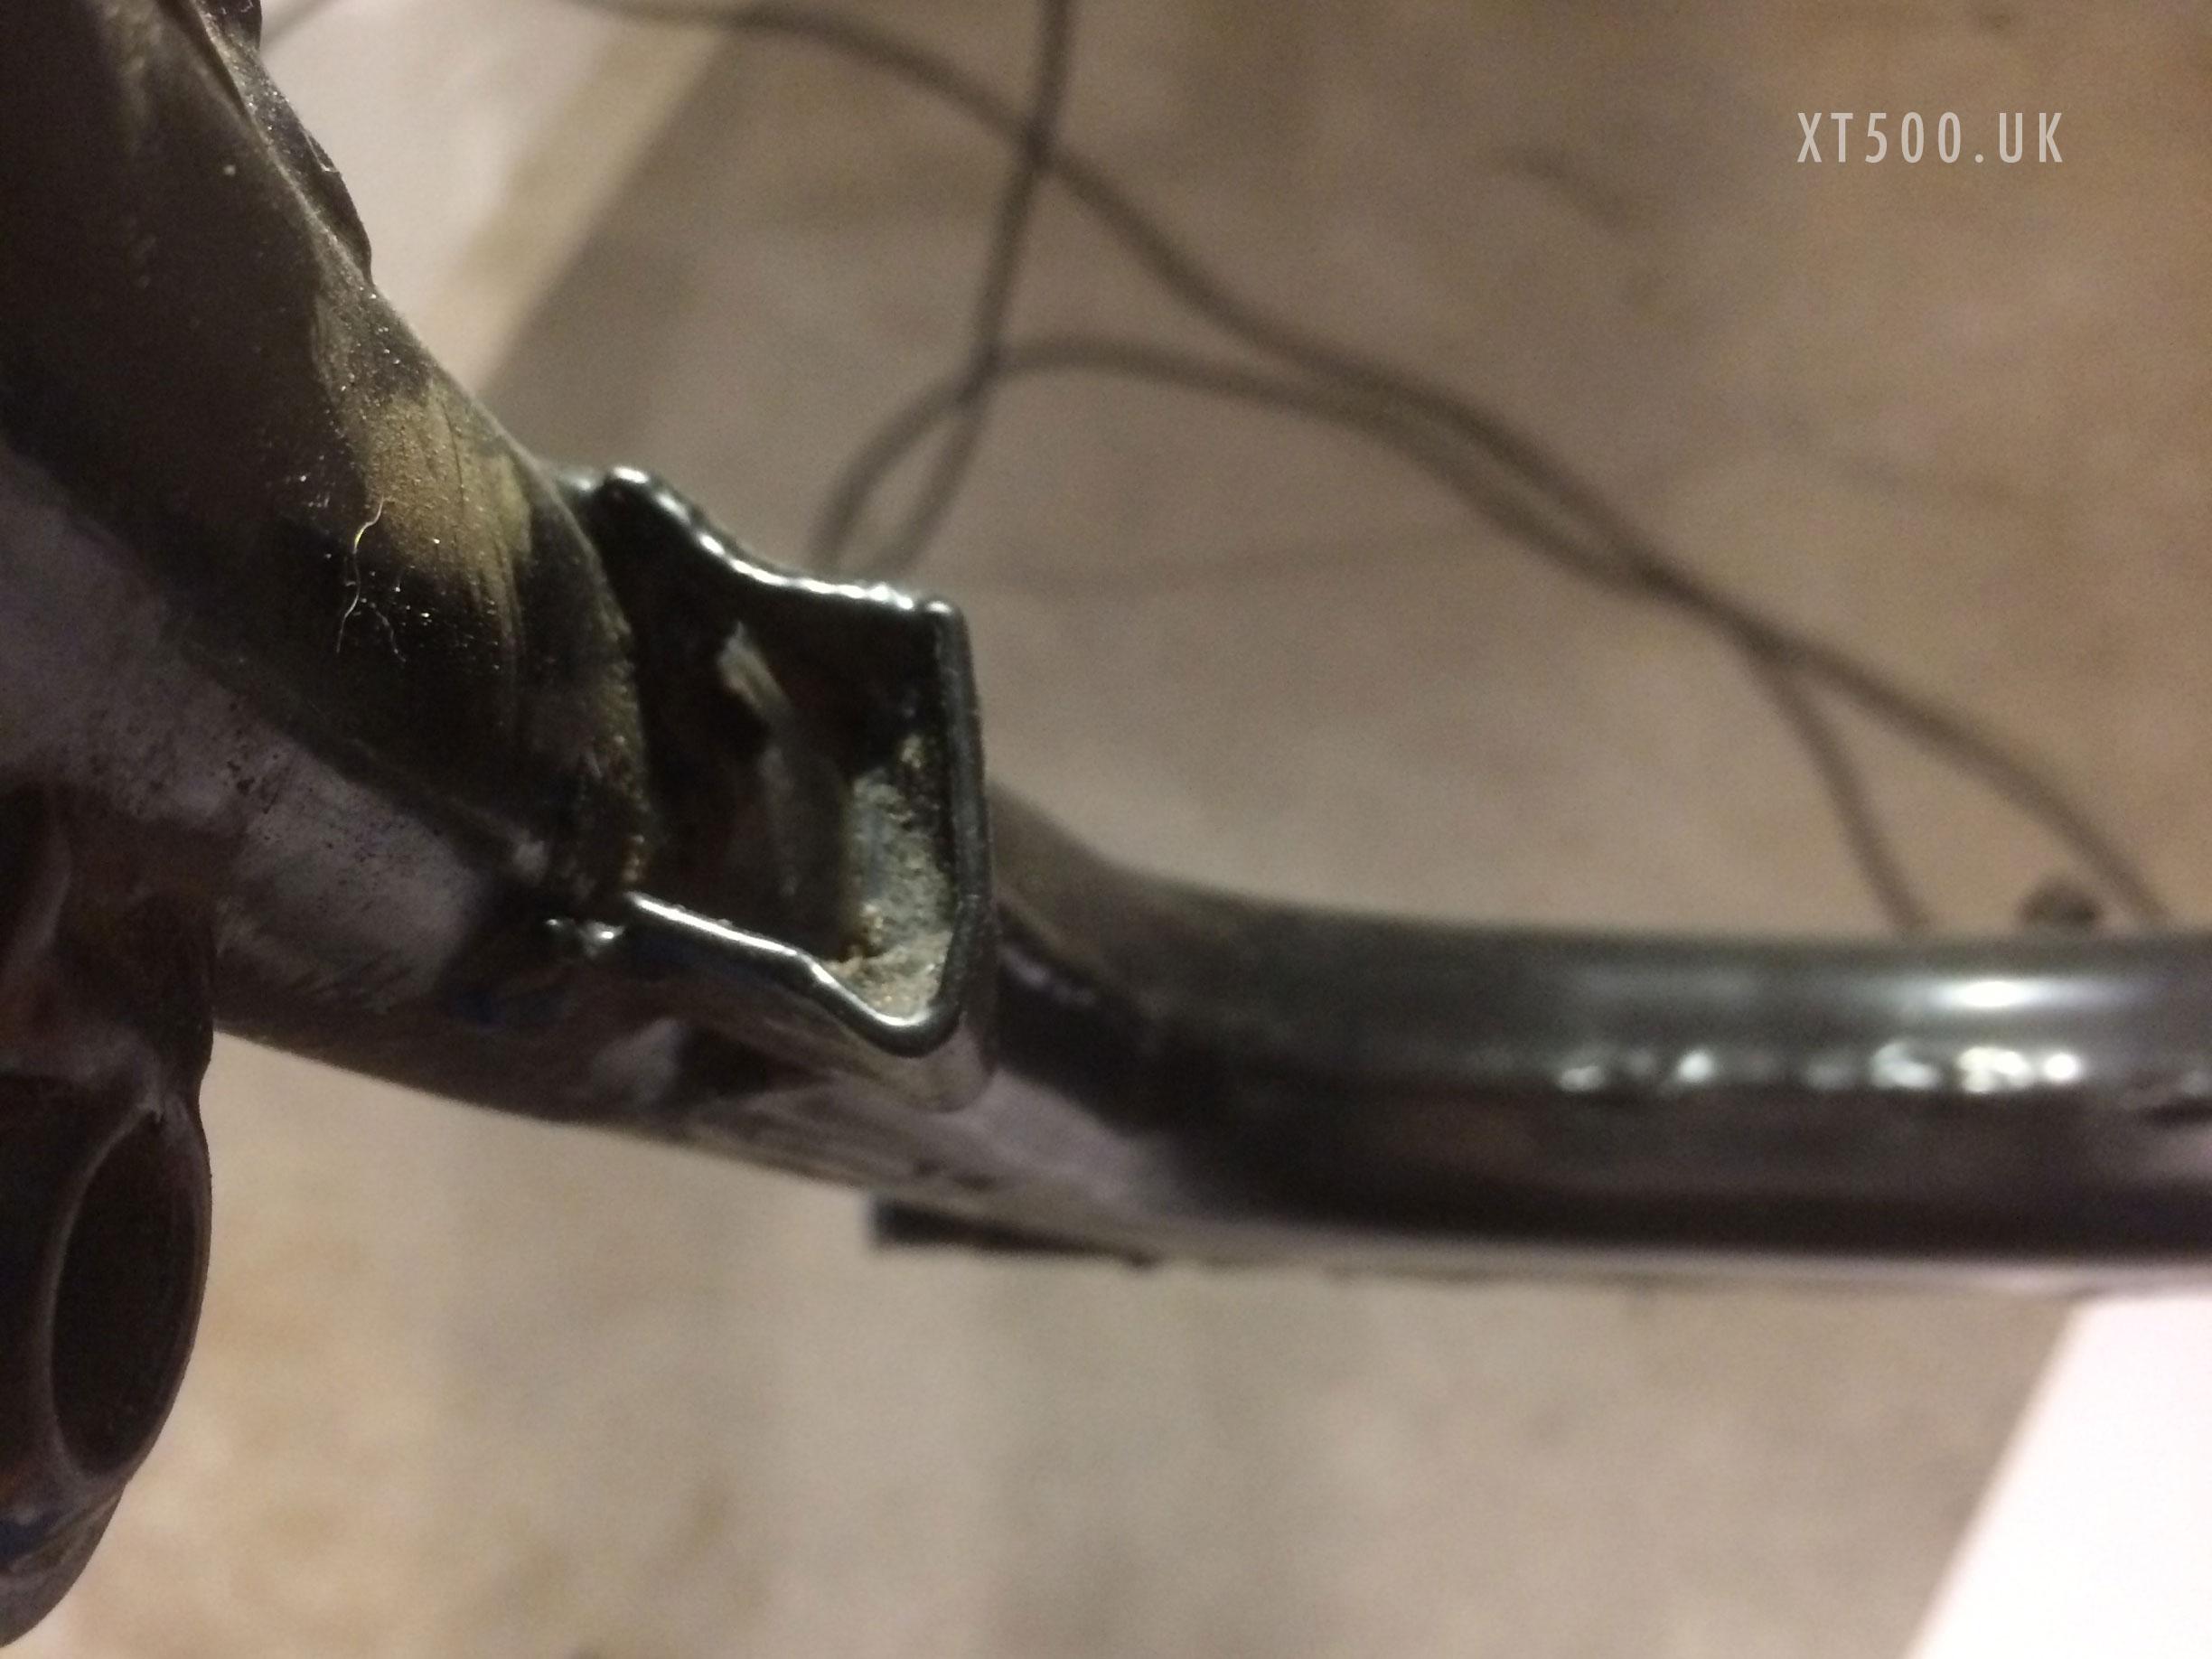
Anyway, since I had decided to try and return the bike to it’s former OEM glory (as close as I could anyway) it was much better to just replace it from the spares bike (1983). It had no damage except for corrosion and all the mounts were correct and in the right place. It also meant I now had the correct chain tensioner and lower guide bracket too.
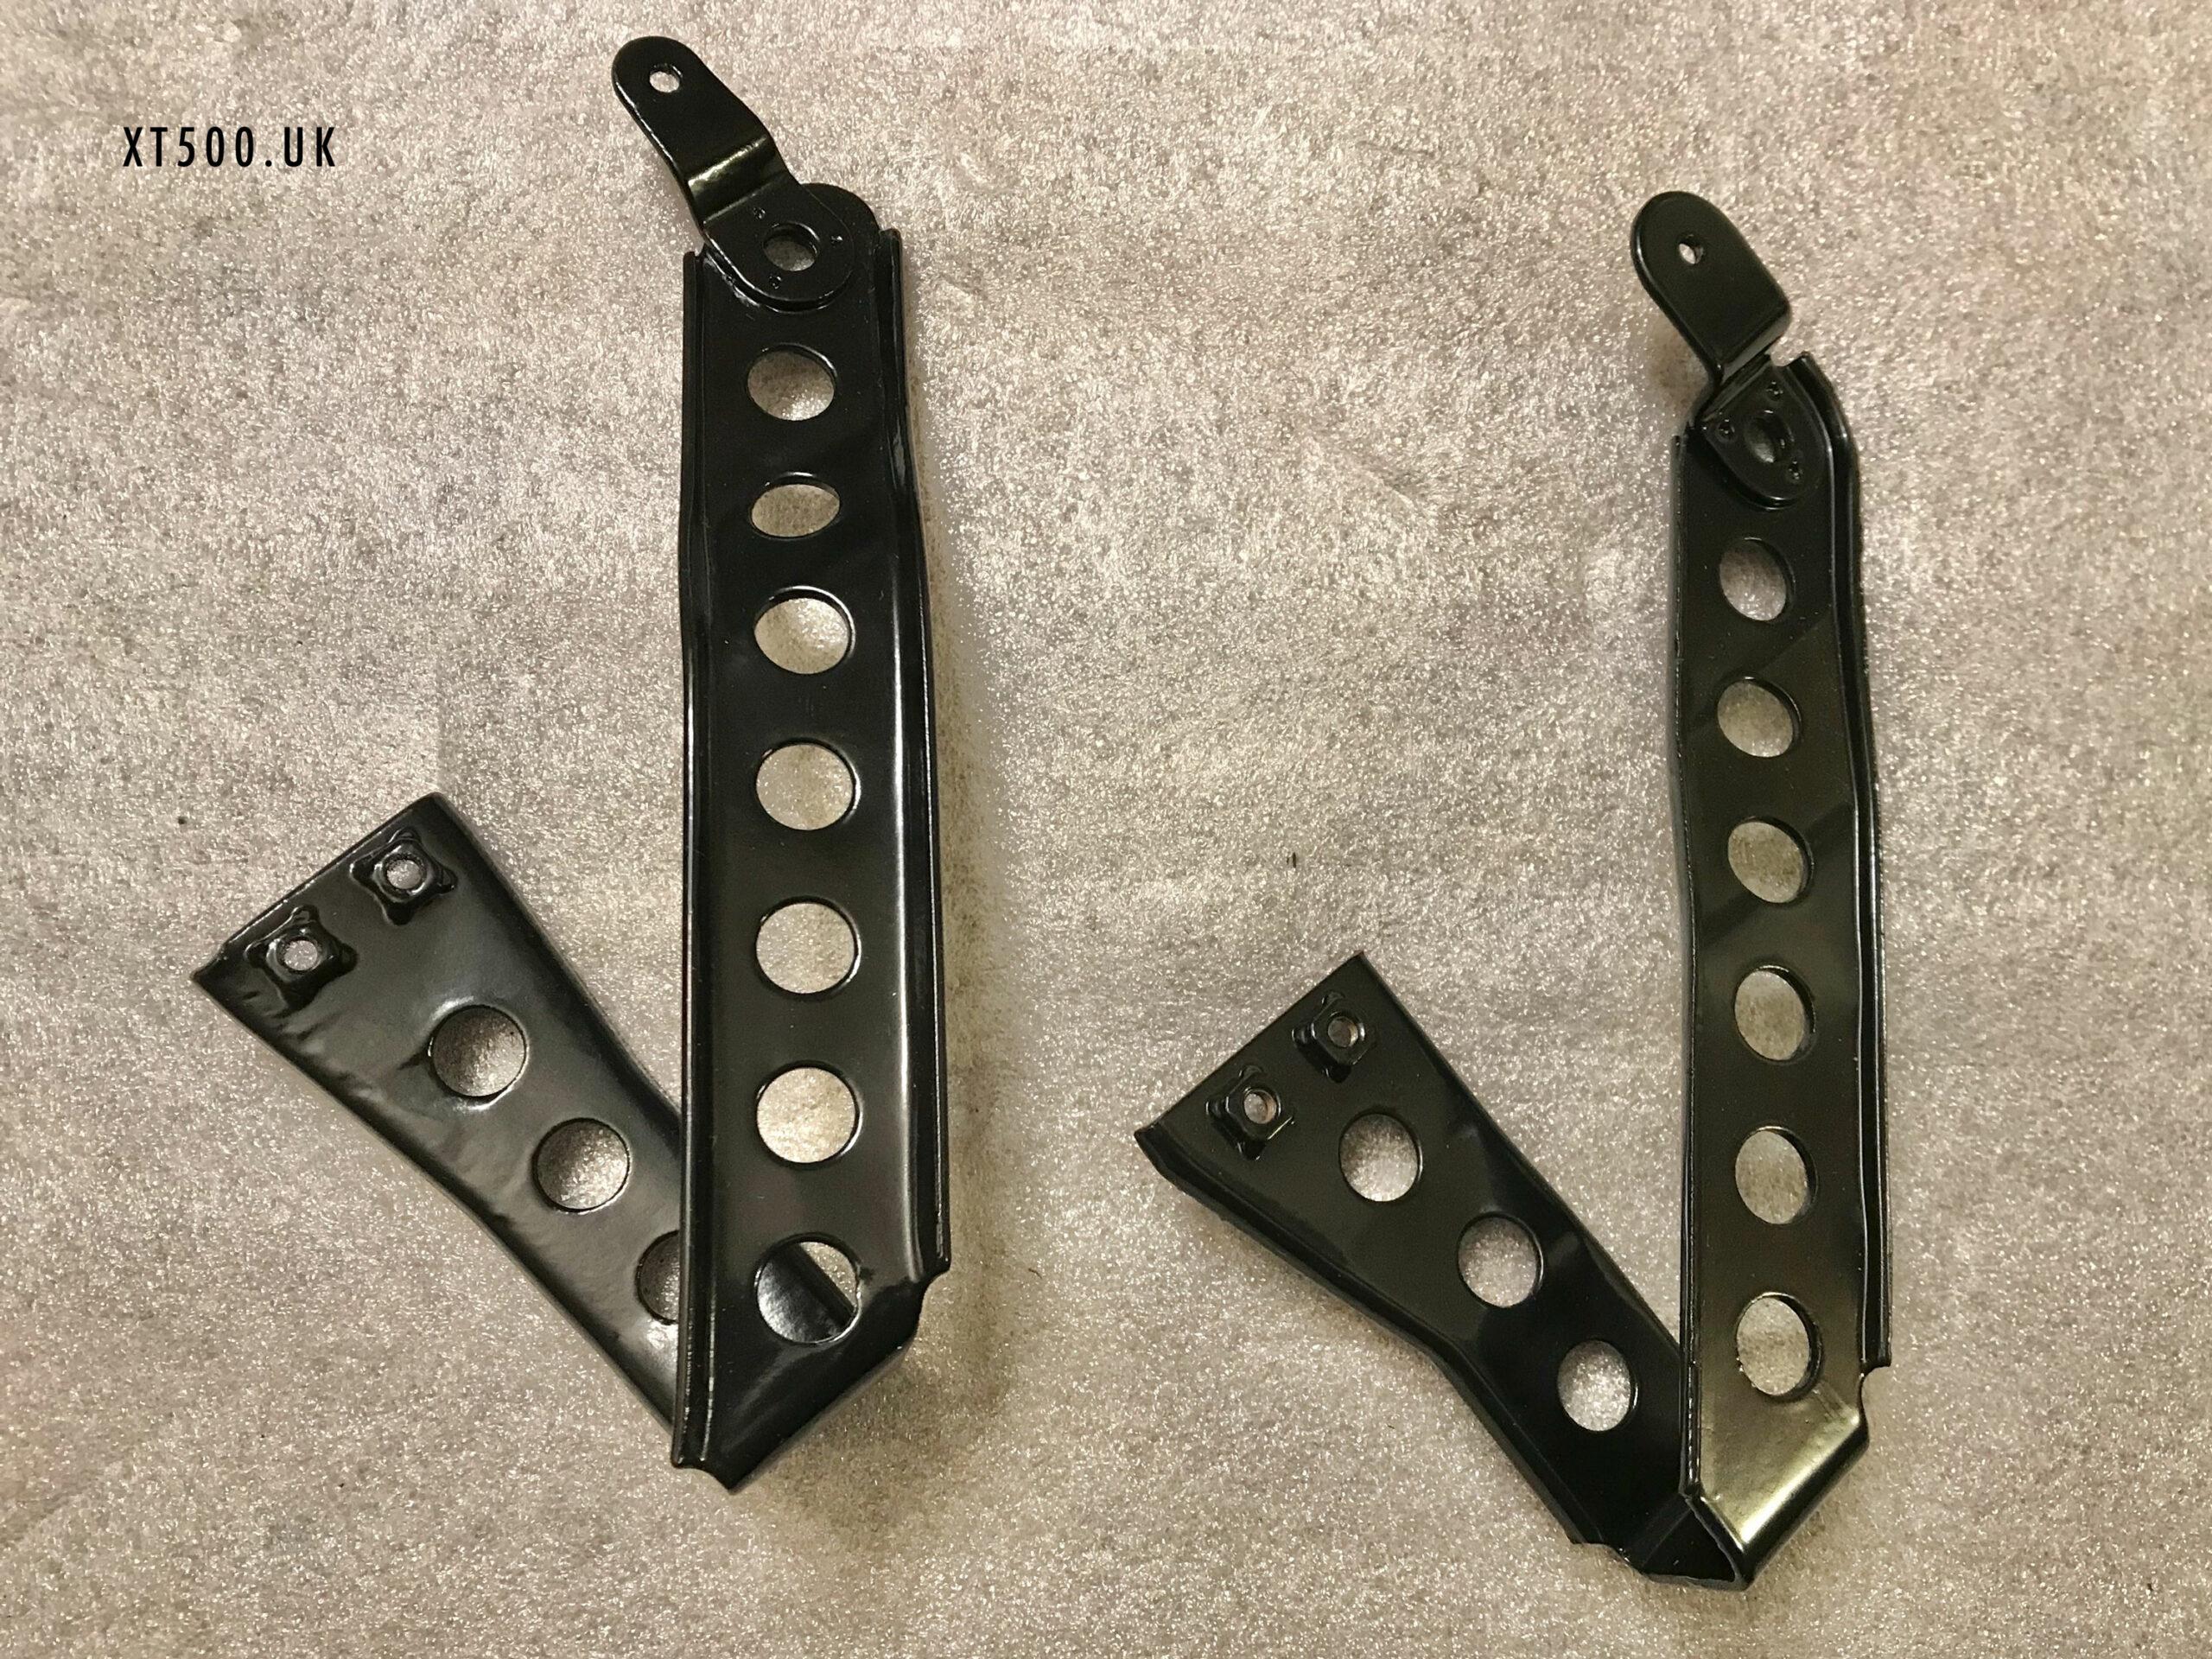
I restored both at the same time, with the aim of selling the earlier version to help pay for the ever growing cost of this restoration project. The thrust bearings weren’t worn and so no need to buy those. The needle bearings were also fine, no play was found before dismantling the bikes. I decided to leave them in during blasting and powder coating as they are a cheap part to replace and would protect the bearing seat surfaces. The swing arms were first chemically dipped so did not present any issues when placed in the oven for curing the paint.
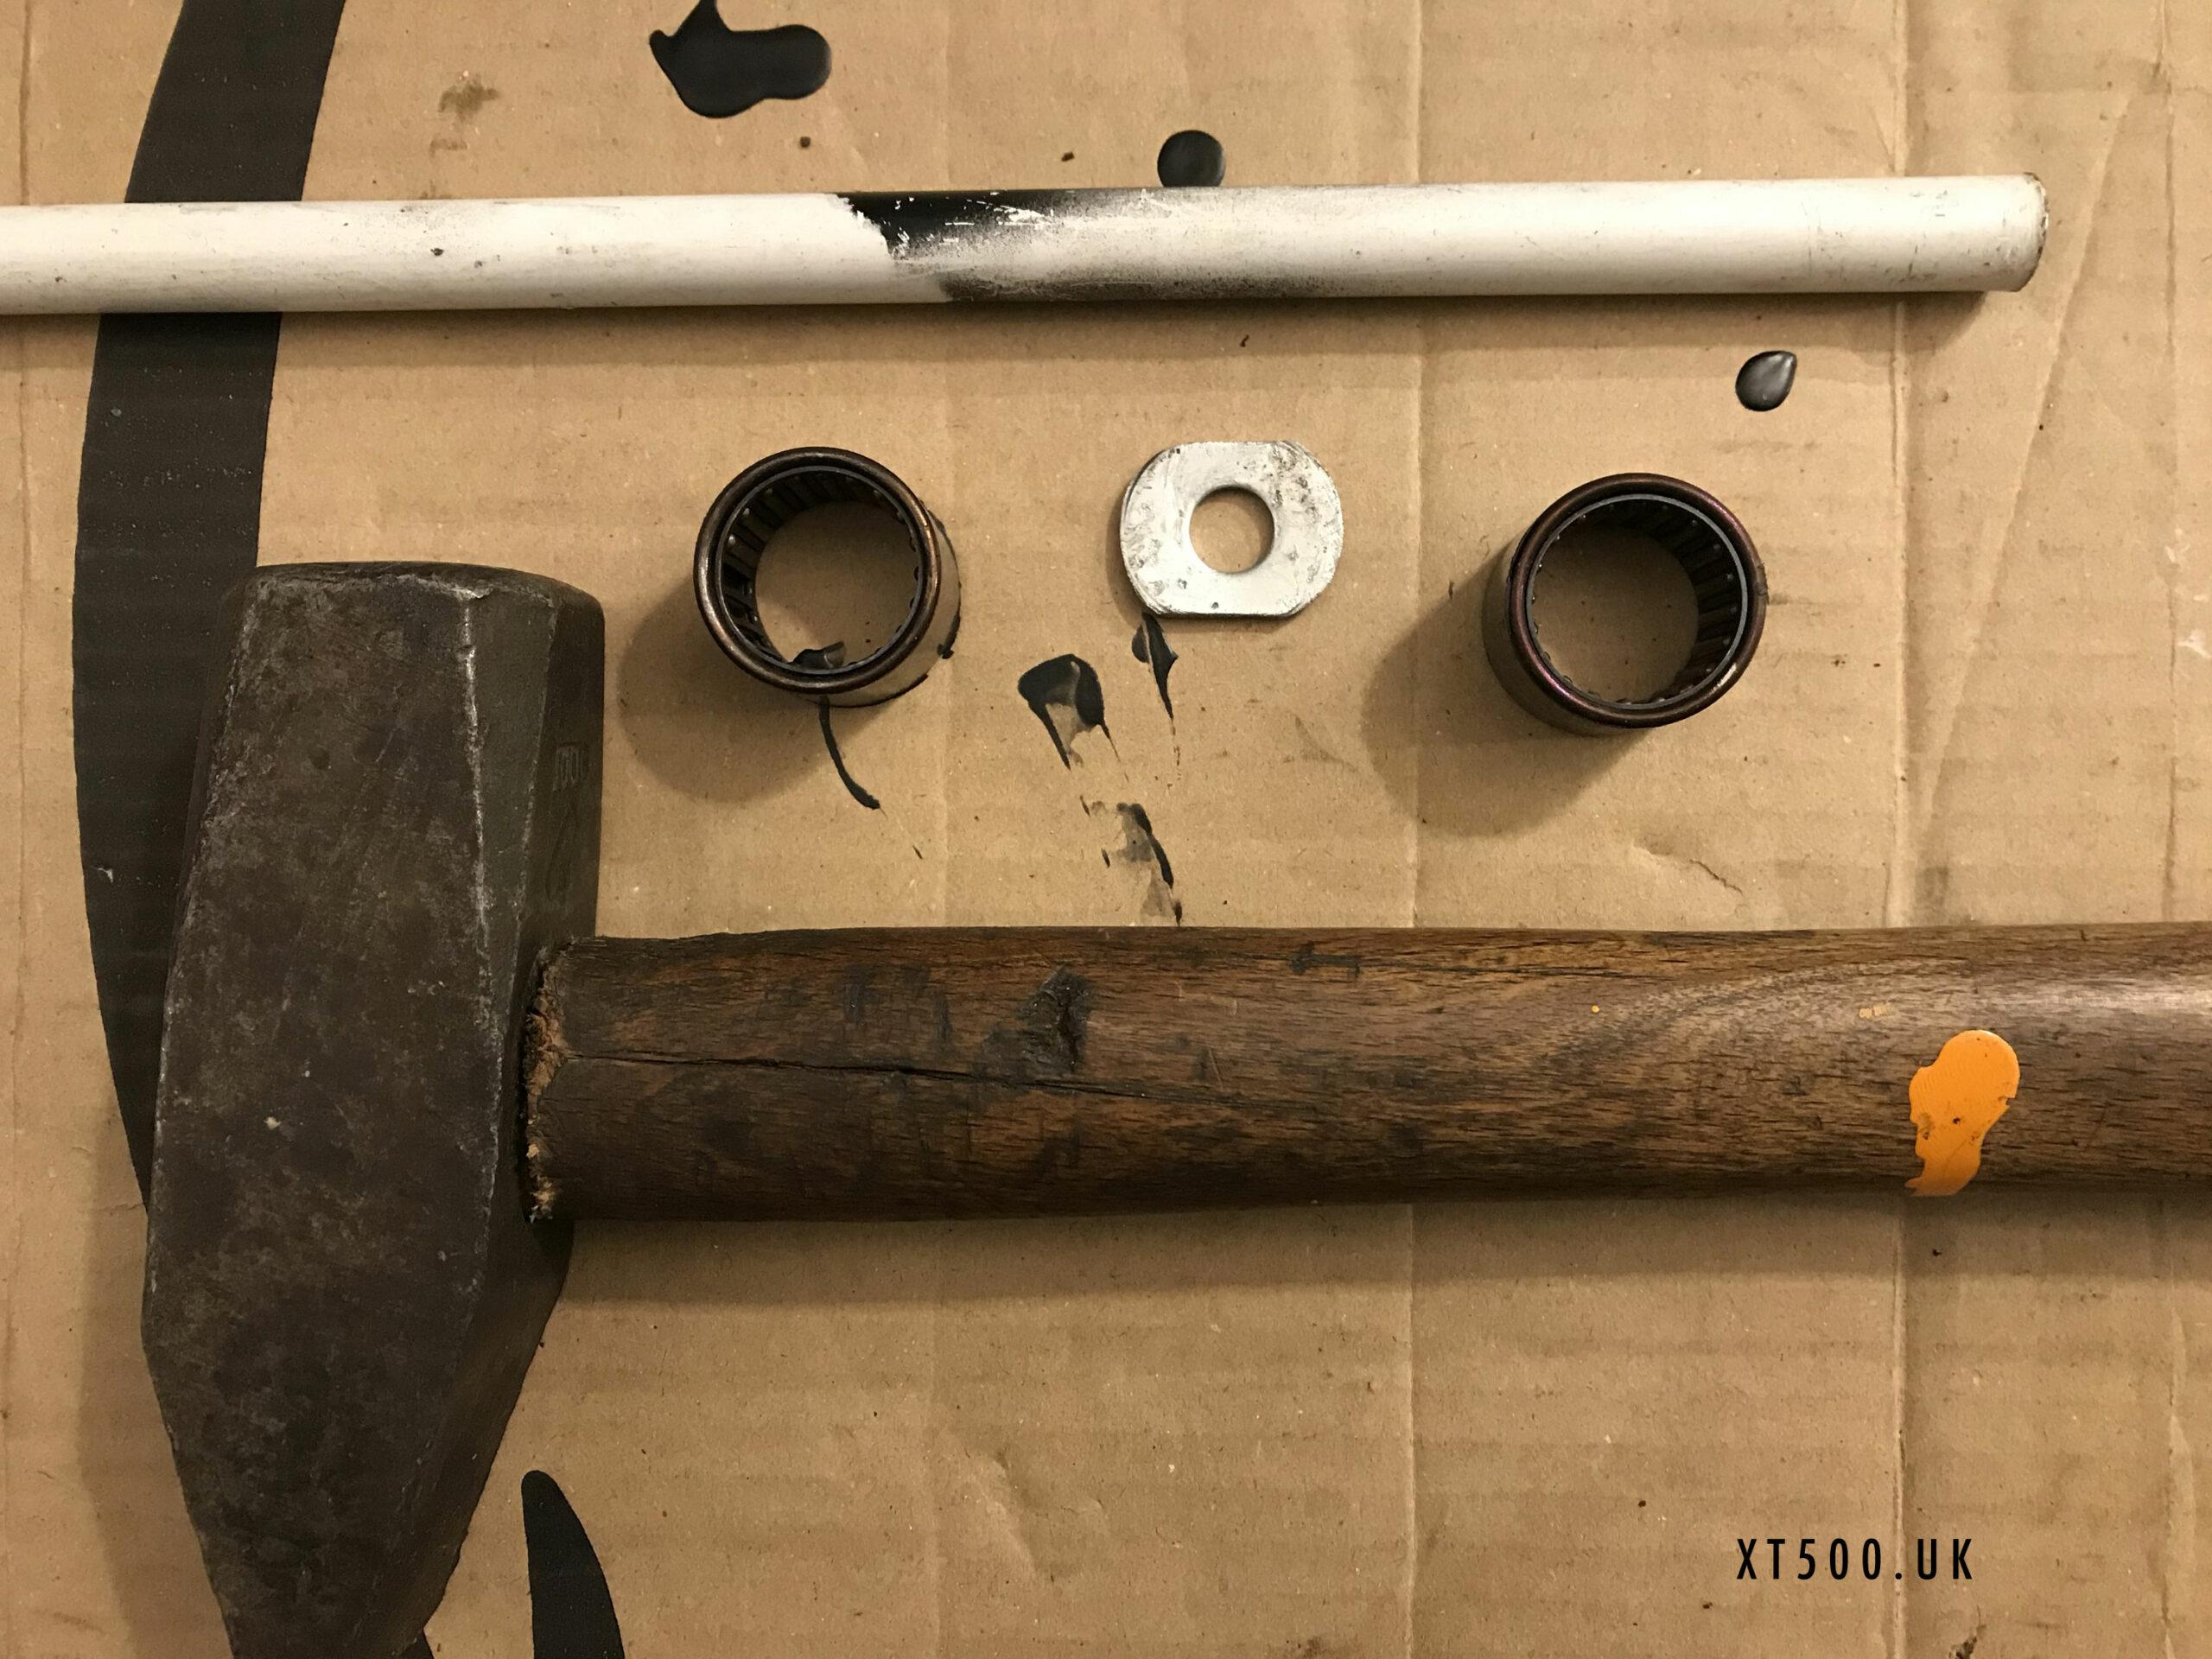
They came out fairly easily using a drift and a cut down washer. A great home-made idea I took from mdomenic on the XT500 TT500 forum.
“I got them out using a 30mm washer, 4mm thick. I first cut the two sides to make it 21mm wide then I had to also file the two arches to make the diameter a little less than 29mm, the diameter of the bearings”
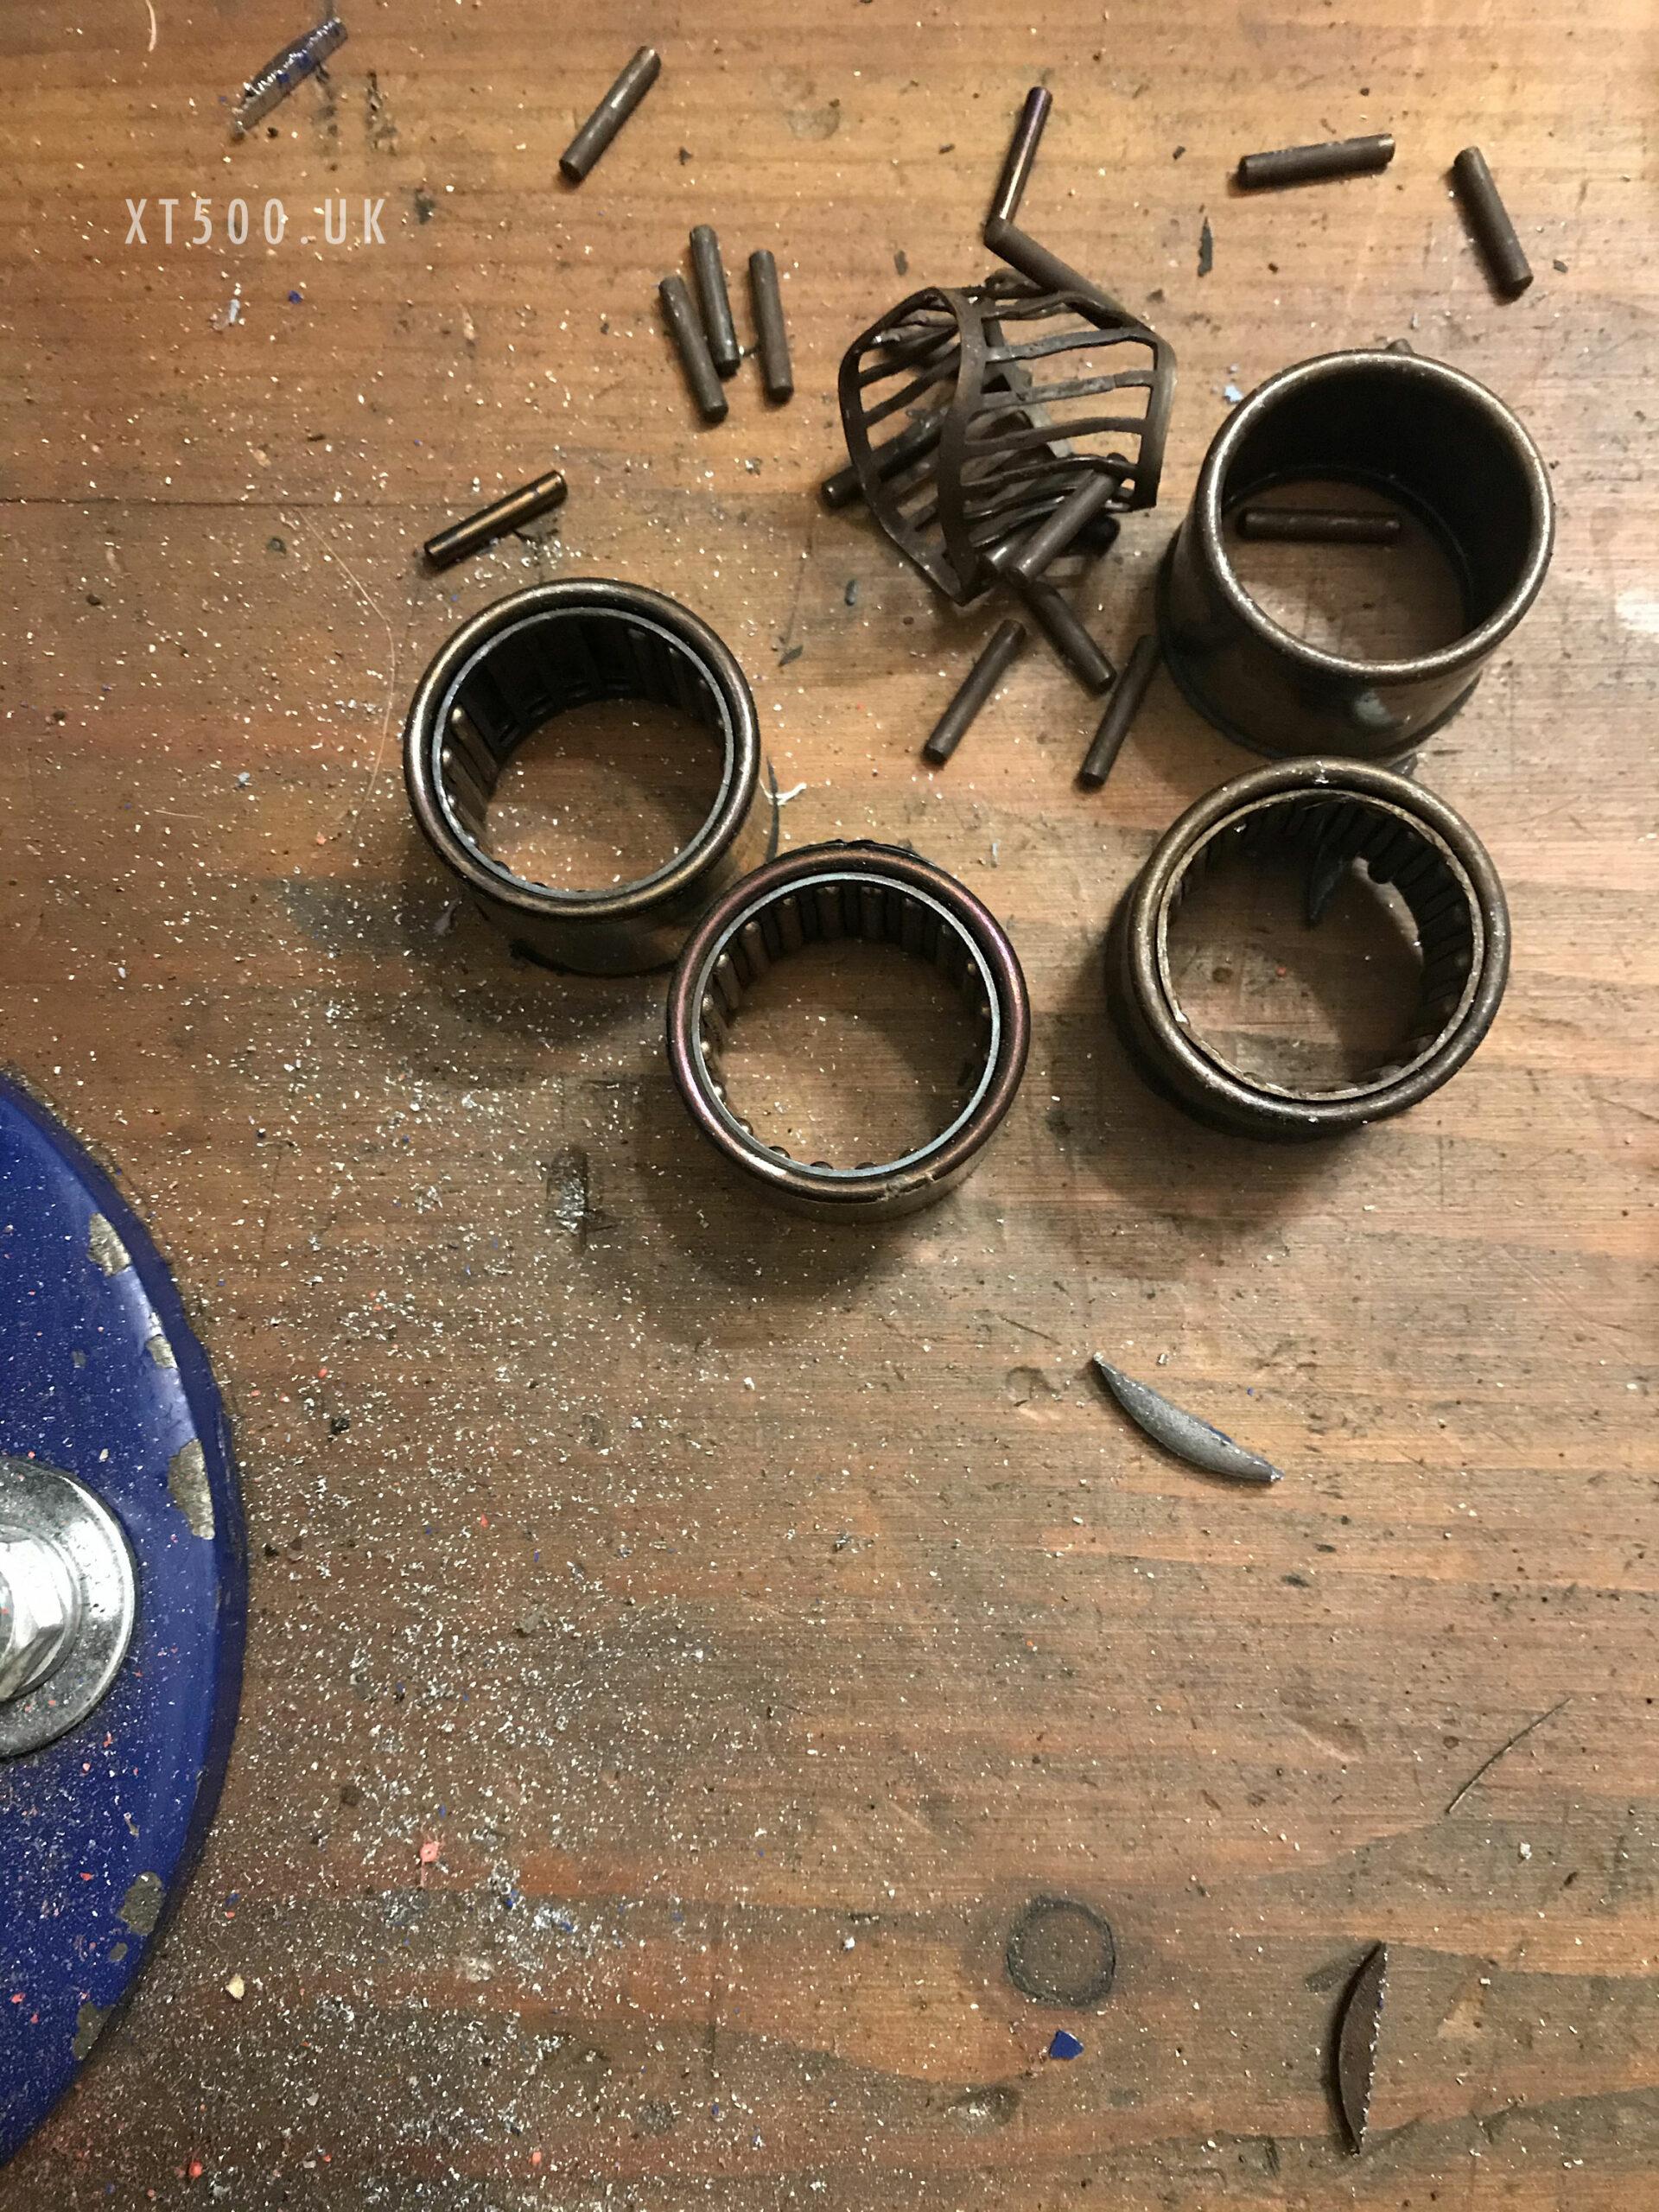
When organising all the parts needed to rebuild the swing arm, I realised that the threads for one of the shock absorber mounts was partly cross threaded. My tap and die set only had M10 with a thread pitch of 1.5 so I needed to buy one with 1.25. Not a problem just a time delay.
I decided to go with the shorter version of the thrust bearing cover as the deeper one seems to be for the earlier models.
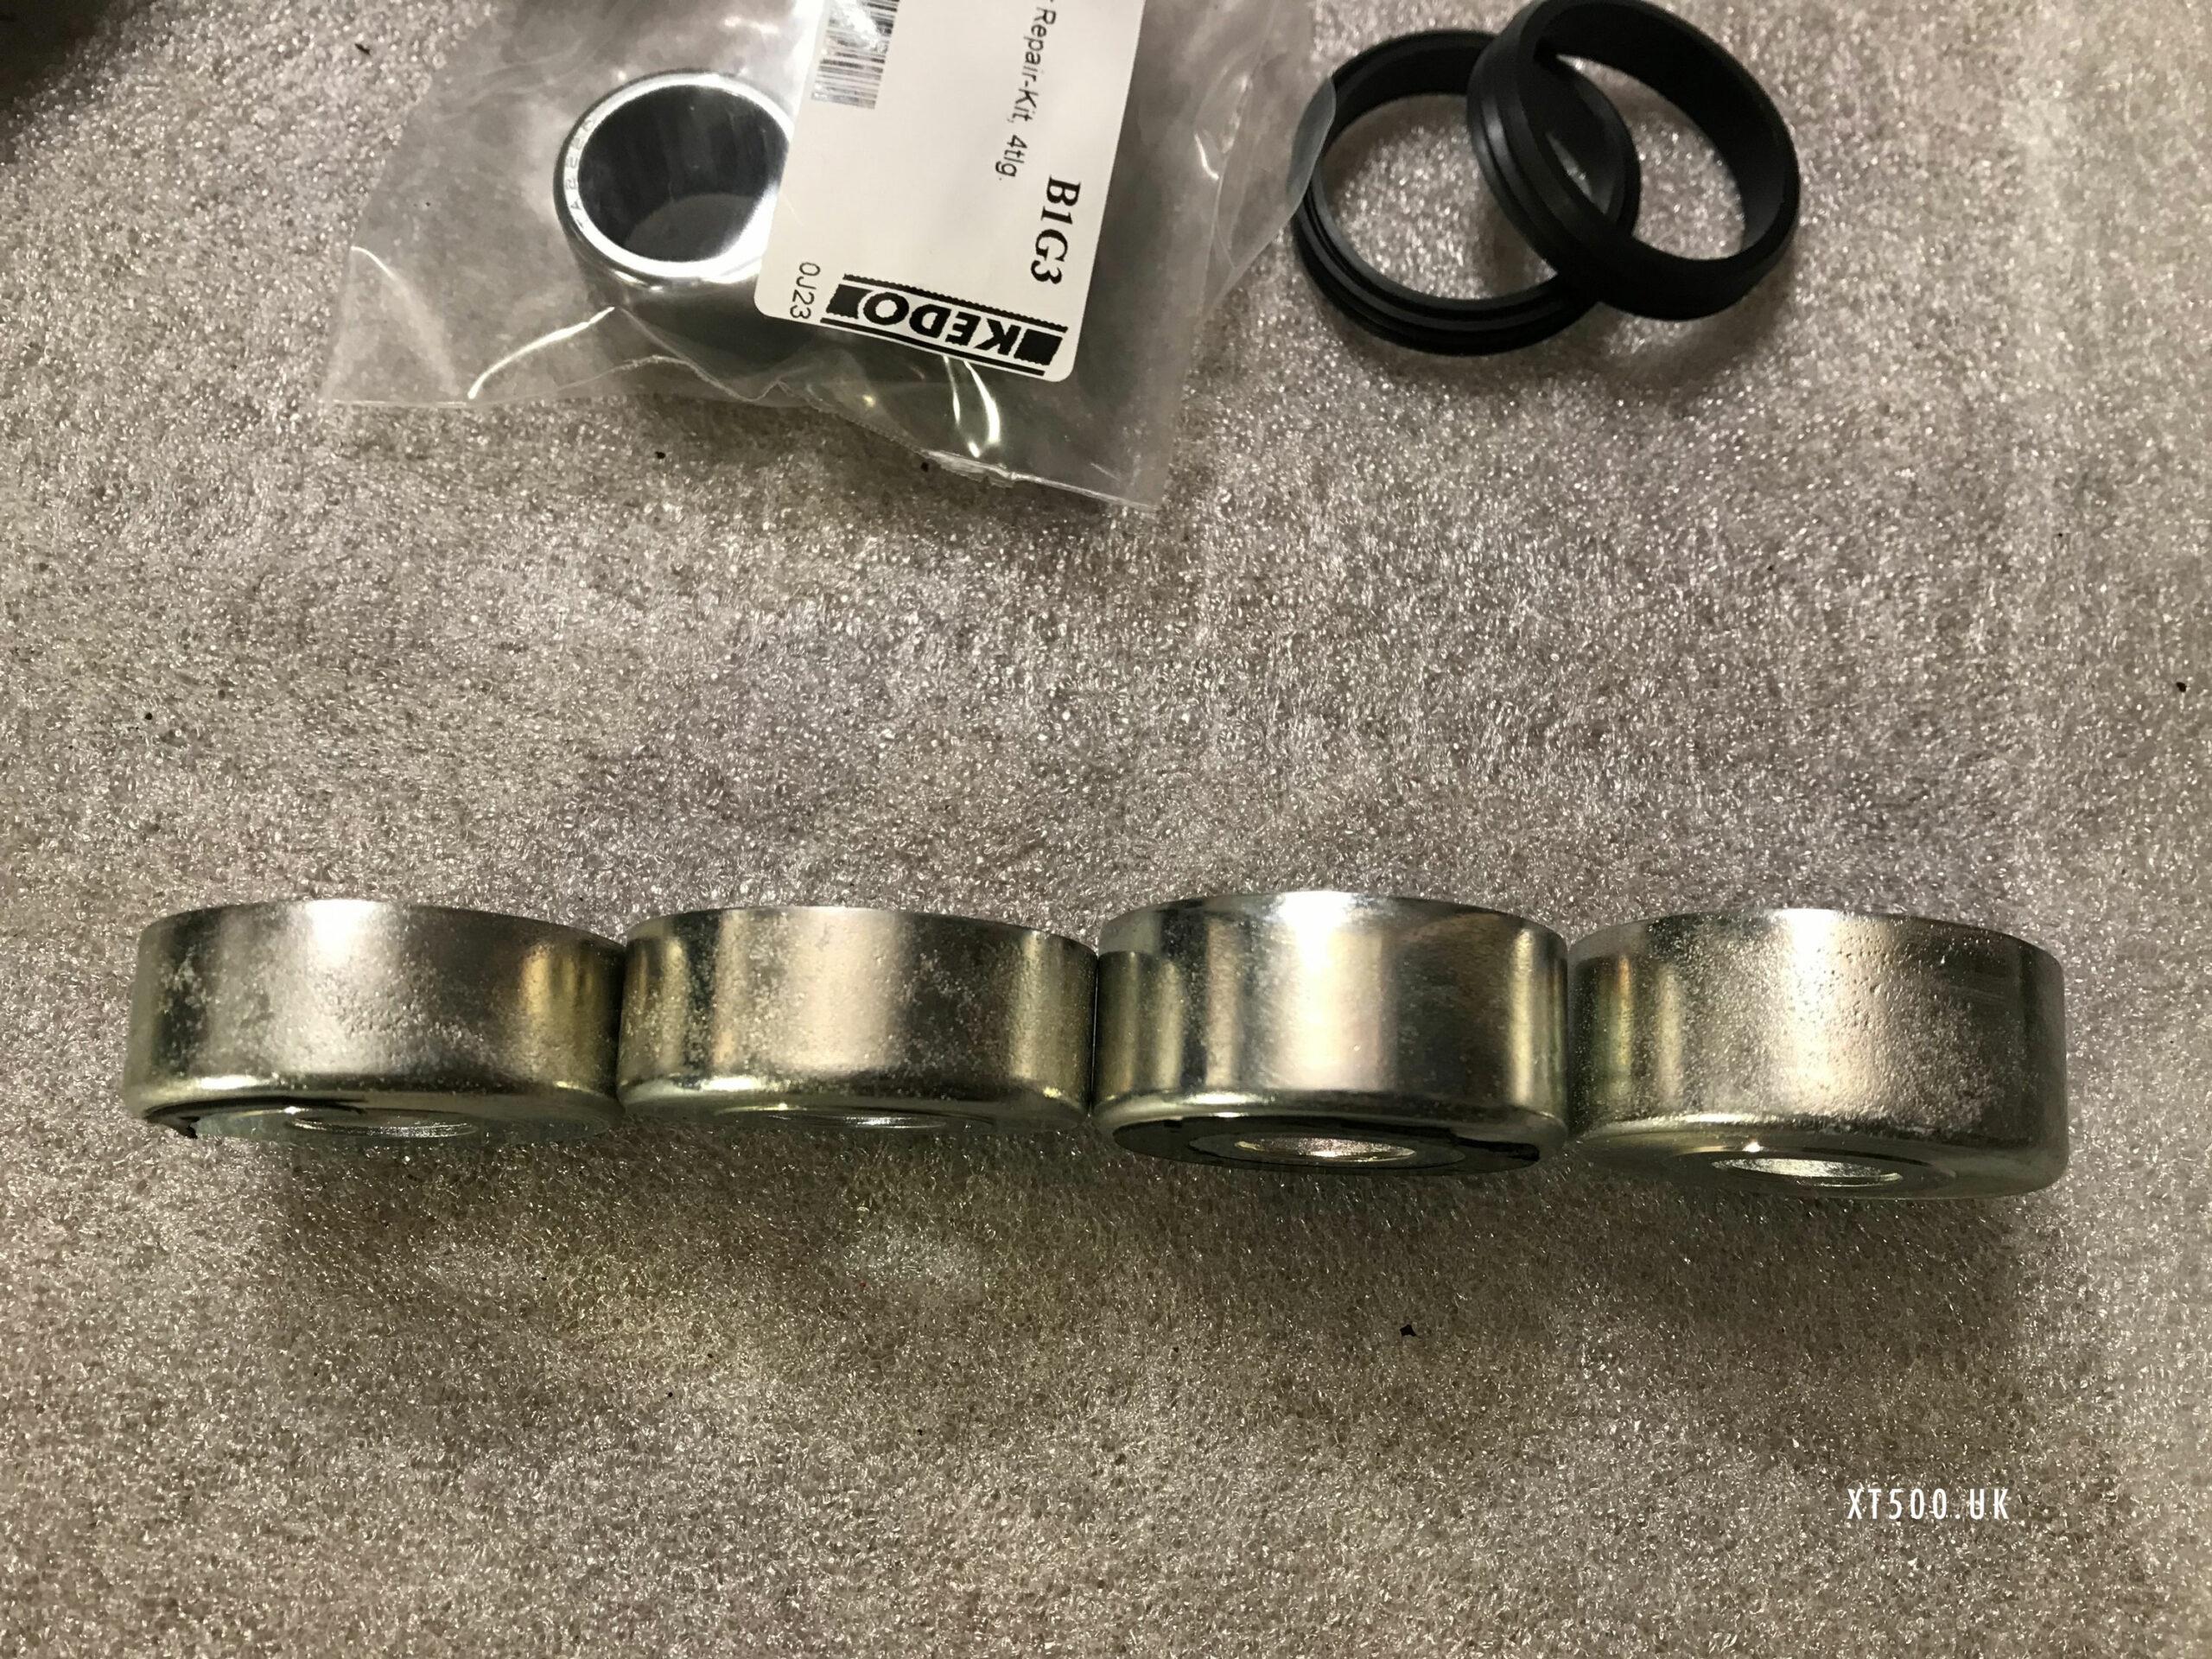
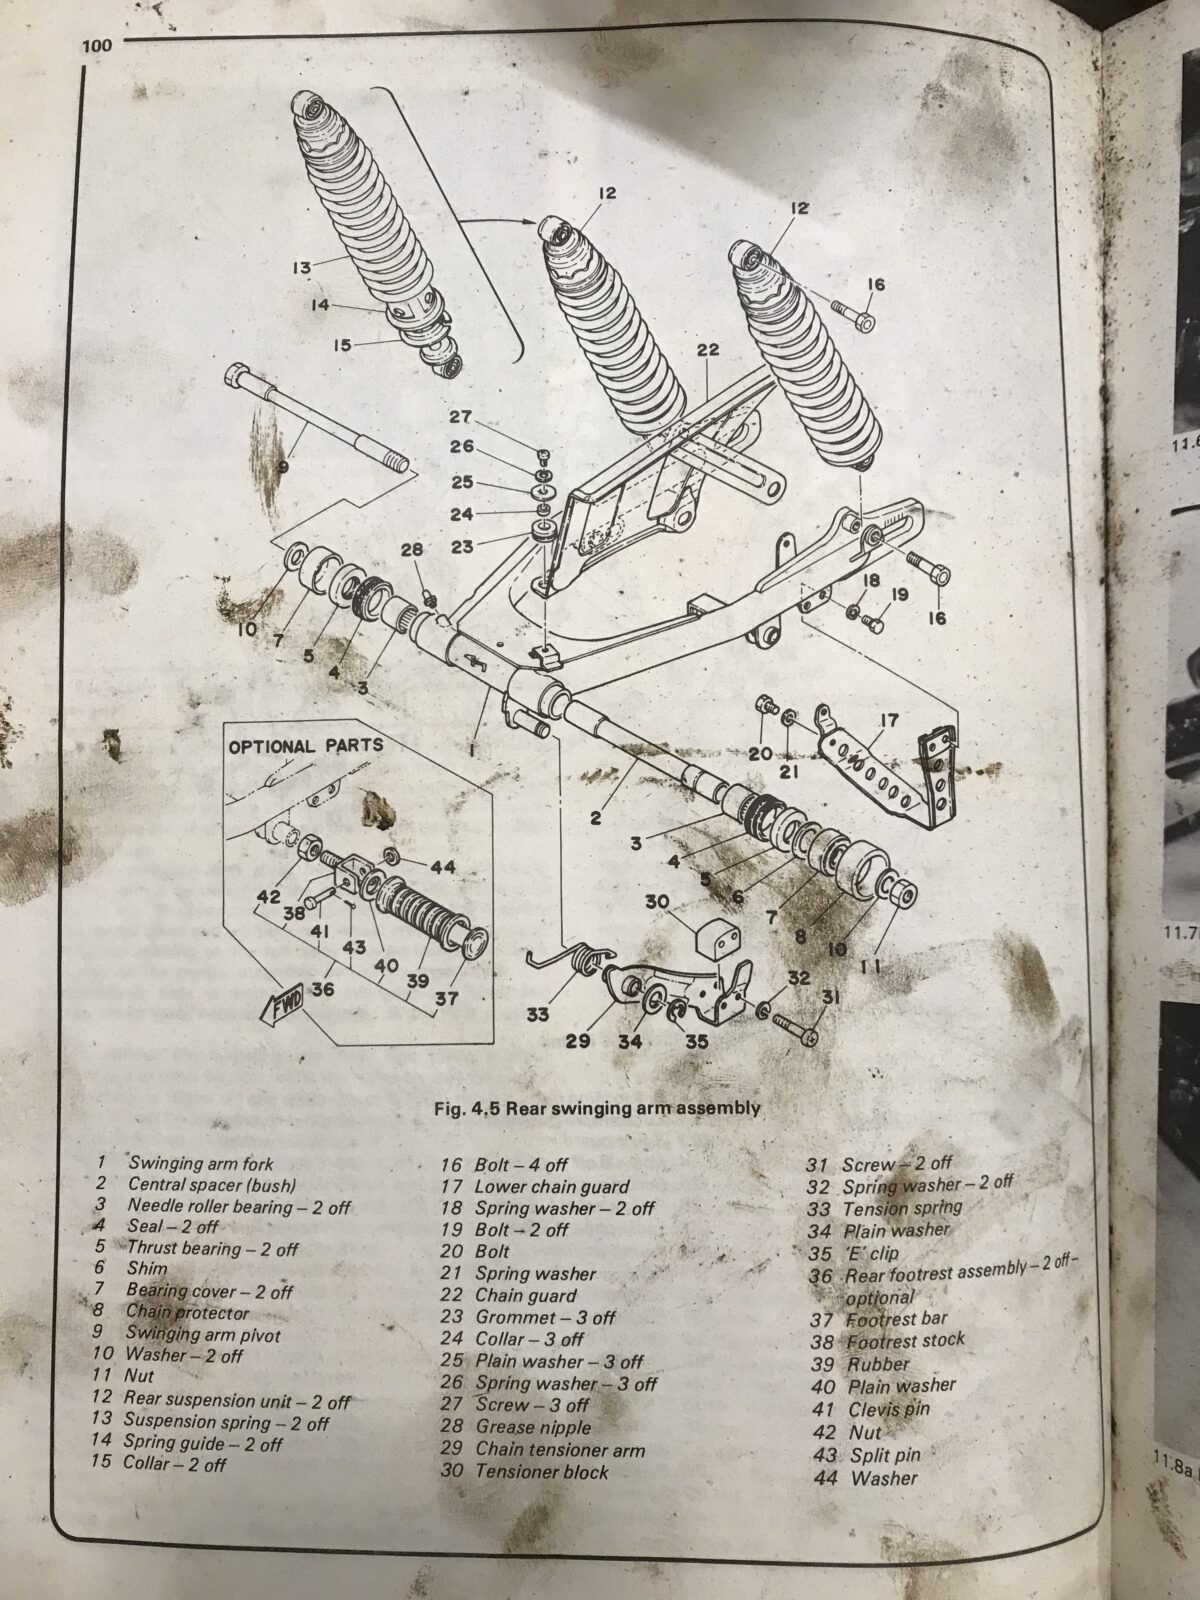
I know the shim in one side has been mentioned before on the forum, on both of my XTs 1980 and 1983 neither of them had it when I dismantled them. The shim was an option should there be any excessive play for models starting with 1980. Item 6 on this diagram.
I put the new needle bearings in a sealed plastic bag in the freezer and warmed the swing arm when ready to tap them in. Same process for fitting the lower roller bearing on the steering column, warm bearing on a frozen column. Another handy tip would be to grease the bearings before freezing to help reduce condensation when fitting.
To fit the new swing arm bearings I used a piece of timber between them and the hammer. Kept it square as I tapped ‘lightly’. Once each bearing was about half way I belted it harder until flush. Although I’d had the bearings in the freezer for a day, I also used a can of freeze spray on them after first warming the swing arm. Just warm mind, not too hot or it would have damaged the paint.
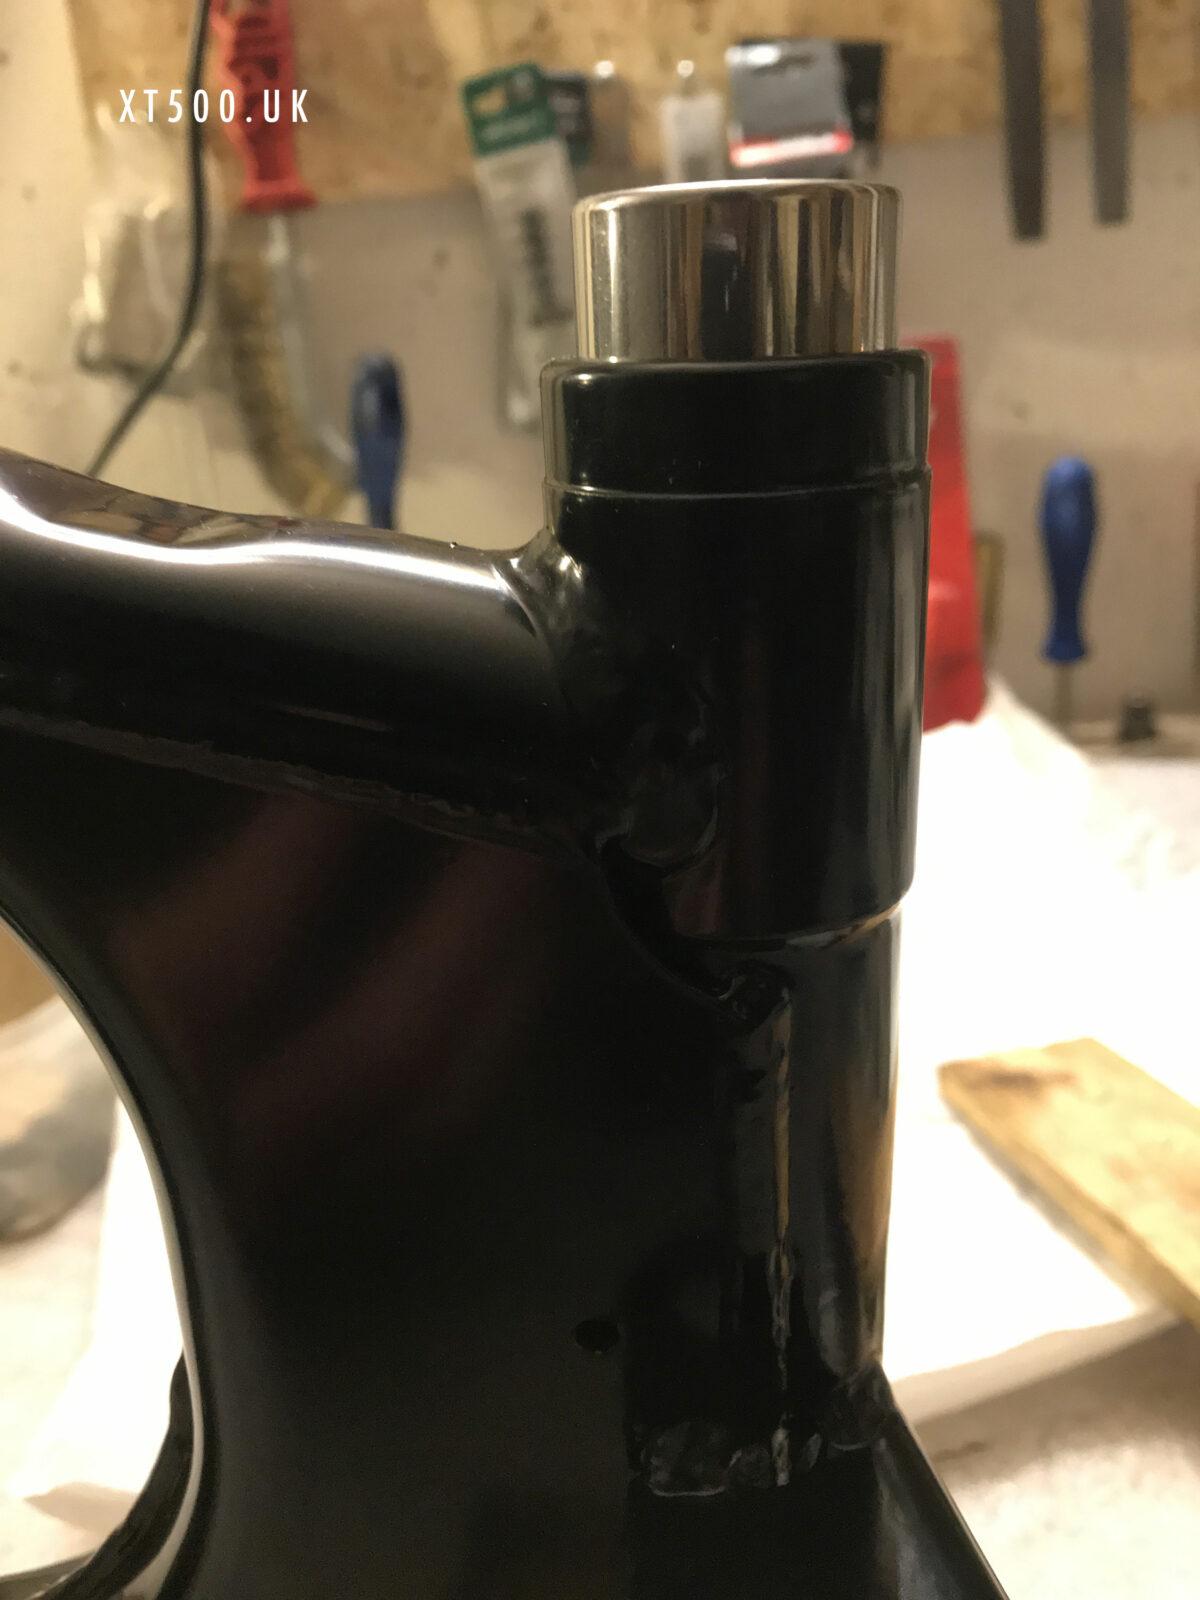
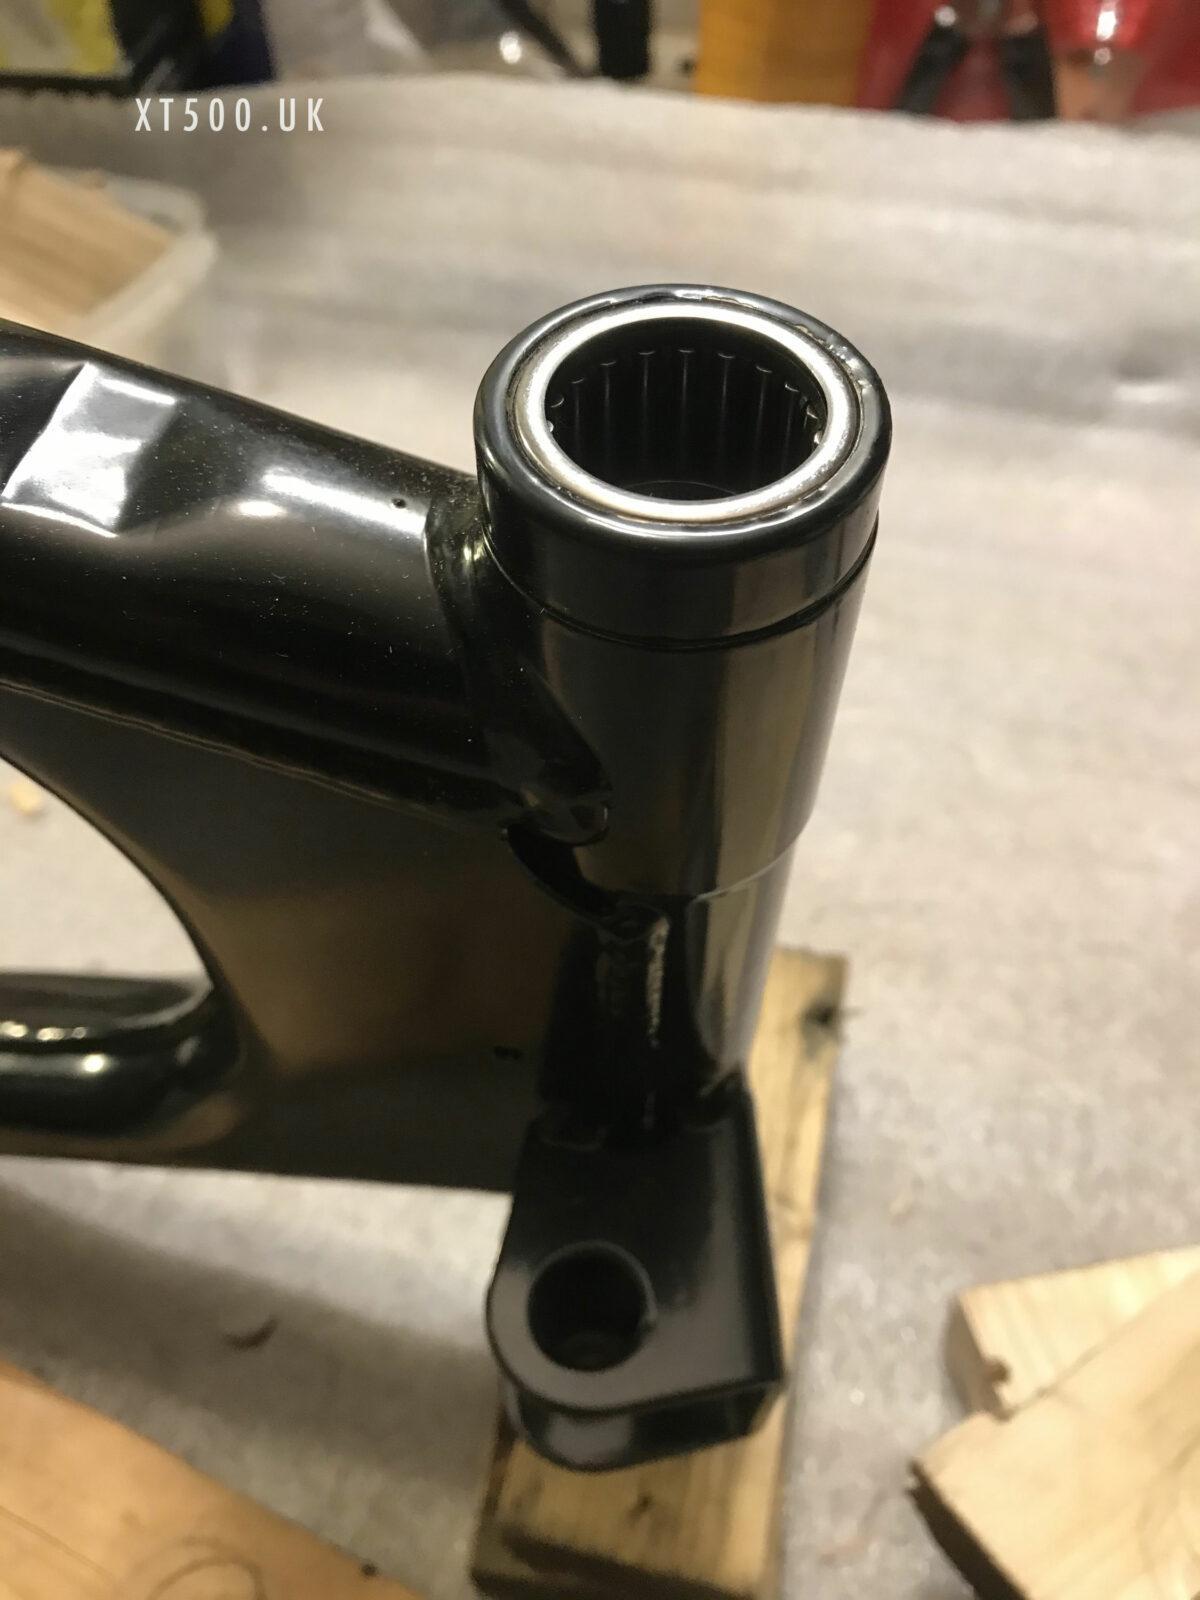
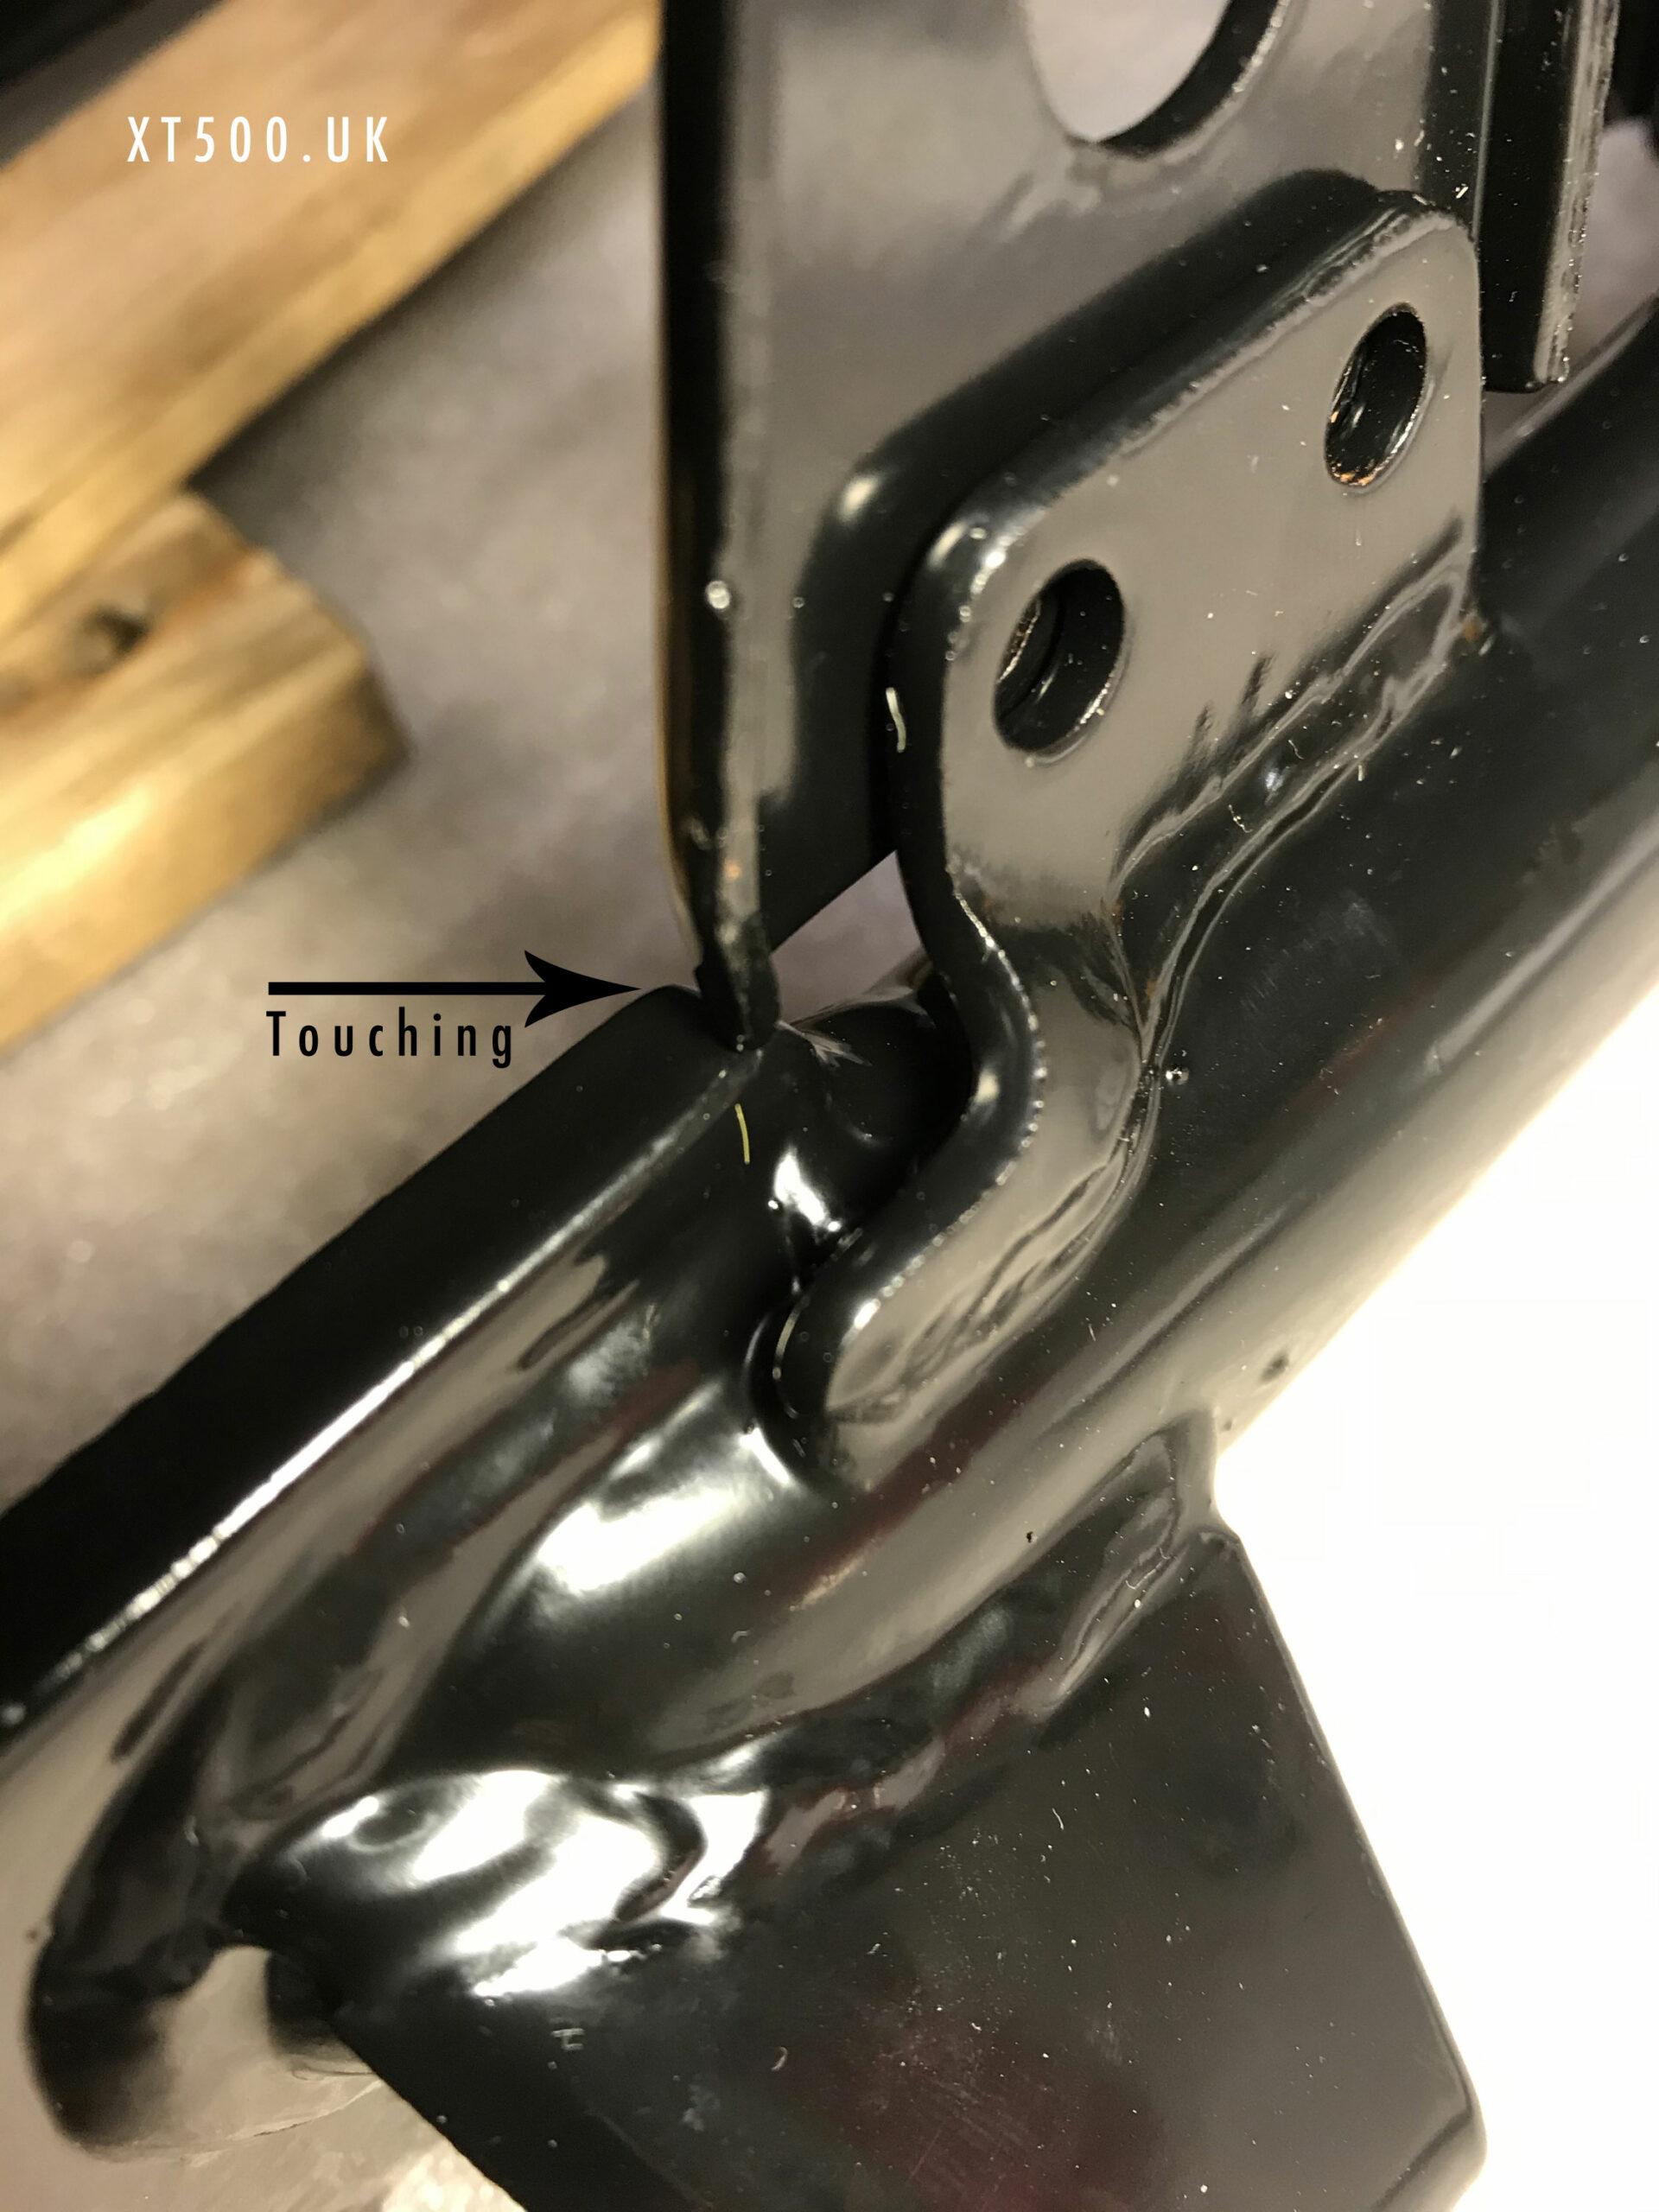
I did notice something that to me seemed a little odd. When attaching the lower chain guard / or guide. The corner of it was pressing against the bracket on the arm. To get all three bolts in required a little pressure flexing the guard a little. I have checked and it is the correct guard for that swing arm. Maybe the mounting points alignment is a little off. I don’t think the powder coating is so thick it closed the gap.
Shopping List
- Swing arm bearings and seals
- Chain guard, plastic long version, screws and washers
- Chain tensioner block, screws and washers
- Seal Guard Ring – loose fitting ring to protect the swing arm from the drive chain
- Grease for grease gun
- Can of freeze spray
- 10mm 1.25 pitch tap

