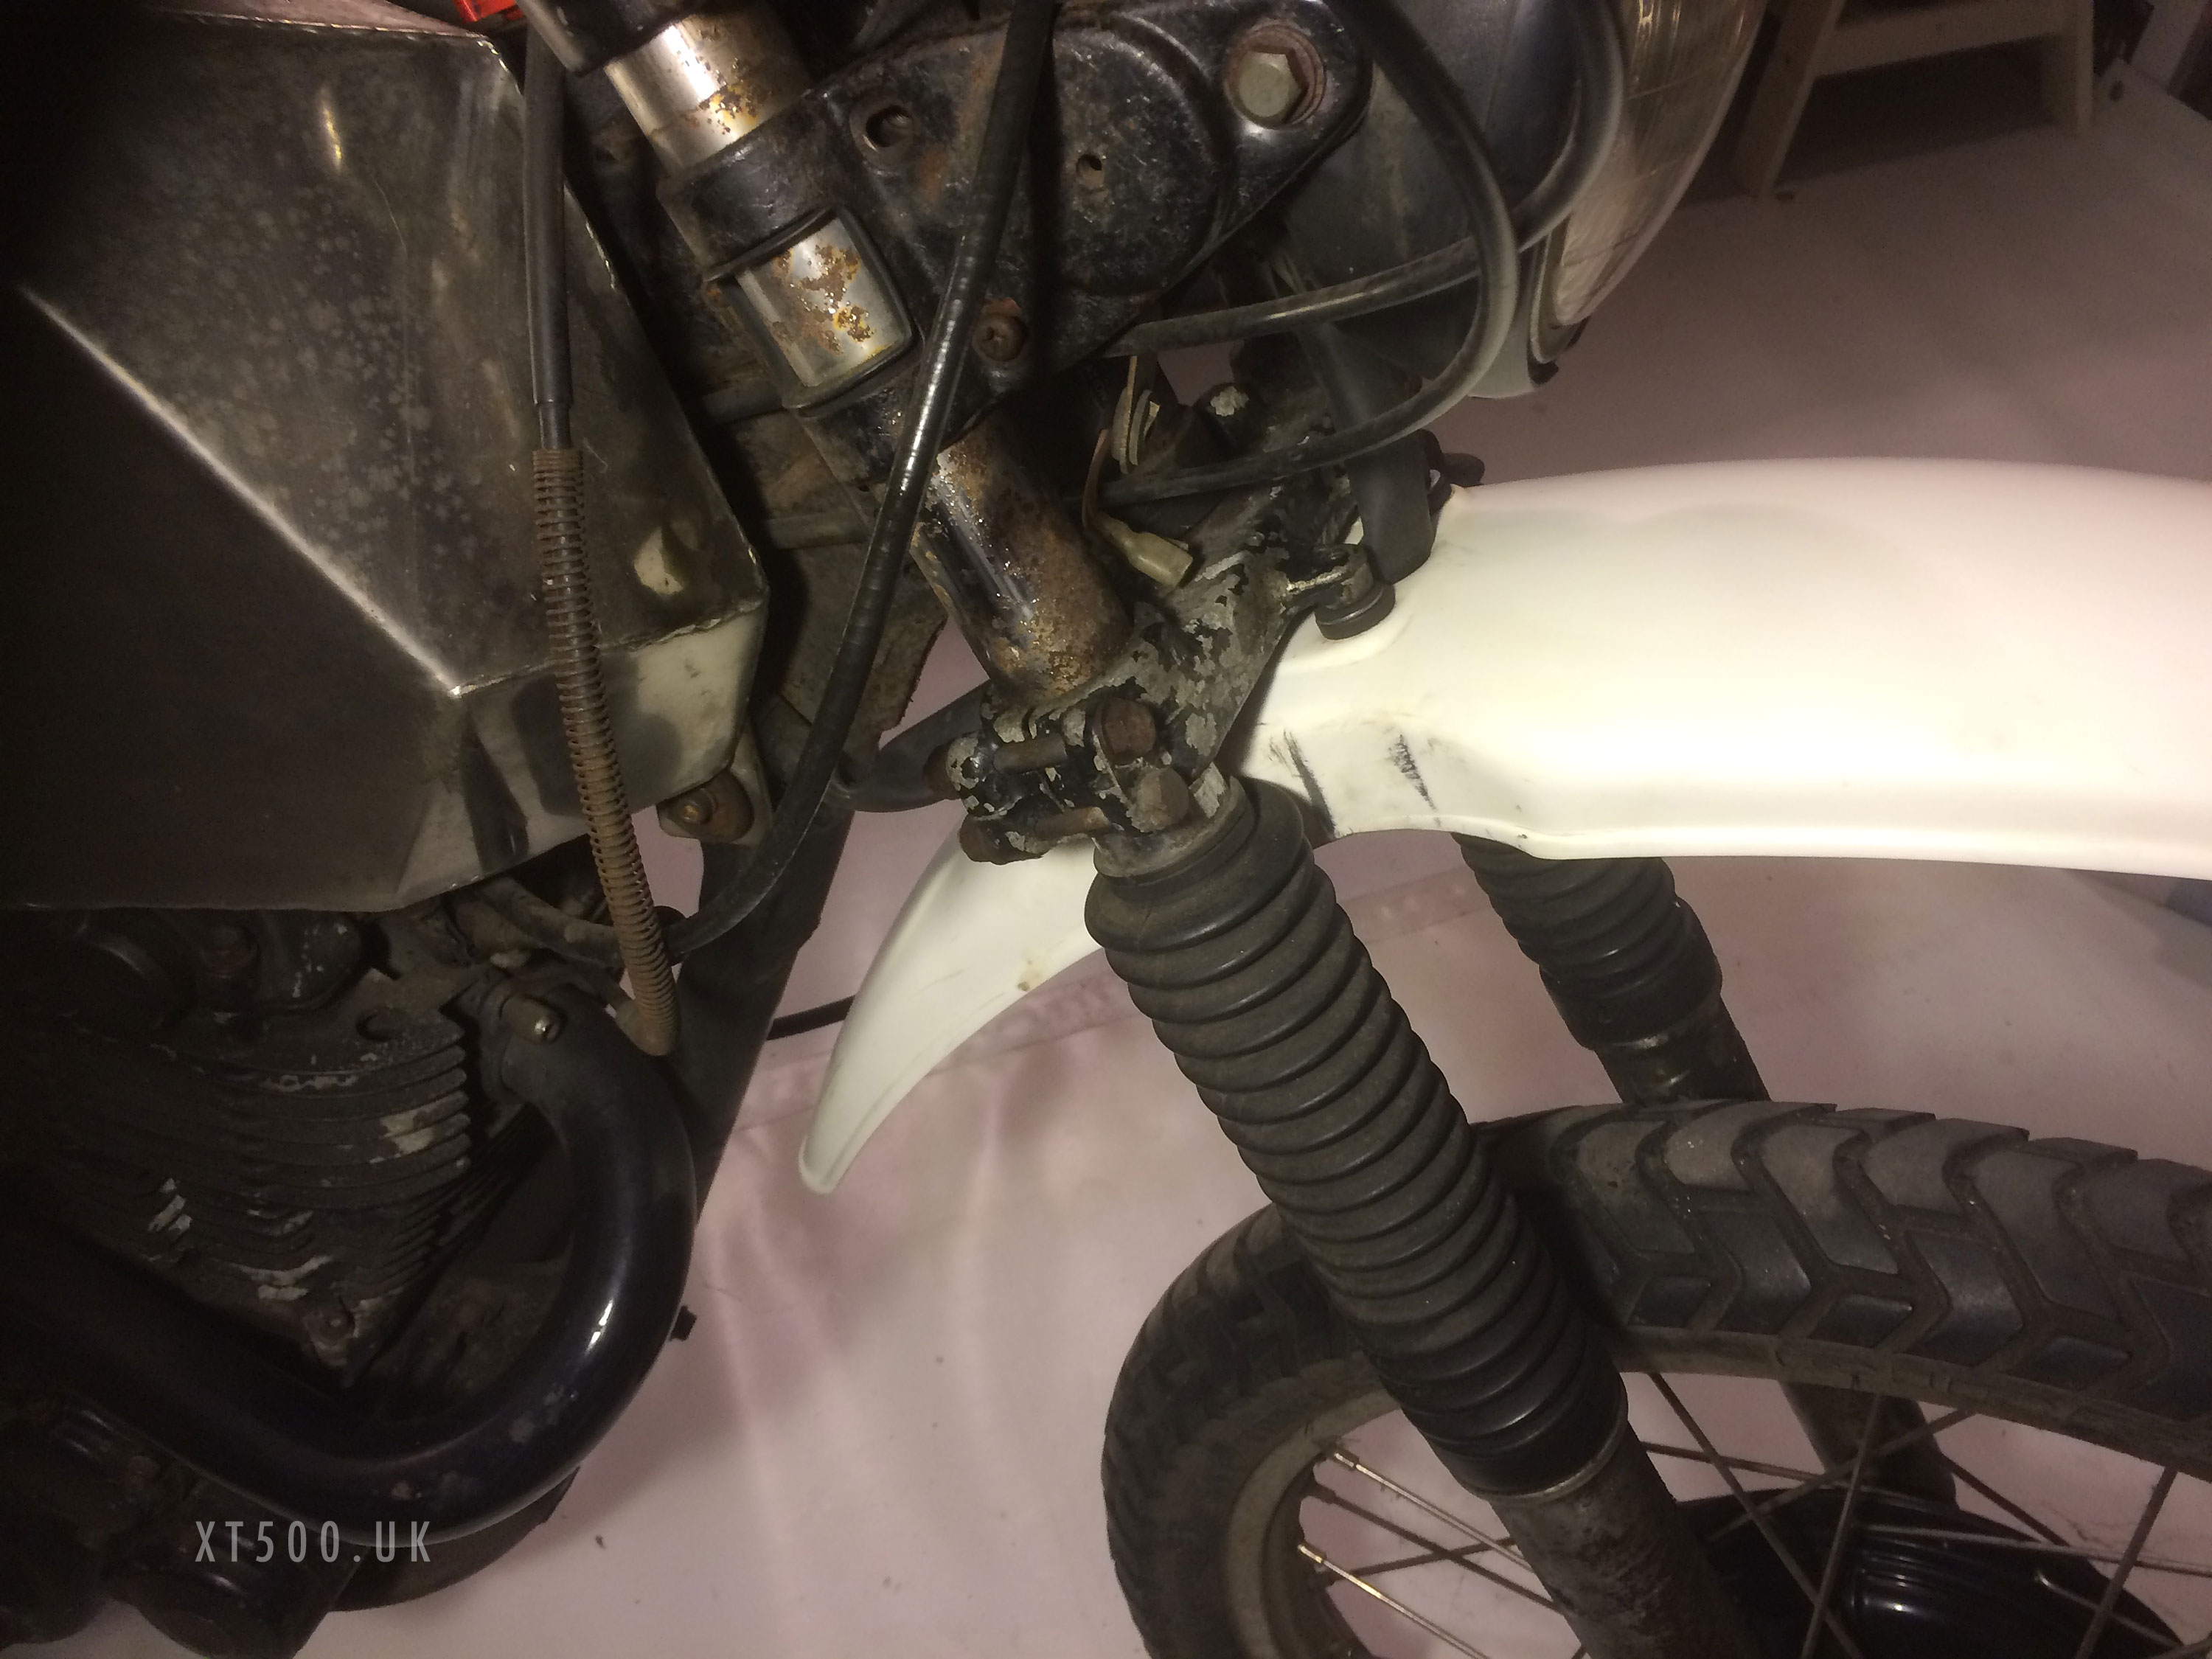
Whilst I waited for the first delivery of parts and tools, I began with plastic side panels and front mudguard.
The Front Mudguard/Fender
Fairly easy to do once I dealt with the bolts which were rusted solid. It was fixed low down on the forks using an aluminium home-made bracket. A rusted bolt of the added mudflap proved impossible to undo. WD40 not being as accommodating as I thought it might. I suppose after 40 yrs of weather and salty roads is going to have an effect.
In the end I cut off the mudflap and prized out the remains of it from in between the washers and the mudguard. This gave enough space to get a hacksaw in. I had to hold the other end of the bolt in a vice.
I used a paraffin-based lamp oil that I found unused in the garage, to clean off the dirt and grime. Then used a Stanley knife blade to gently scrape away the years, leaning the blade forwards in the direction of travel. I saw a few videos online on bringing back the colour to plastic fenders using heat. Either a heat gun or gas torch. However, since these plastic parts are so old the general advice I was getting was not to risk it.
“After many years of cold, rain and heat they are probably cooked and vitrified, so probably a heat gun could give them the coup de grace” Buba (XT500 TT500 Forum)
So I used wet & dry paper starting with 400 grit and ending with 1200. I did this under a dripping tap.
Didn’t managed to take away all of the yellowing and all of the tiny fractures as that would mean reducing the thickness too much. However you only see those up really close.
The 1200 wet n dry finish is good, even gets a bit of shine.
But even as clean as it looks now, new dirt will stain it very quickly, such as when I handled it after handling rusty bolts. I had to use 1200 paper again to remove it completely. The deep scores in the side walls I obviously left.
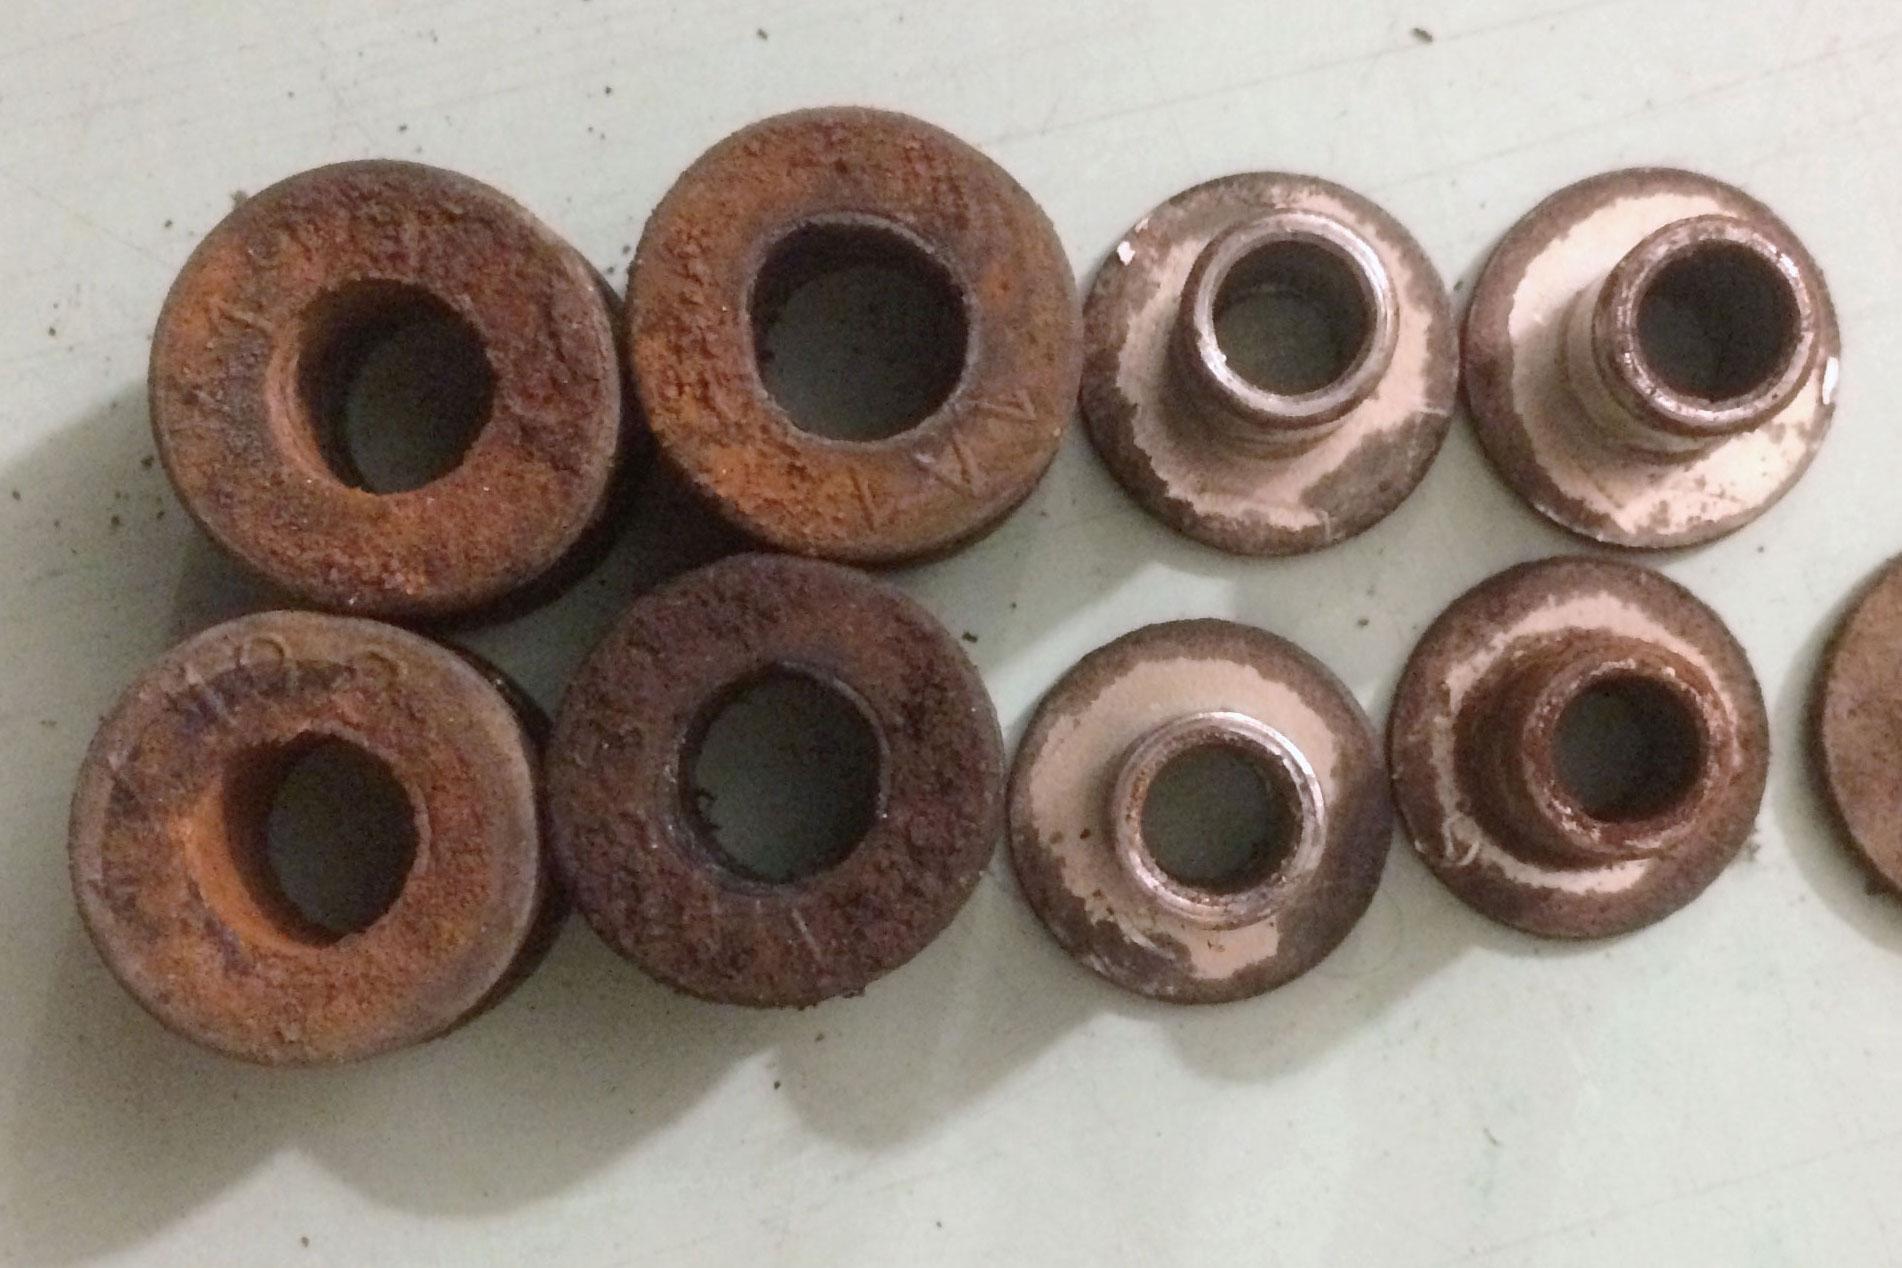
The rubber grommets/bushings can be restored even when they are this bad. First briefly soaked in a petrolium-based cleaner and scrubbed with a stiff nylon brush to remove the rust. You could use cola or vinegar to try to remove the rust but this eats at the rubber too. Once they had dried out, I massaged Vaseline into them. The metal bushings were wire-brushed then wet n dry paper, and added to the growing pile of parts to be sent for zinc plating.
Side Panels
The right side panel had been painted white, on white.. huh?. At some point in the past I think someone must have used a rotary sander or something to remove other paint. I am guessing that after I scraped away this paint and found the surace all rough, not even. This took some more elbow grease to get right.
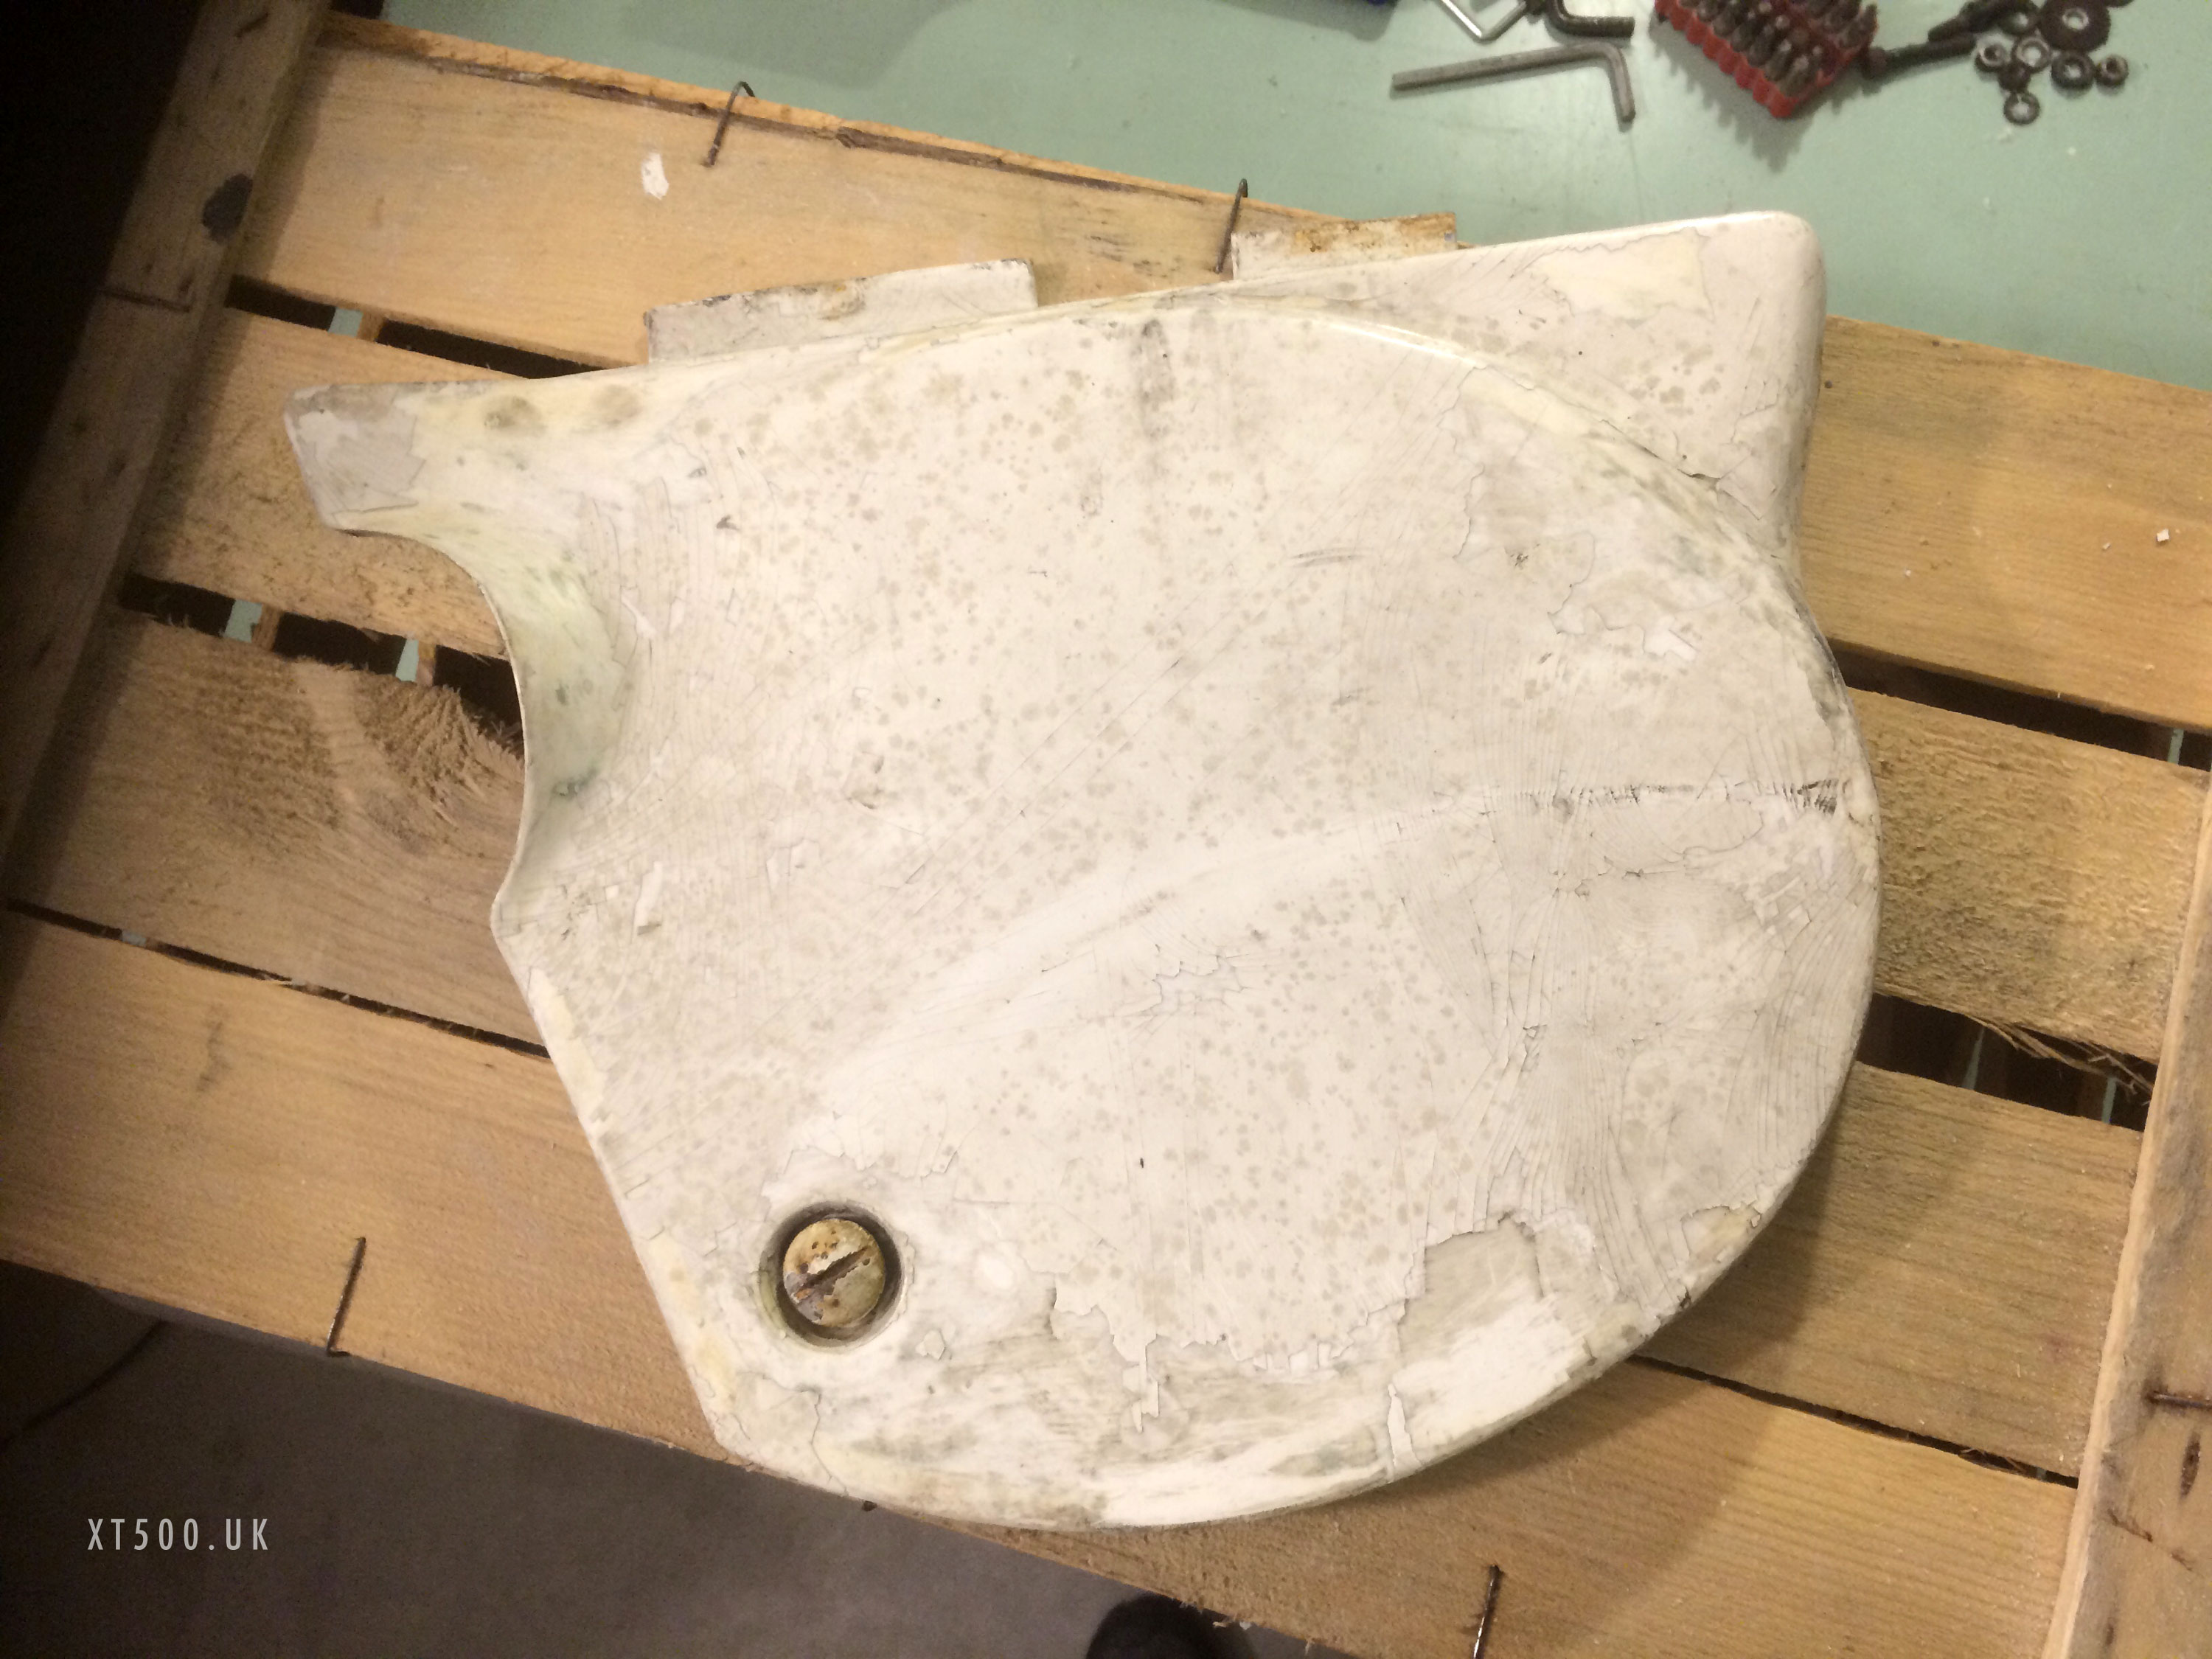
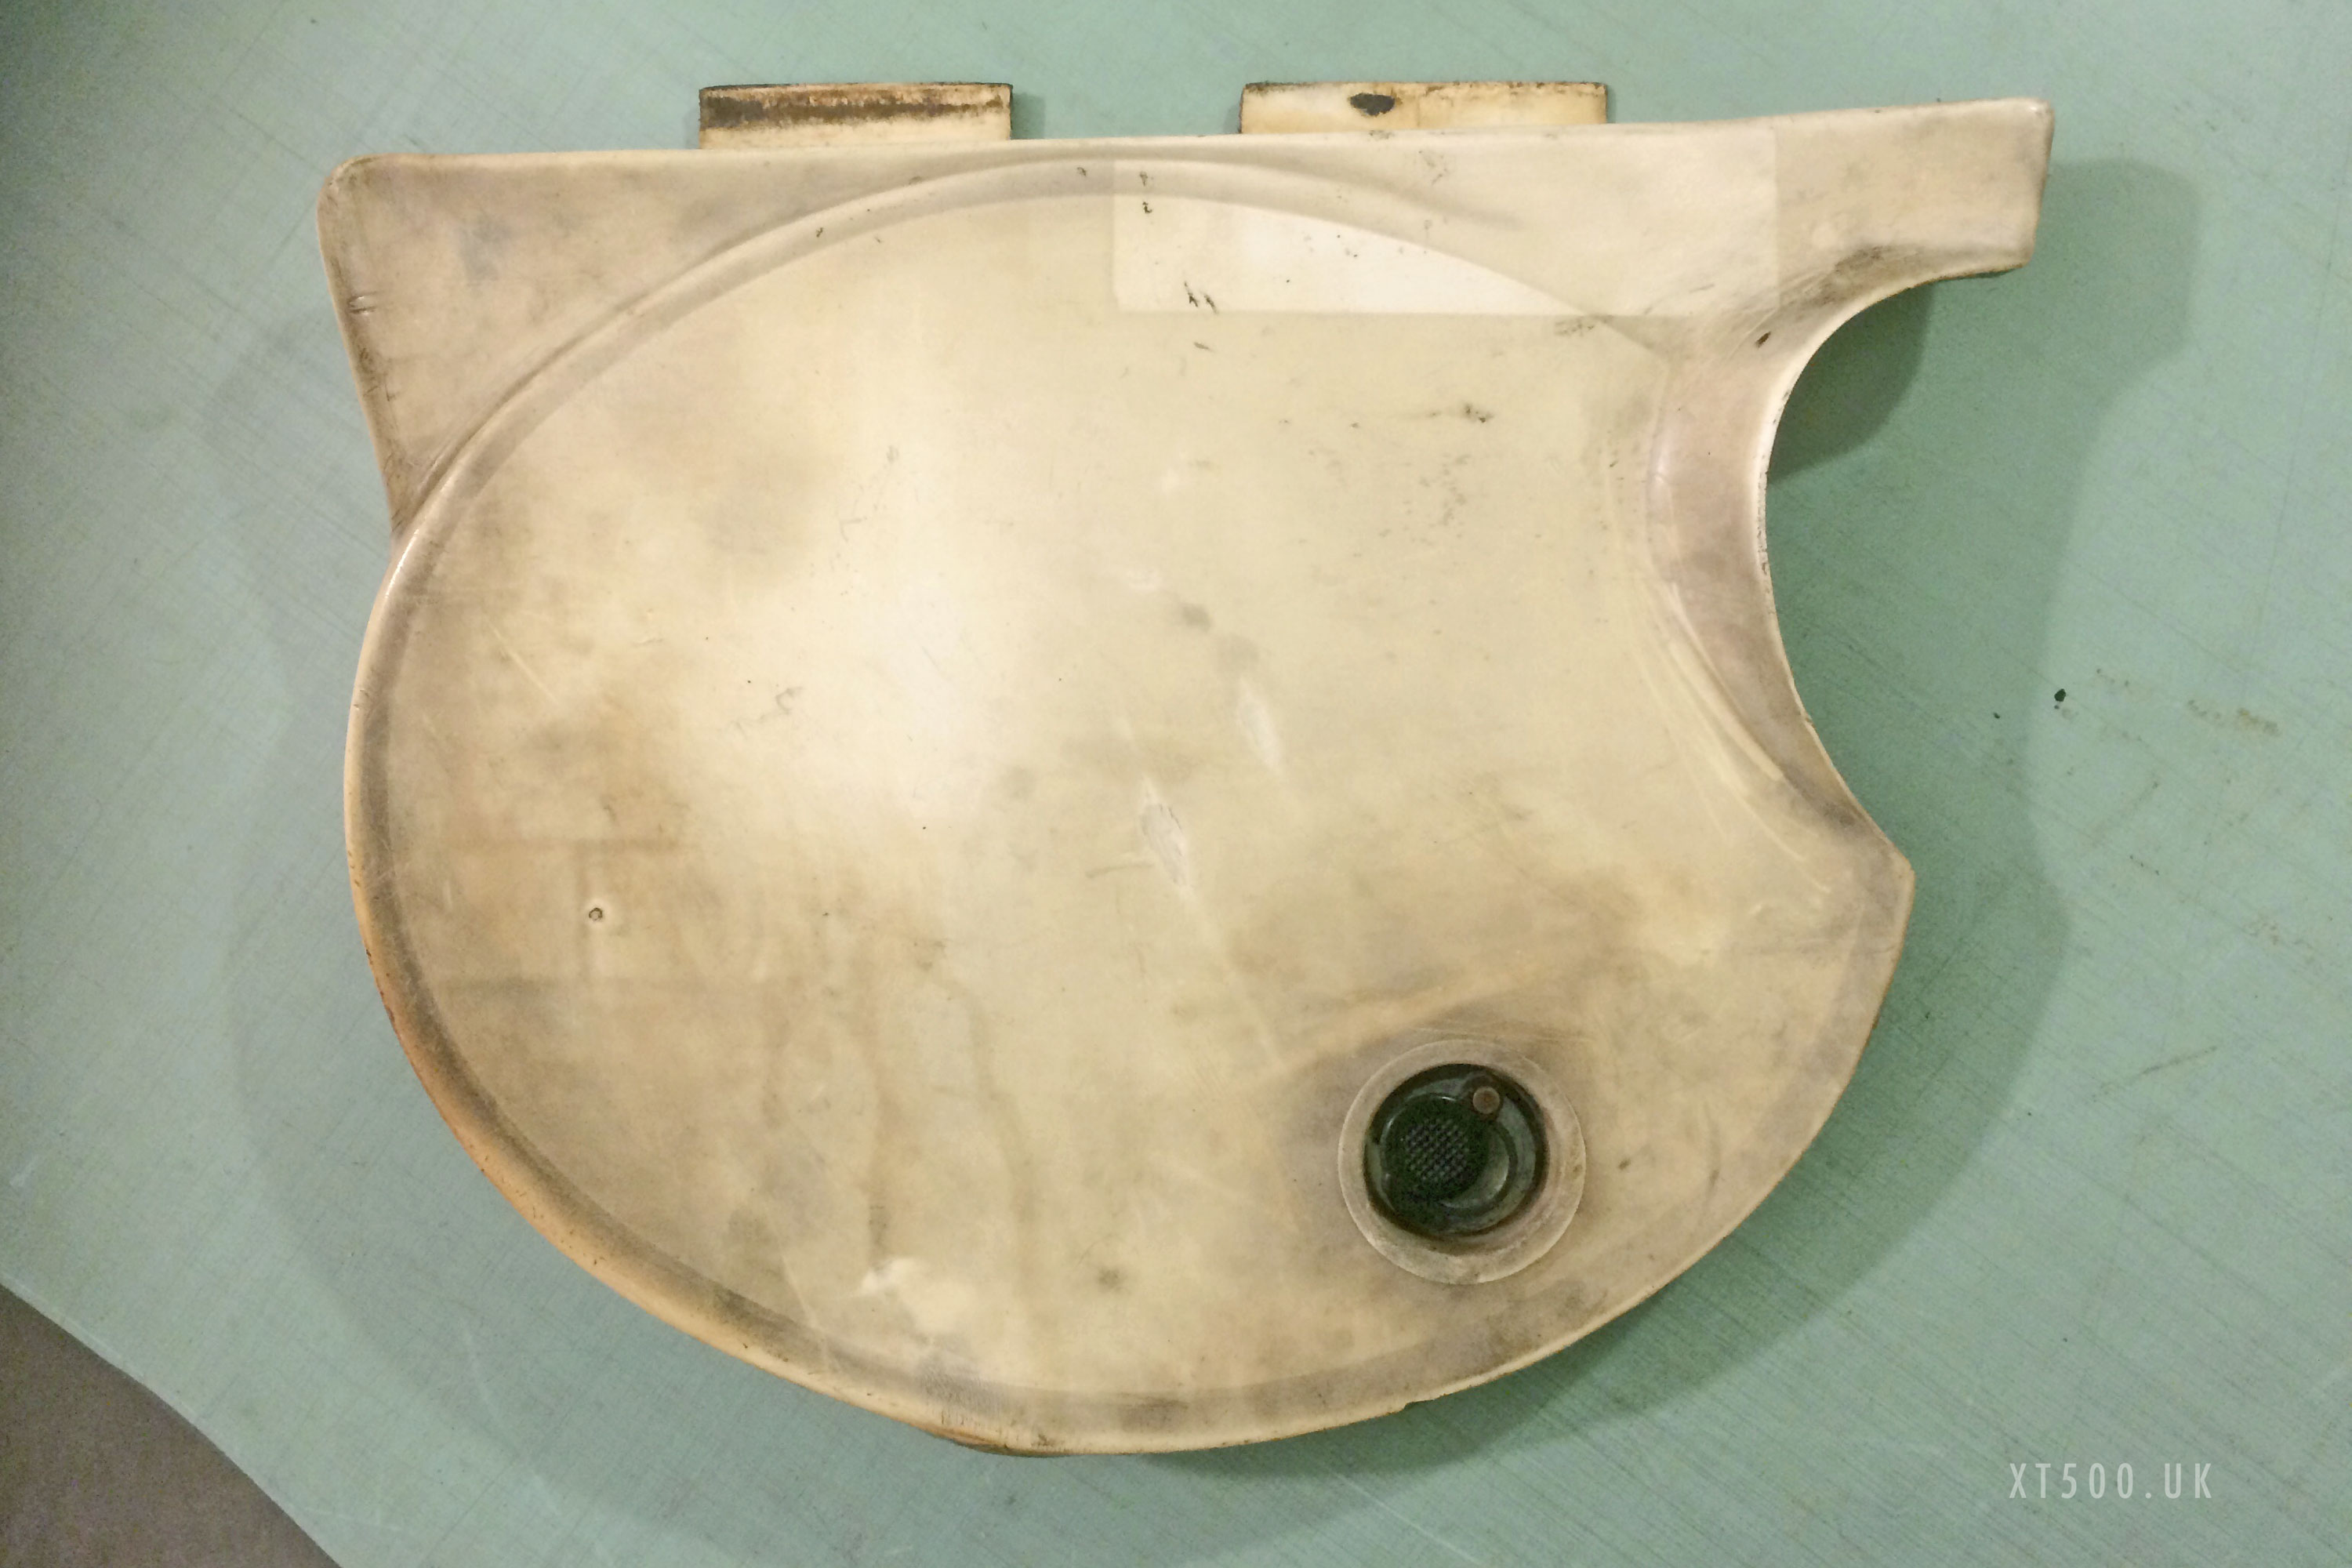
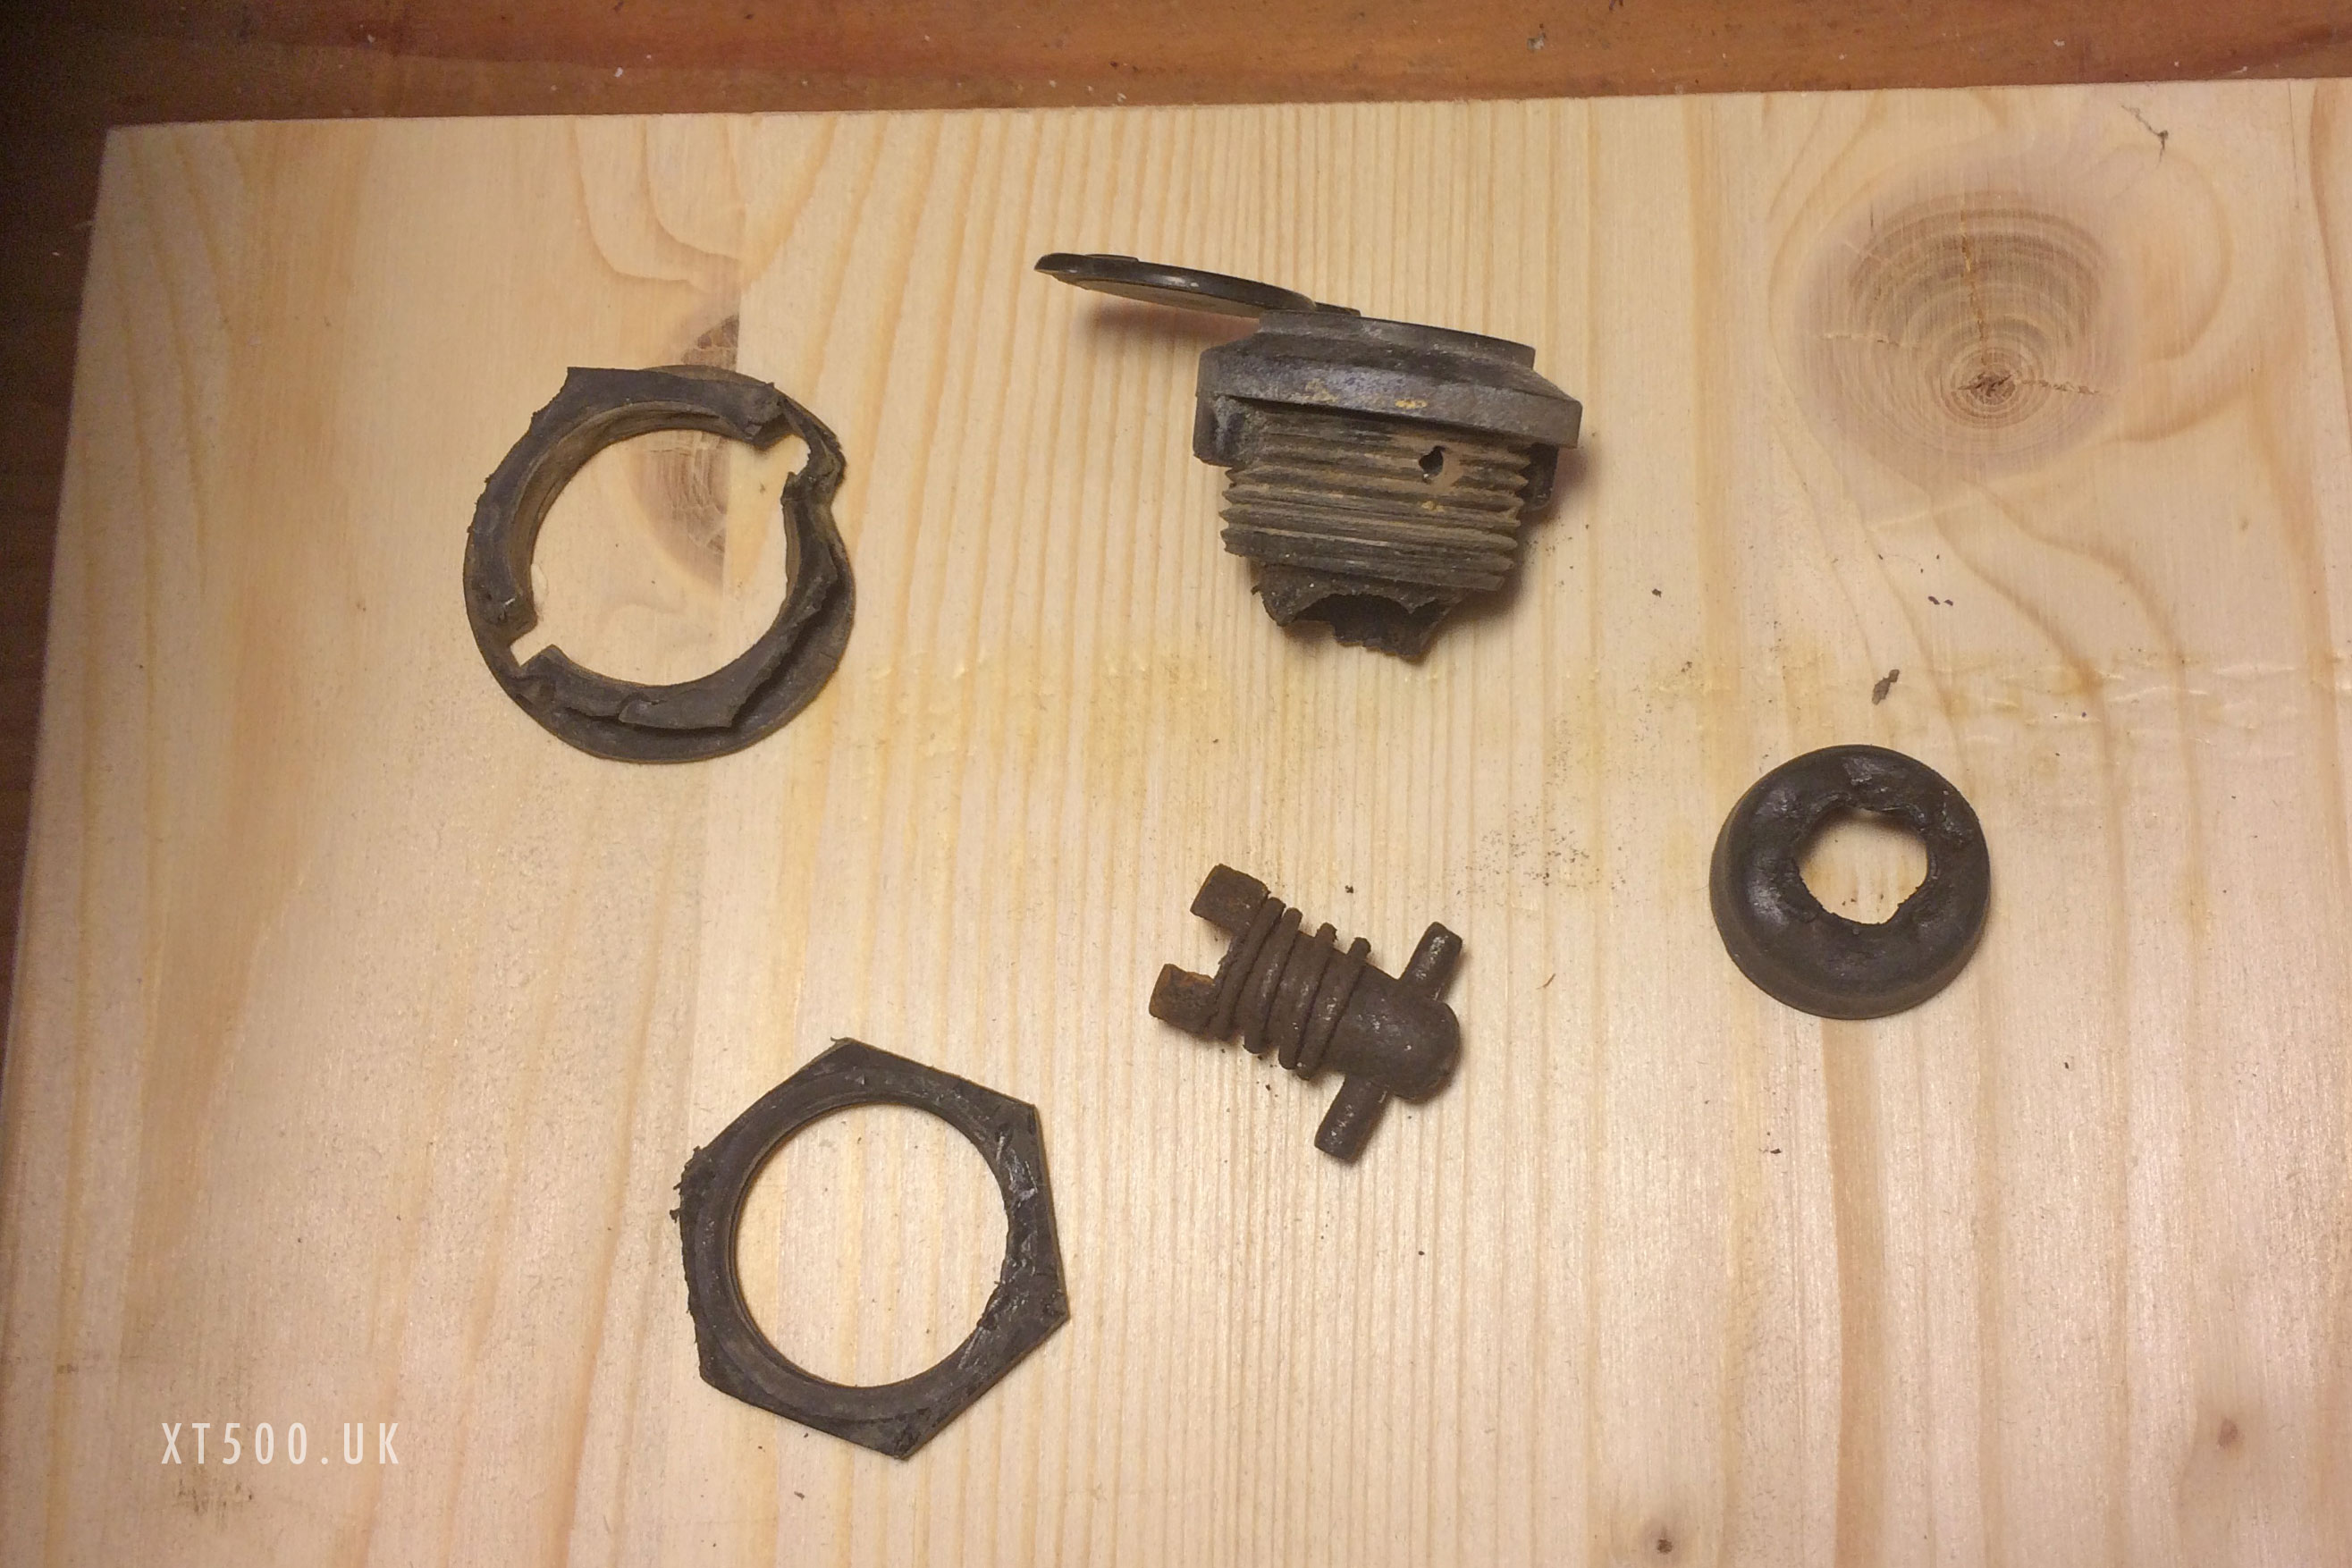
I wanted to remove the lock so I could clean up the recess too. The plastic retaining nut wouldn’t budge. Rust had fused all parts together and no amount of WD40 was going to help get the pin out. In the end I was able to tease the rubber cover over the pin to discover broken bits and more rust. Take a look at the pics, not much is salvageable, looks like something to add to my shopping list.
The rubber parts had more-or-less disintegrated, the plastic is brittle.
The pins are made of hardened steel (OEM #91609-25018-00) so my new hacksaw blade only scratched the rust off.
The final result of the side panels and the mudguard doesn’t make them look brand new, but they are a huge improvement. Although they come up with a shine using 1200 wet & dry, they may need some kind of sealant. Picking them up with dirty hands leaves finger prints which do not easily wipe off. Eventually I gave them a coat of plastic lacquer.
After restoring these parts I realised that none of them are correct for my 1980 Australian version. The mudguard is the earlier style used until 1978 and when mounted under the 1980 straight yoke it sits too far forward. This can be clearly seen in the photo. There is an adapter sold by Kedo that allows you to use the earlier shape mudguard, but since the exhaust header is not original and protrudes a little more forward, there was a chance that they would touch.
The side panels should be black. The UK/EU 1980 version also used black so these must be 1976-1977 due to a slightly different shape too.
Inner Rear (extension) Mudguard
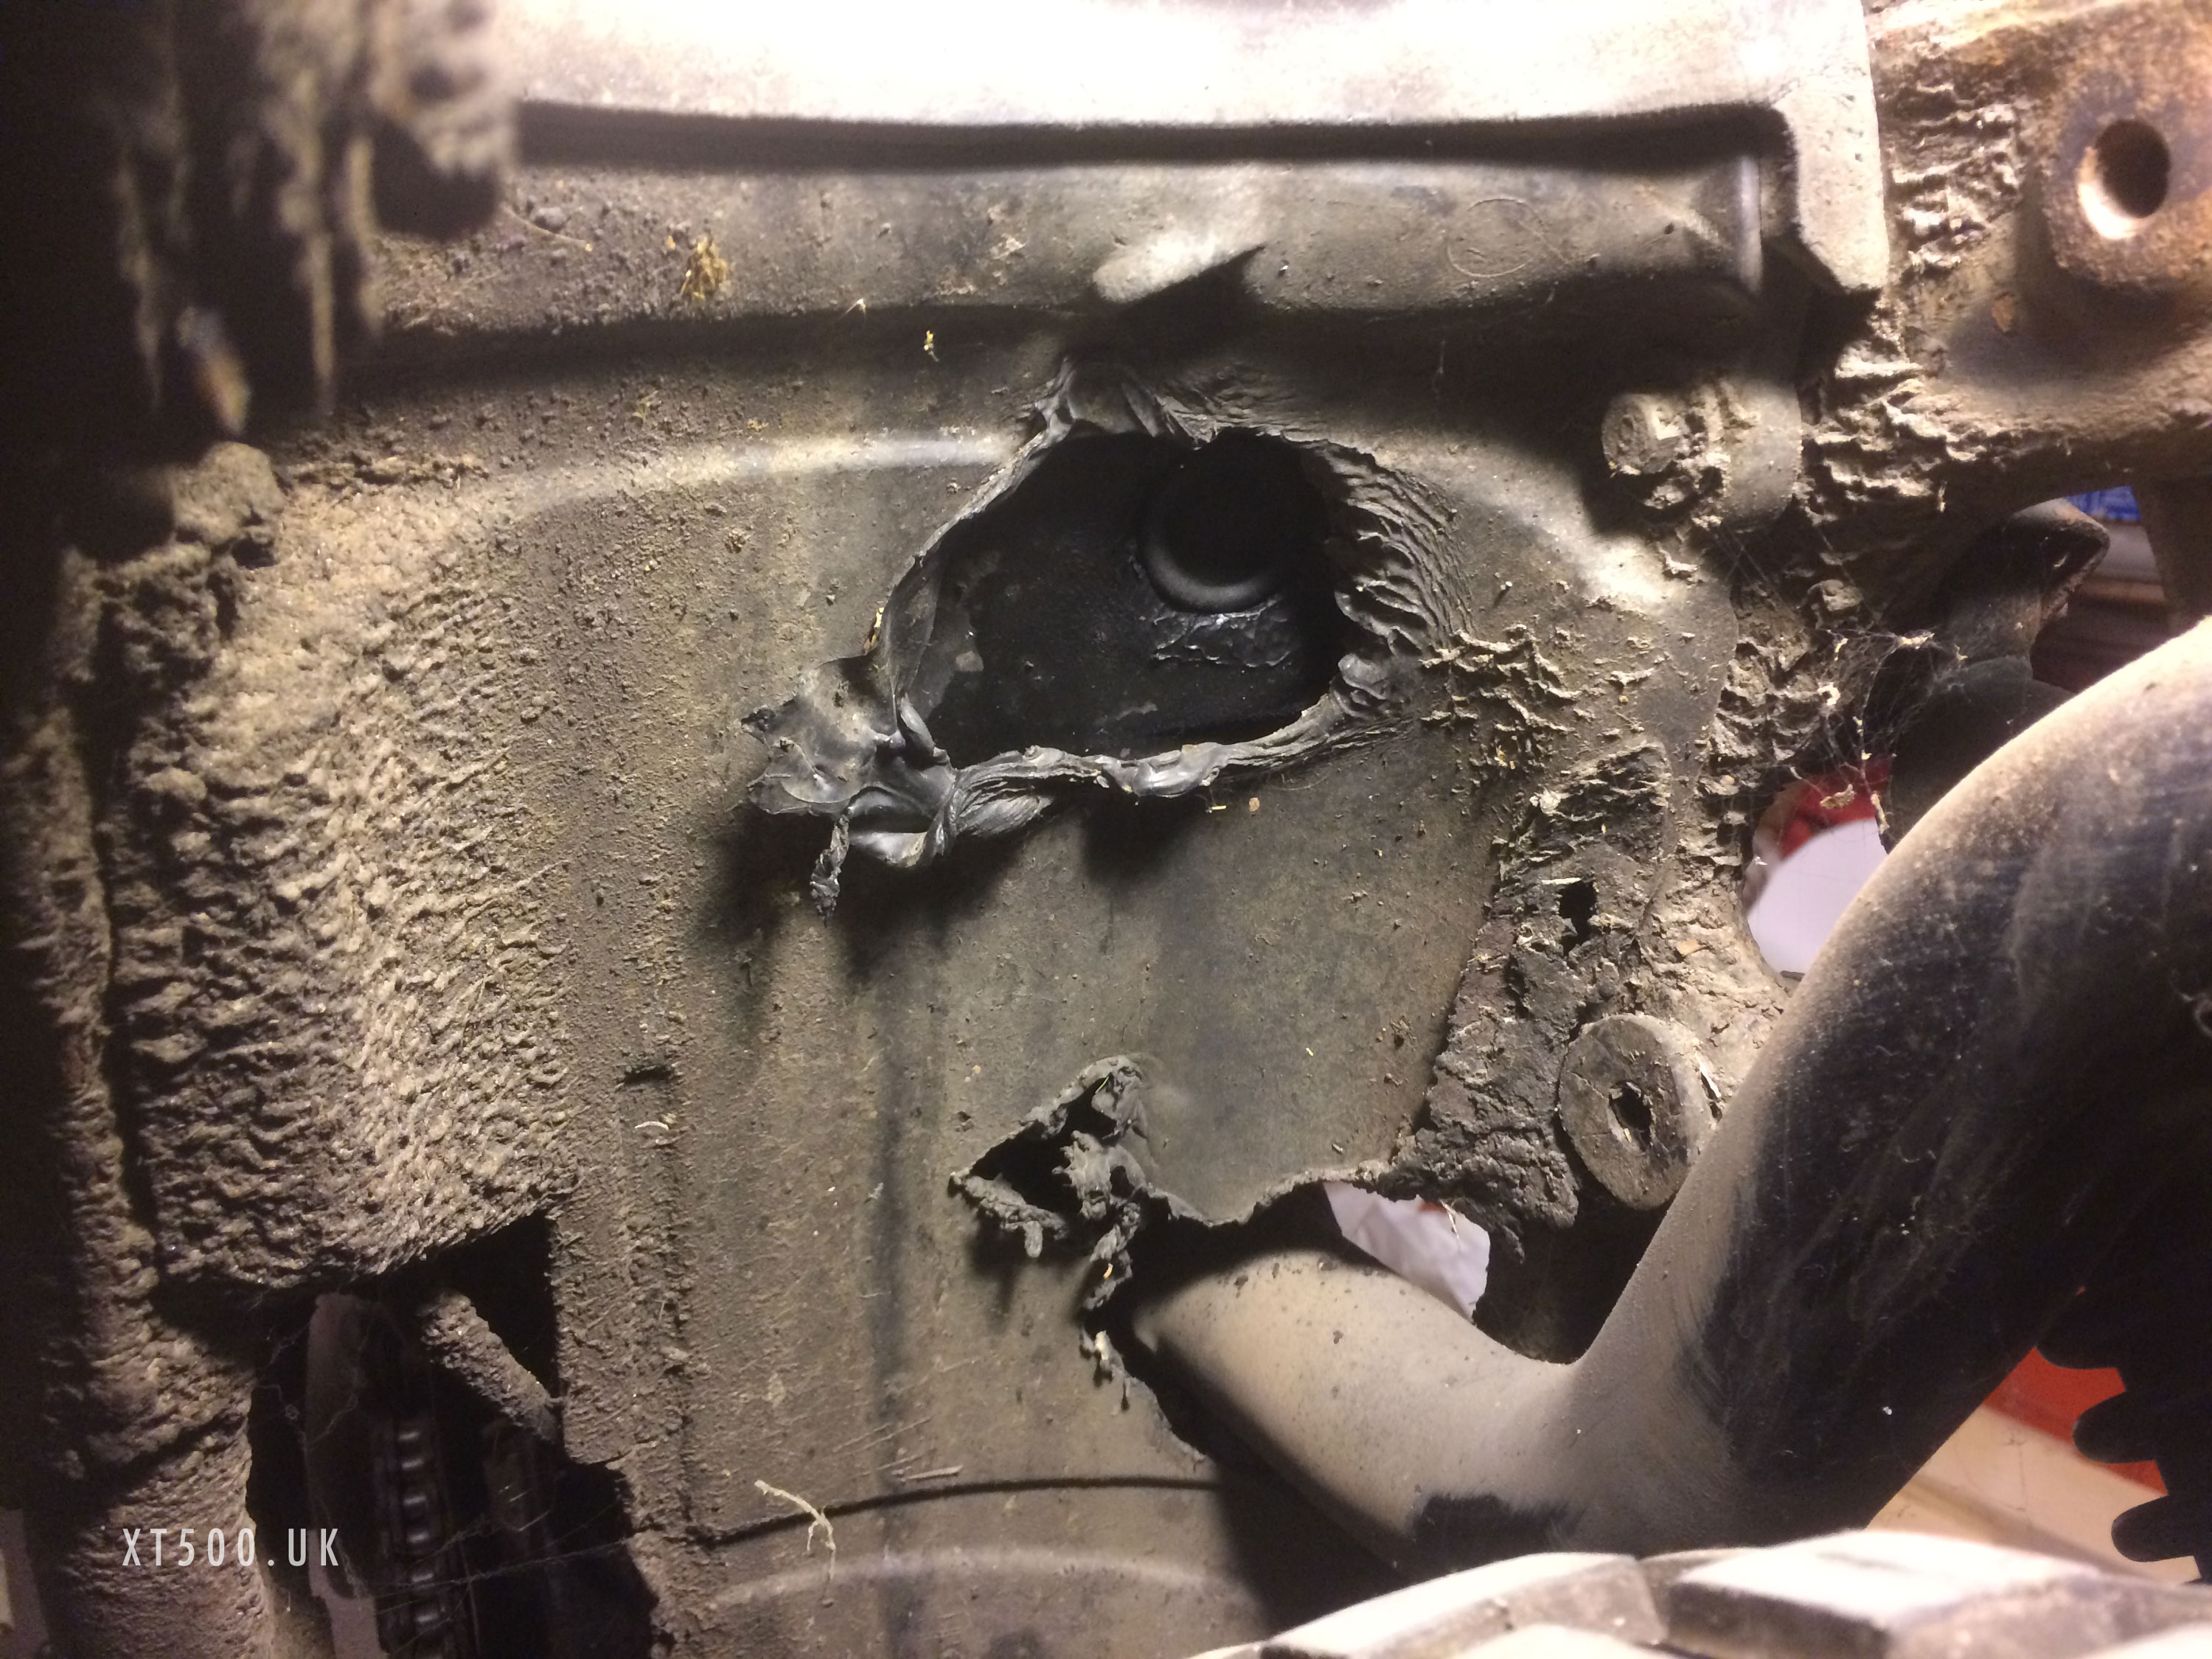
Turns out that my very badly melted inner mudguard comes from 1976, hens teeth are easier to find. It has two holes cut/melted into it for two exhaust positions of the past. The 1976 shouldn’t have any because the exhaust was below this. The upper hole you can see in the photo may have been caused when it was used on an Eric Cheney frame which used an exhaust which crossed over and exited on the left of the frame.
It was possible to repair this to be functional but not to restore it. I therefore opted to look for a used one or buy a replica for 1980. You can also see a repair made to rear the air box. However, getting it off the frame was not so easy as the bolts were rusted. The lower mud guard bolt was fused solid so I used WD40 over a few days to see if it would prevent me snapping it. It didn’t. Didn’t fancy drilling a bolt out of the frame but then I had to.
Shopping list
- x4 OEM #97017-06030-00 – Bolts for mounting the front mudguard to the bottom of the yoke
- x3 OEM #97017-06014-00 – Bolts for mounting the inner mudguard to the frame (same bolts are used for the bash plate)
- x1 Replica 1980 front mudguard, white
- x1 Replica 1980 rear inner mudguard, black
- x2 Replica 1980 side panels, left and right, black
- x2 Replica 1980 side panel decals, “XT500”
- x1 OEM #583-21747-00 – Damper for the right side panel
- x2 OEM #91609-25018-00 – Cotter pins for the side panels locks

