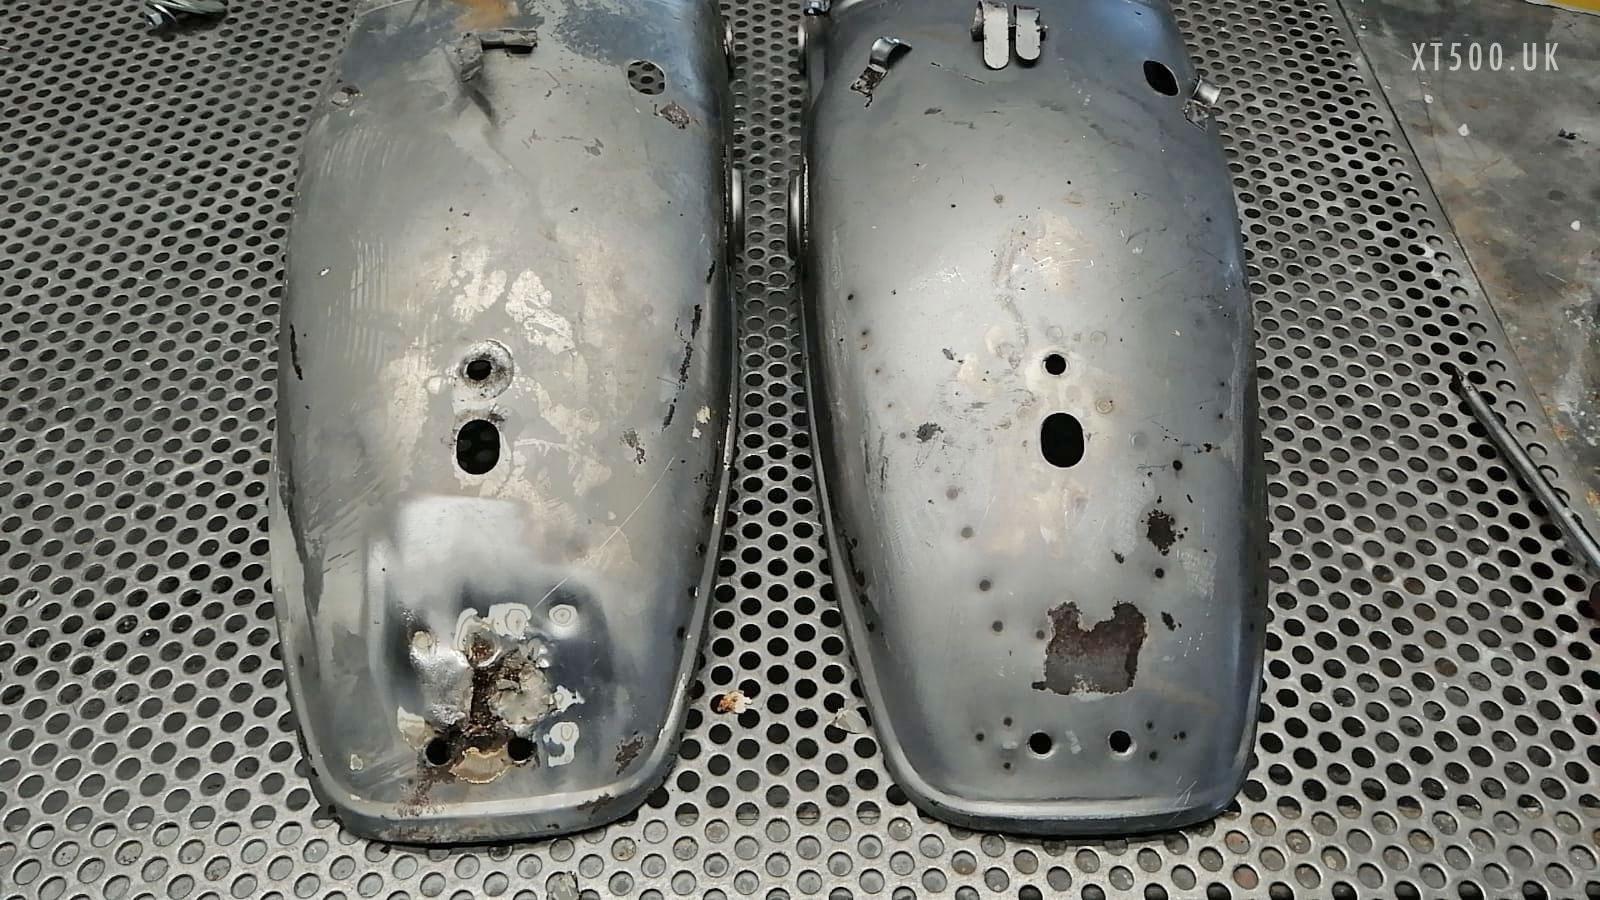
One rear mudguard that I took for blasting and powder coating only got as far as chemical cleaning (tank dipped). Once the paint and filler came away it revealed extensive corrosion which may have holed if blasted.
The other one was blasted, filled slightly and powder coated.
I took along the new front mudguard, that I’d recently bought, and asked them to match the colour on the rear mudguard. I believe this is always the best option against providing paint colour names or codes, as they may have variations depending on the paint shop. For example in this case the swatch that came closest was in fact called cream, so had I quoted “off-white” I doubt it would have matched.
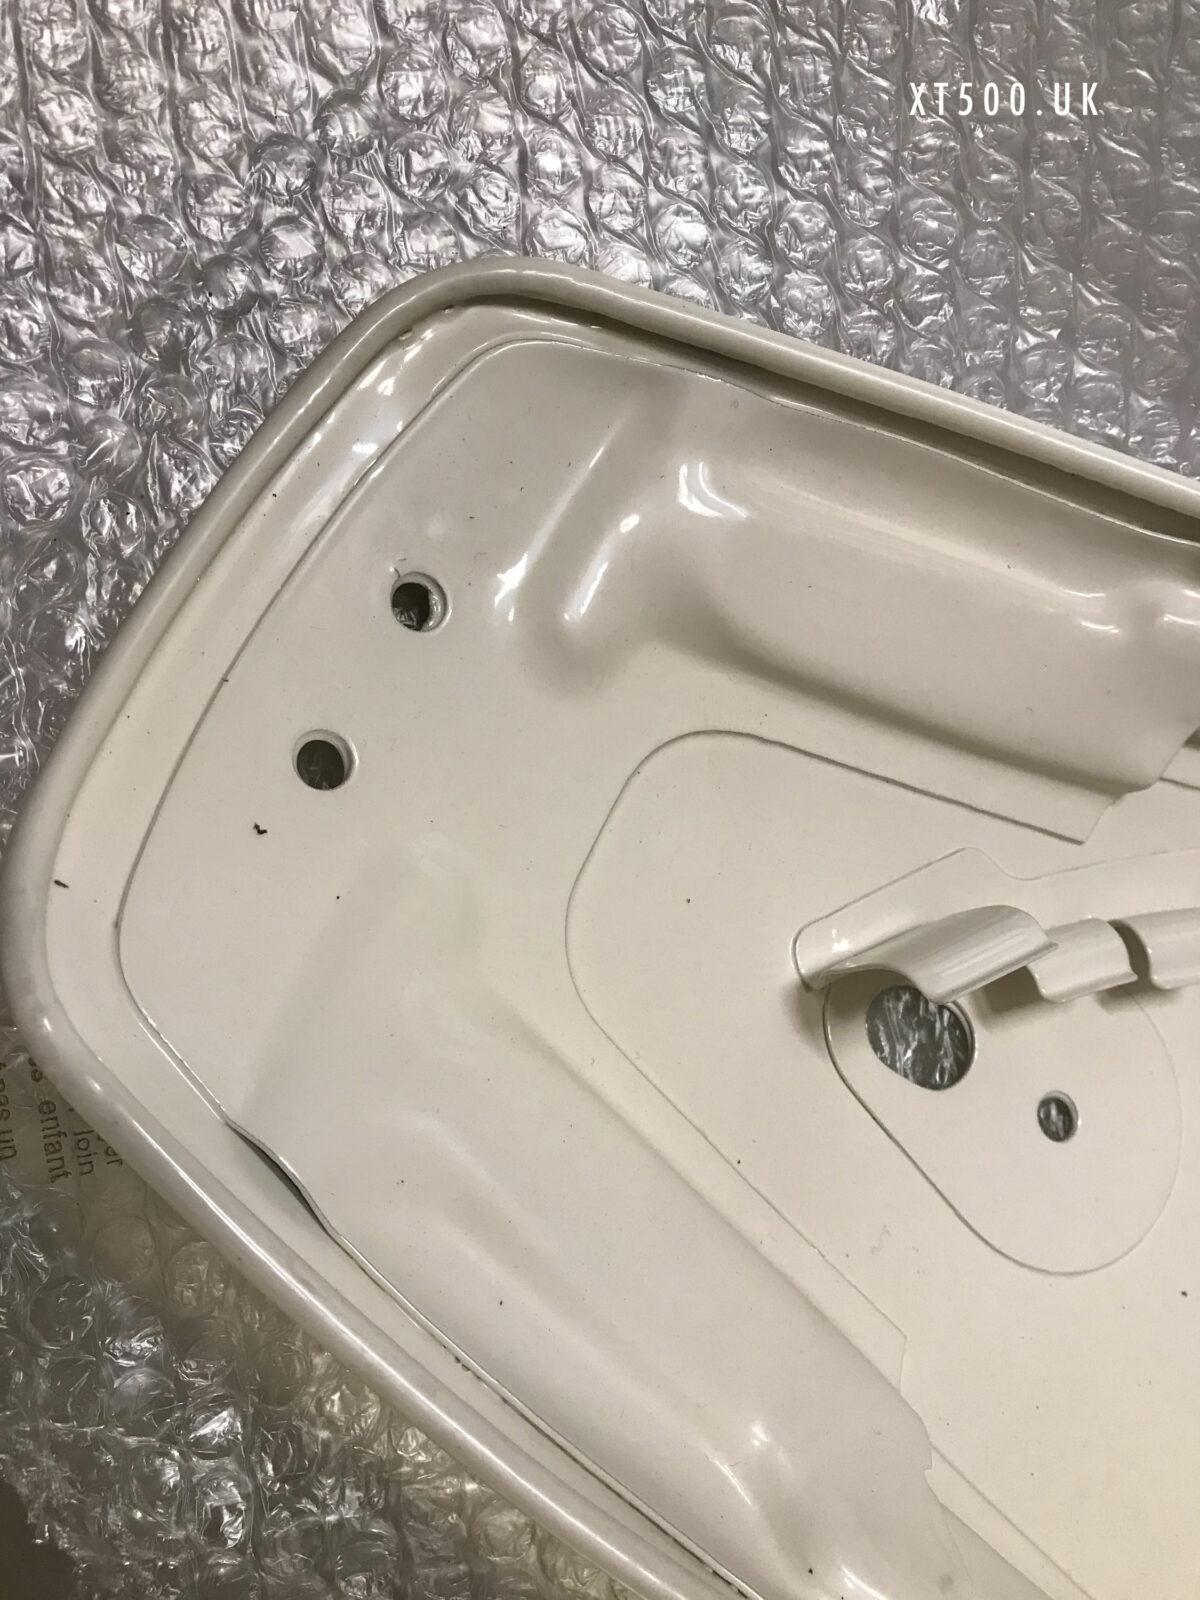
I think that there is a design flaw in the rear mudguard. They all rust out at the end where the tail light bracket sits. This may be because on the underside there are two recesses, added for strength, but are open ended and collect water/mud thrown up from the wheel. There are outlets at the side but they easily get blocked and then there is nowhere else for it go, it just sits in there. During restoration all visible surface rust is blasted off and receives a new protective layer of paint. However it isn’t possible to do the same in those hidden areas. The only advice would be to consider sealing those off to prevent any more damp getting in there again.
Similarly it seems the tail light bracket holds water too, so the rear mudguard gets corroded in the same spot from both sides. I could be wrong though, it’s just a theory.
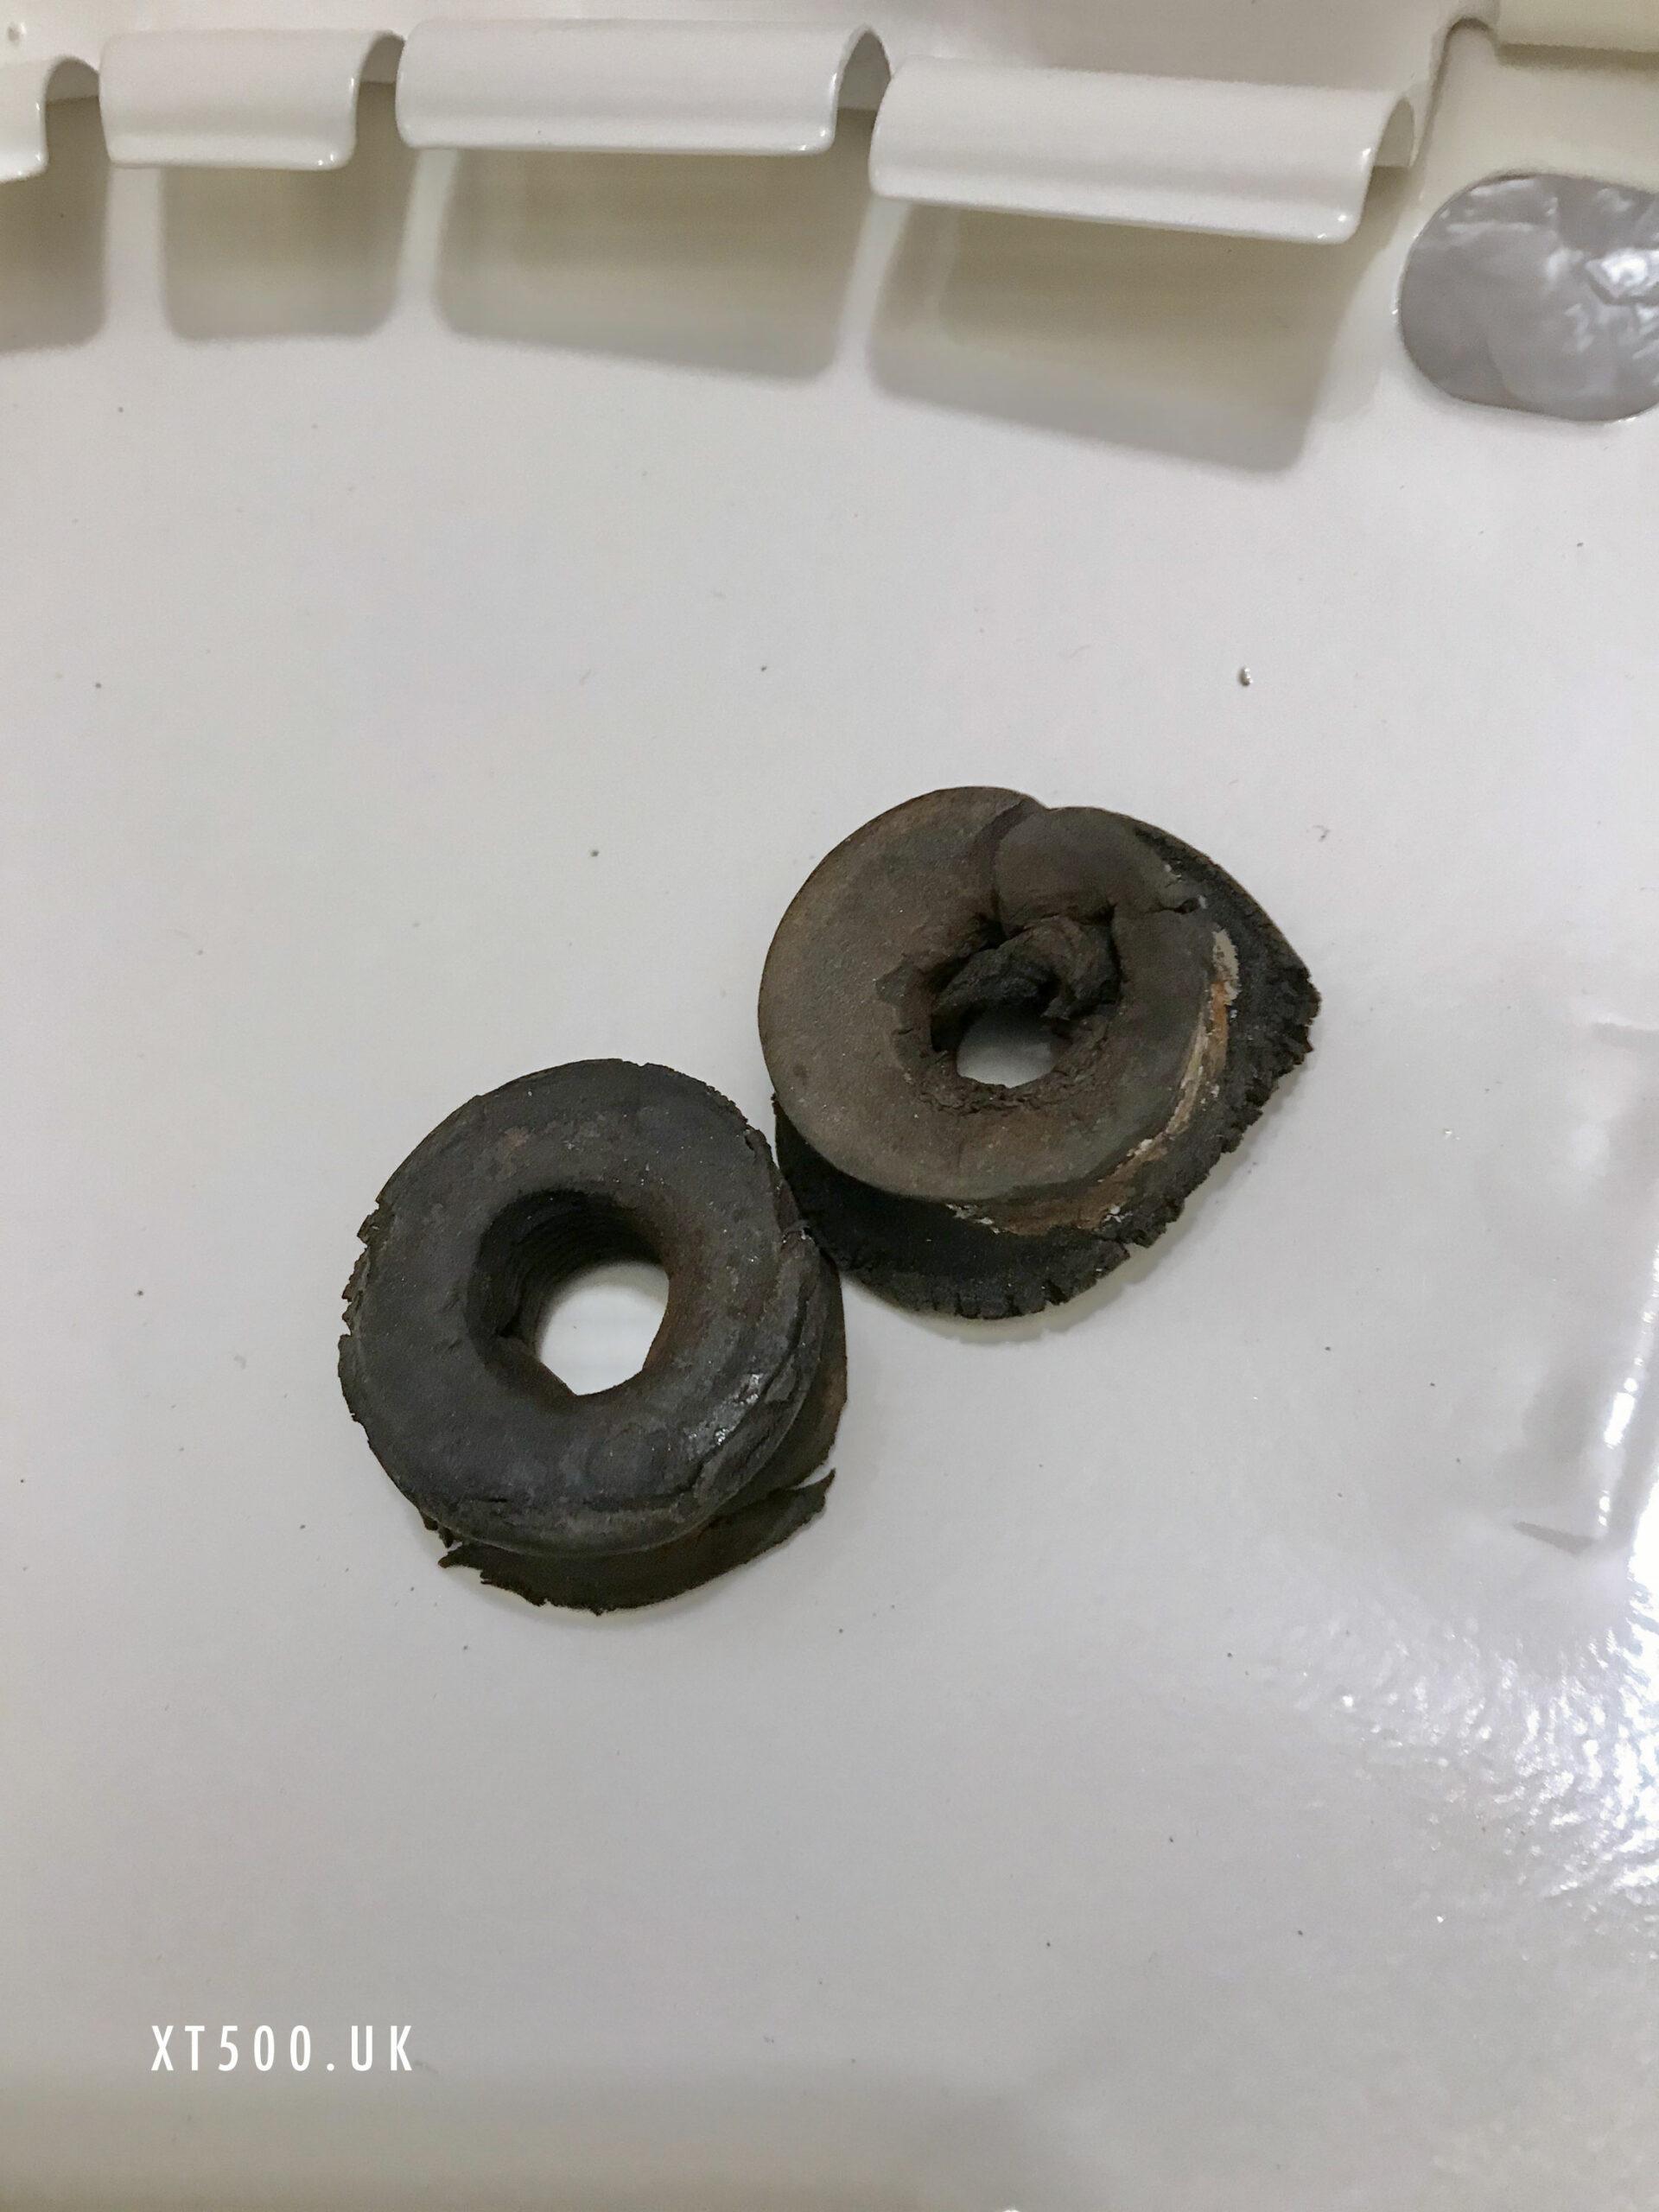
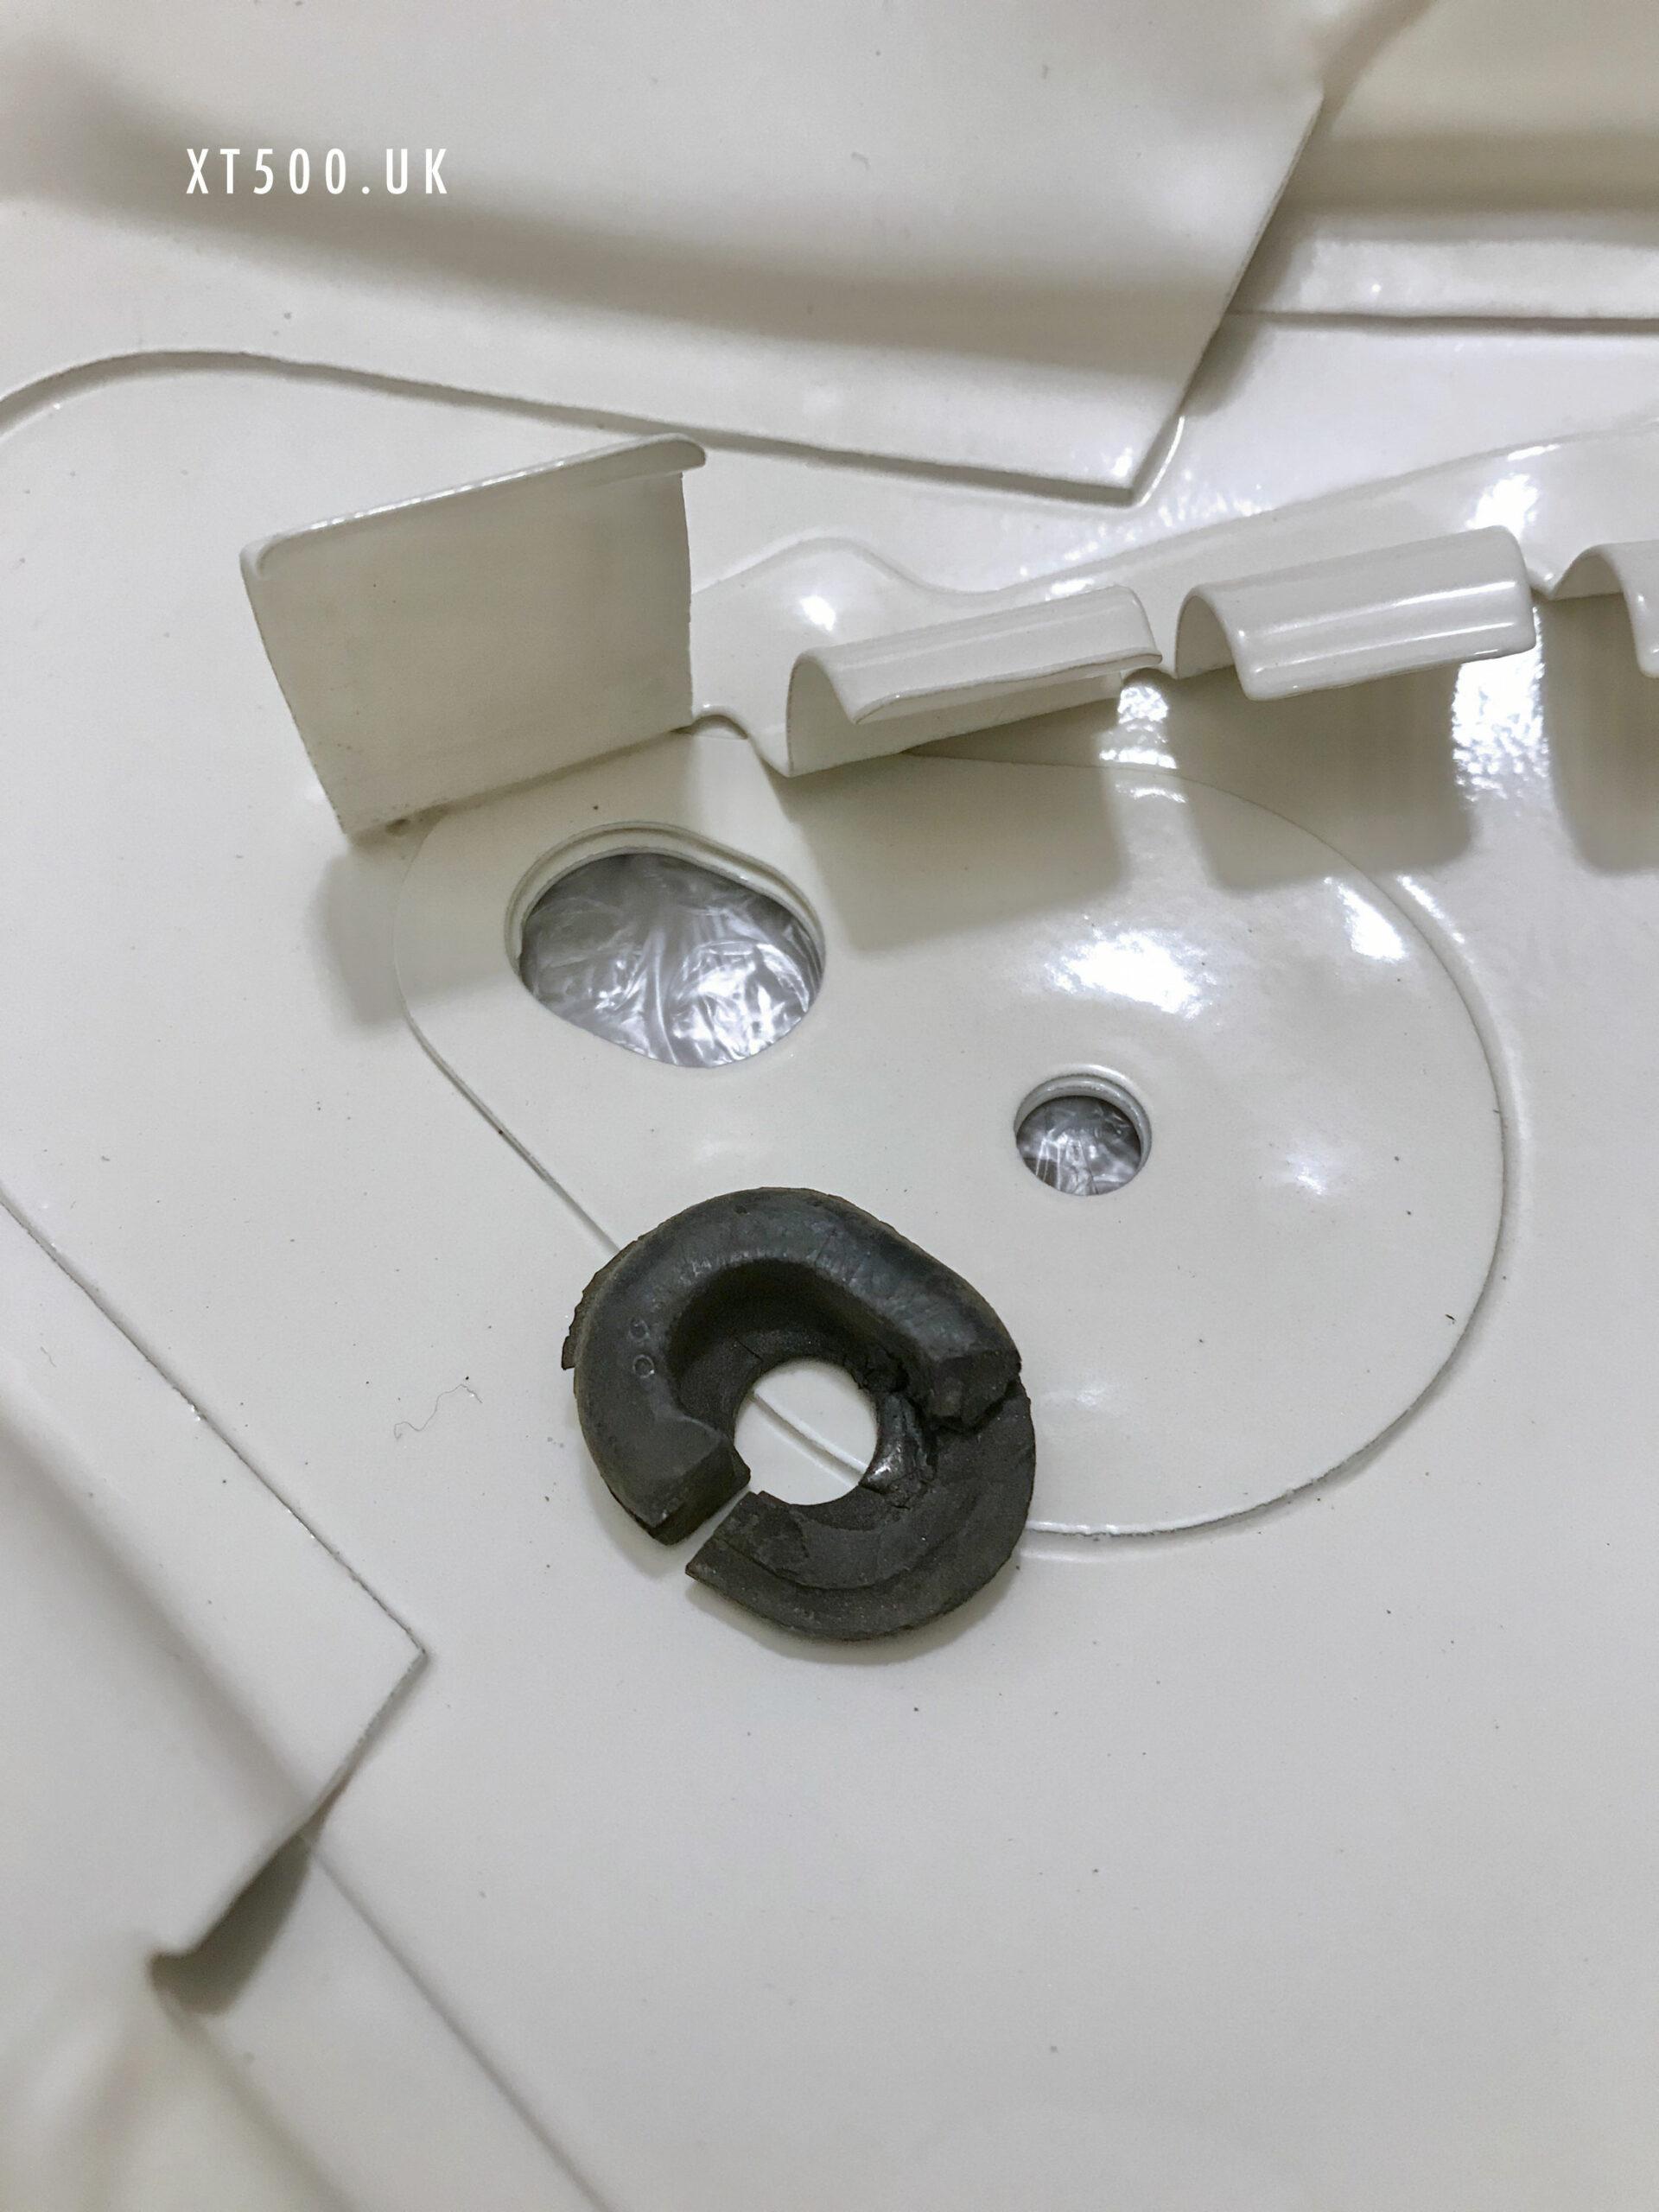
I ordered new OEM rubber dampers and bushings for the two main side mounts as they were hard and disfigured. As were the rubber ovals to protect cabling as it passes through to connect to the loom and help to reduce ingress of water. I restored the dampers from the two front mounts by cleaning with petroleum-based cleaner and then rubbing with Vaseline.
Tail Light
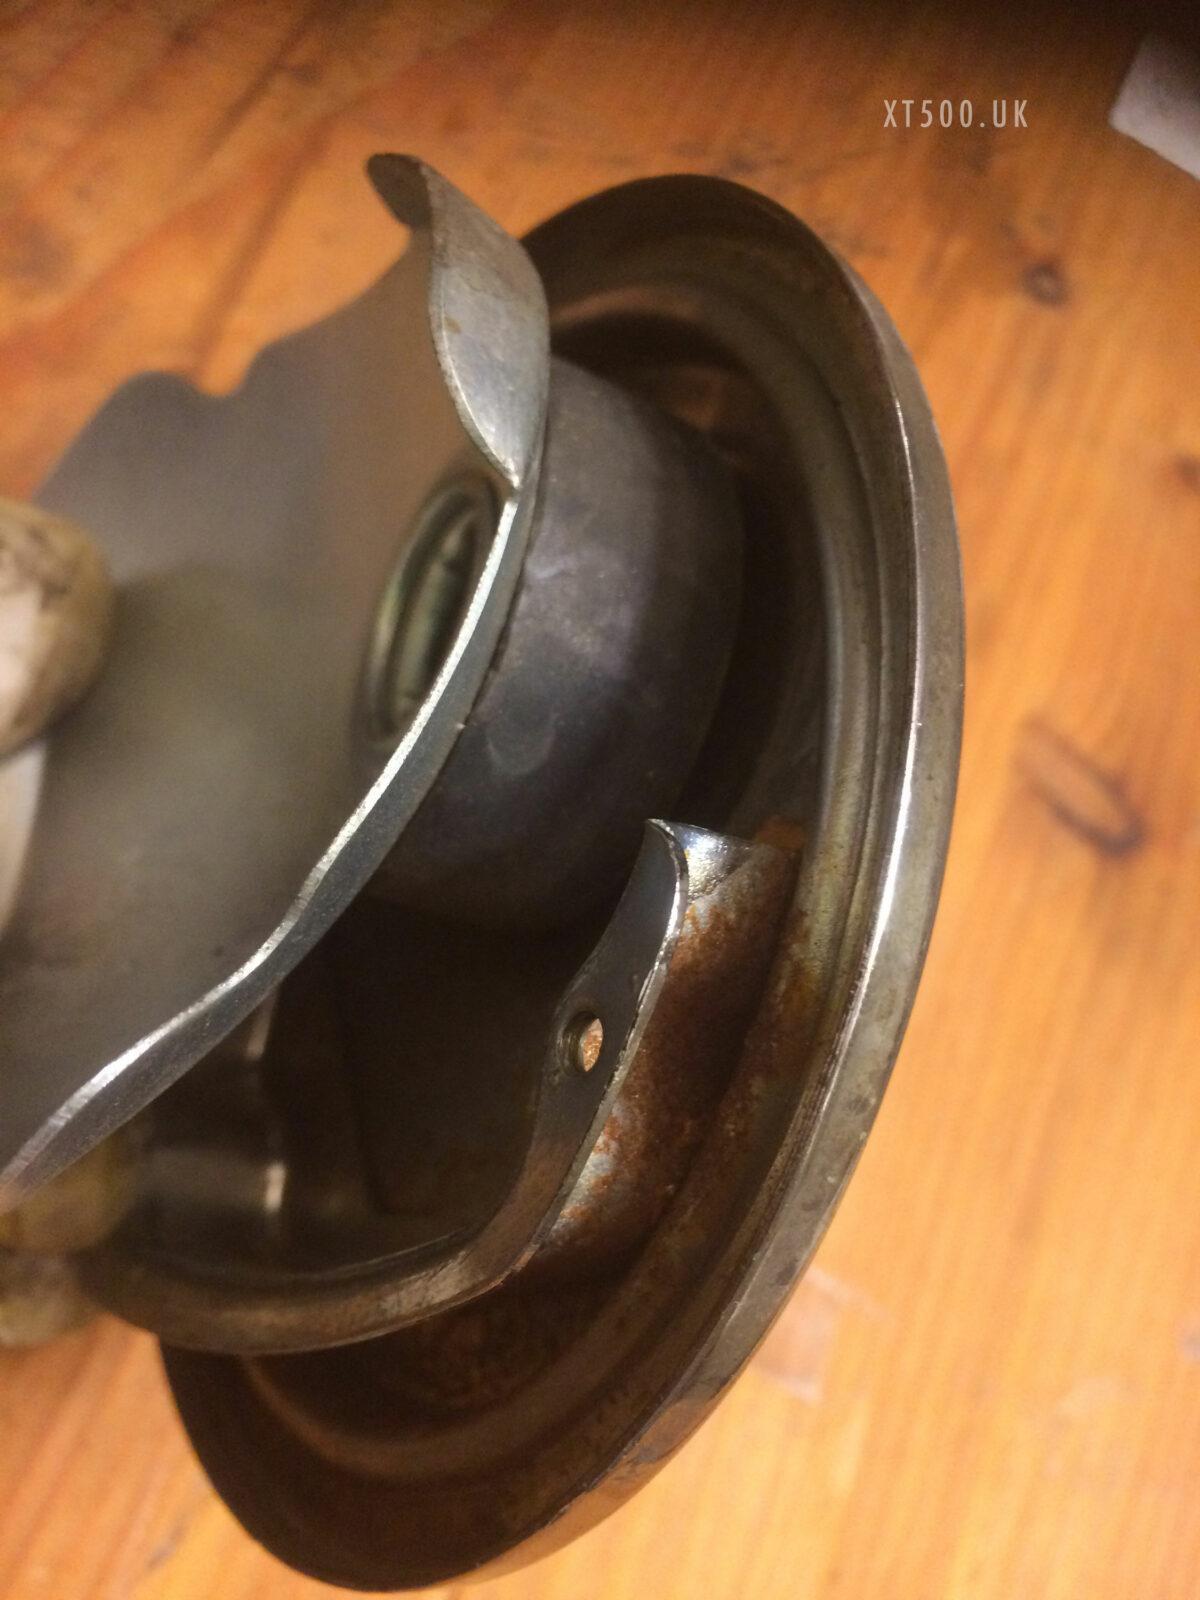
The one chrome part of this restoration project that didn’t get re-plated was the tail light back plate. The assembly does not come apart entirely, the reflector does not come away from the back plate. Therefore I cleaned it as best as I could, brushed off all loose rust and treated the rest with rust converter. I used new OEM screws for the lens as the originals were passed restoring. When screwing these in pay attention not to over-tighten as they will crack the lens.
The rubber dampers were all cleaned in petroleum-based cleaner and, when dry, massaged with Vaseline. The tail light bracket was blasted and powder-coated in semi-gloss.
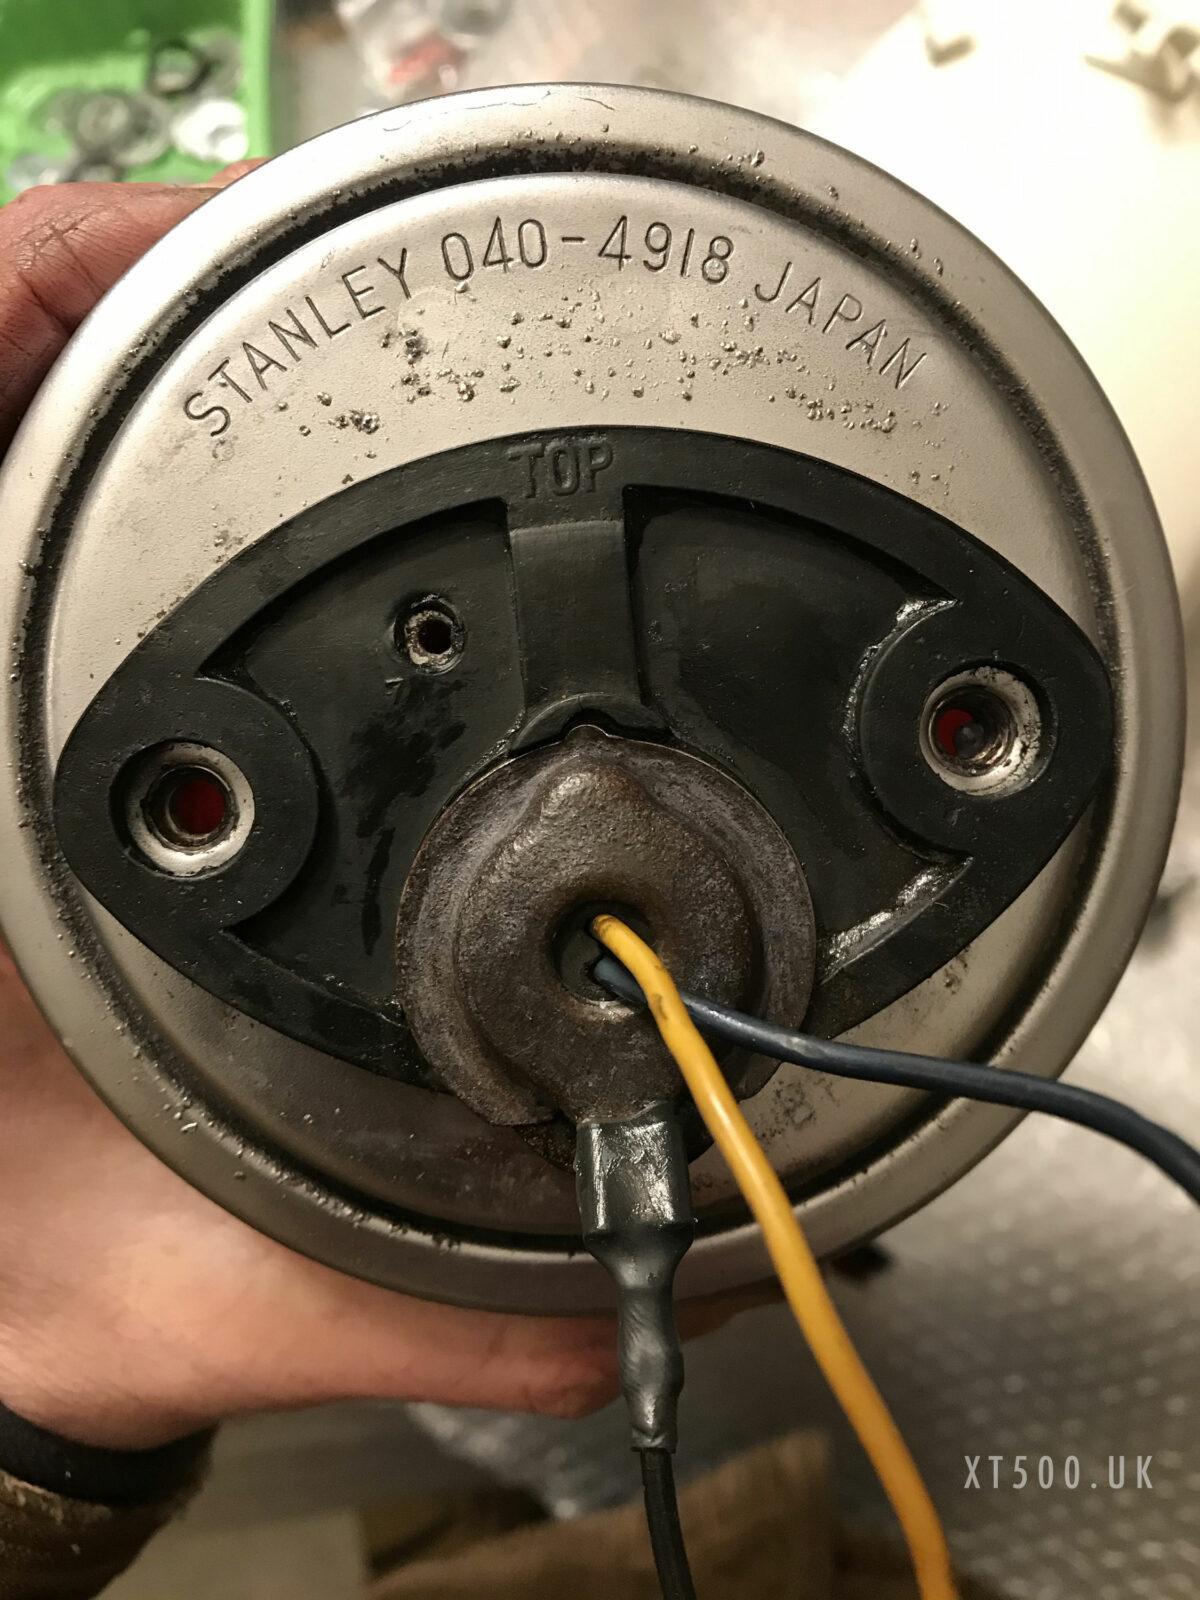
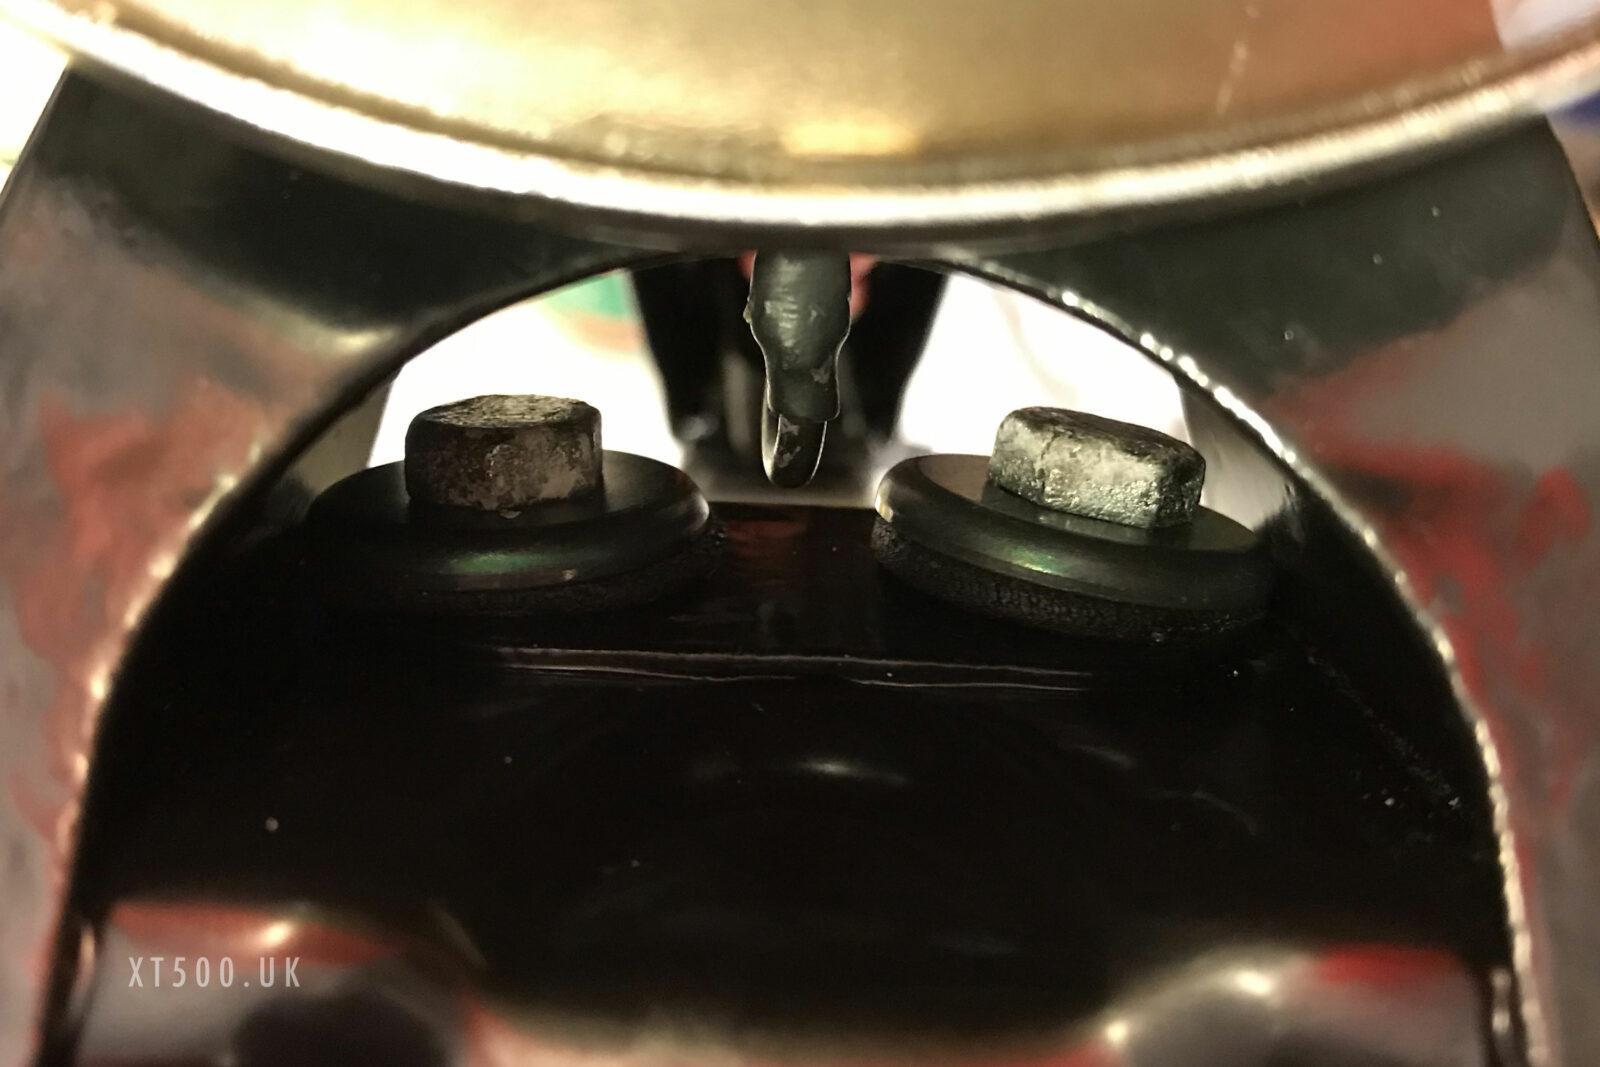
I tried restoring all the bolts but when they came back from being plated, they didn’t look so good. They work fine but I ordered OEM bolts to replace them later.
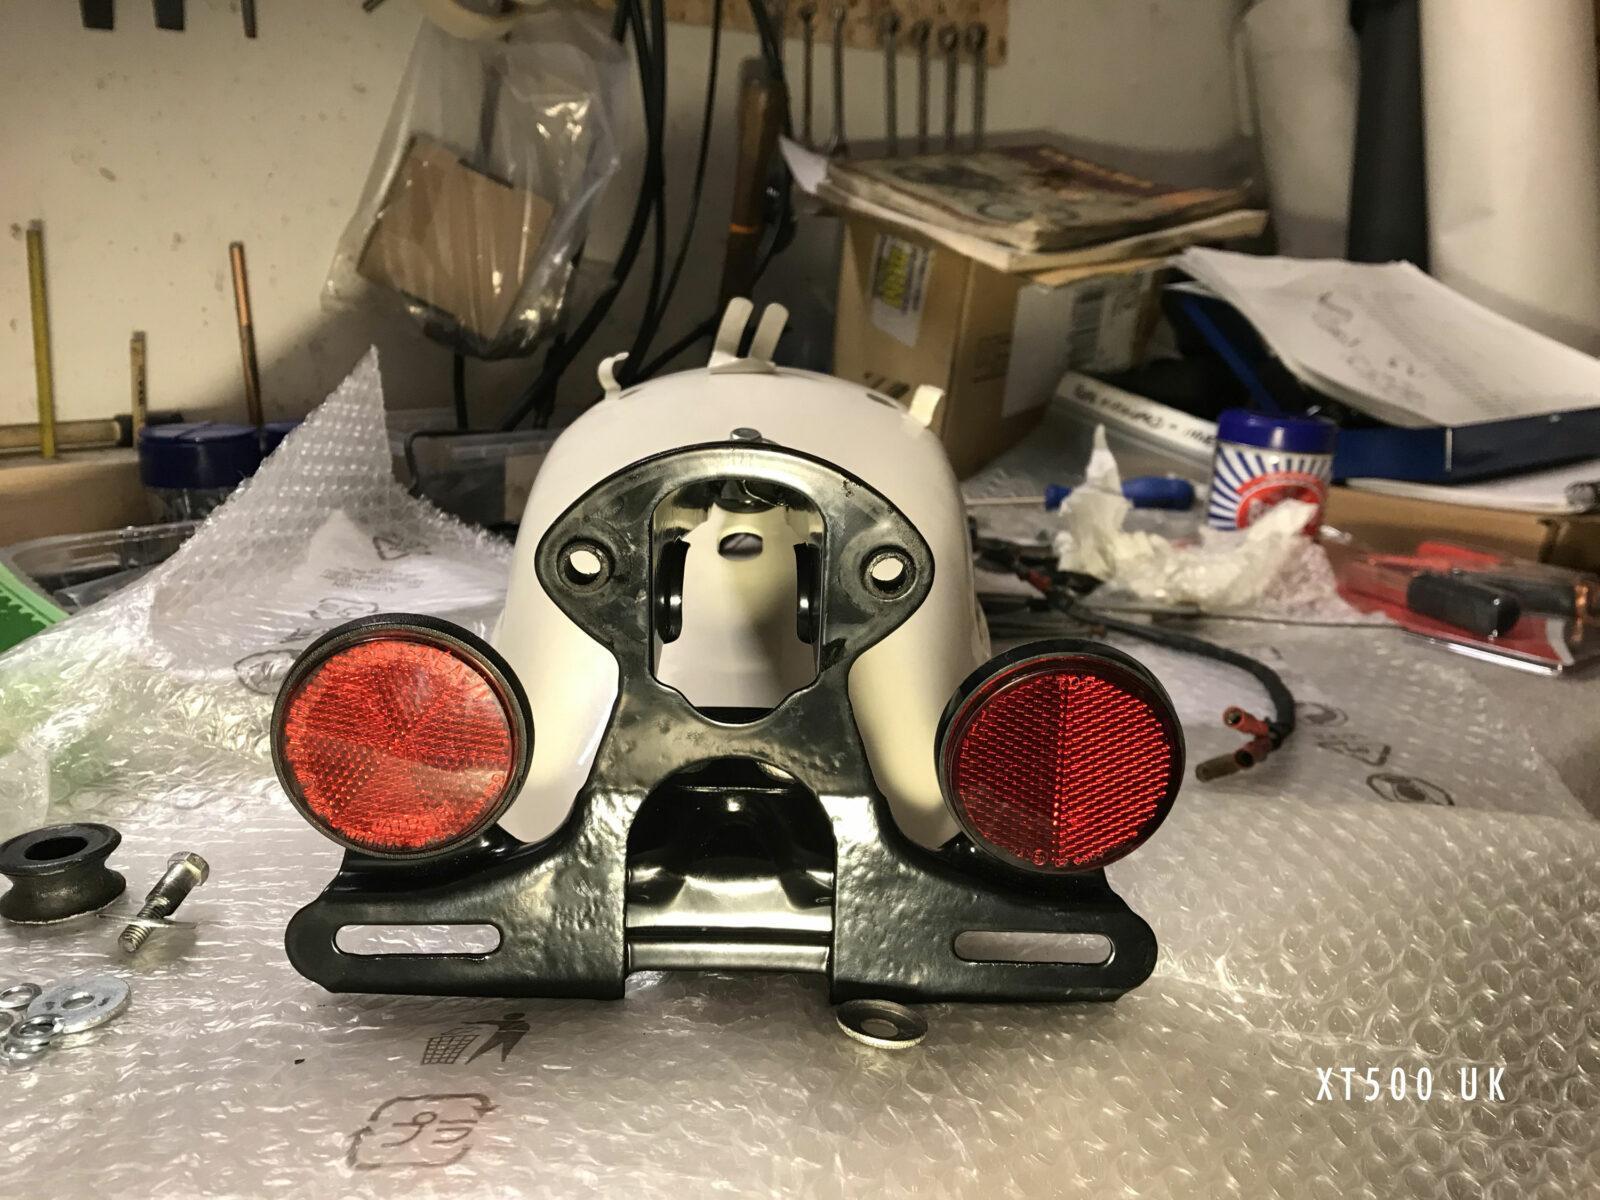
I had one rear reflector missing so I order a matching pair of replicas. I then realised that the OEM parts are still available. You can see in the photo the difference. OEM original on the left.
This whole tail light assembly is from 1977 and not for my 1980 G. However as the correct rectangular ones are like hens teeth to find in good condition used, I decided to keep this until a time that I can track one down. It is one of the major parts that Yamaha no longer produce. There are replicas available but these tend to look nothing like the original ones and are smaller.

