The long-range fuel tank is a love it or hate it kinda thing. I liked not having to worry about if I was about to be running on vapours on a long trip. But I hated the extra top end weight. It is stainless steel and not aluminium, so no dents.
I had been searching in vain for a good condition original fuel tank. It proved impossible or way over-priced. I considered some of the replica copies made in India but even those ended up being pricey once import duty was paid. Many people have advised against them as they’d had problems getting them to fit properly, although more recently they seem to have improved. The paint finishing was excellent but not exactly accurate when it came to the decals. If you are after restoration parts they only the original Yamaha tanks will do. If you’re after a tank that fits and gets you back on the road (off-road) then he India made fuel tanks could be the answer.
One thing you have to consider when getting a fuel tank for your XT500 or TT500 is that they did vary in material and shape with different model years and country. This all came clear to me, eventually, through discussions on the XT500 TT500 Forum.
There were both steel and aluminium tanks produced. Each of these came in two shapes and with a different colour scheme for each year of production from 1976 through to 1981. These changed again depending on which country you were in.
So why short and long versions of XT500 fuel tanks?
From 1976 to 1979 the triple crown clamps were a ‘V’ shape and therefore the forks did not come as close to the frame on full lock as they did on later models using the straight clamps. In other words, if you used a long type tank with the straight triple crown then the forks would dent the tank on full lock. This is a classic mistake and you can find fuel tanks for sale with dents in precisely this position.

The two types of tanks are easy to tell apart when sat next to each other but if you are only looking at one by itself or online, then you need some points to look for. The most obvious is the size of the filler, it is smaller on the earlier models and has the thread on the inside of the ‘neck’ not the outside.
So for me it’s the Australia 3H7, 1980 New Yamaha Black colour theme, short aluminium tank version.
Eventually a few tanks started to appear on eBay, mainly in Germany and over-priced and in terrible condition. These were usually the longer versions in steel. Very rusty or dented, or both.
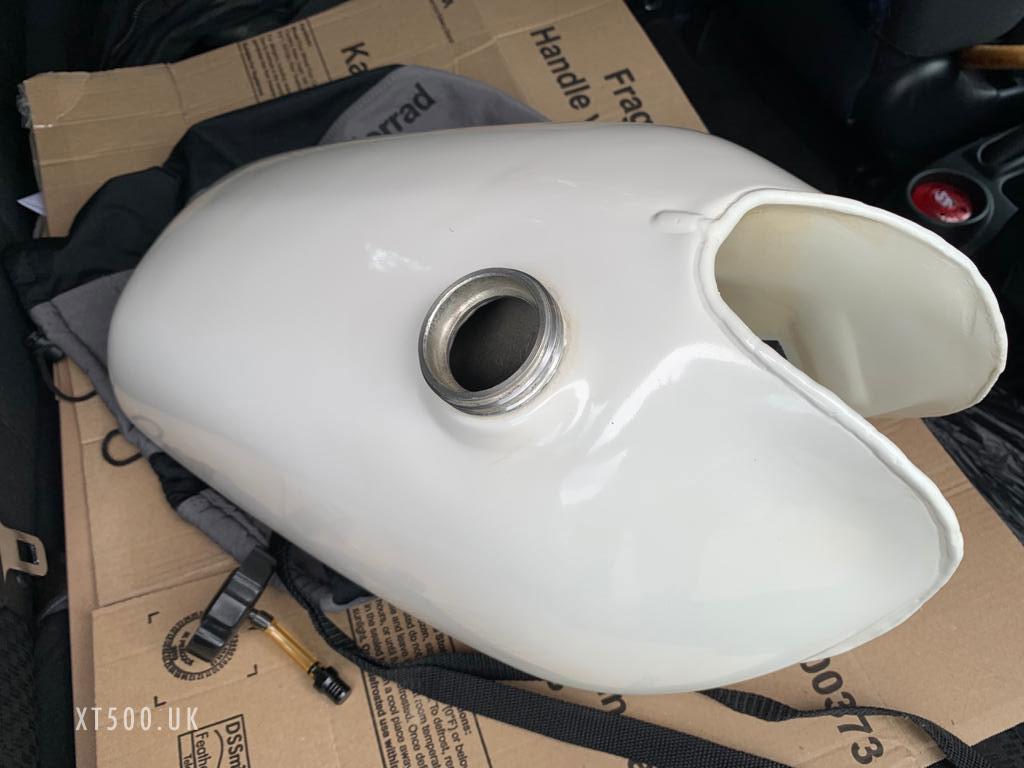
A short aluminium version came up elsewhere, it looked restored and was painted white, no decals or other colours. I decided on a price I was prepared to pay based on what I’d seen so far, put in my maximum bid and left it. Lots of other bidders waited until the final seconds but none higher than my maximum bid. I won it and for a lot less than my max bid.
Motorcycle Dent Removal
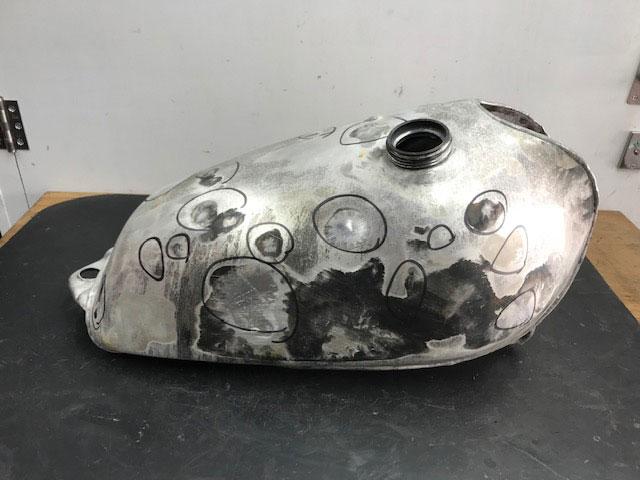
As it was white it would have been relatively straight forward to get it painted with the European 1980 livery. However I needed polished aluminium sides so it had to be stripped. Based on word-of-mouth recommendations I sent it to Andy at MDR (Yorkshire, UK) to strip and repair. He found around 20 dents with filler under the paint after he stripped it. Then he did his magic in removing all the dents, welding up some weak spots, leak tested then polished and blast etched ready for paint.
BTW his reputation for quality and attention to detail means that he is the chosen dent removal and restorer for The Vintage Spoke in the States. So if you are in Europe and are buying from them, chances are that the tank has recently crossed the pond twice already.
It was not cheap, it cost more than buying the tank, however the results prove it was well worth the investment.
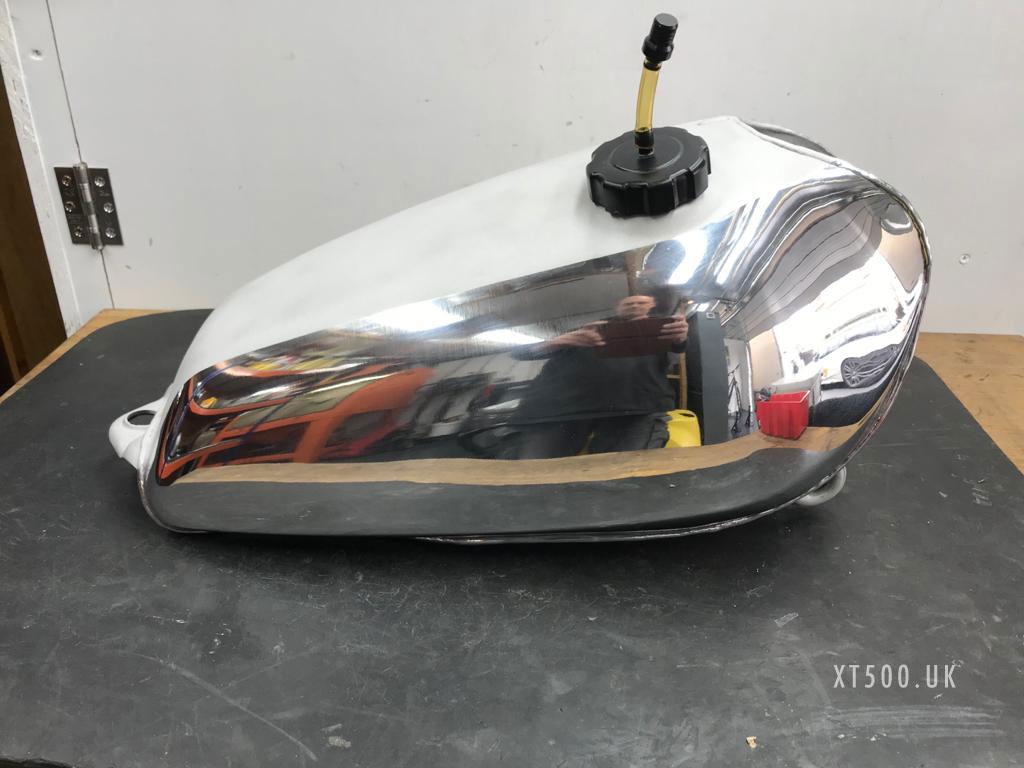
Andy doesn’t do the painting. For that I used another Andy, this time at at A2 in Derbyshire. As an expert in restoring XT’s for 20 yrs or so, I left it with him to liaise with Dream Machine for it’s final stage. He was able to make sure the paint and decals were accurate and has a keen eye on quality control. In fact he sent it back once as he wasn’t entirely happy.
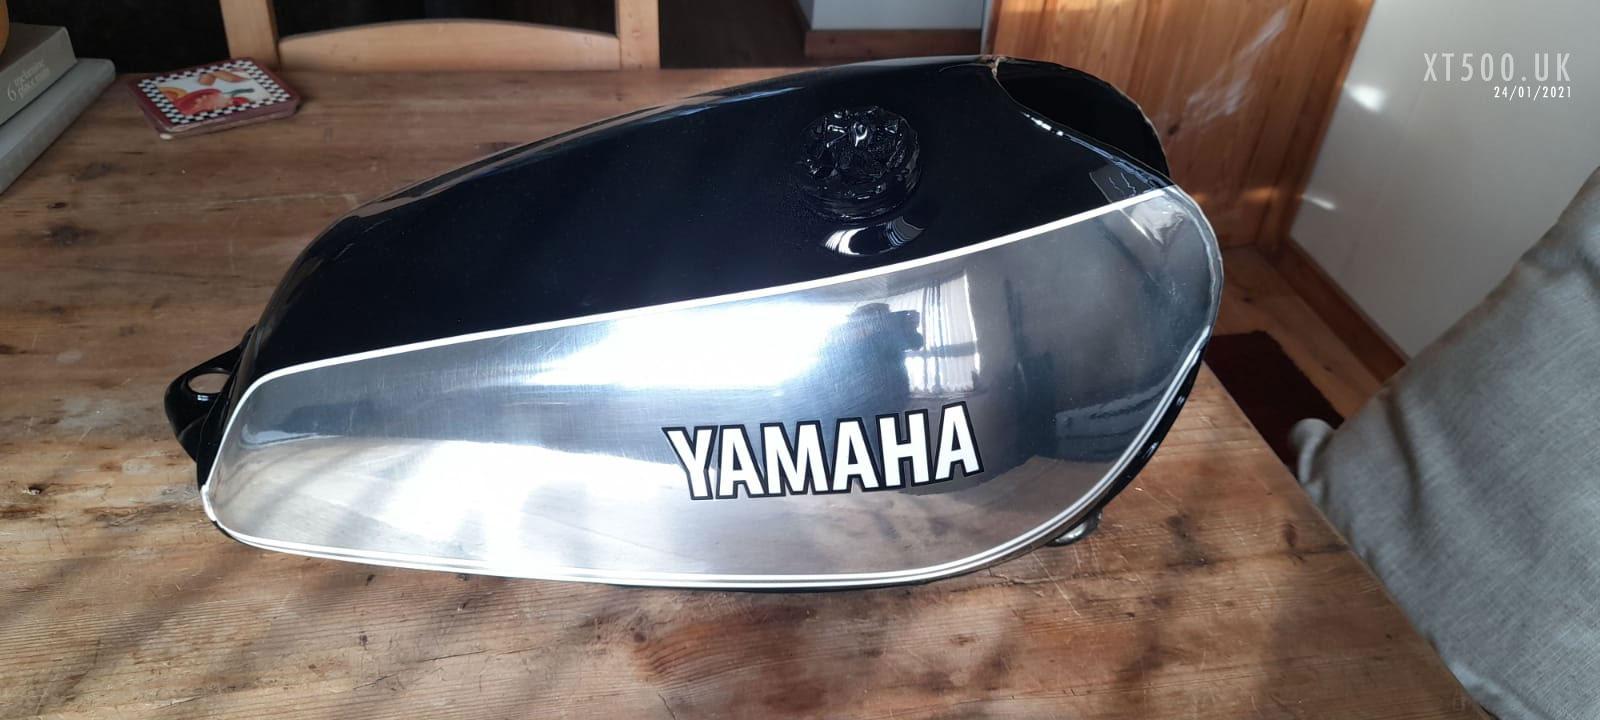
Unfortunately due to Covid they fell well behind with their orders and didn’t finish mine until after the Brexit deadline. This created more expense and a lot of paperwork for me to get it shipped to me in Italy…. but that’s another story.
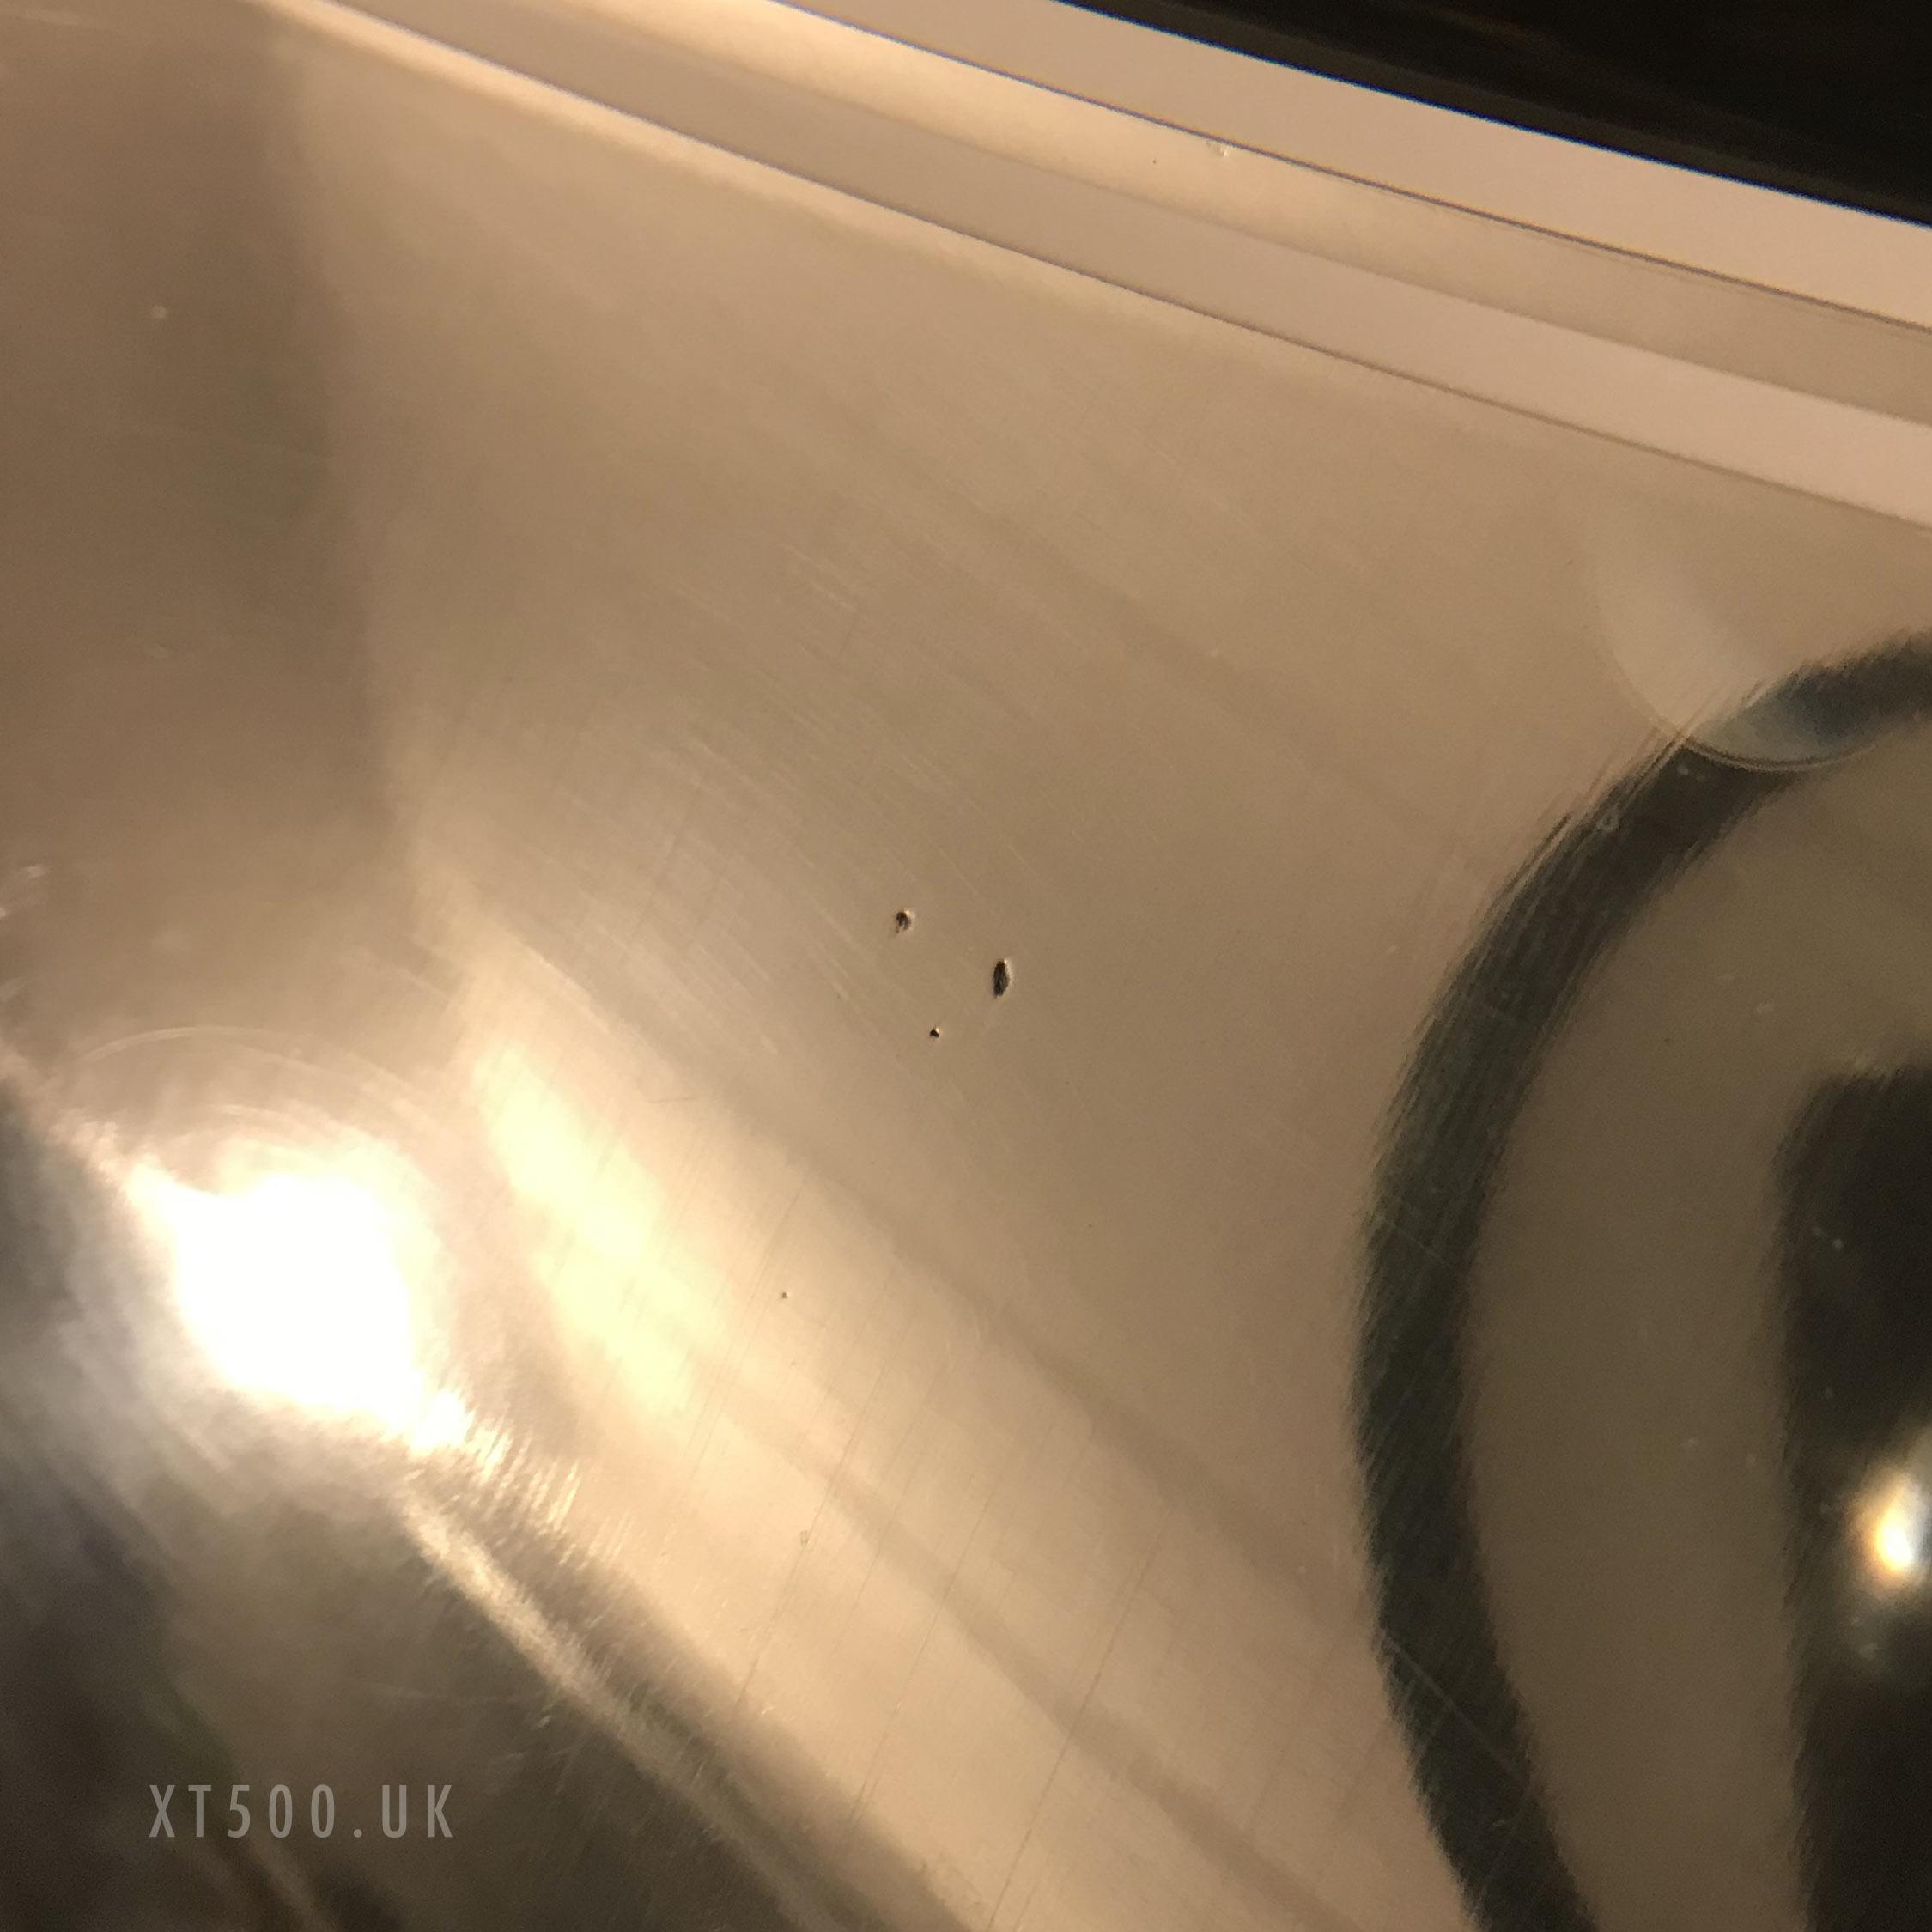
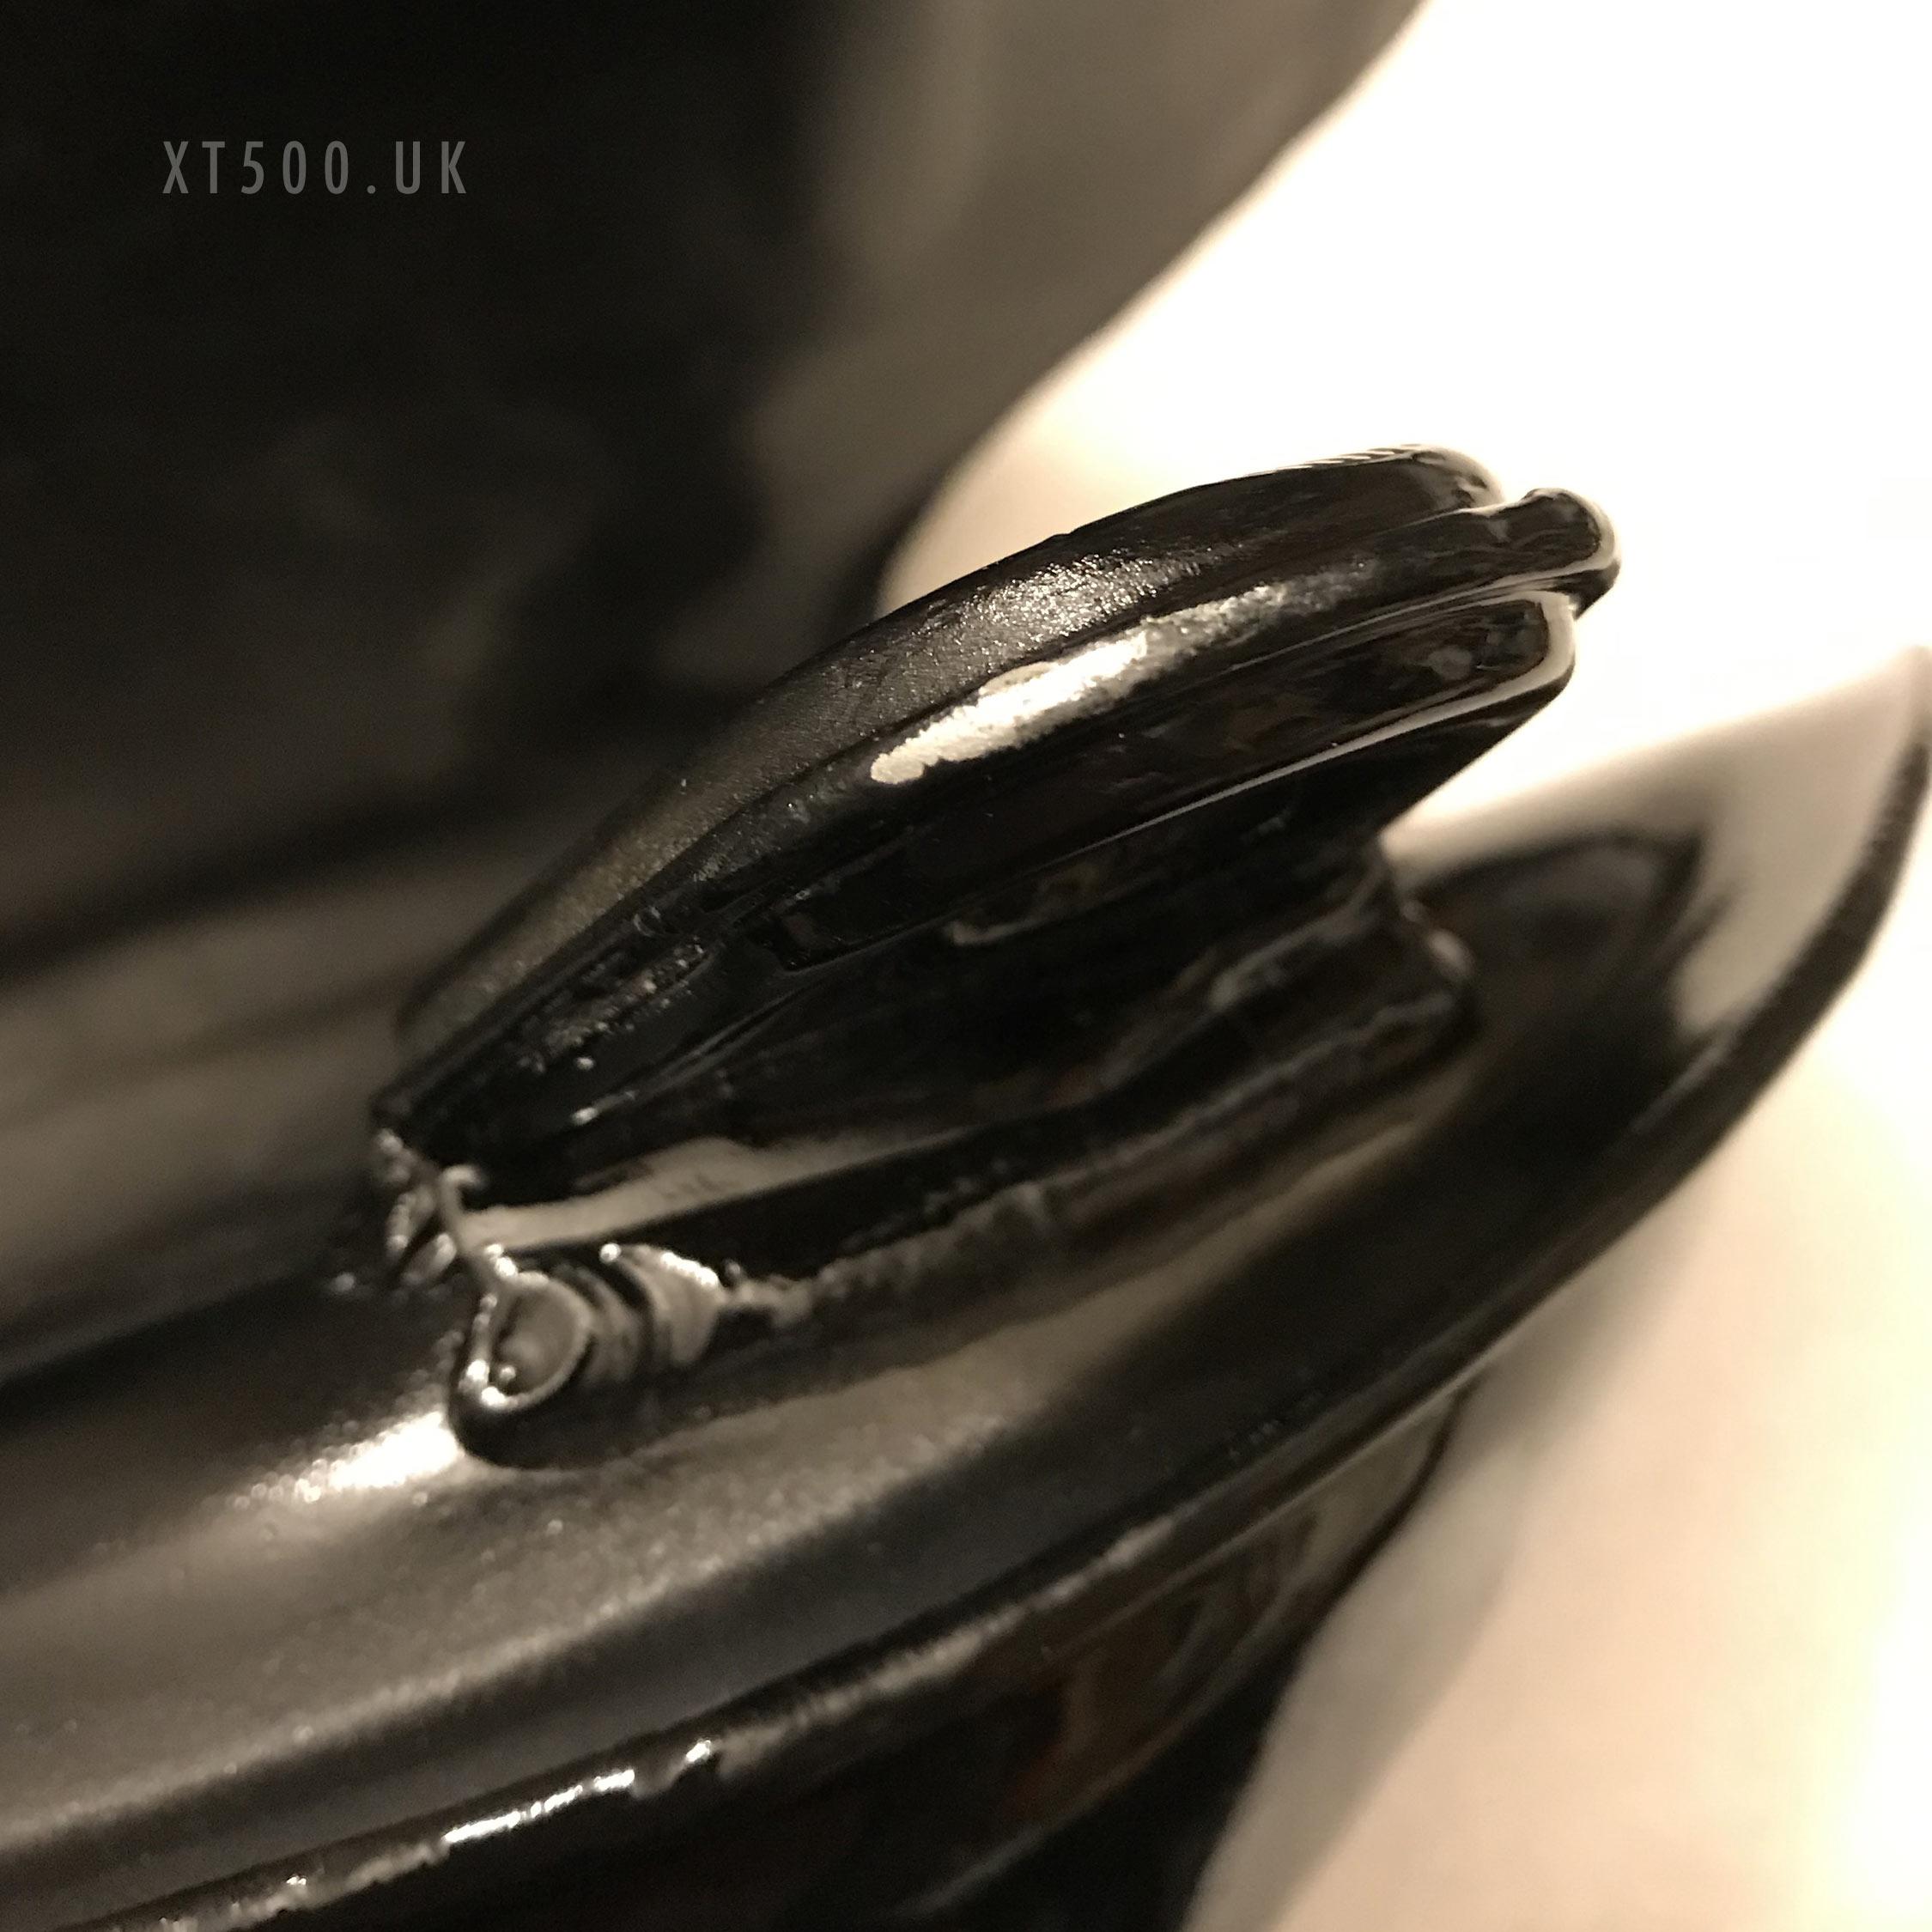
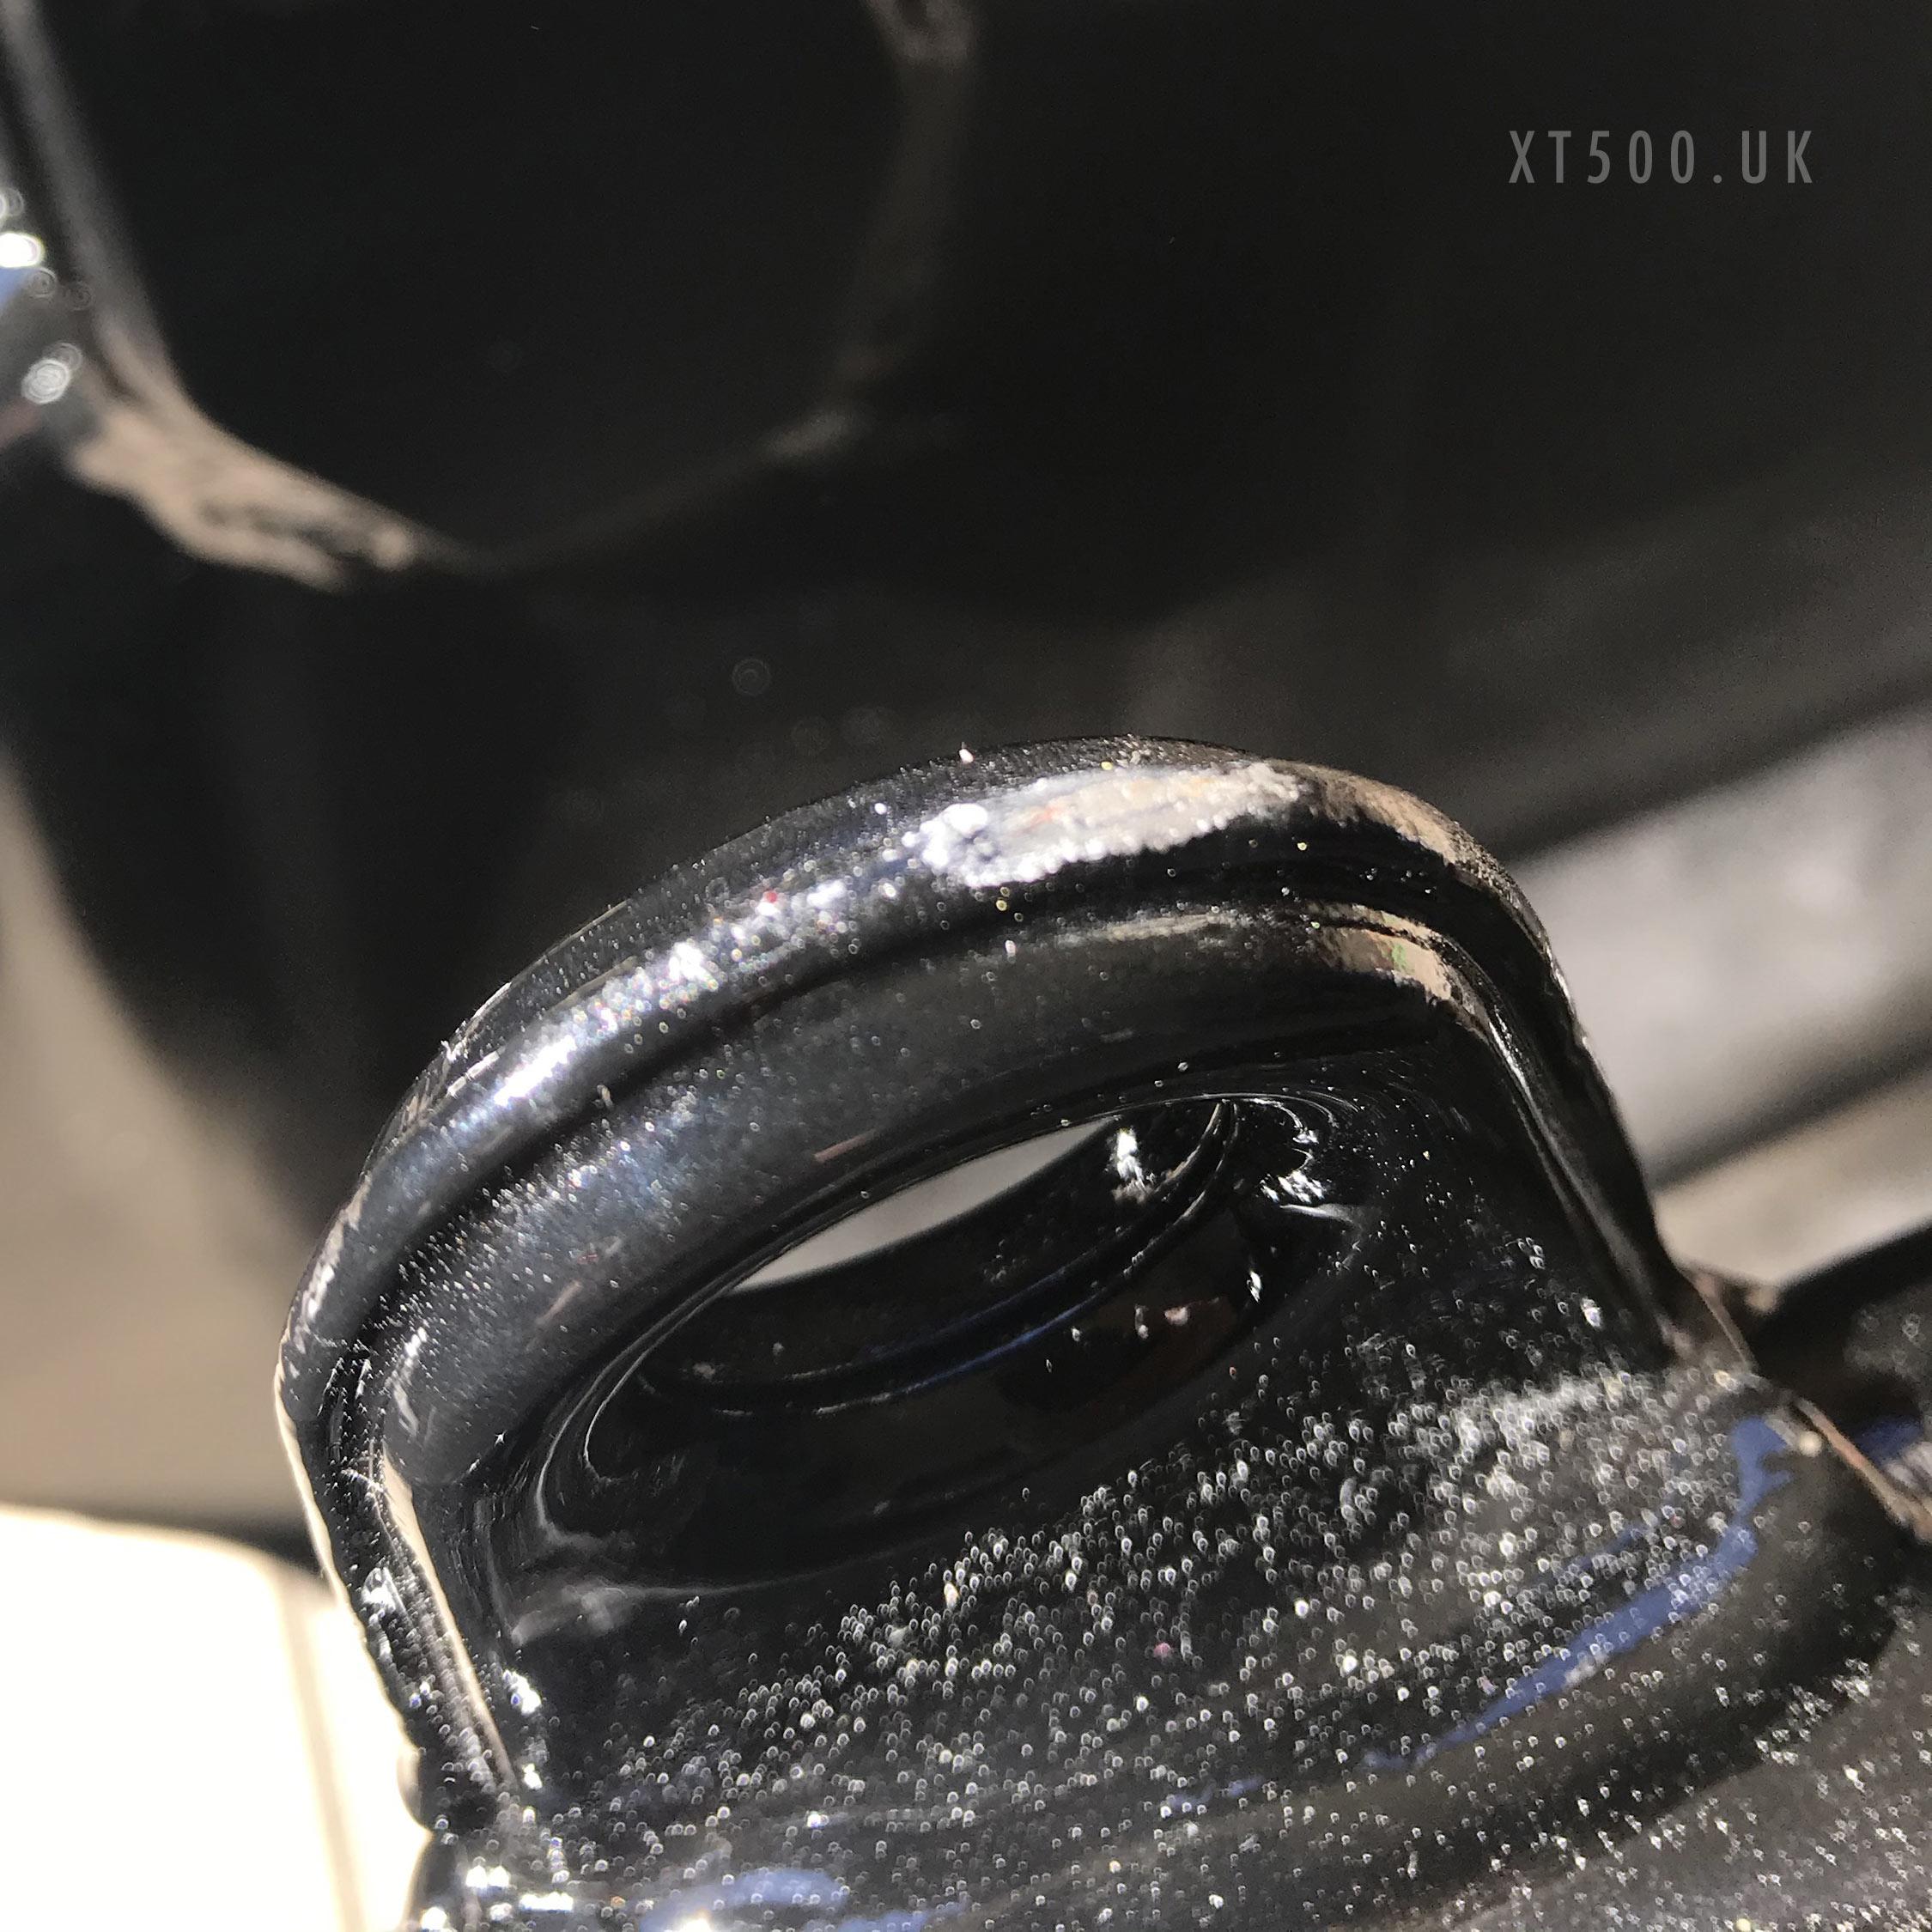
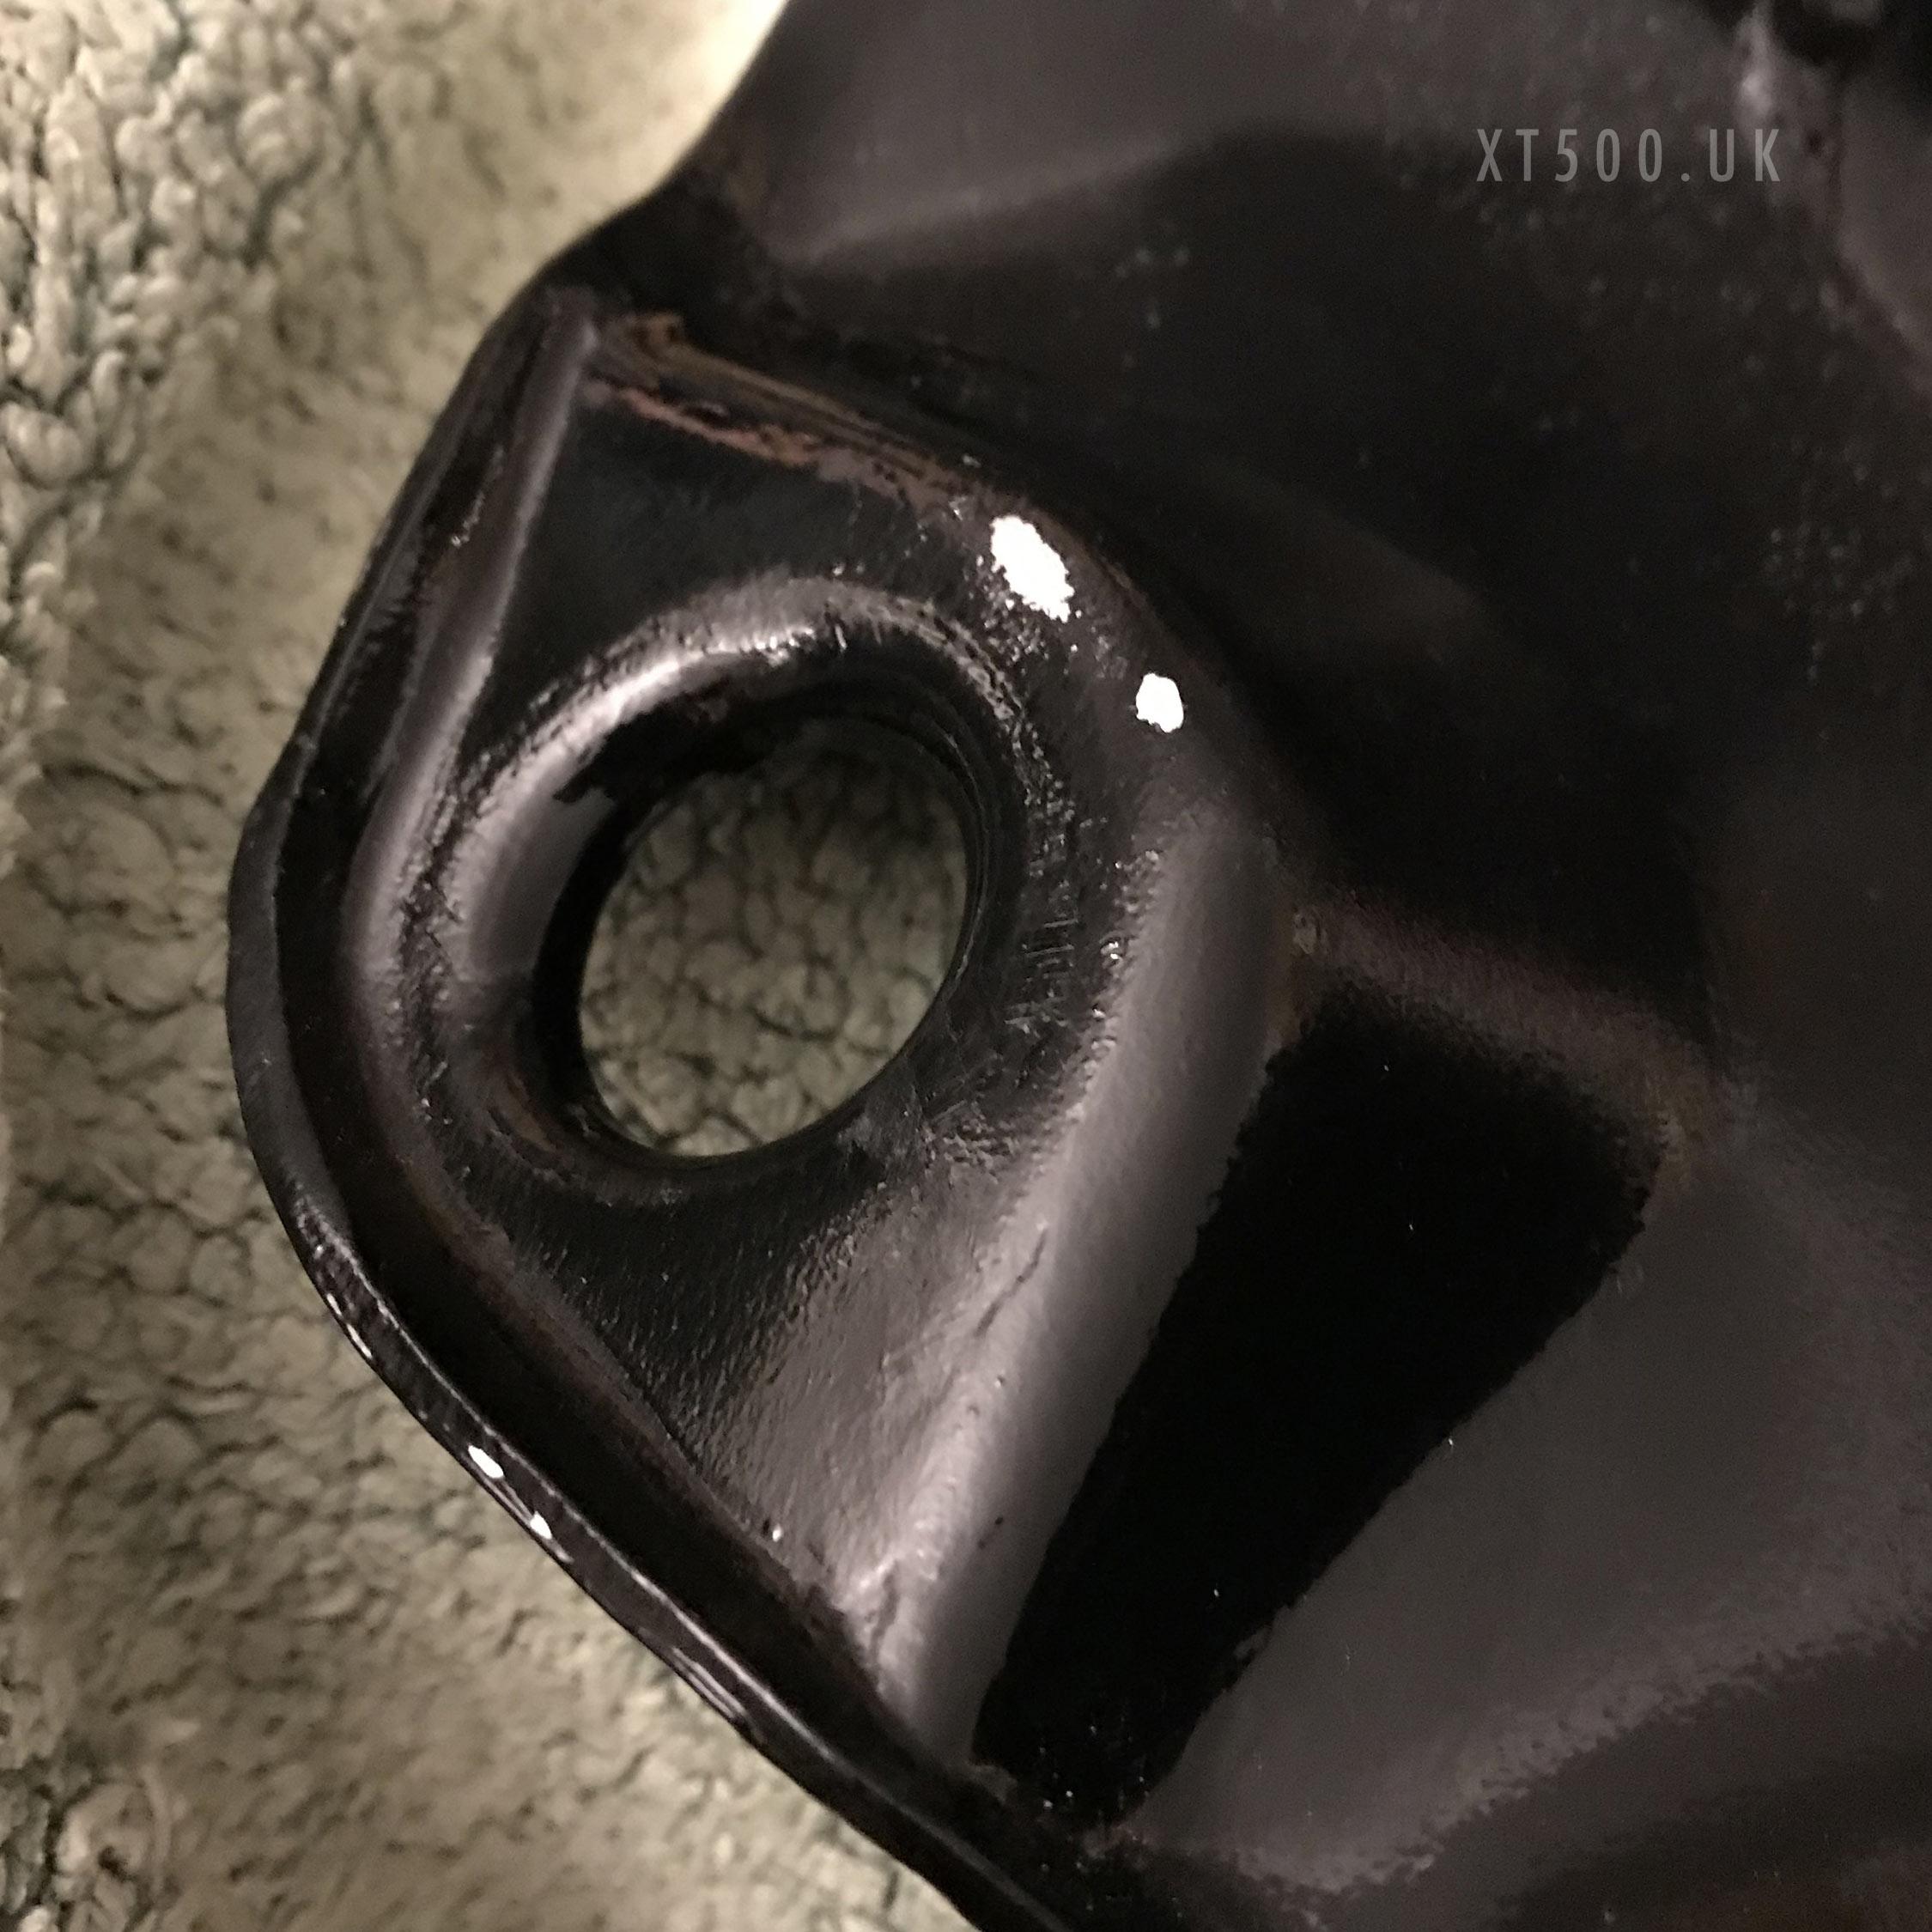
When it finally arrived I found a couple of tiny marks that looked like chips in the aluminium. These were not there when it left Andy (MDR). The paint was also worn off on the bottom of the mounts so it was not cared for properly after painting and must have been placed on hard or abrasive surfaces. This I was able to touch up with rattle cans of black and lacquer.
Time to dress up the newly restored XT500 tank
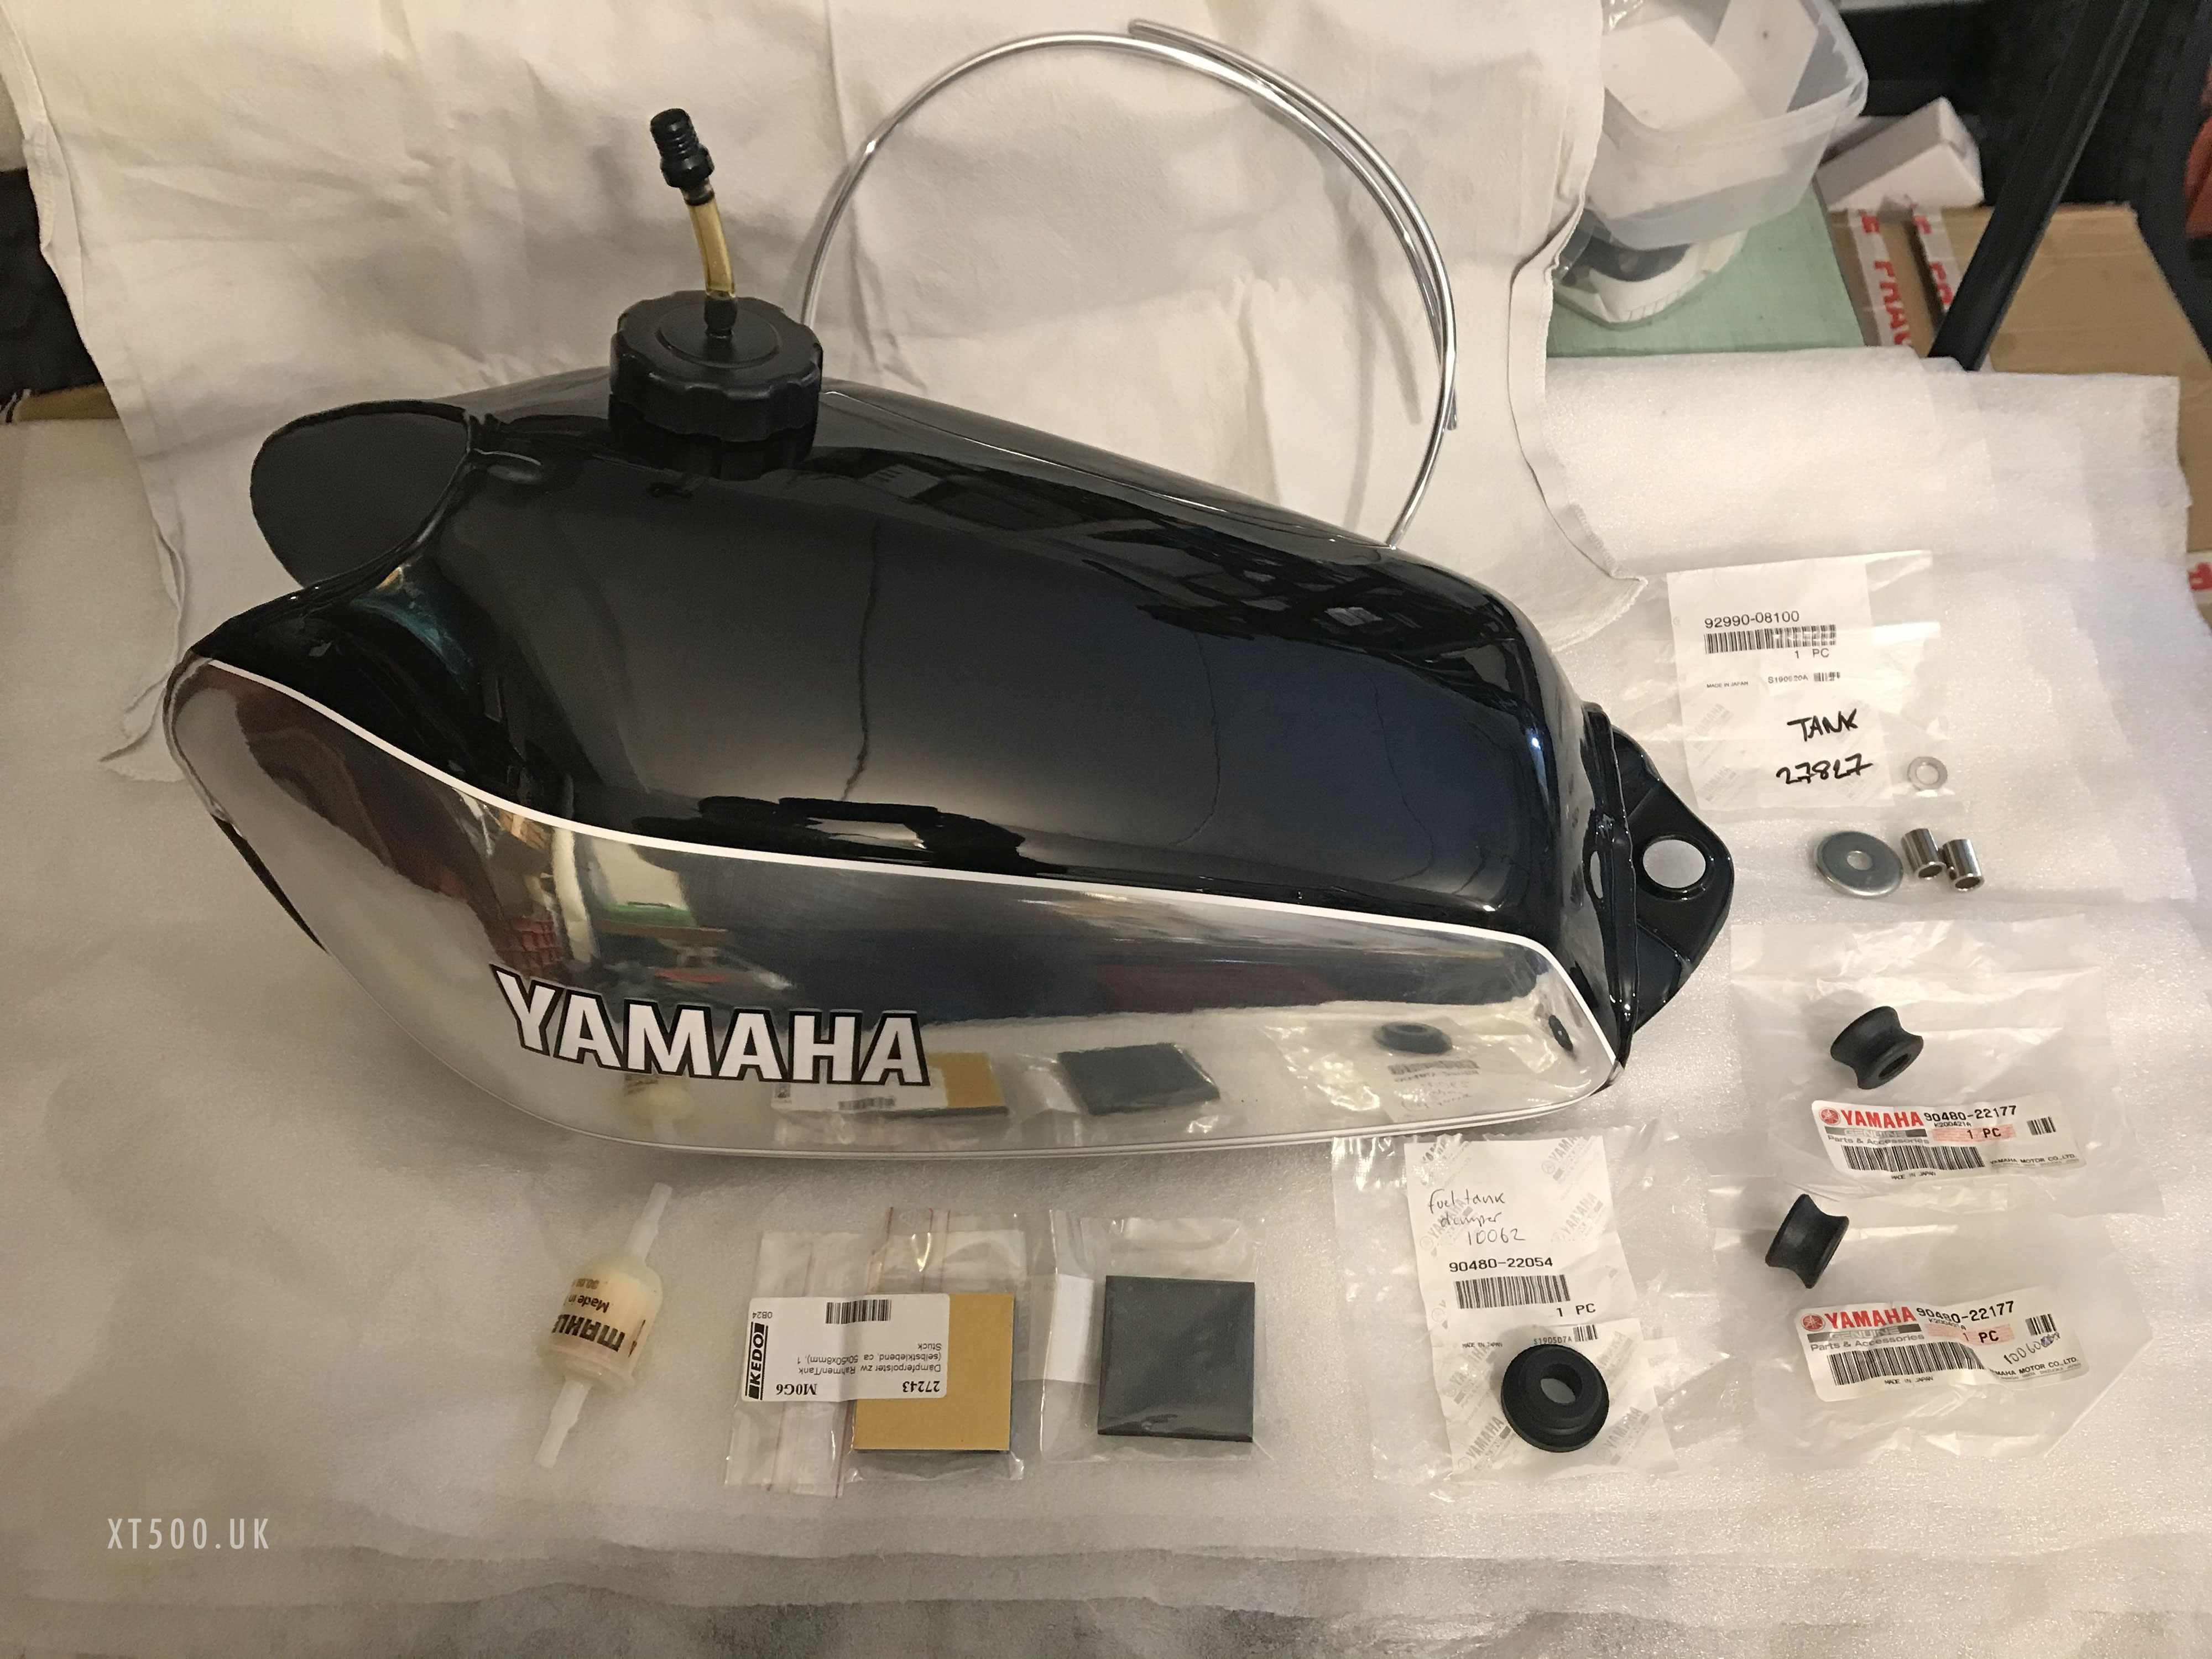 Remaining XT500 tank parts. The 1977-79 trim will not be used.
After putting in the mounting dampers and collars I thought I’d try it on the frame to make sure I put the square dampers on the walls of the hull in the correct place.
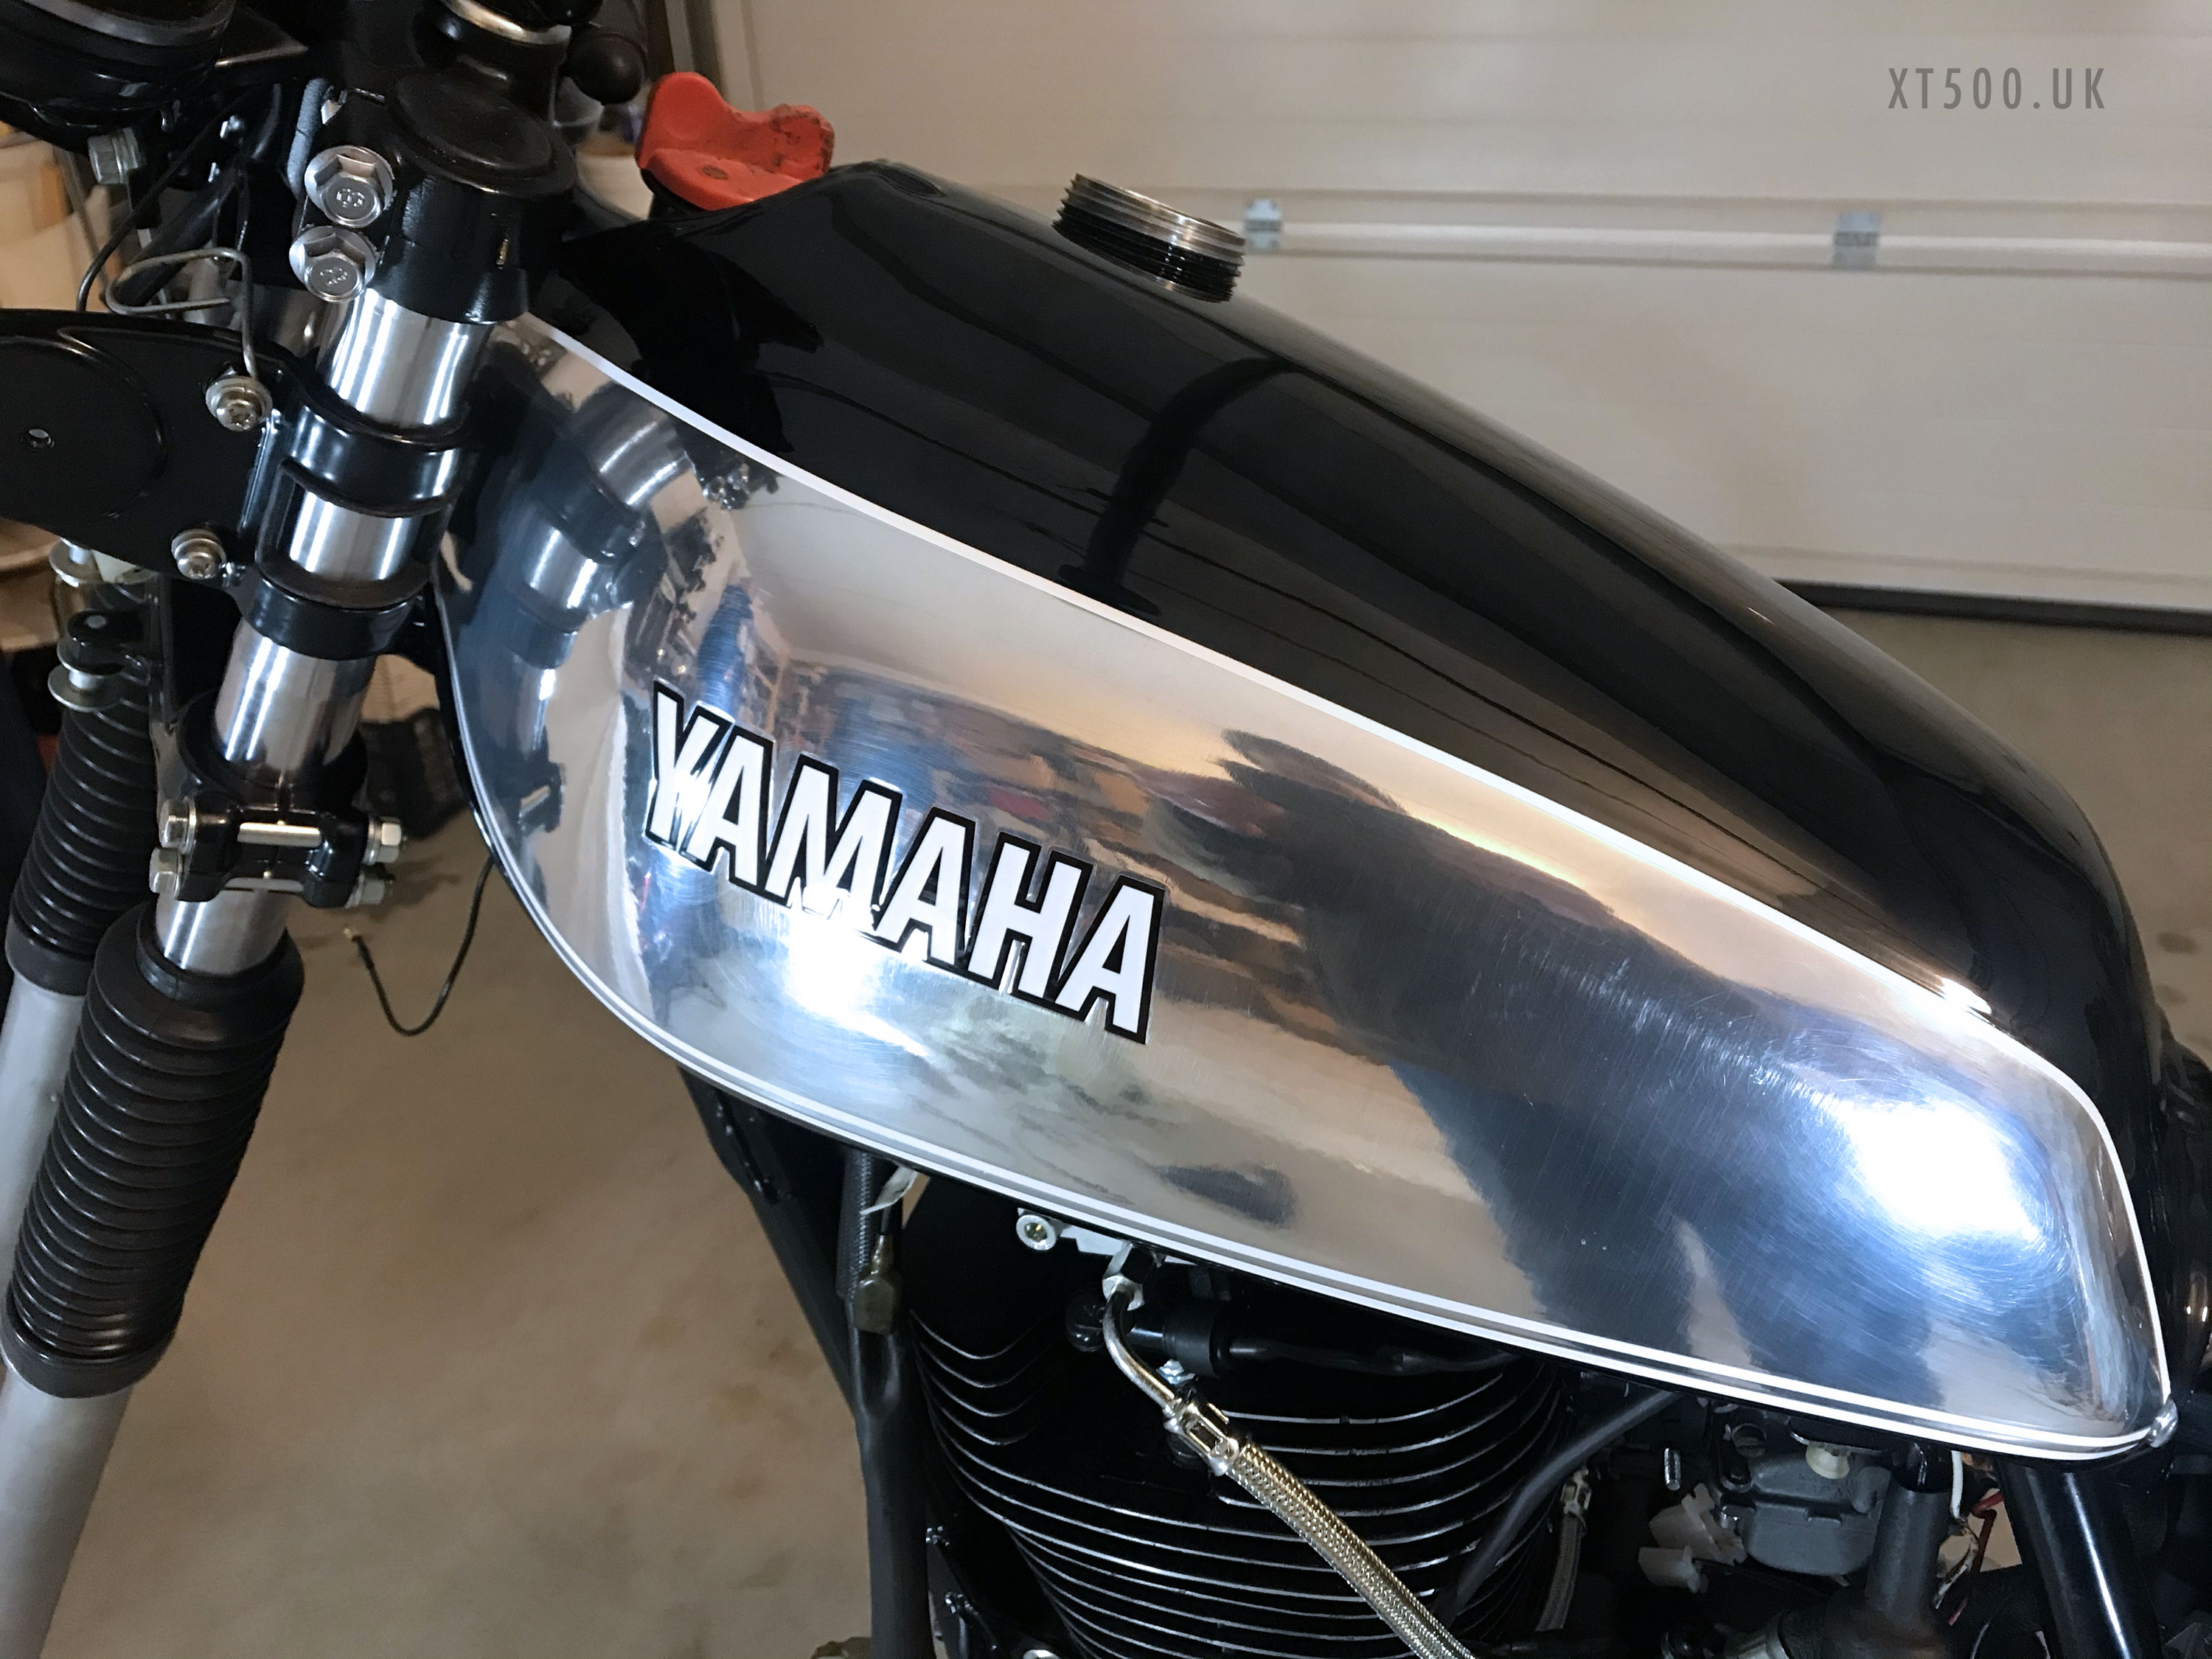
Oh dear, that’s tight and won’t fit. I wonder why… oh THAT’S why 😡
It’s the Indian replica tank syndrome, but wait a minute this is an original. And here it is, next to another original (from the donor bike).
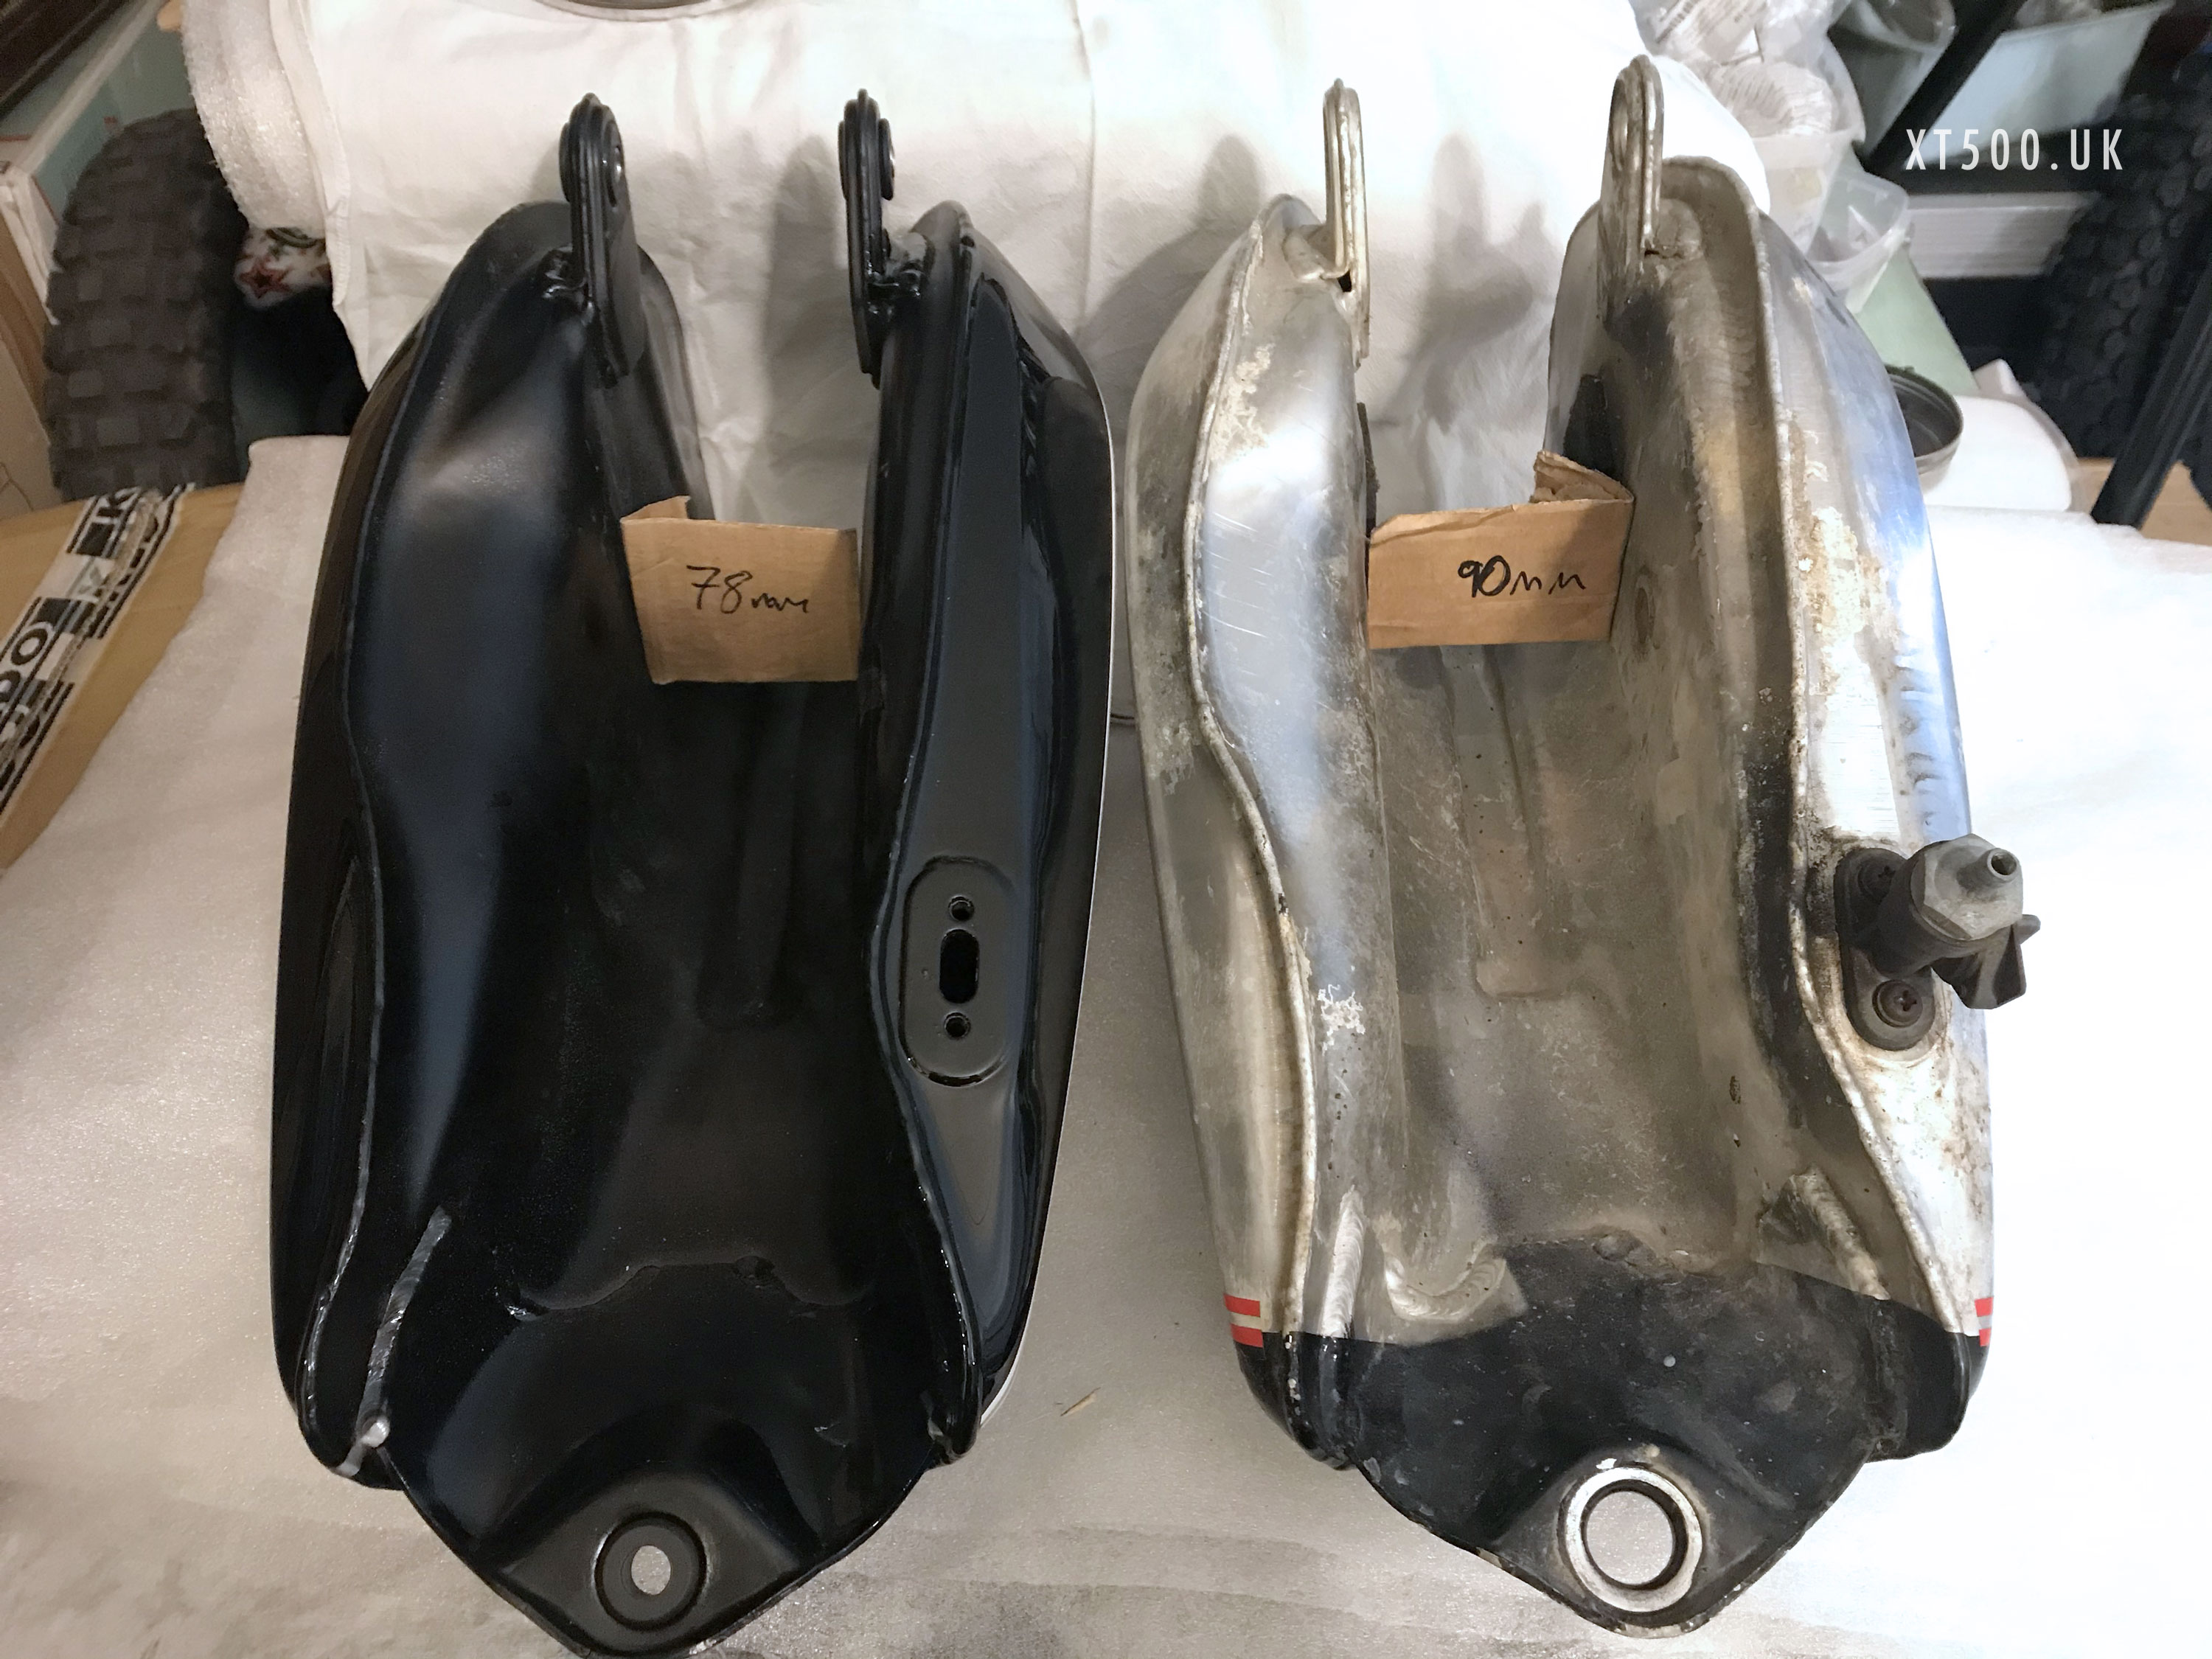
The hull walls have been blown out by a previous owner trying to fix dents using pressure. Basically sealing the filler and fuel drain hole and pressurizing with compressed air, in the vain hope of it popping out the dents.
Be warned, THIS DOES NOT WORK, it creates other problems and perhaps areas of stress. It may push out large shallow dents but not small dimples or deeper dents, you will still be distorting the overall size and shape. And possibly have a lot more work to do.
This was confirmed by Andy at MDR when I called him, and he was most helpful. Both he and myself failed to notice that the inner hull of the tank had bulged out and therefore made it too narrow to fit over the in-frame oil tank. He gave me some excellent advice on how to resolve this problem “easily” in a way that will negate having to use a jig and therefore have a new paint job. But if I struggled he offered to do it for me for free. He even offered to pay for shipping! However. I couldn’t face the post Brexit import/export debacle all over again.
The following method is possible because all the external dimensions are correct. I new this because I have the second tank as comparison, so I merely measured up both tanks in various places to see if there were any major differences other than the hull.
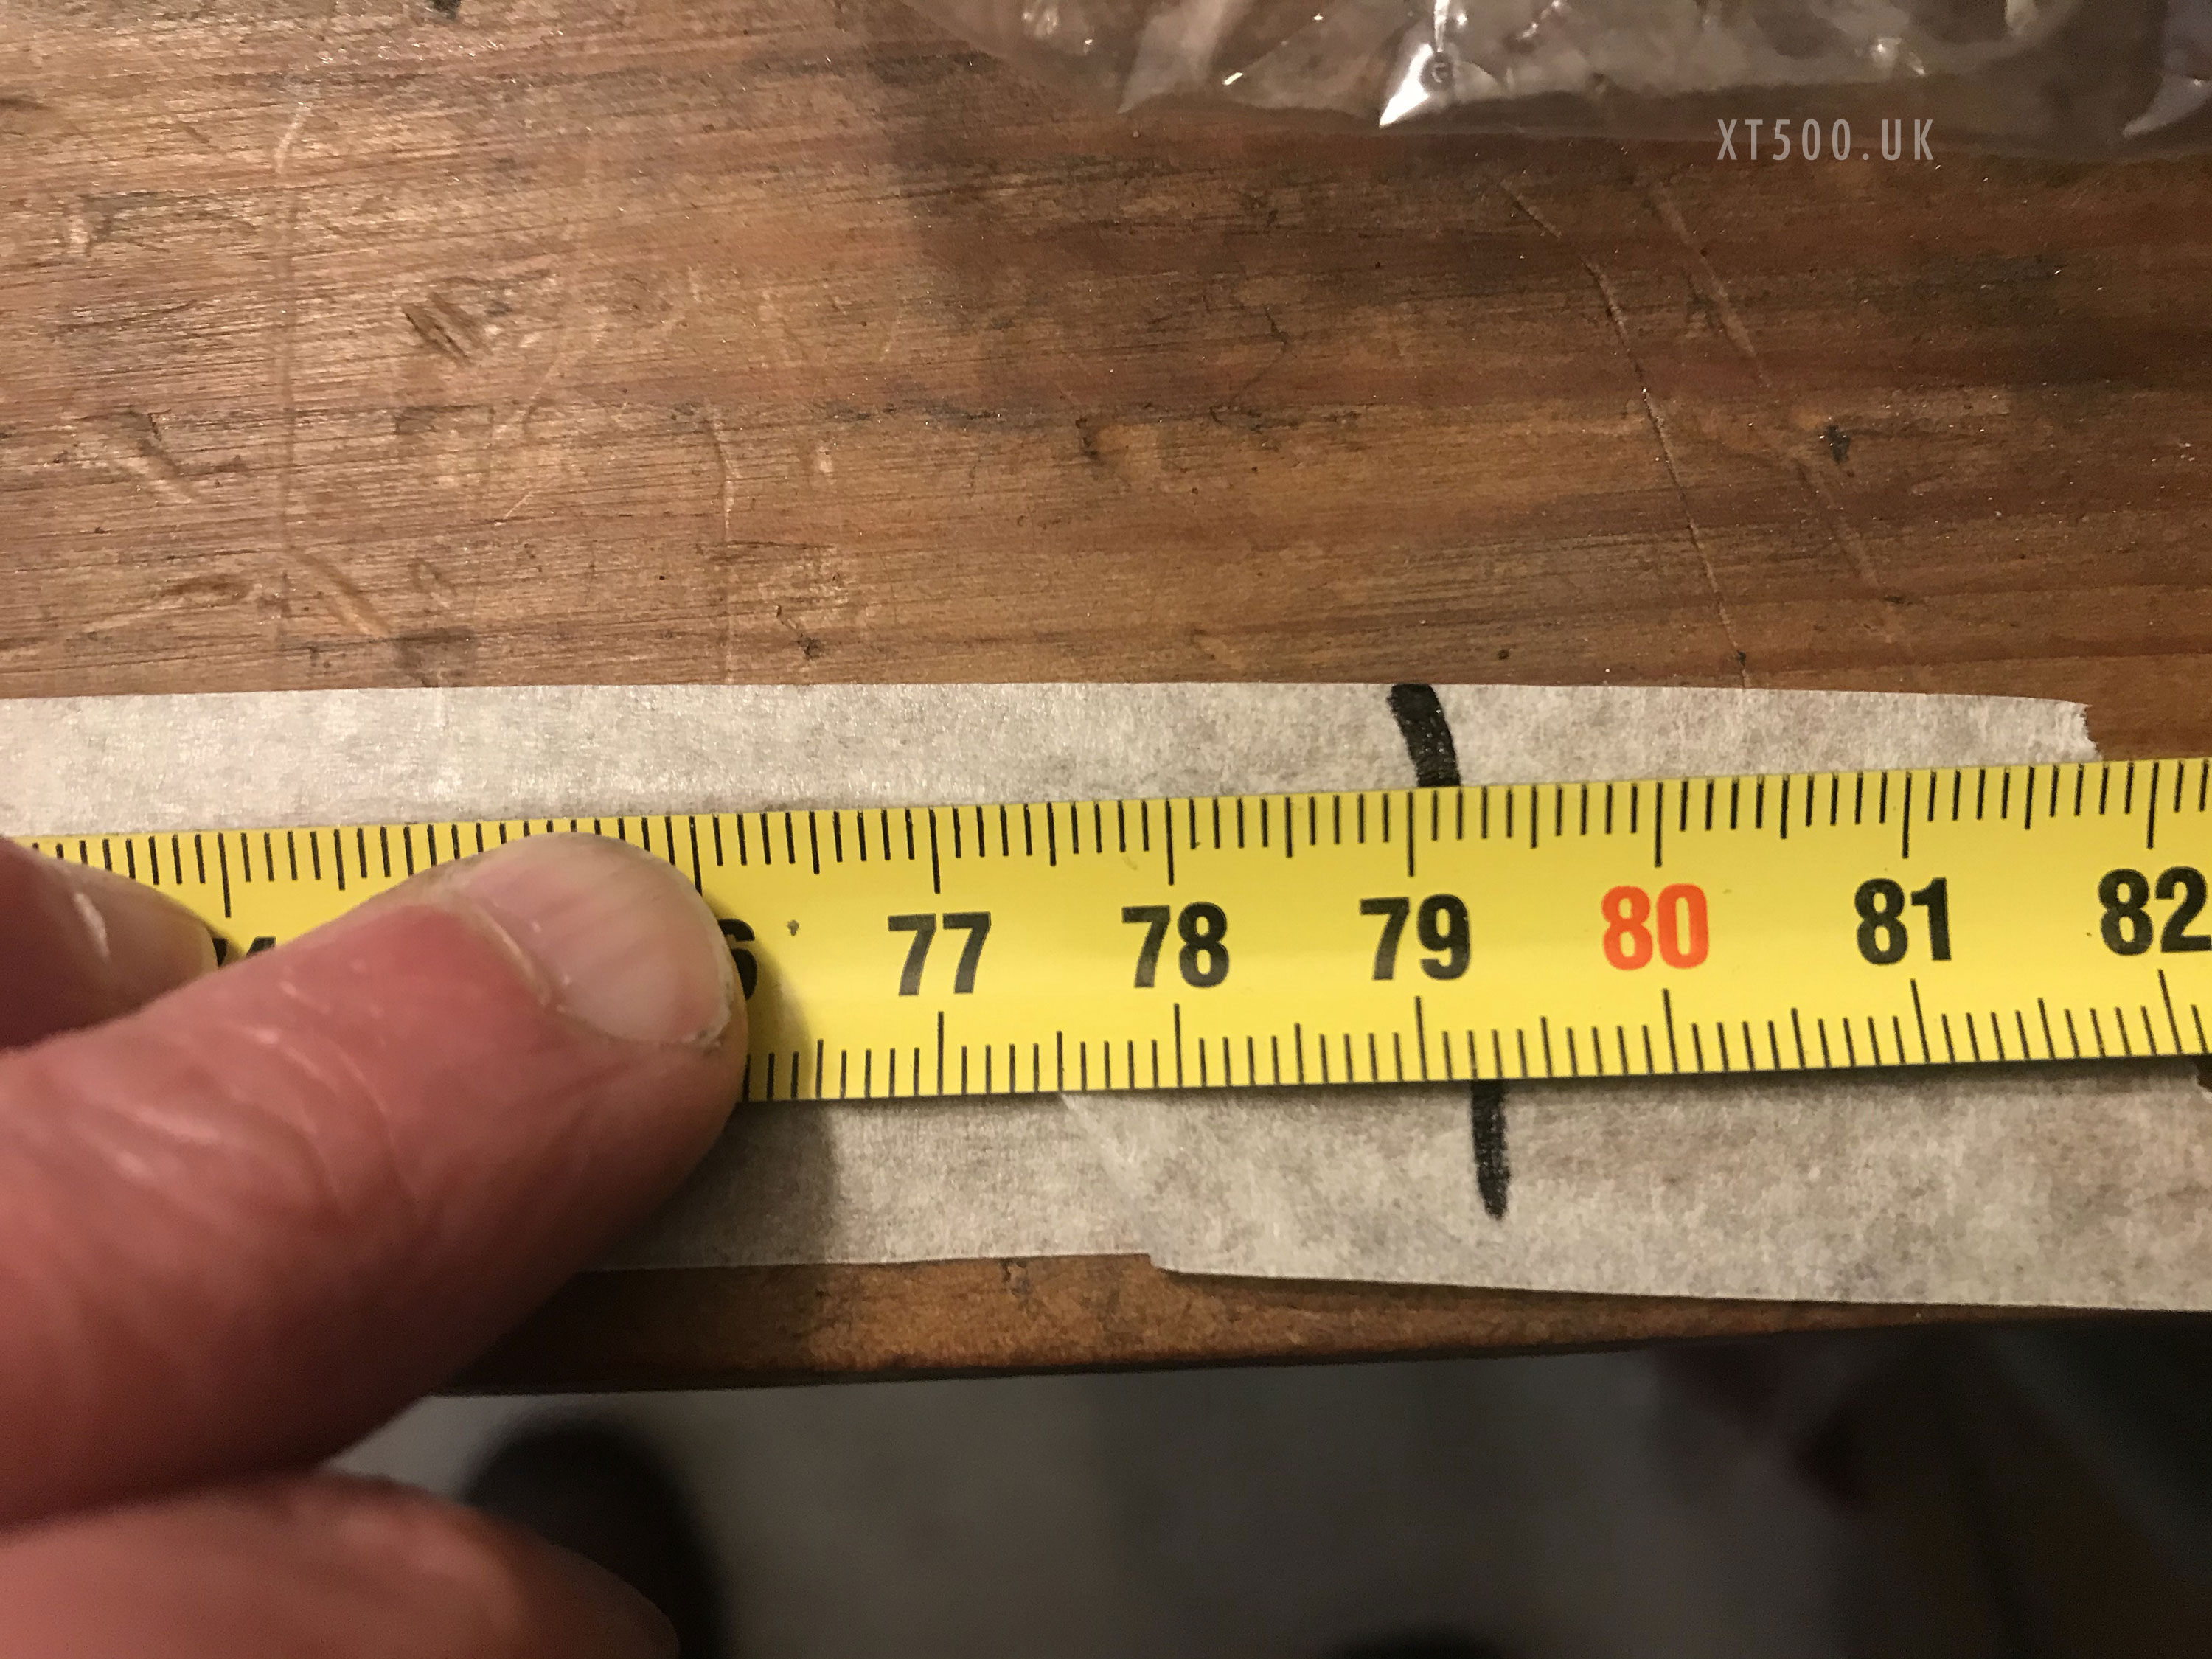
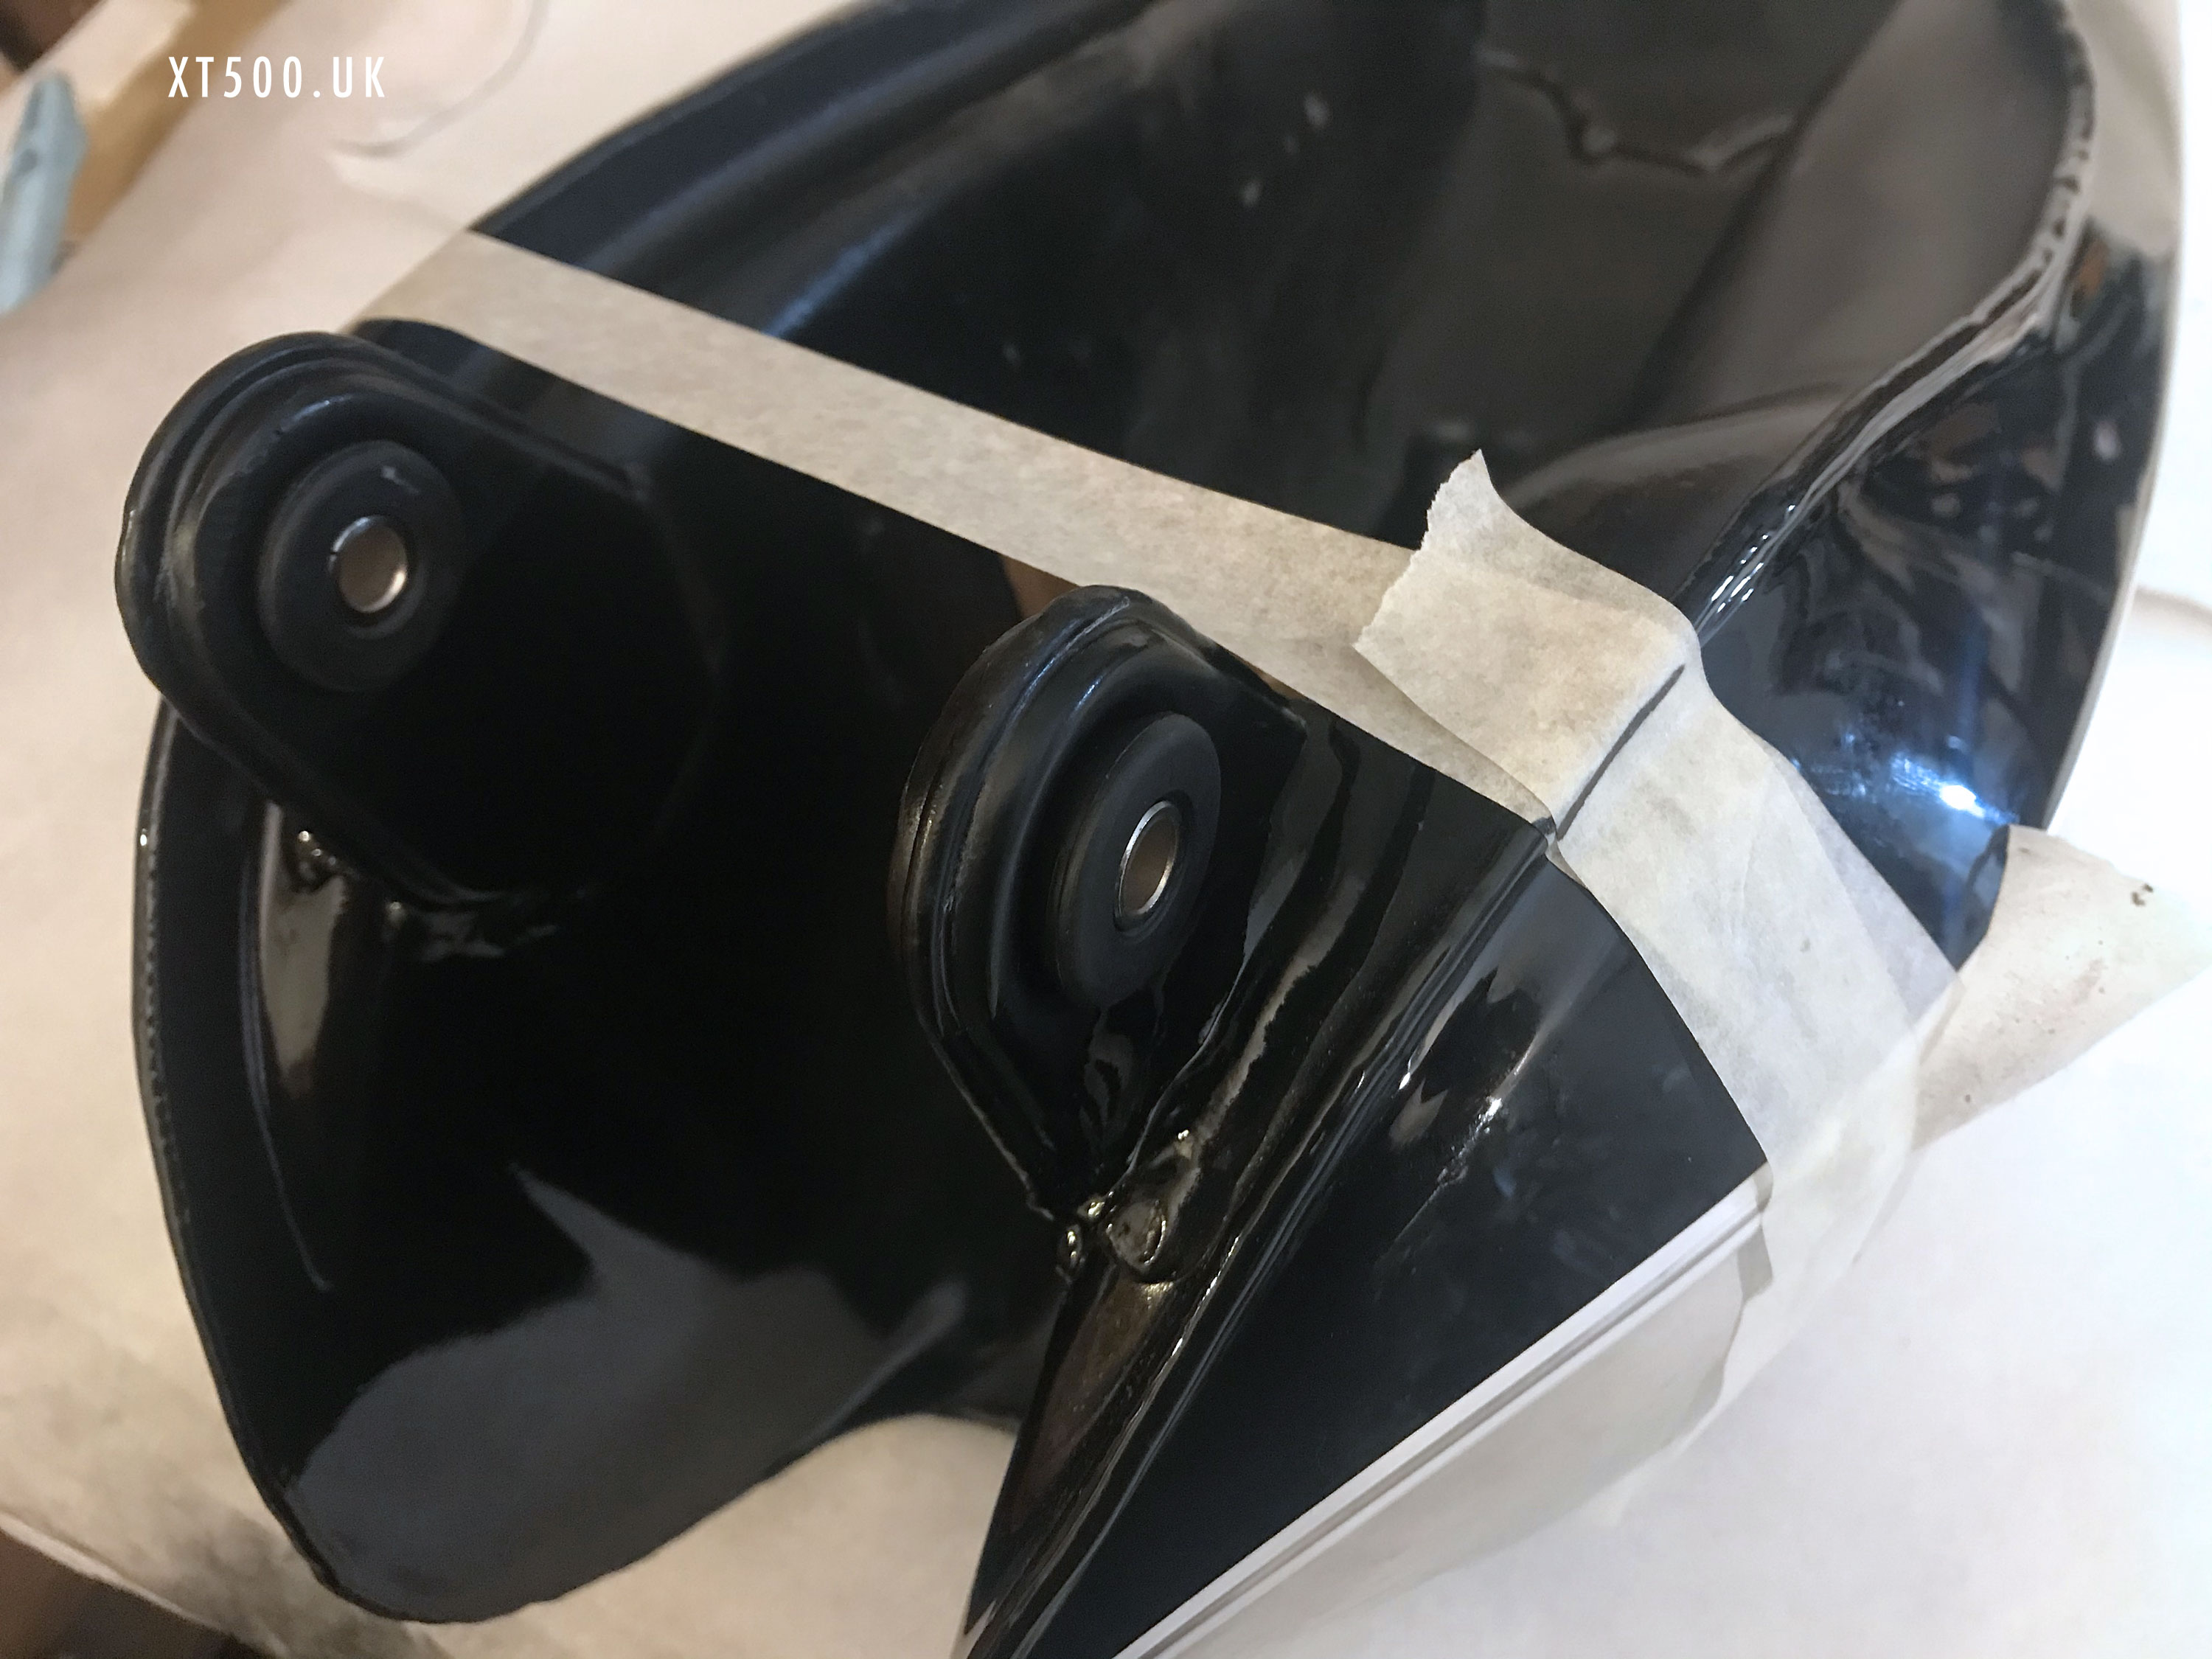
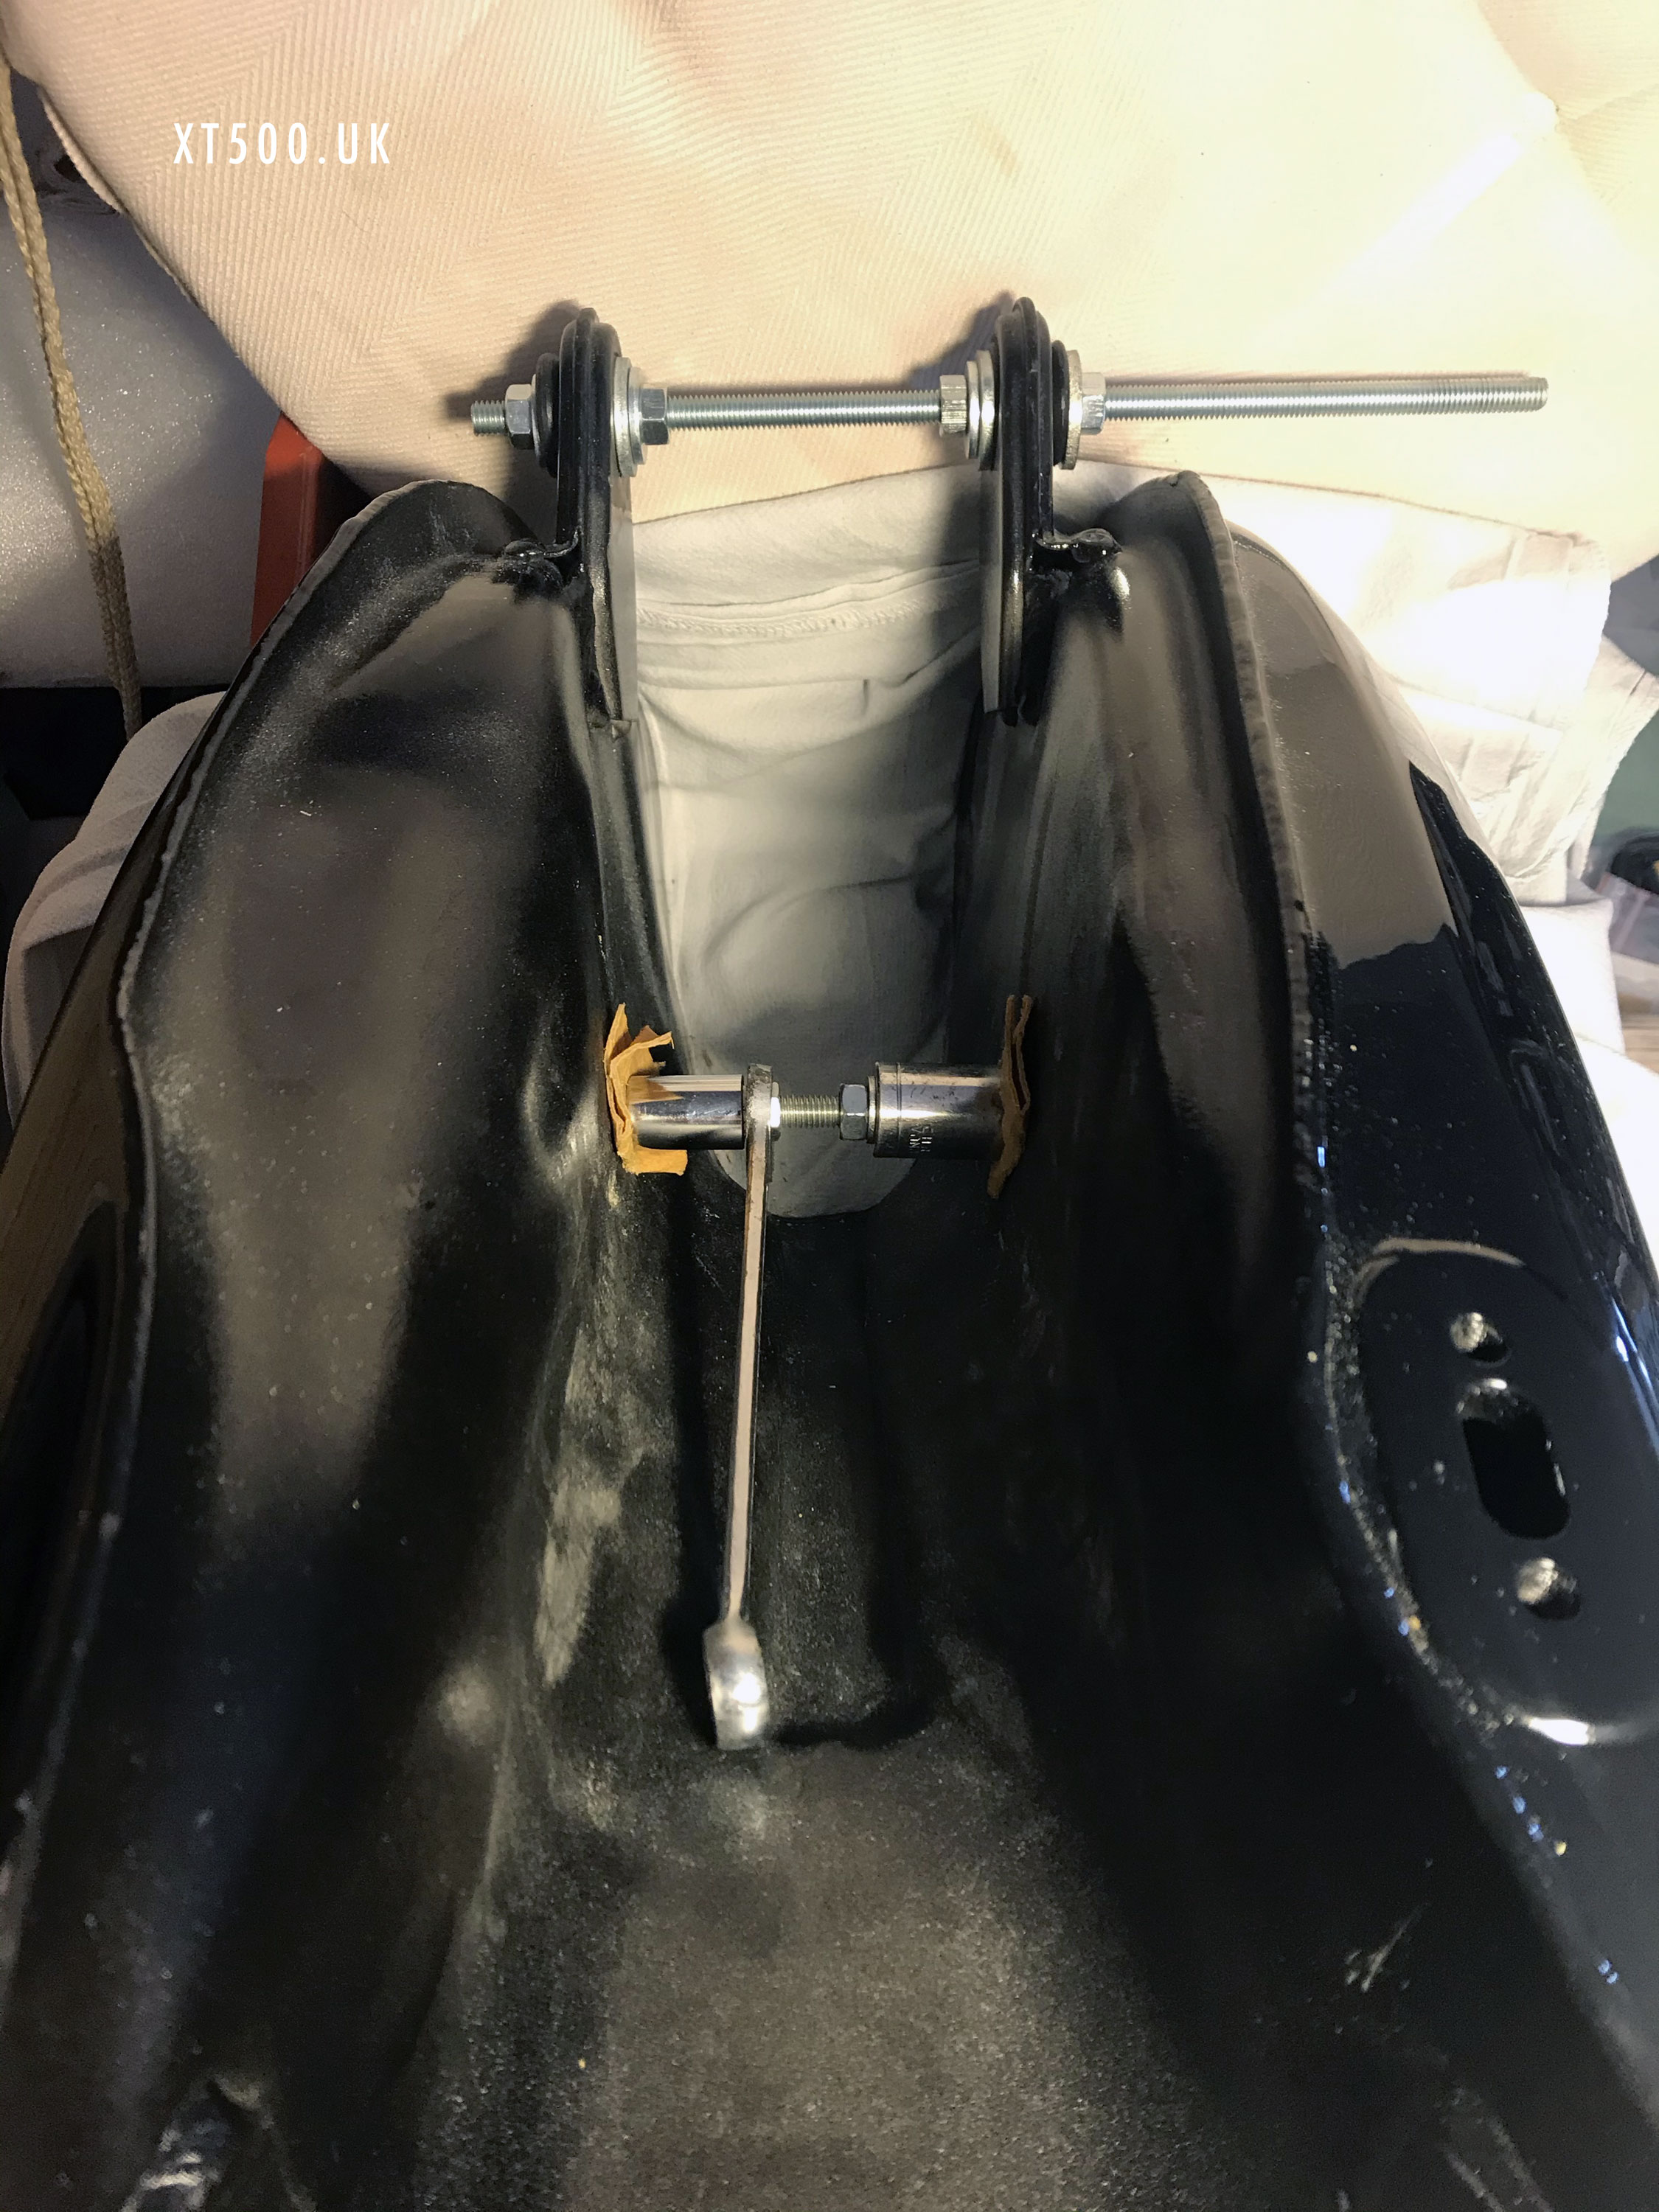
The only difference was in the spacing between the front mounts. So using threaded bar, nuts and washers, I forced back the mounts of the restored fuel tank to match the other. I then left that in place so that it wouldn’t move as I tried to widen the hull channel.
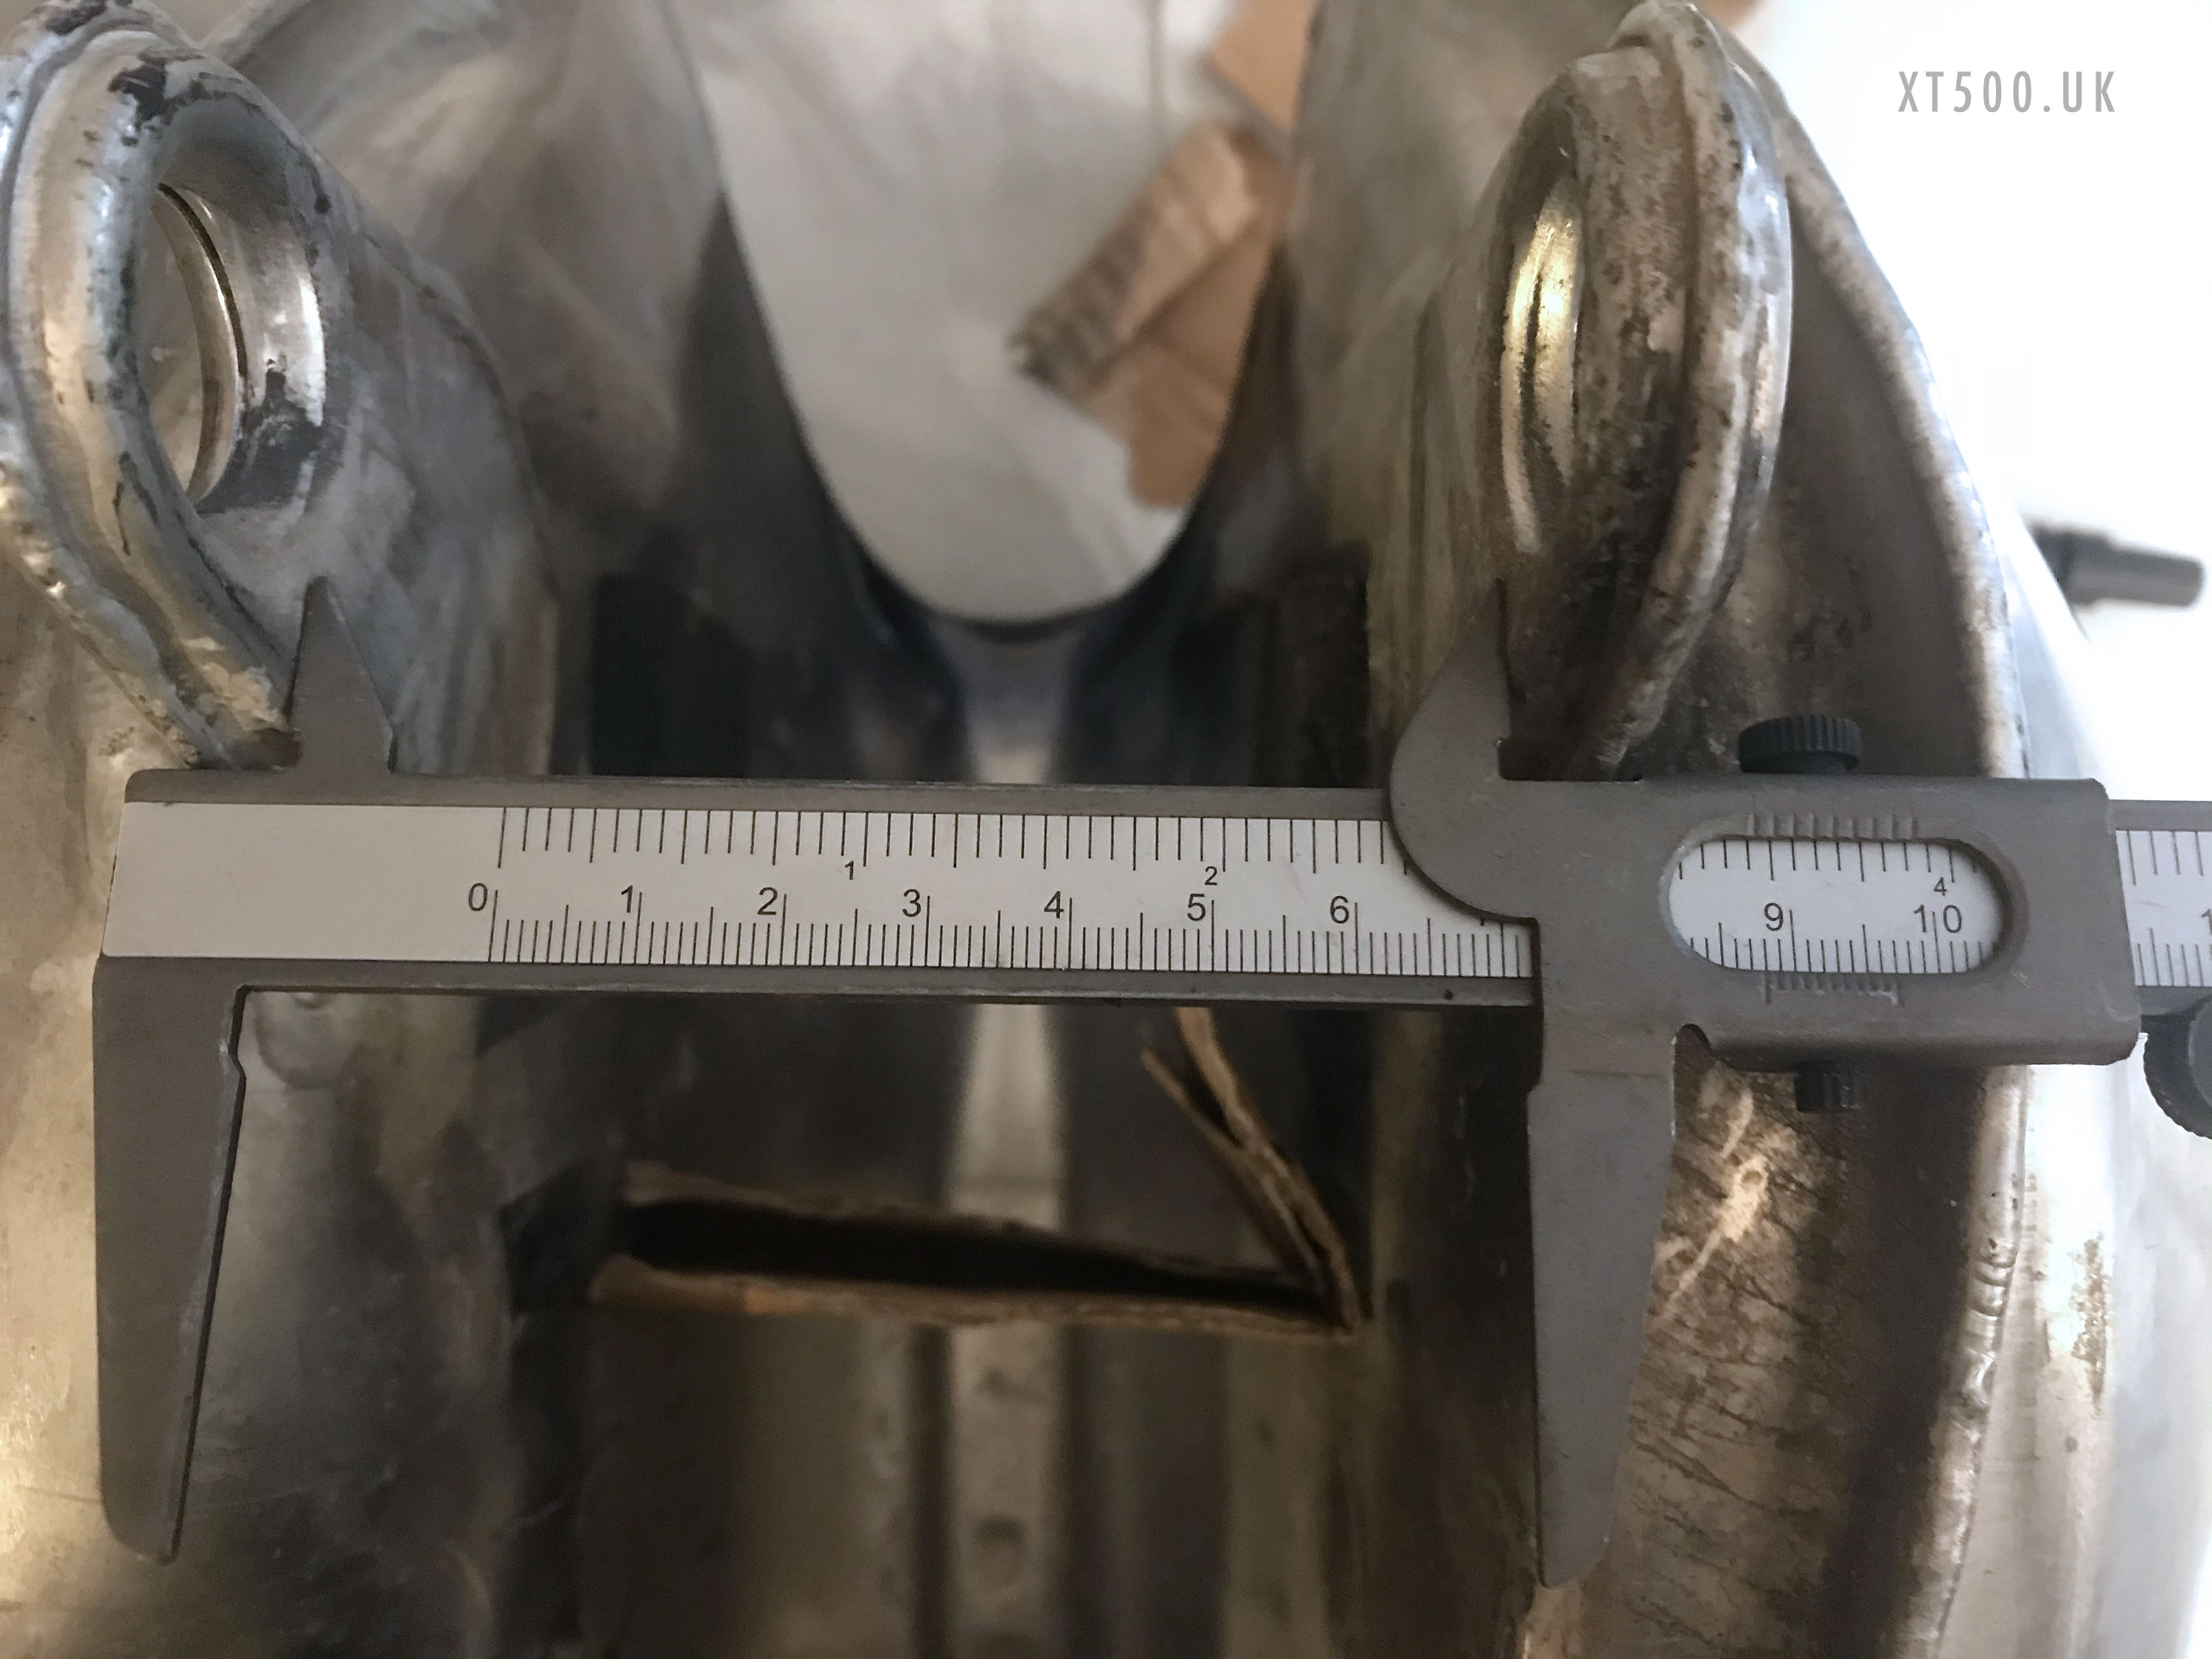
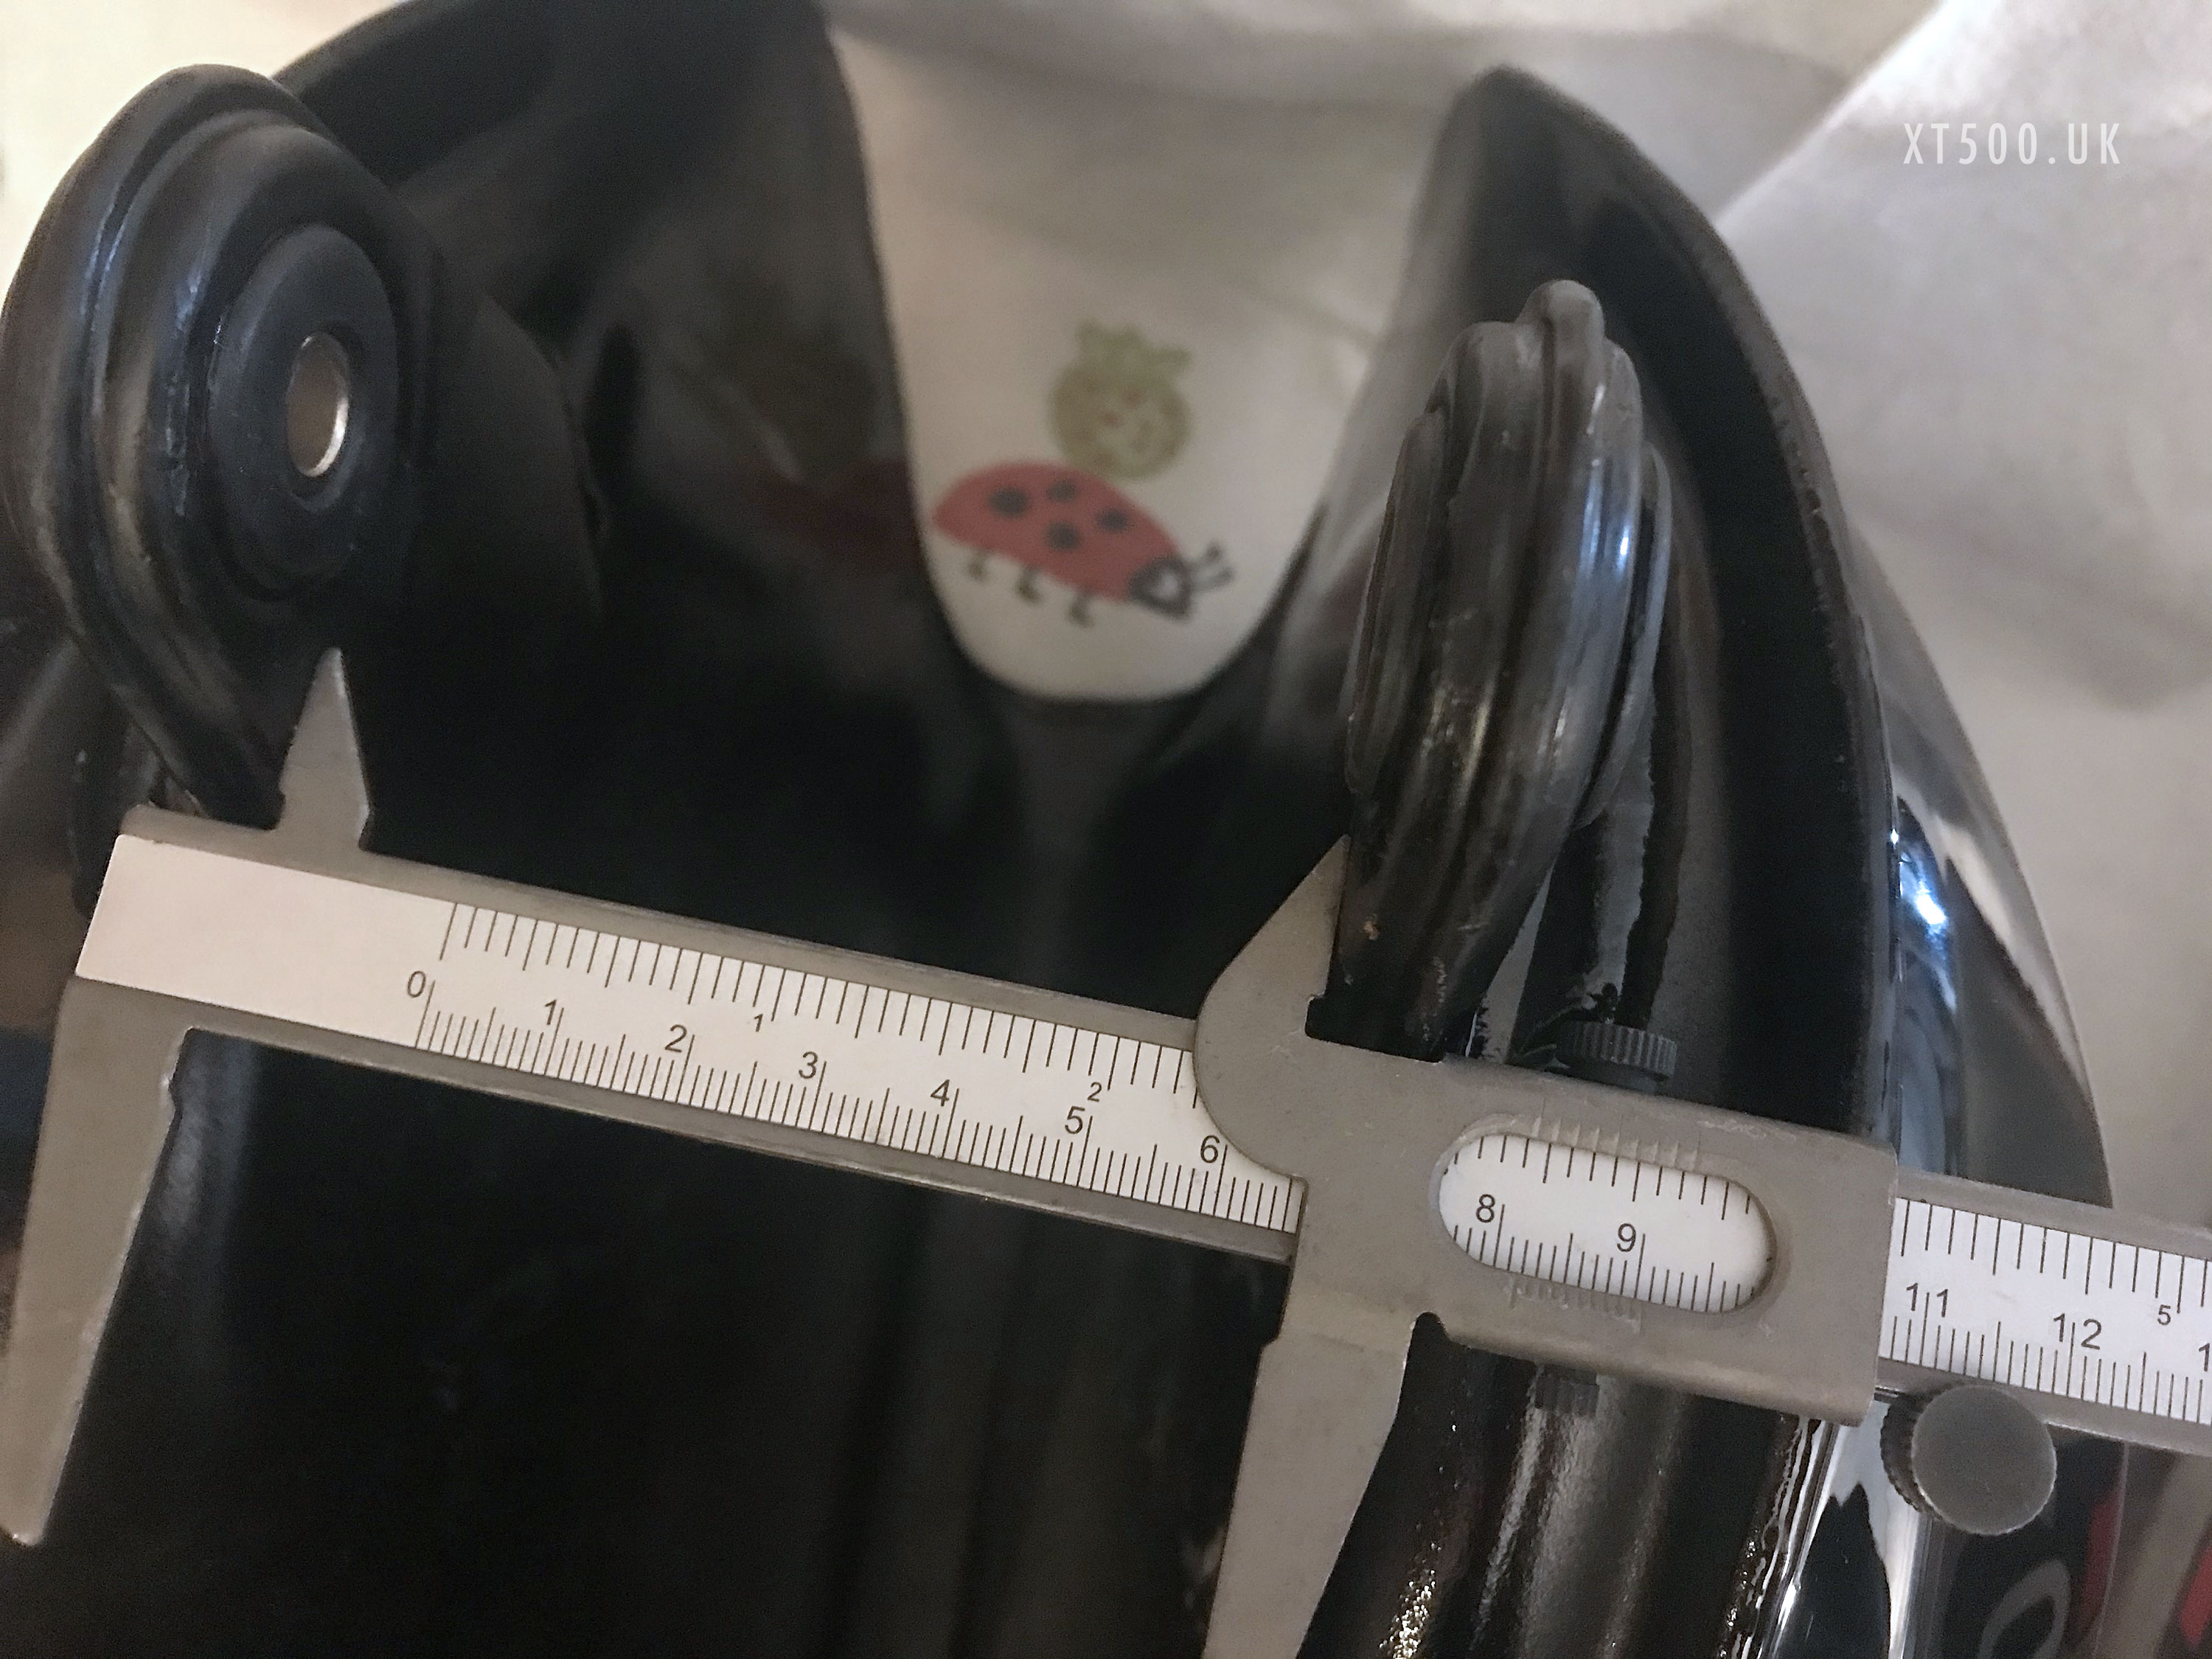
Here’s what I did
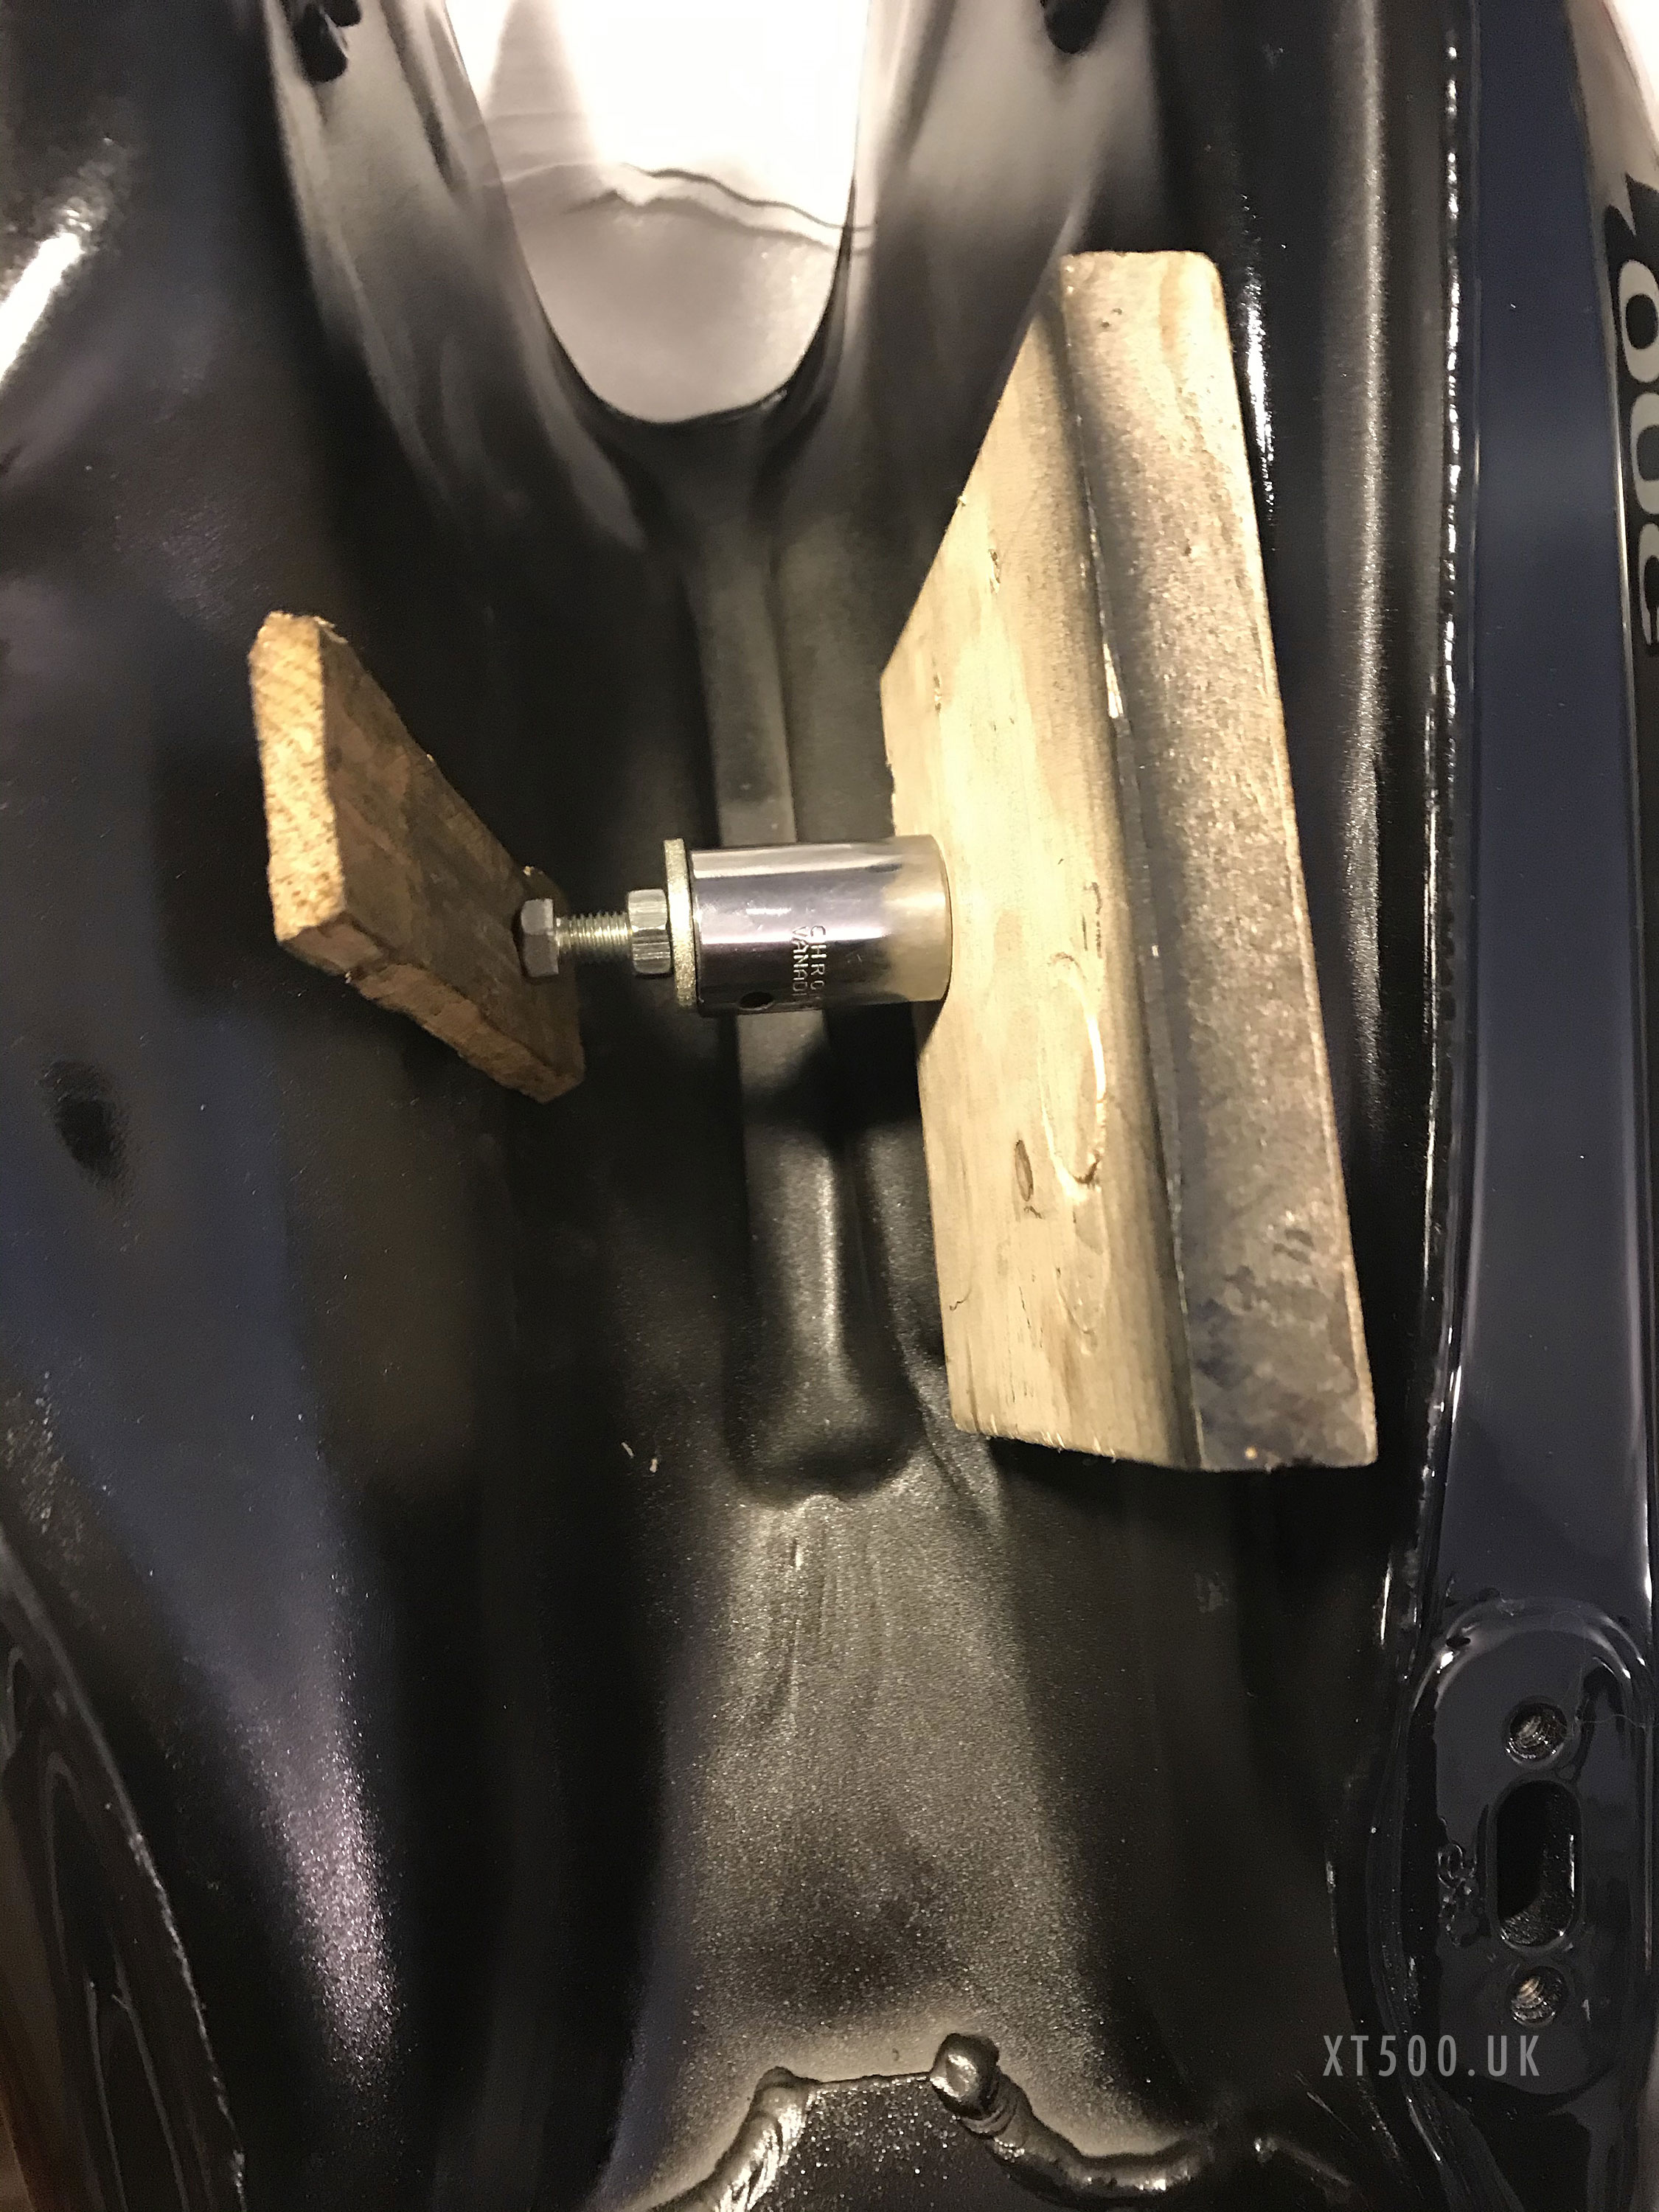
Tried a Heath Robinson approach but even though the walls did move outwards, the walls moved back once i removed the tool.
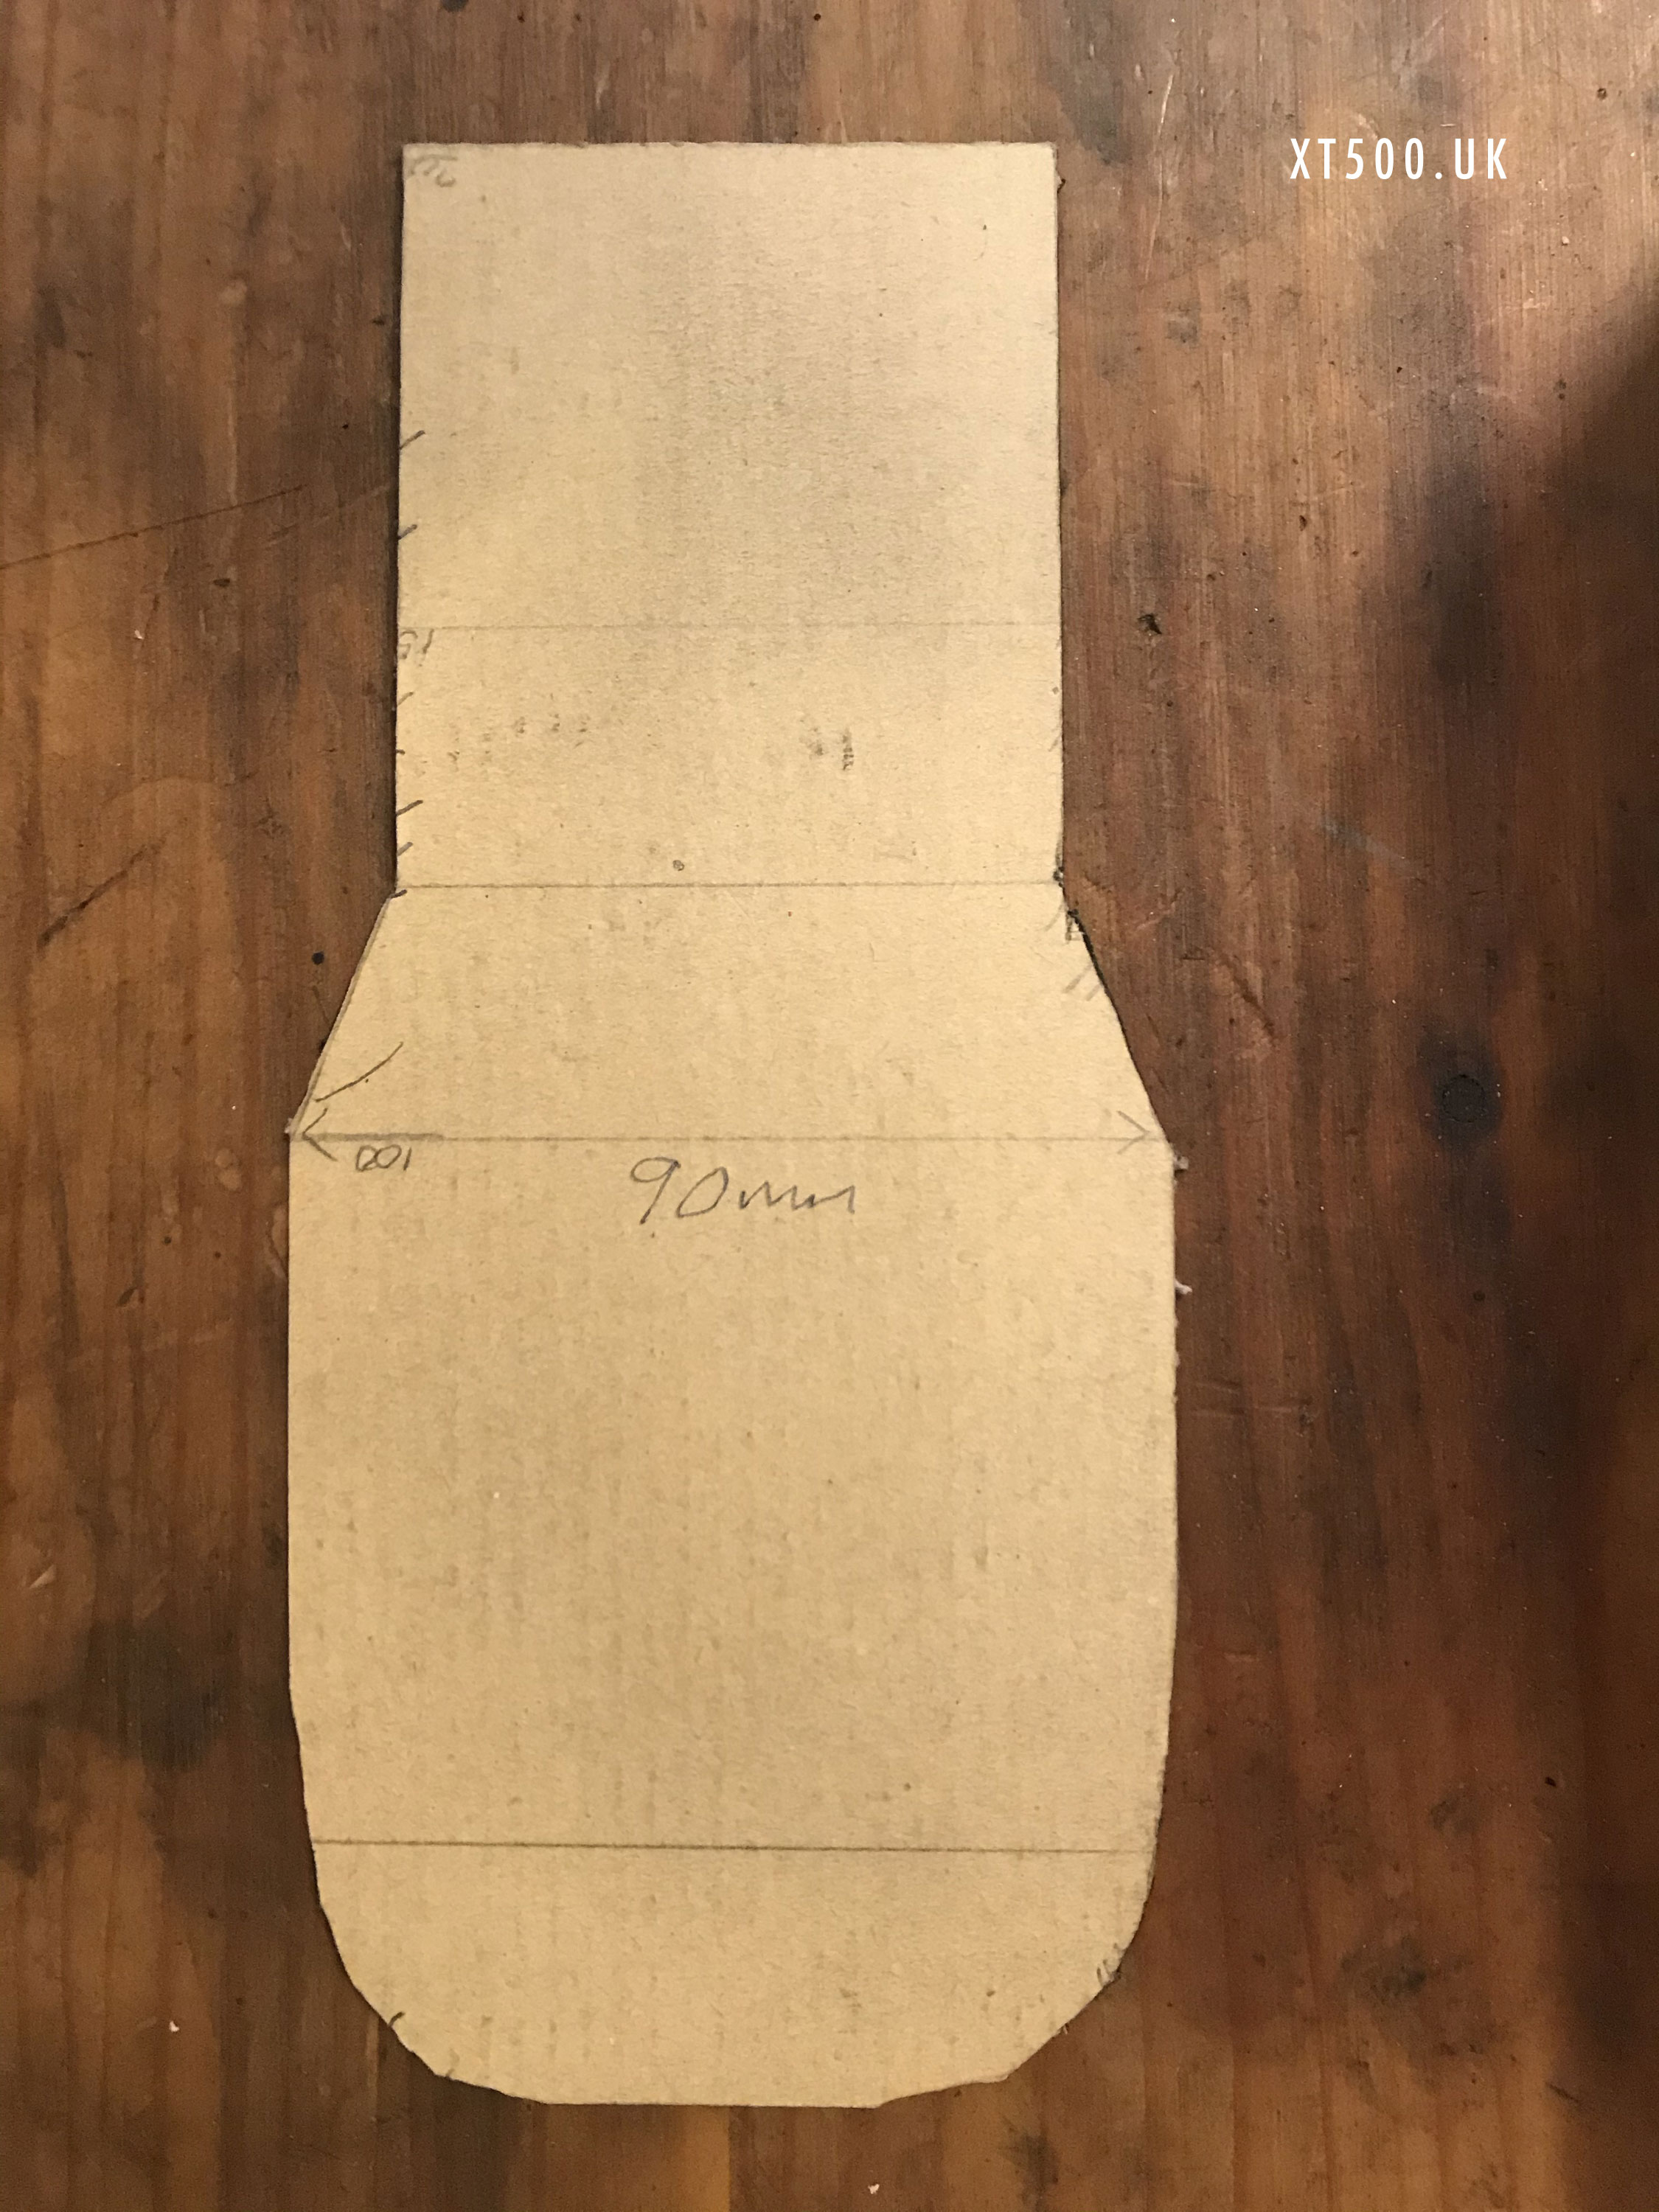
Next, on the advice of Andy, I created a drift (out of scrap timber I had lying around), after first making a template in cardboard. I placed the fuel tank in a crate filled with polystyrene, bubble-wrap and a couple of flat seat cushions. The last thing I want to do now is create dents or damage the paintwork.
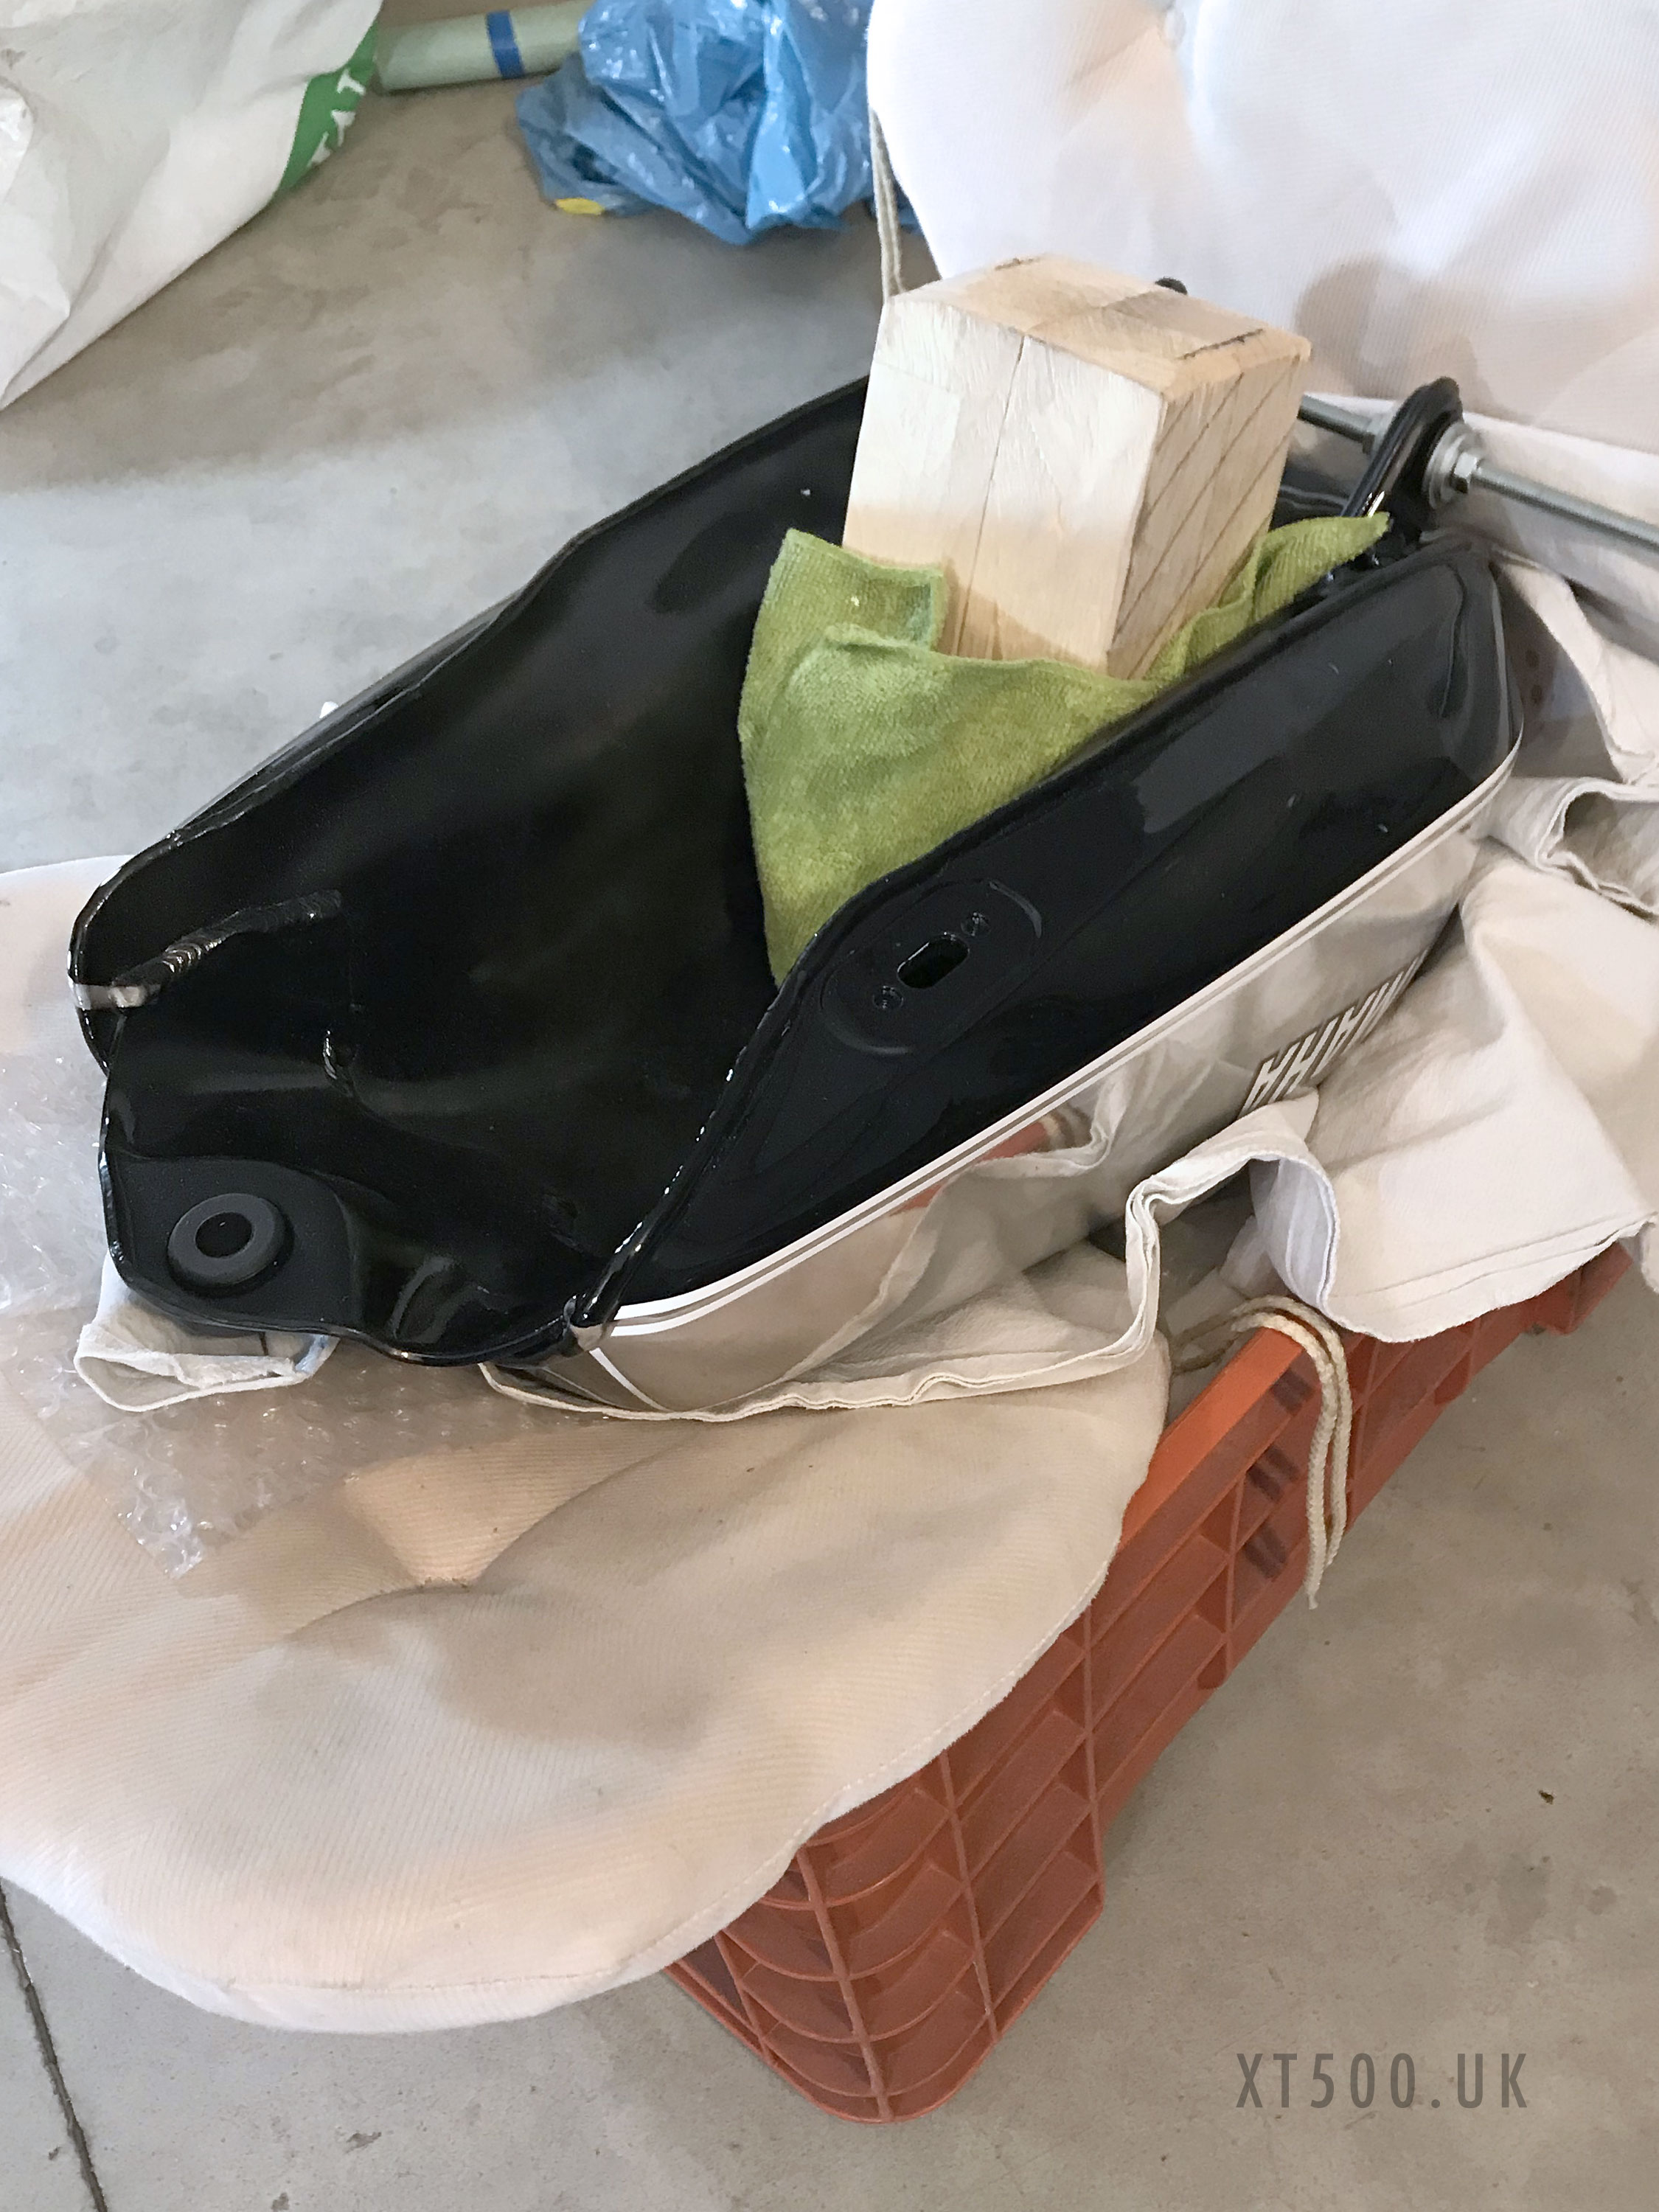
I also used a soft cloth between the surfaces of the fuel tank and the drift. A damp chamois leather would perhaps work better giving a better ‘grip’. Pushed down the drift as far as it would go by hand then using a rubber mallet to knock it down more. Started at one end of the channel and worked along.
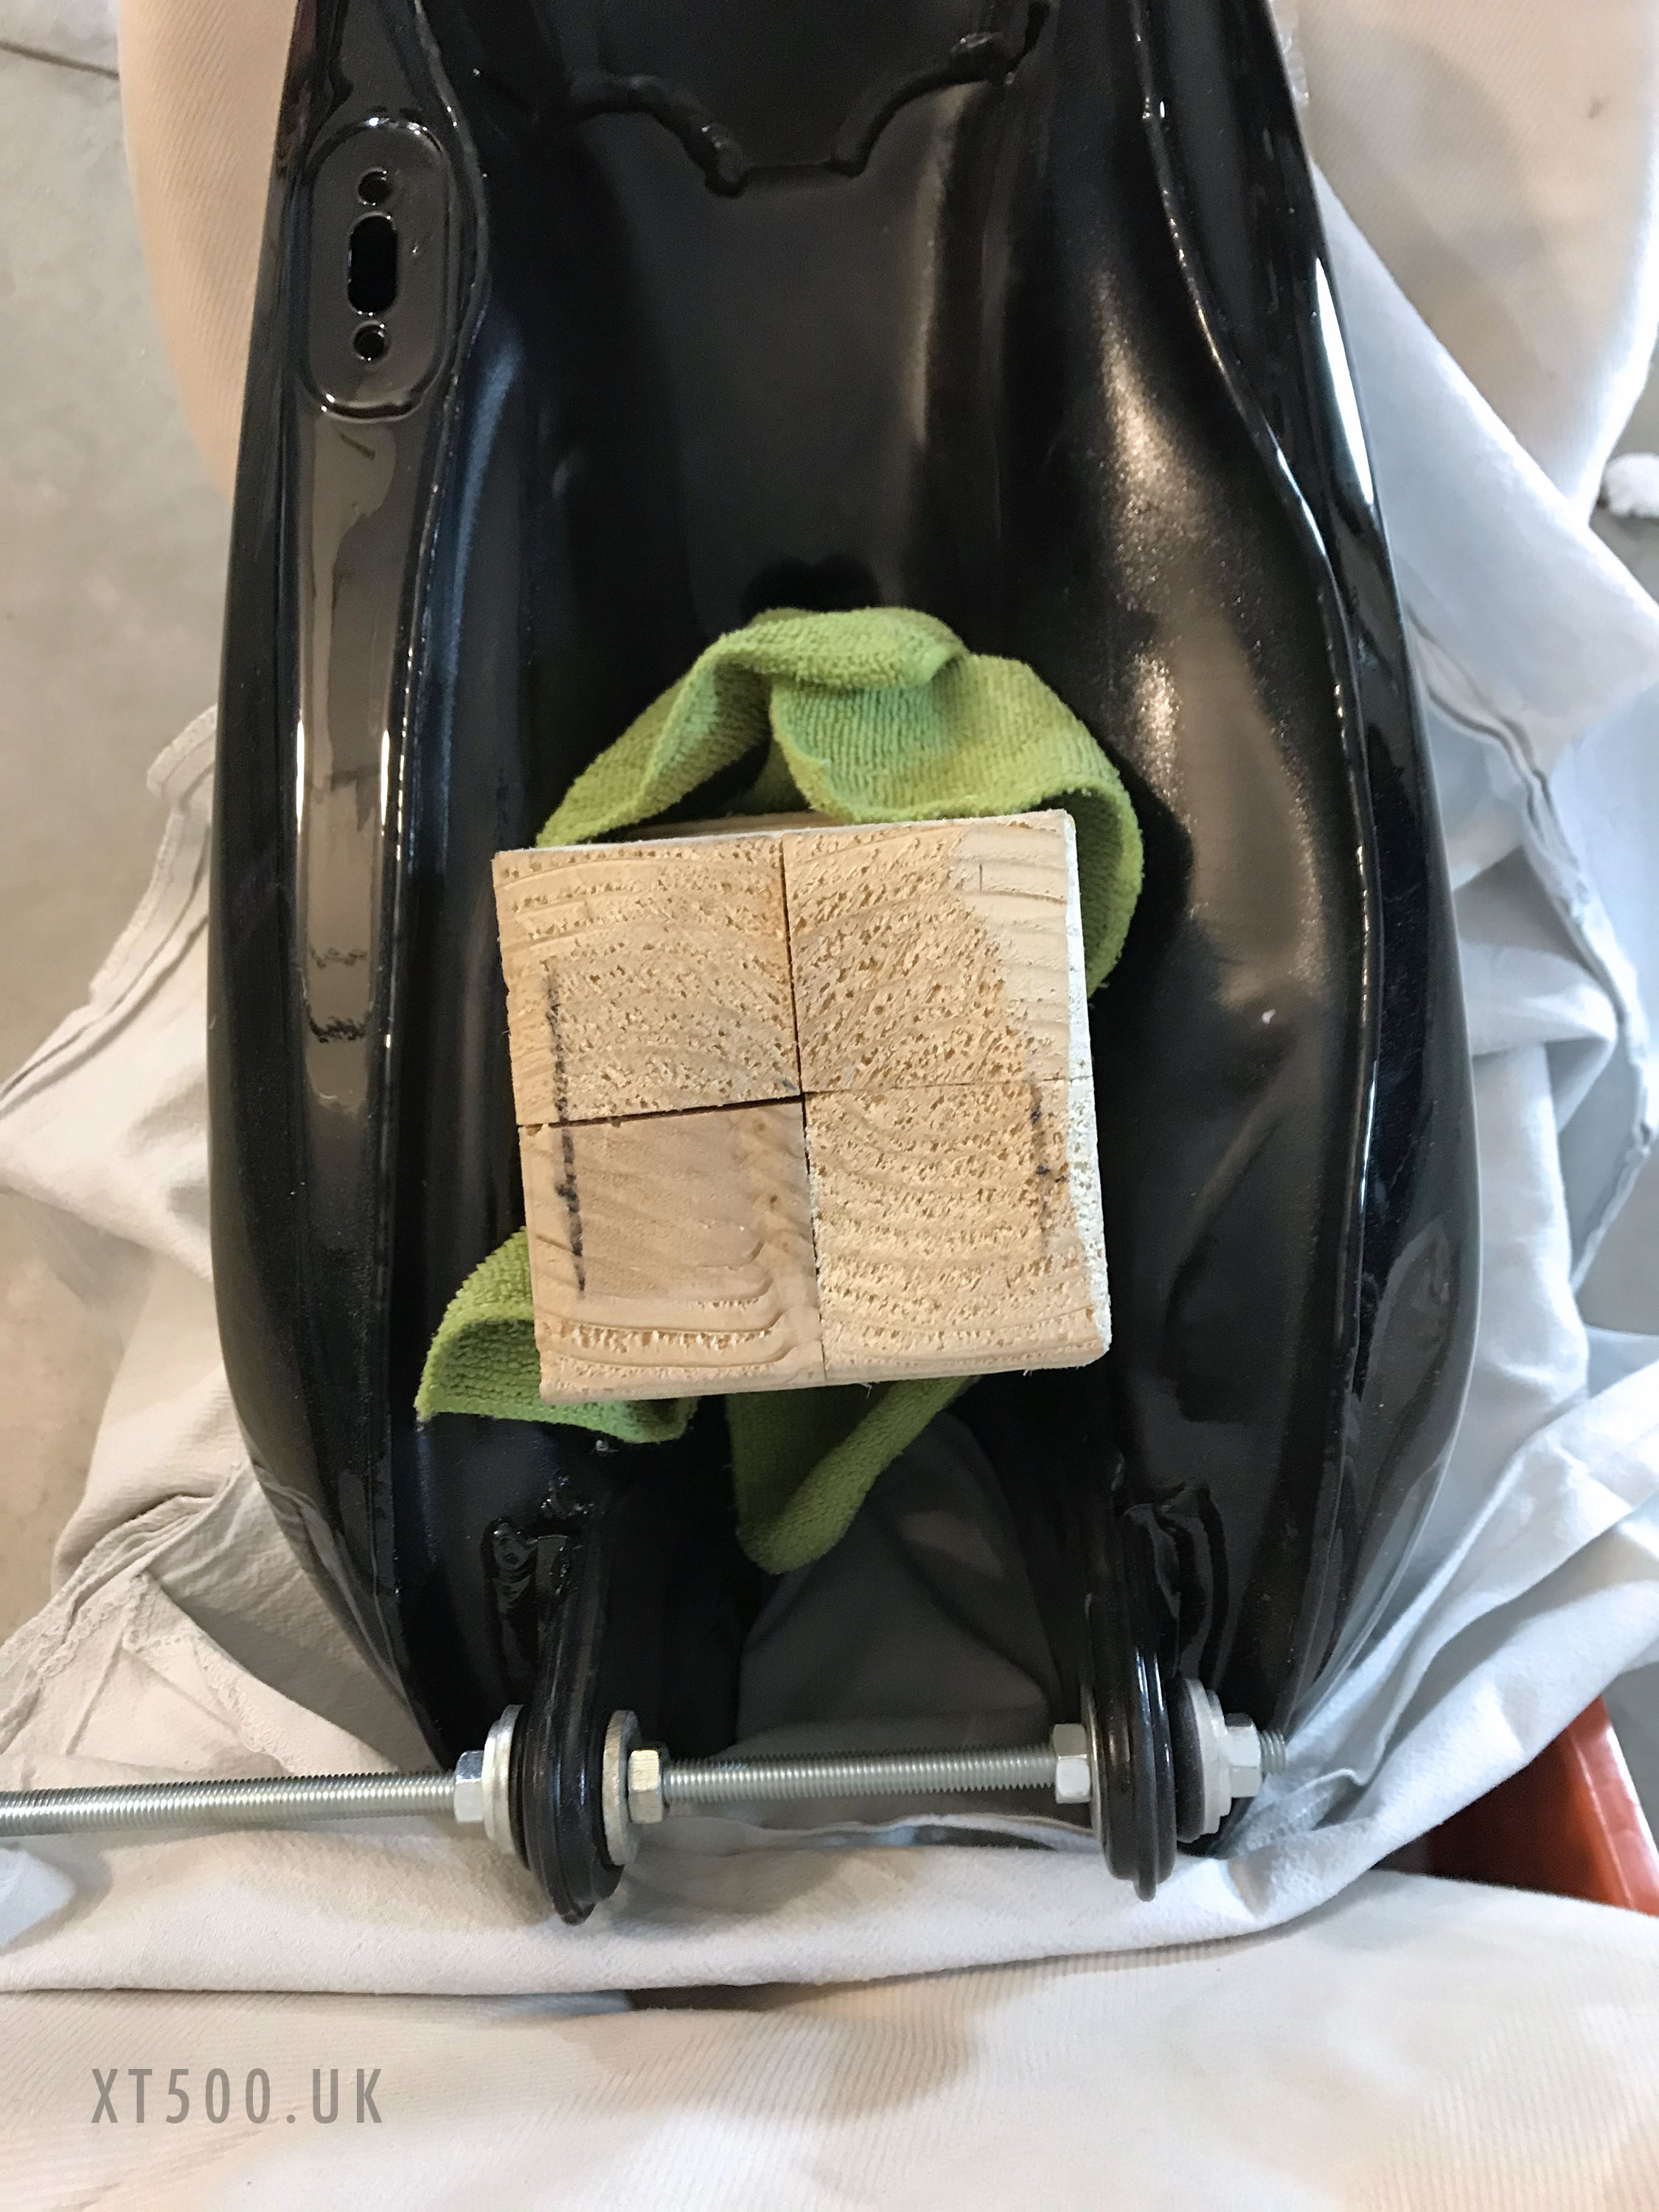
Although I was able to push the sides in to the correct width, each time I took out the drift, the sides moved back. In the end I only managed to expand the space by a couple of mm. Perhaps if the drift had been half the thickness it may have put greater pressure on a smaller footprint. With this in mind I decided to use my original idea but with small pieces of wood on patches of chamois leather.
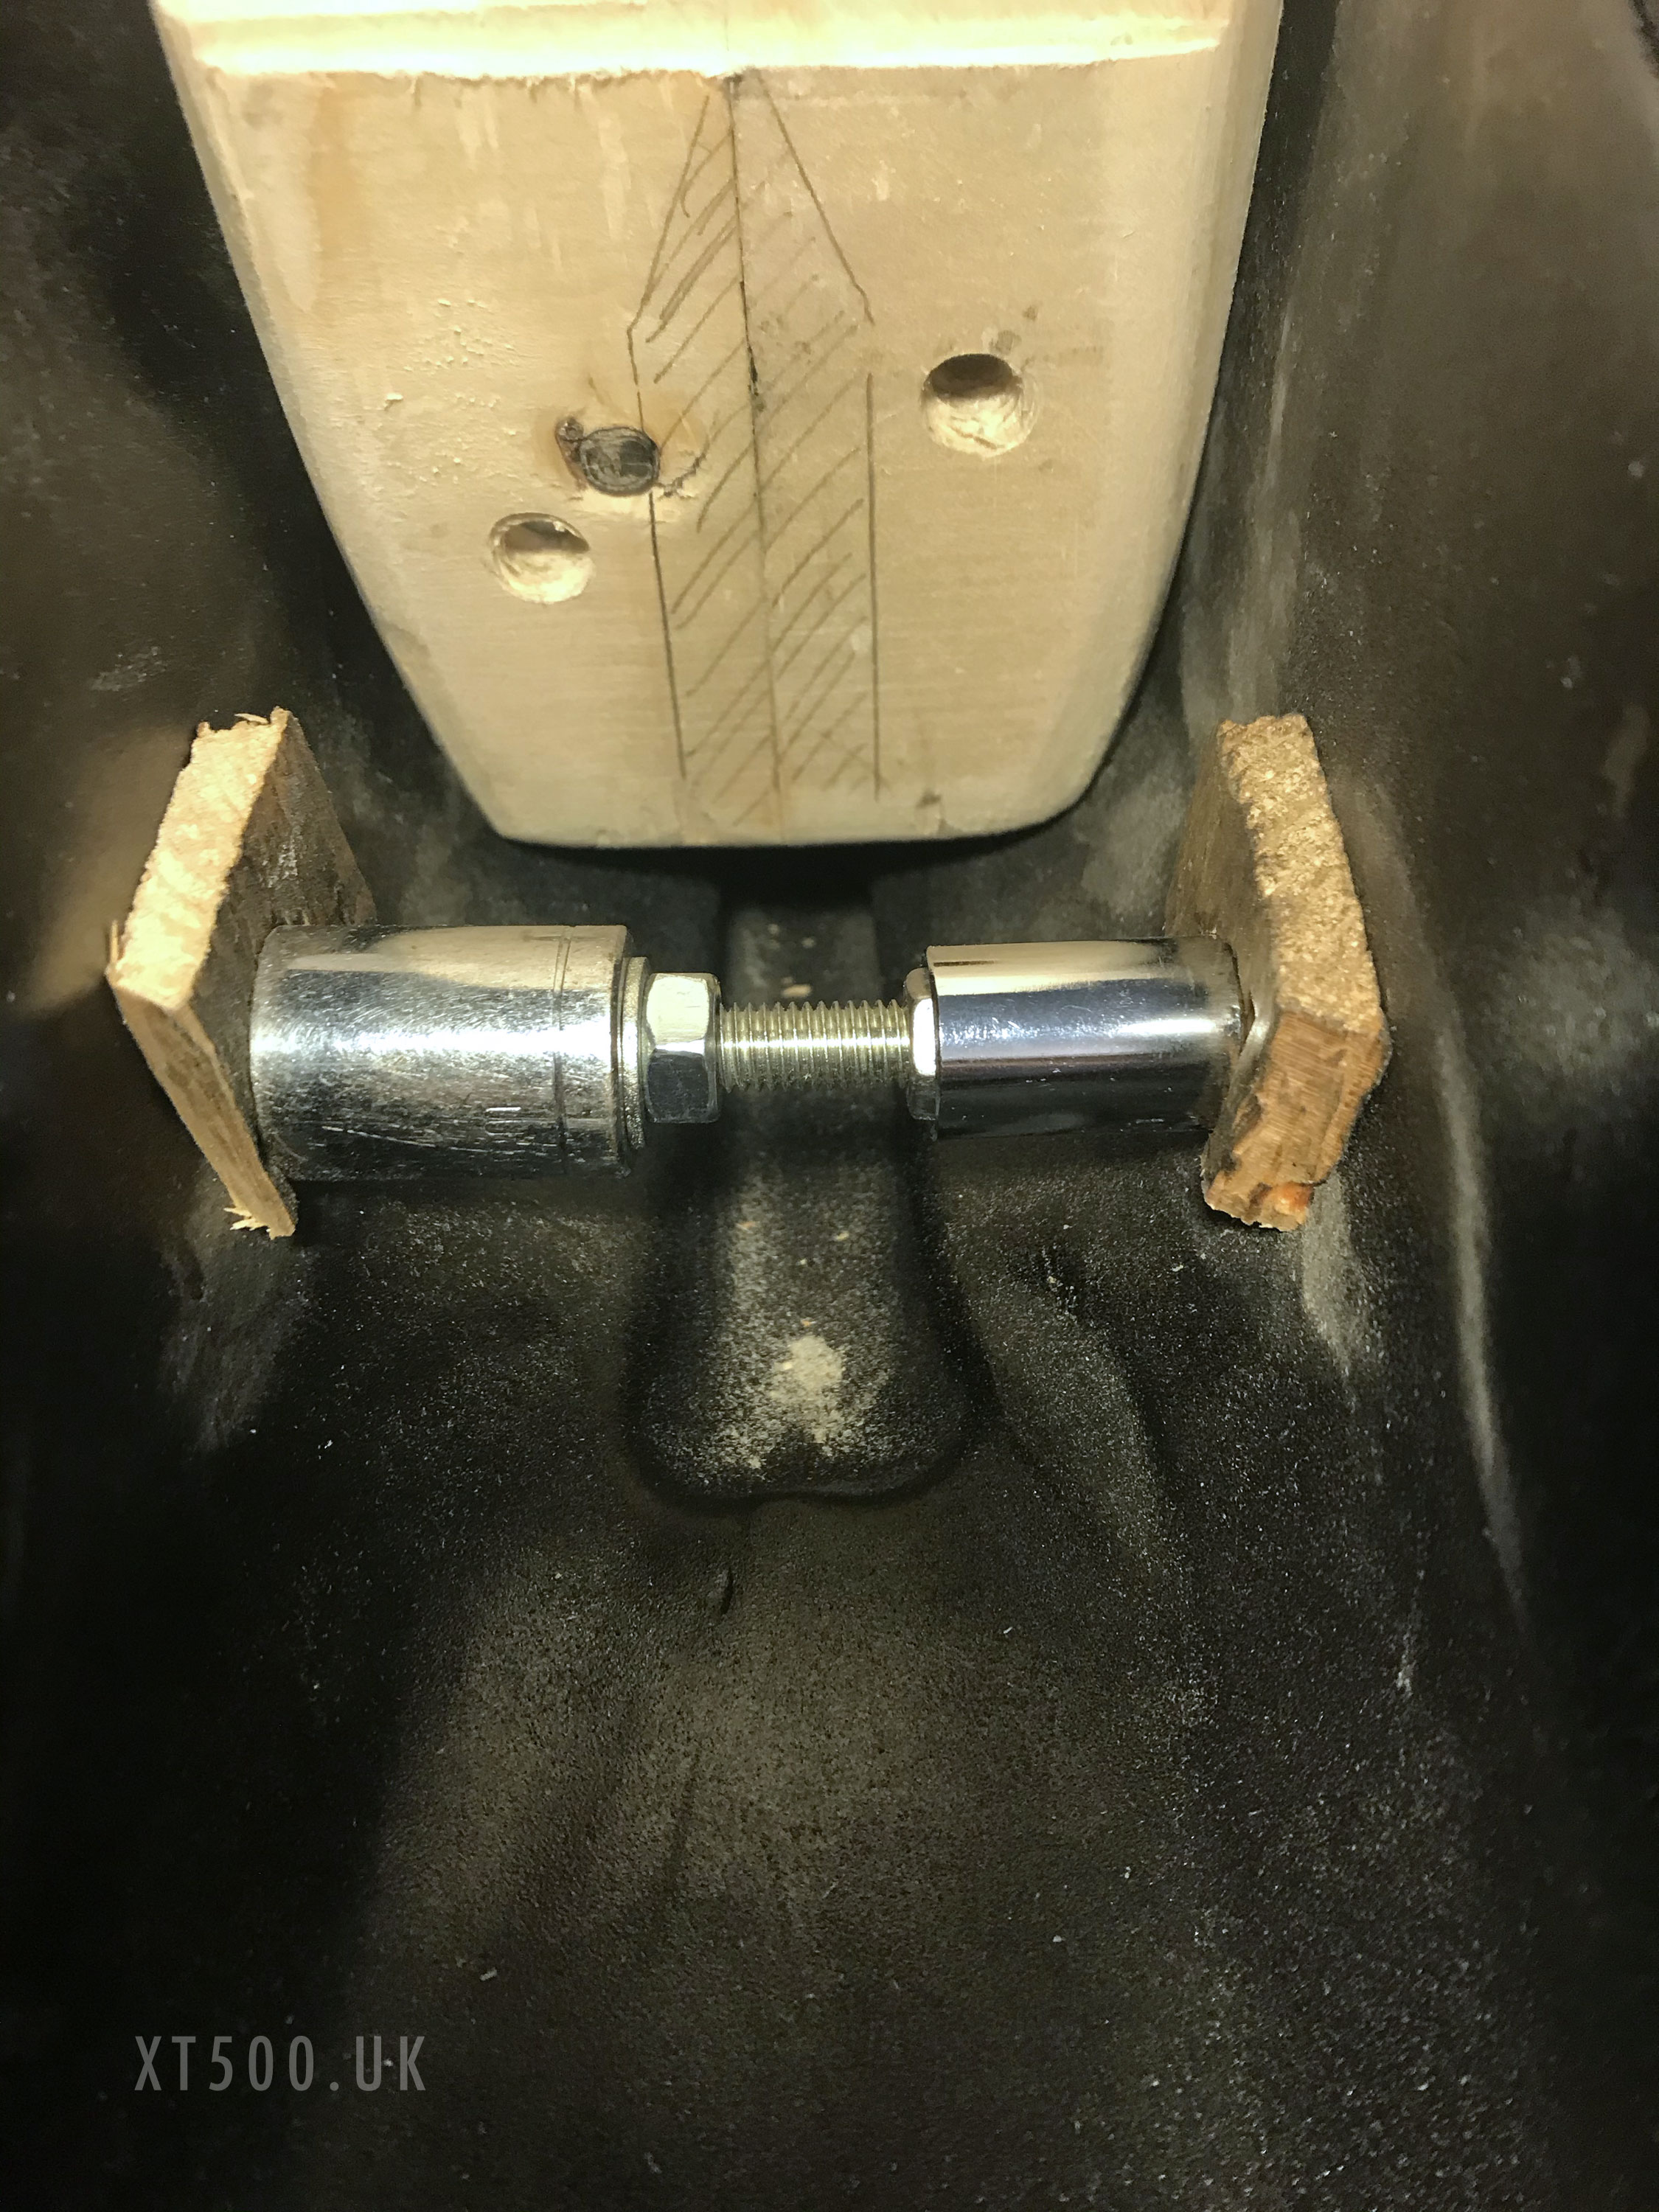
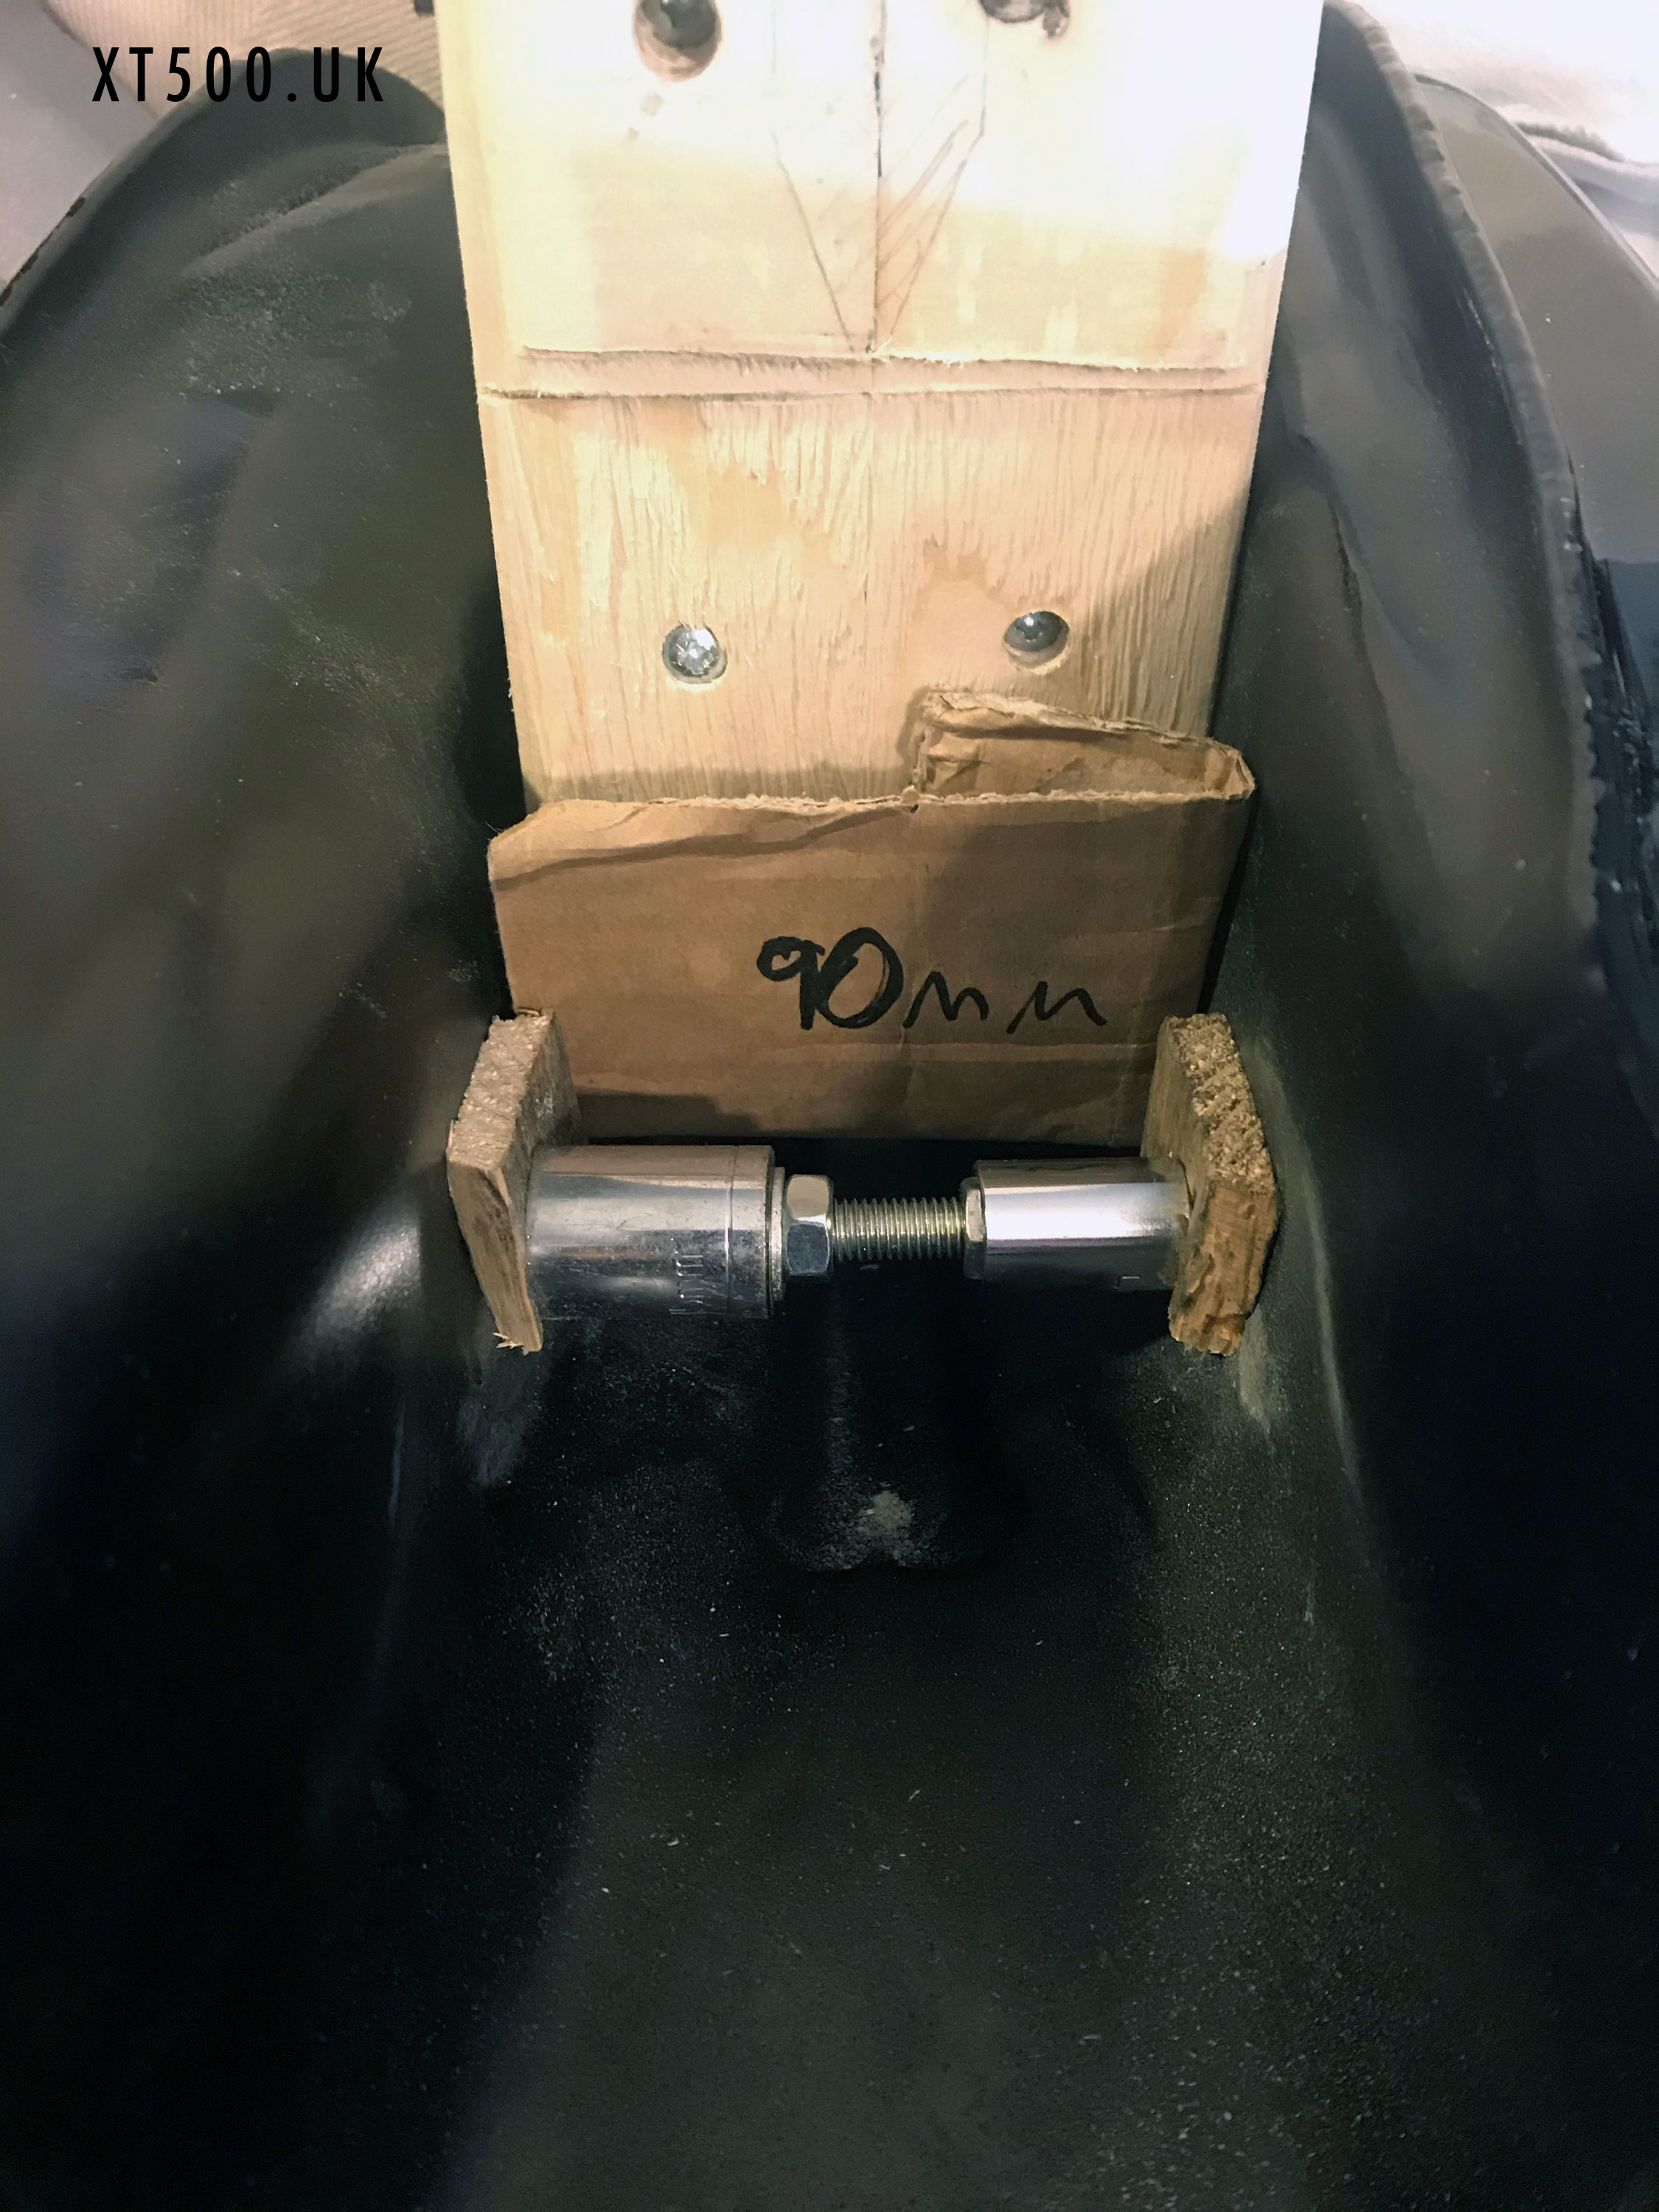
Together with the drift I was able to reach the 90 mm width along the length of the channel. However, this reduced again to 88 mm once I removed the drift and tool.
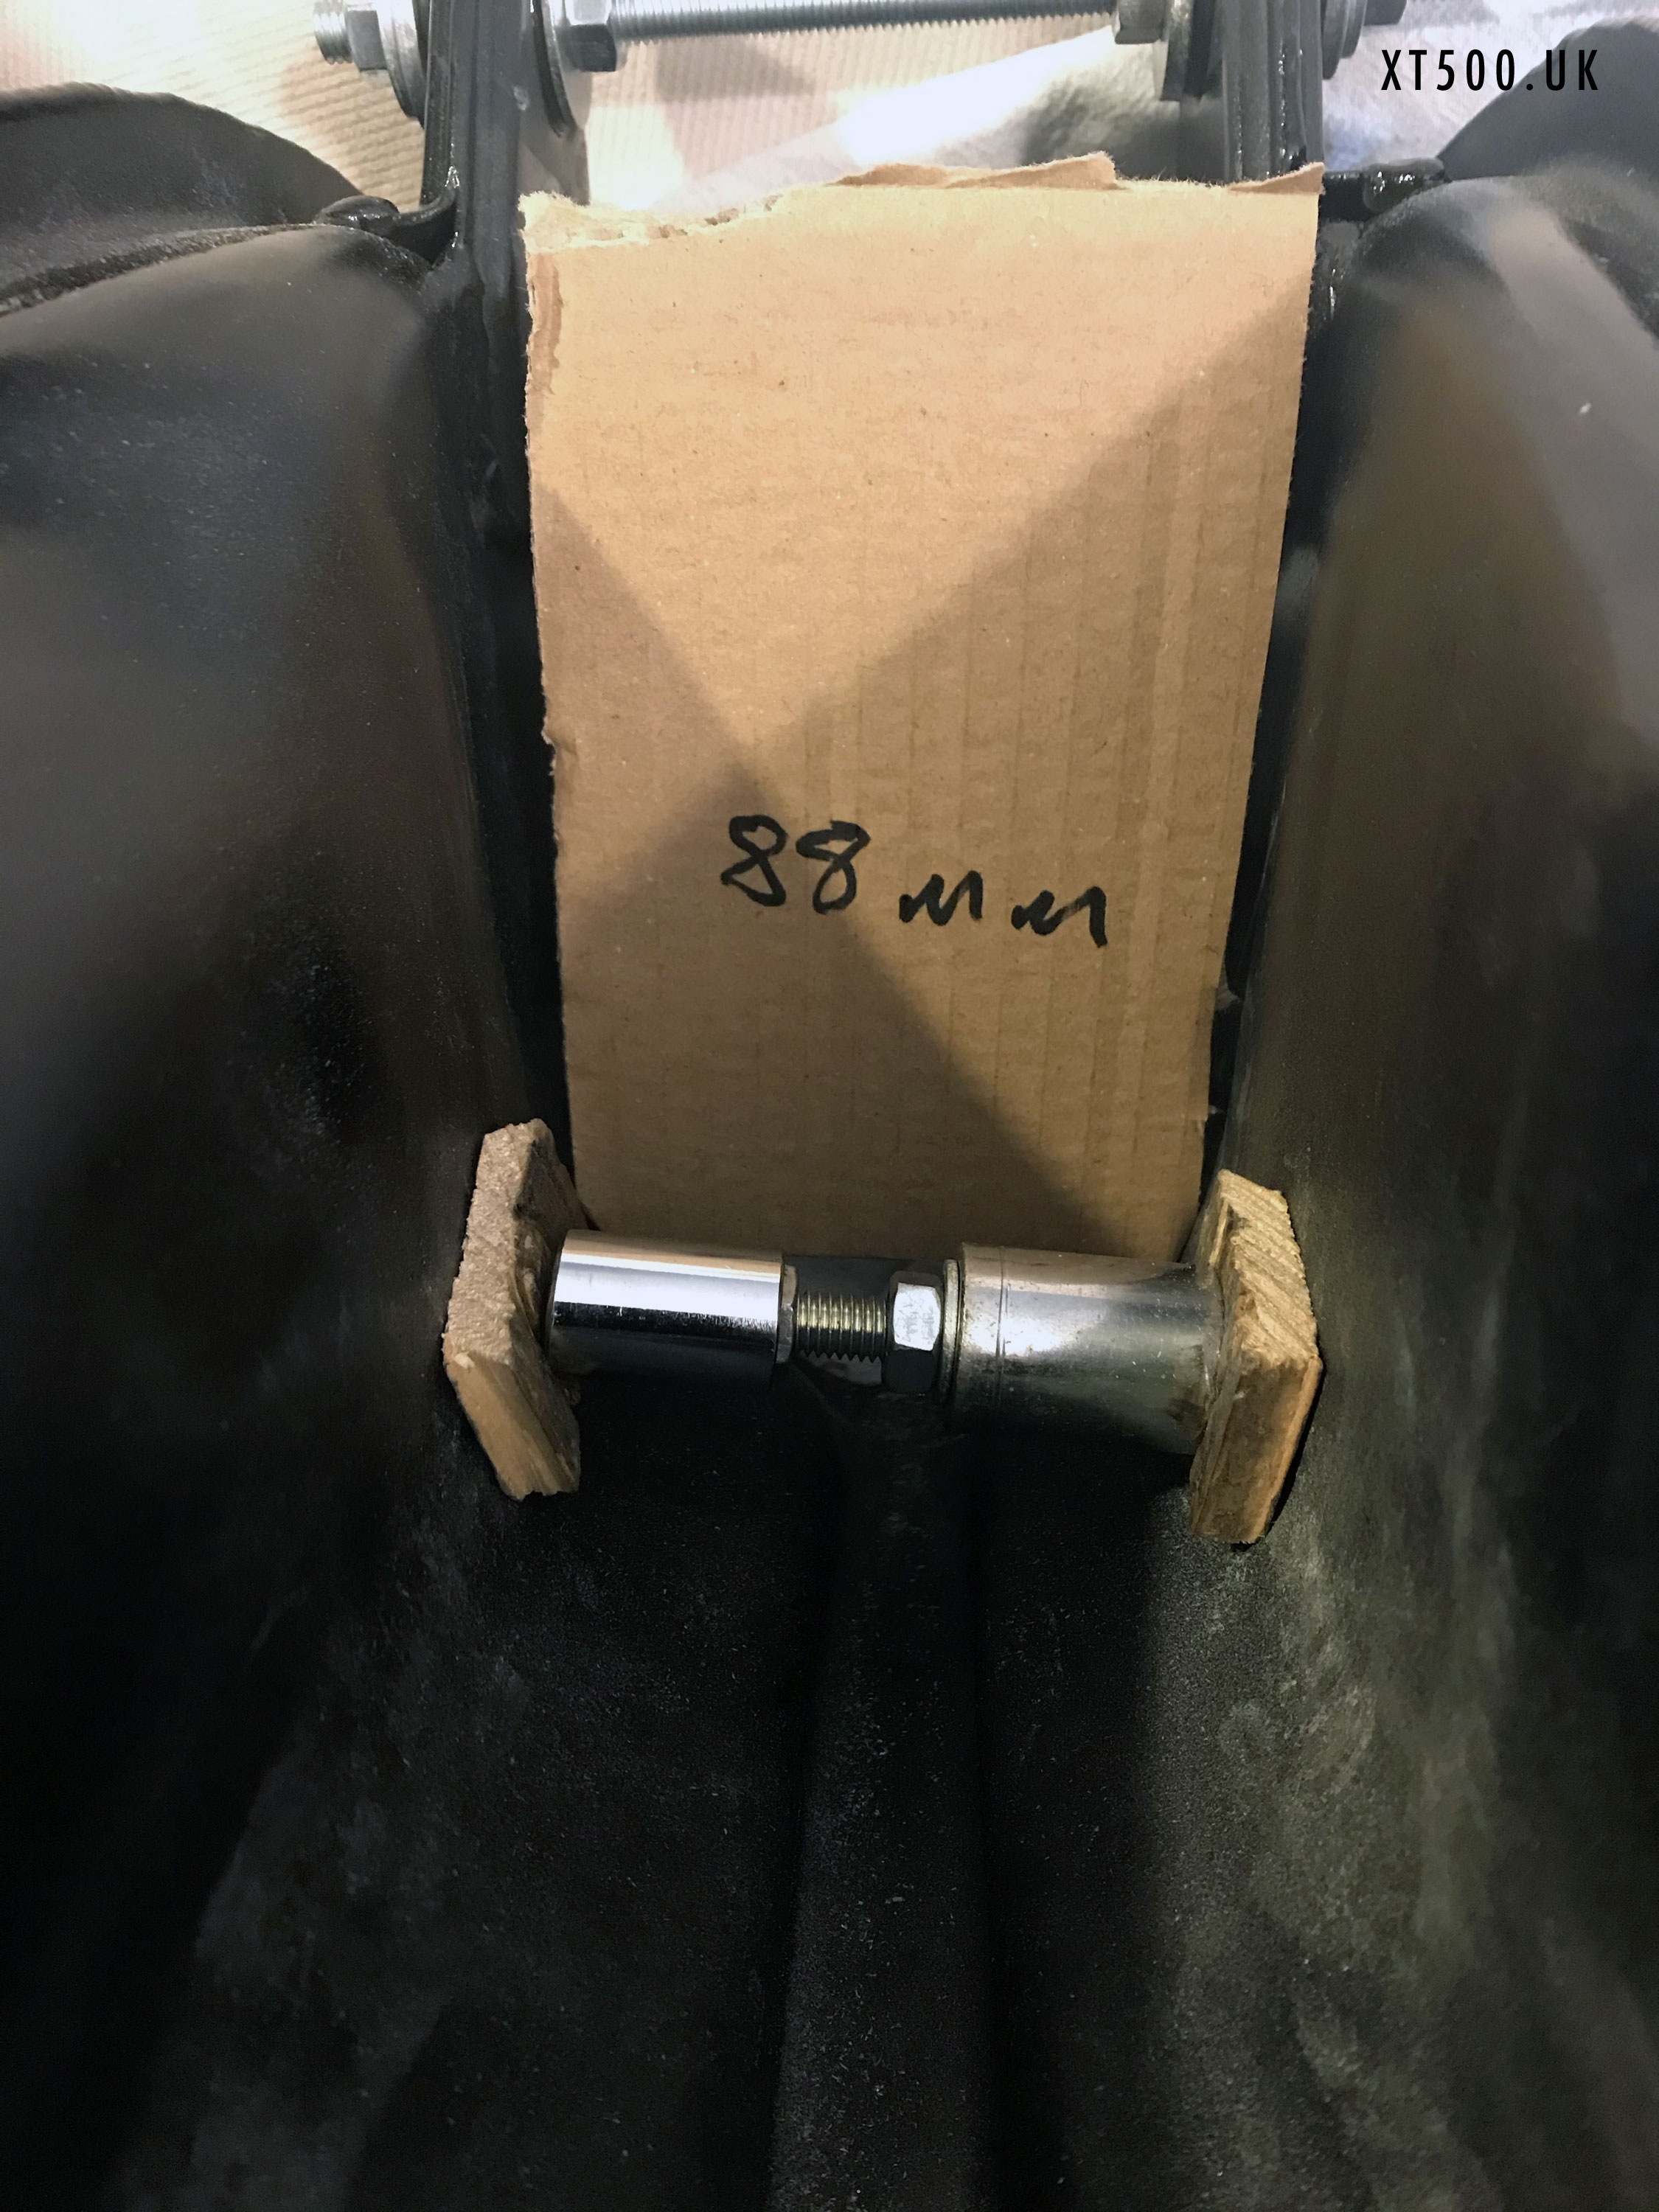
I could have done some more but I noticed the paint was getting scuffed and in one area where it had been repaired with a weld, a small indentation was beginning. Fearing I may split the aluminium with more pressure I left it at that. At 88 mm it slipped over the frame tank OK but a little tight.
Threaded bar was still fastened in the mounts by 4 nuts and 4 large washers. This prevented them from moving in or out distorting the fuel tank shape anywhere else.
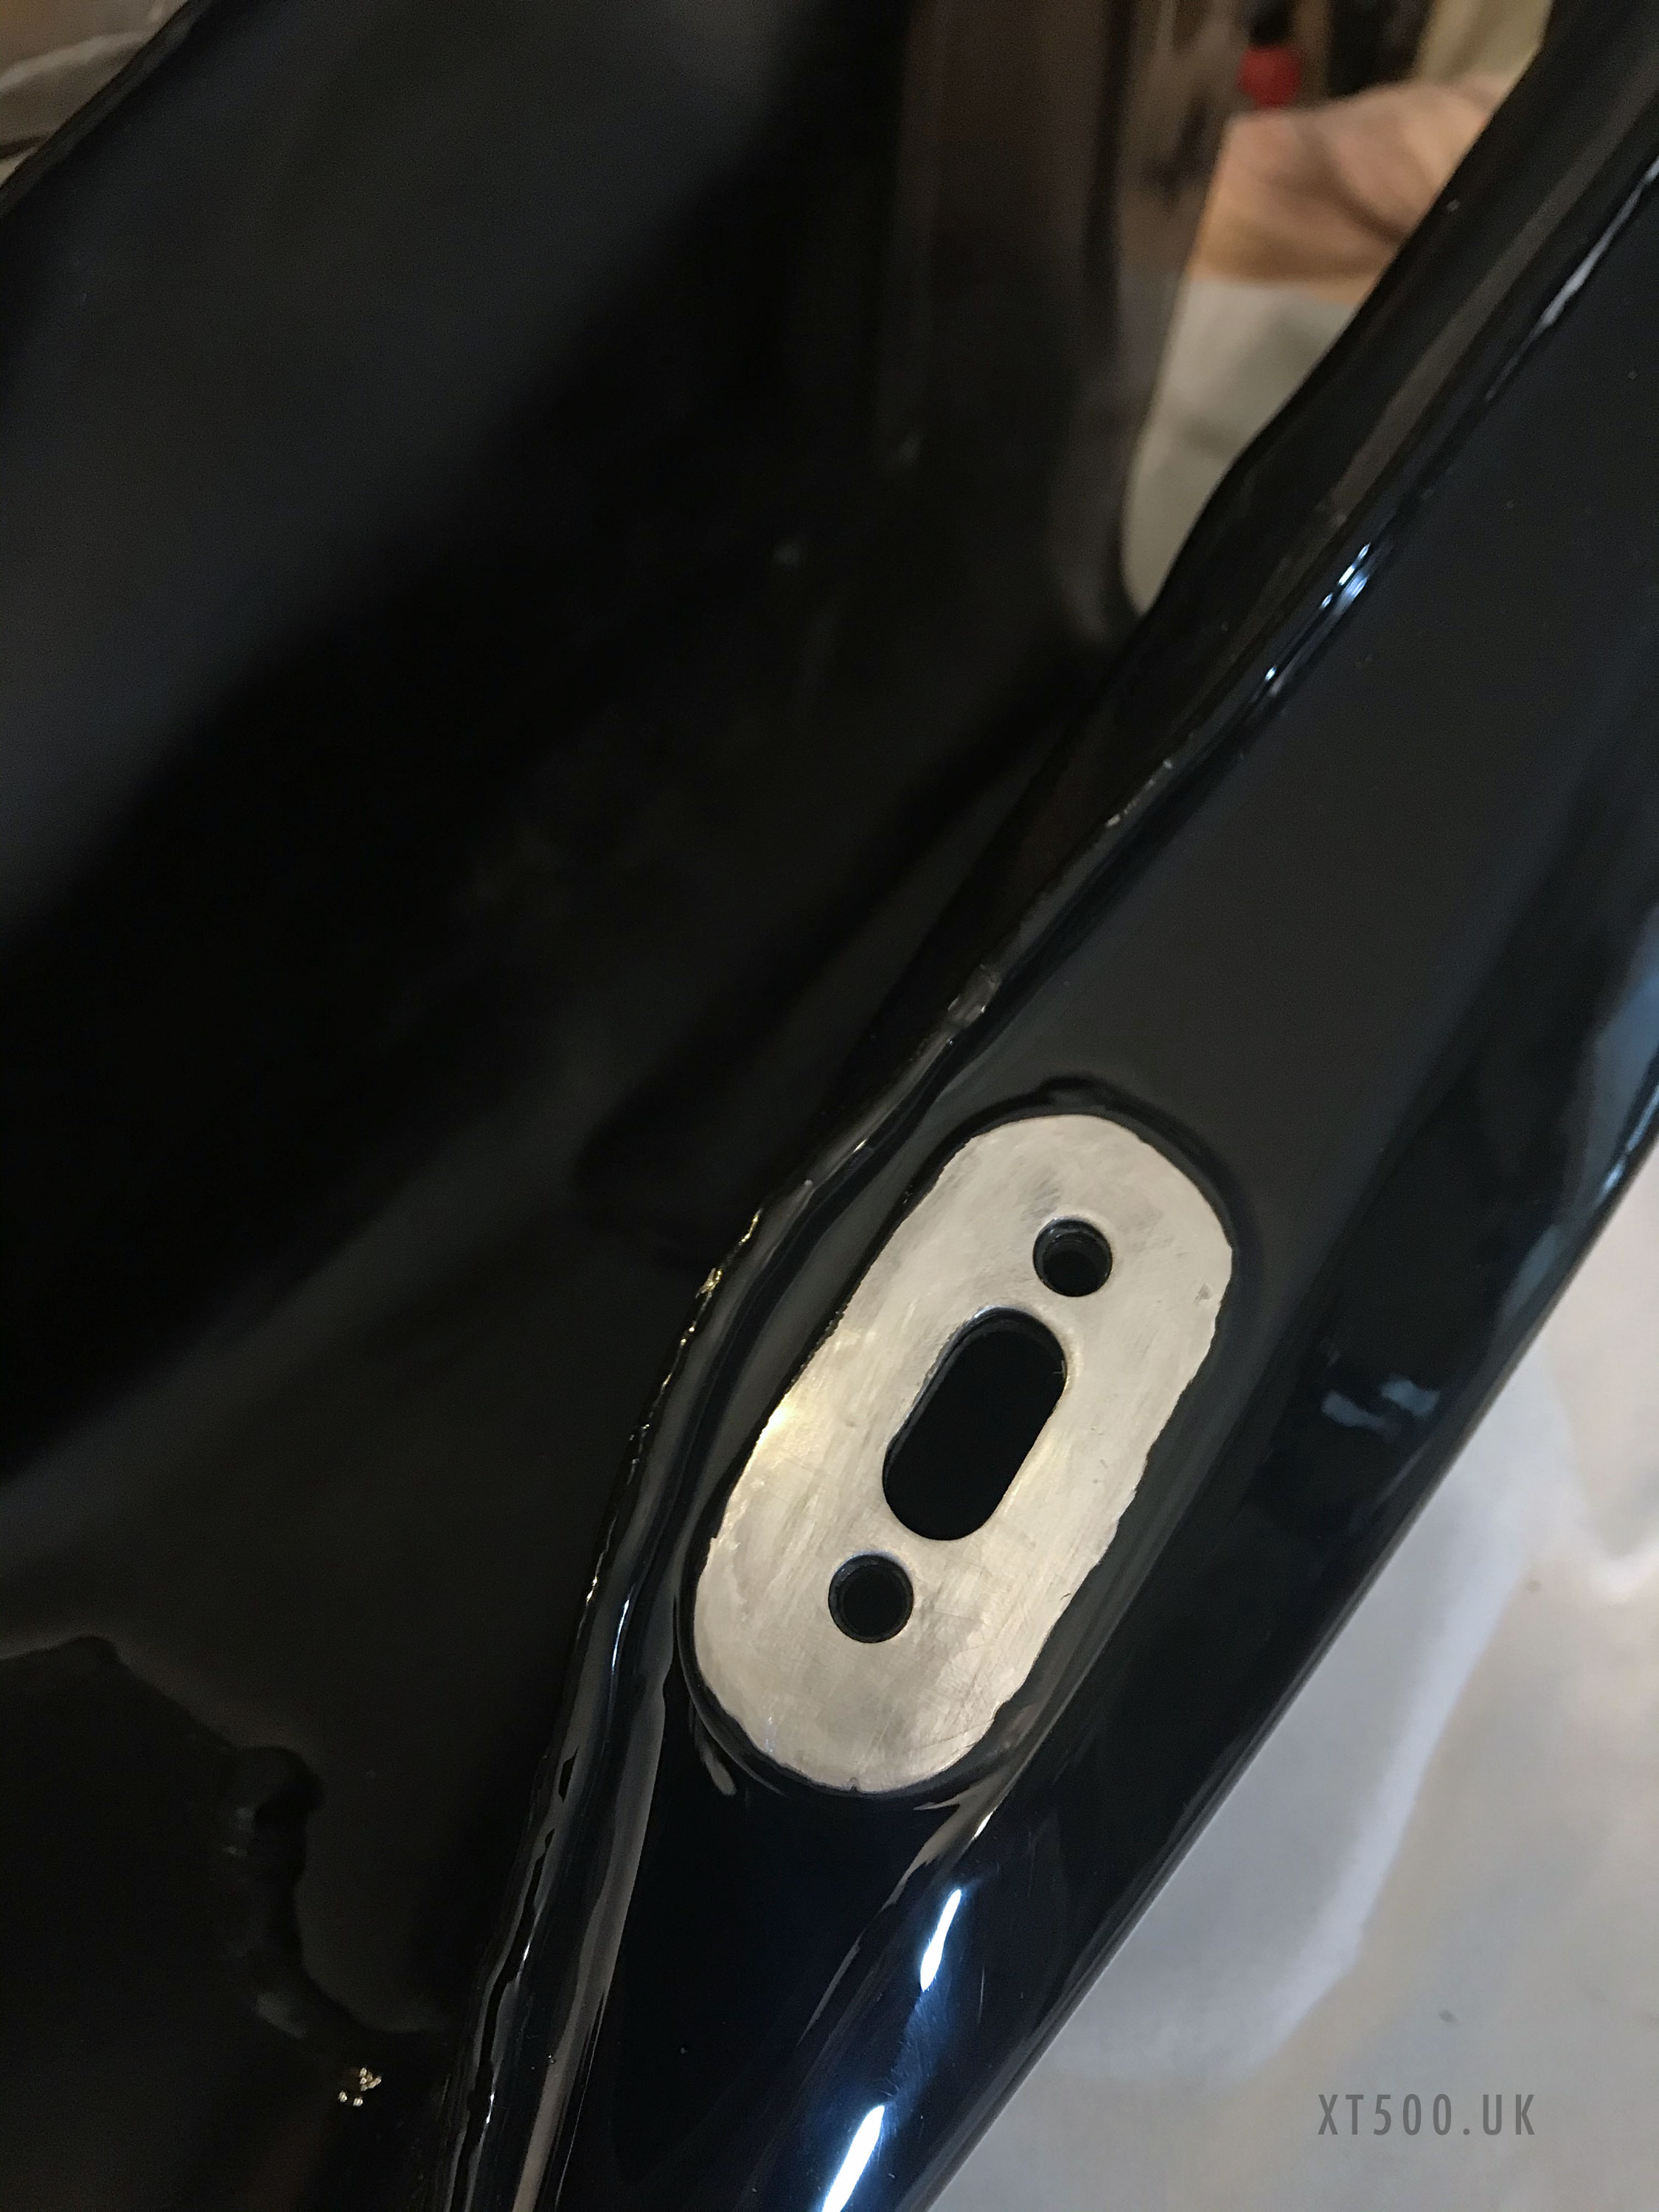
There was another smaller issue to resolve with the tank next. The paint shop guys did not mask off the petcock mount area or all of the threads on the filler. This is a mistake that many fuel tank painters still do. If you mount the petcock on the painted surface it effectively means you are putting paint and lacquer in the petrol. This could lead to it creeping past the seal and then ruining the paint and lacquer in that area of the tank.
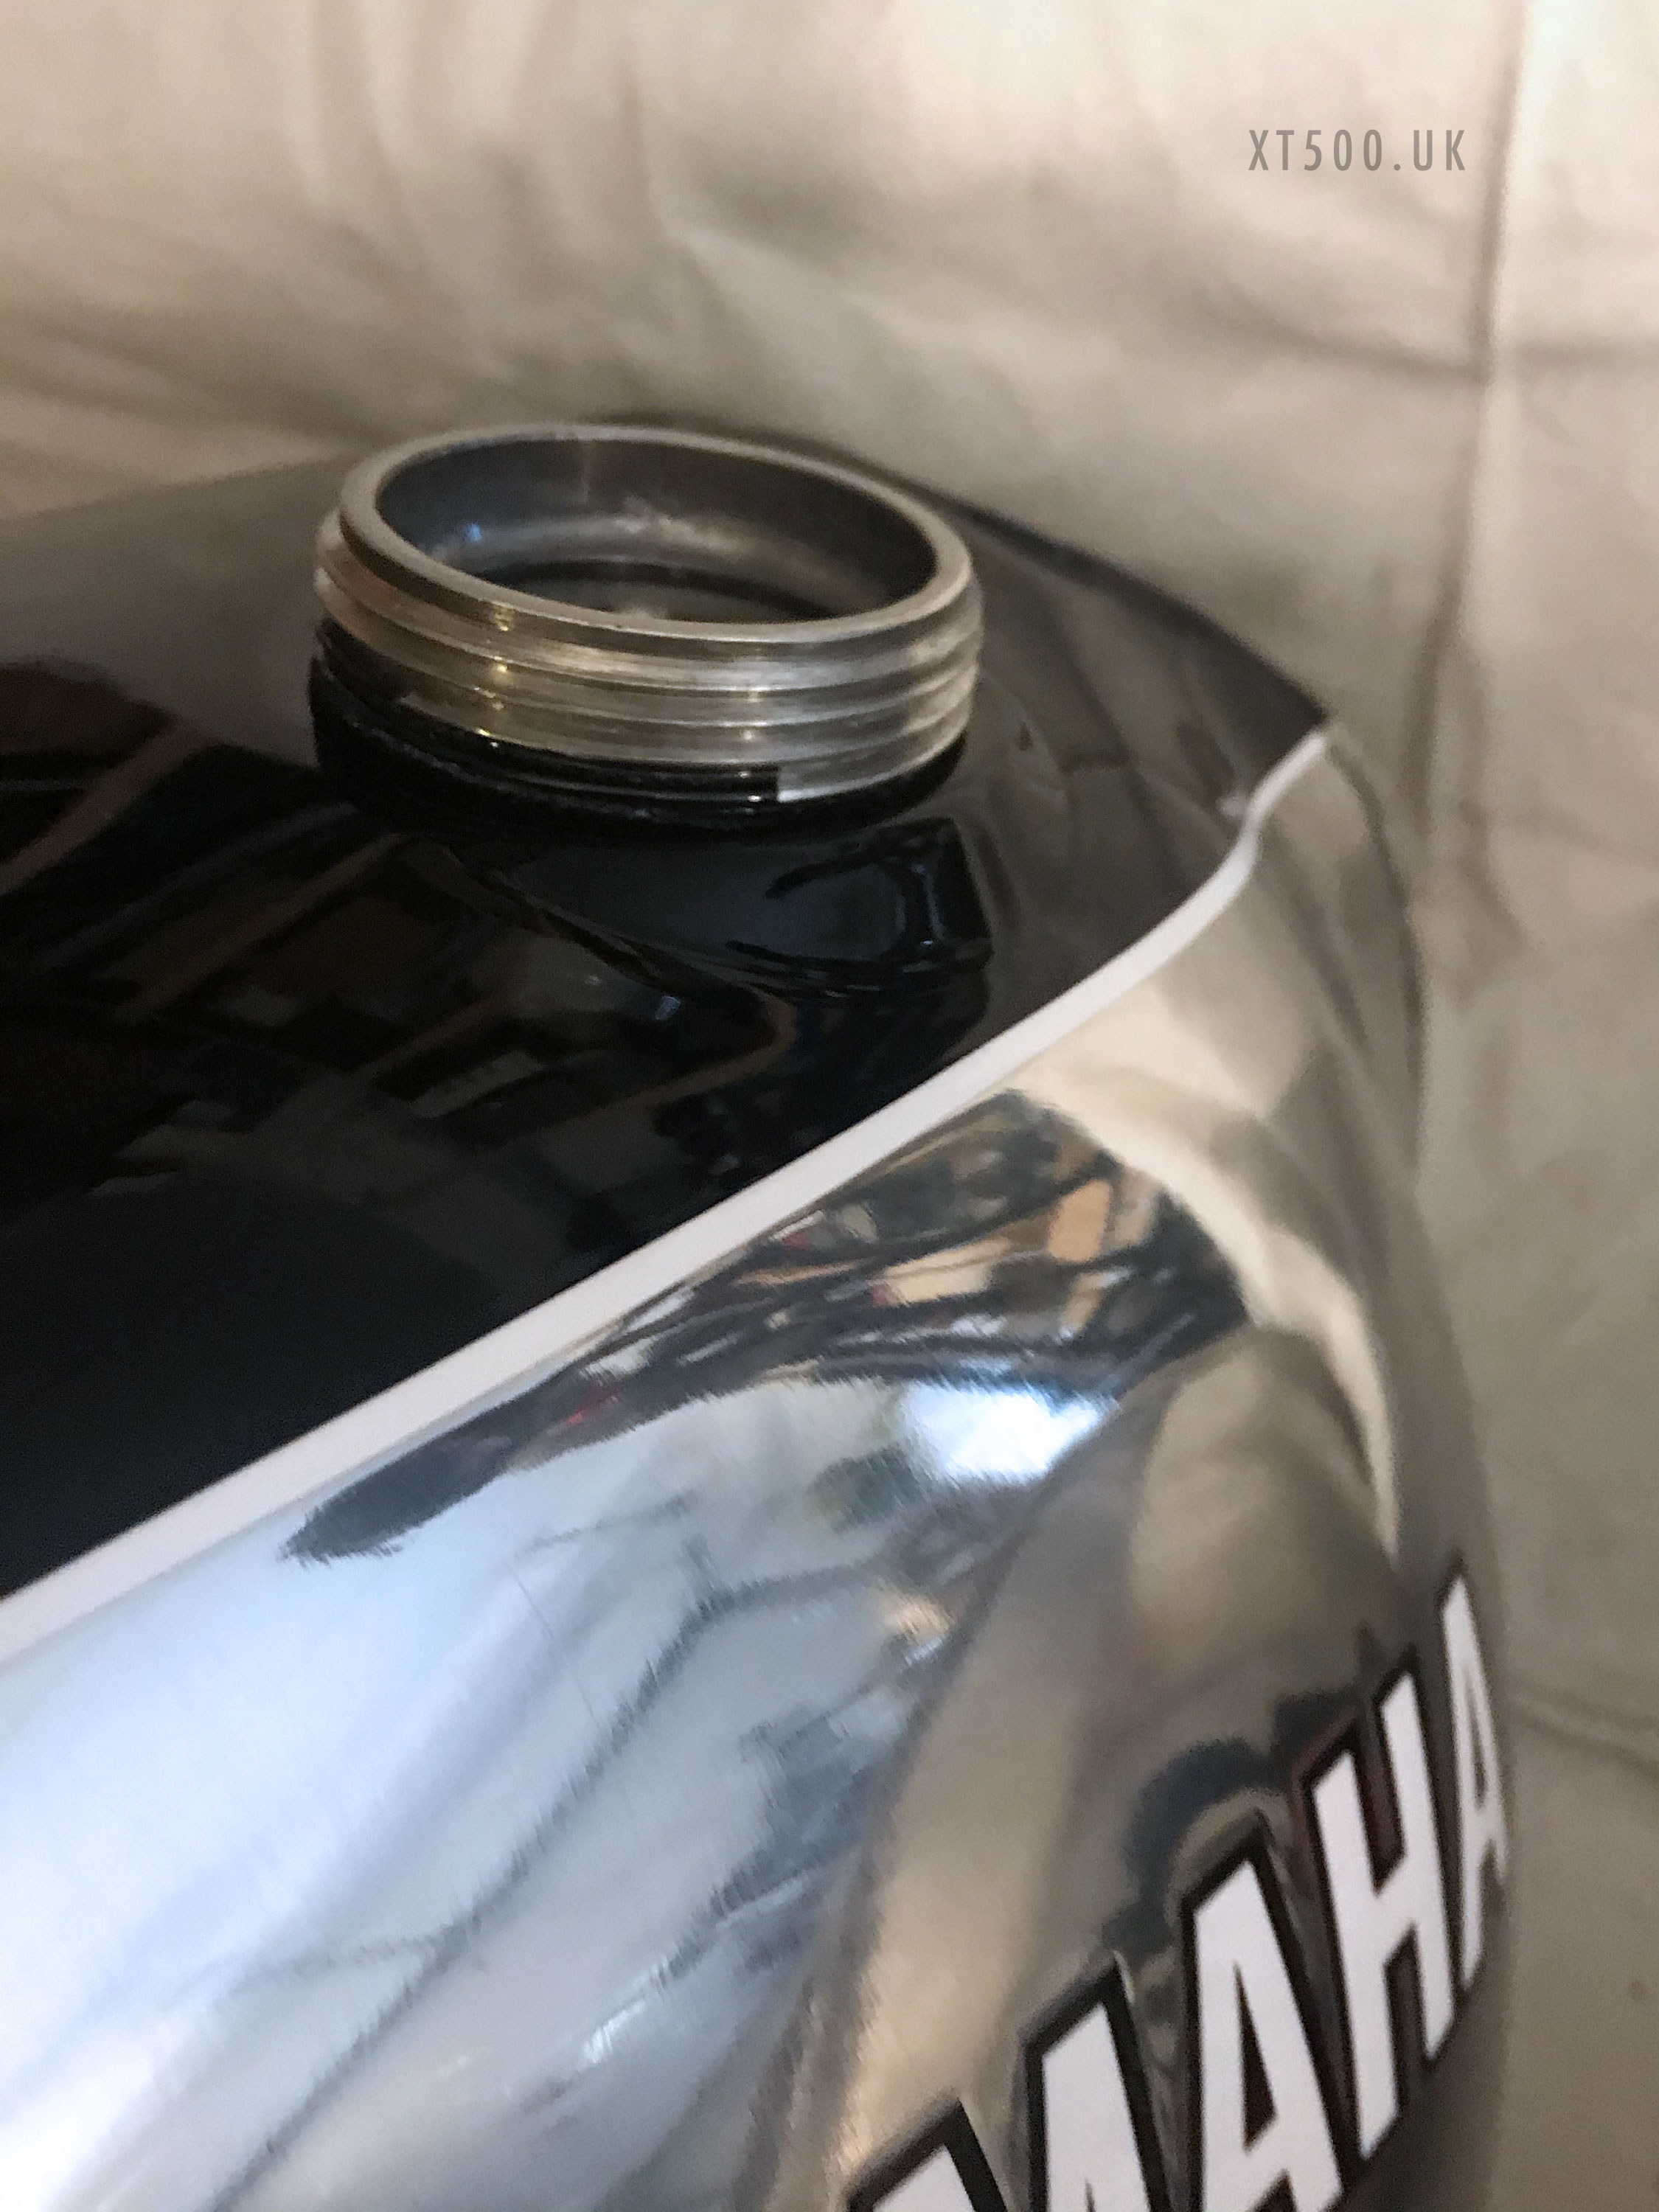
So I took it off with a grinder using a 240 nylon disk. Then rinsed it out using the shower hose attachment in the bath and dried it in the hot sunshine for a few hours.
