To remove most parts from the frame nuts and bolts needed plenty of WD40 as they were so rusted and hadn’t been loosened for years. Many wouldn’t budge without using an impact hammer and a few snapped and then required drilling out and tapping.
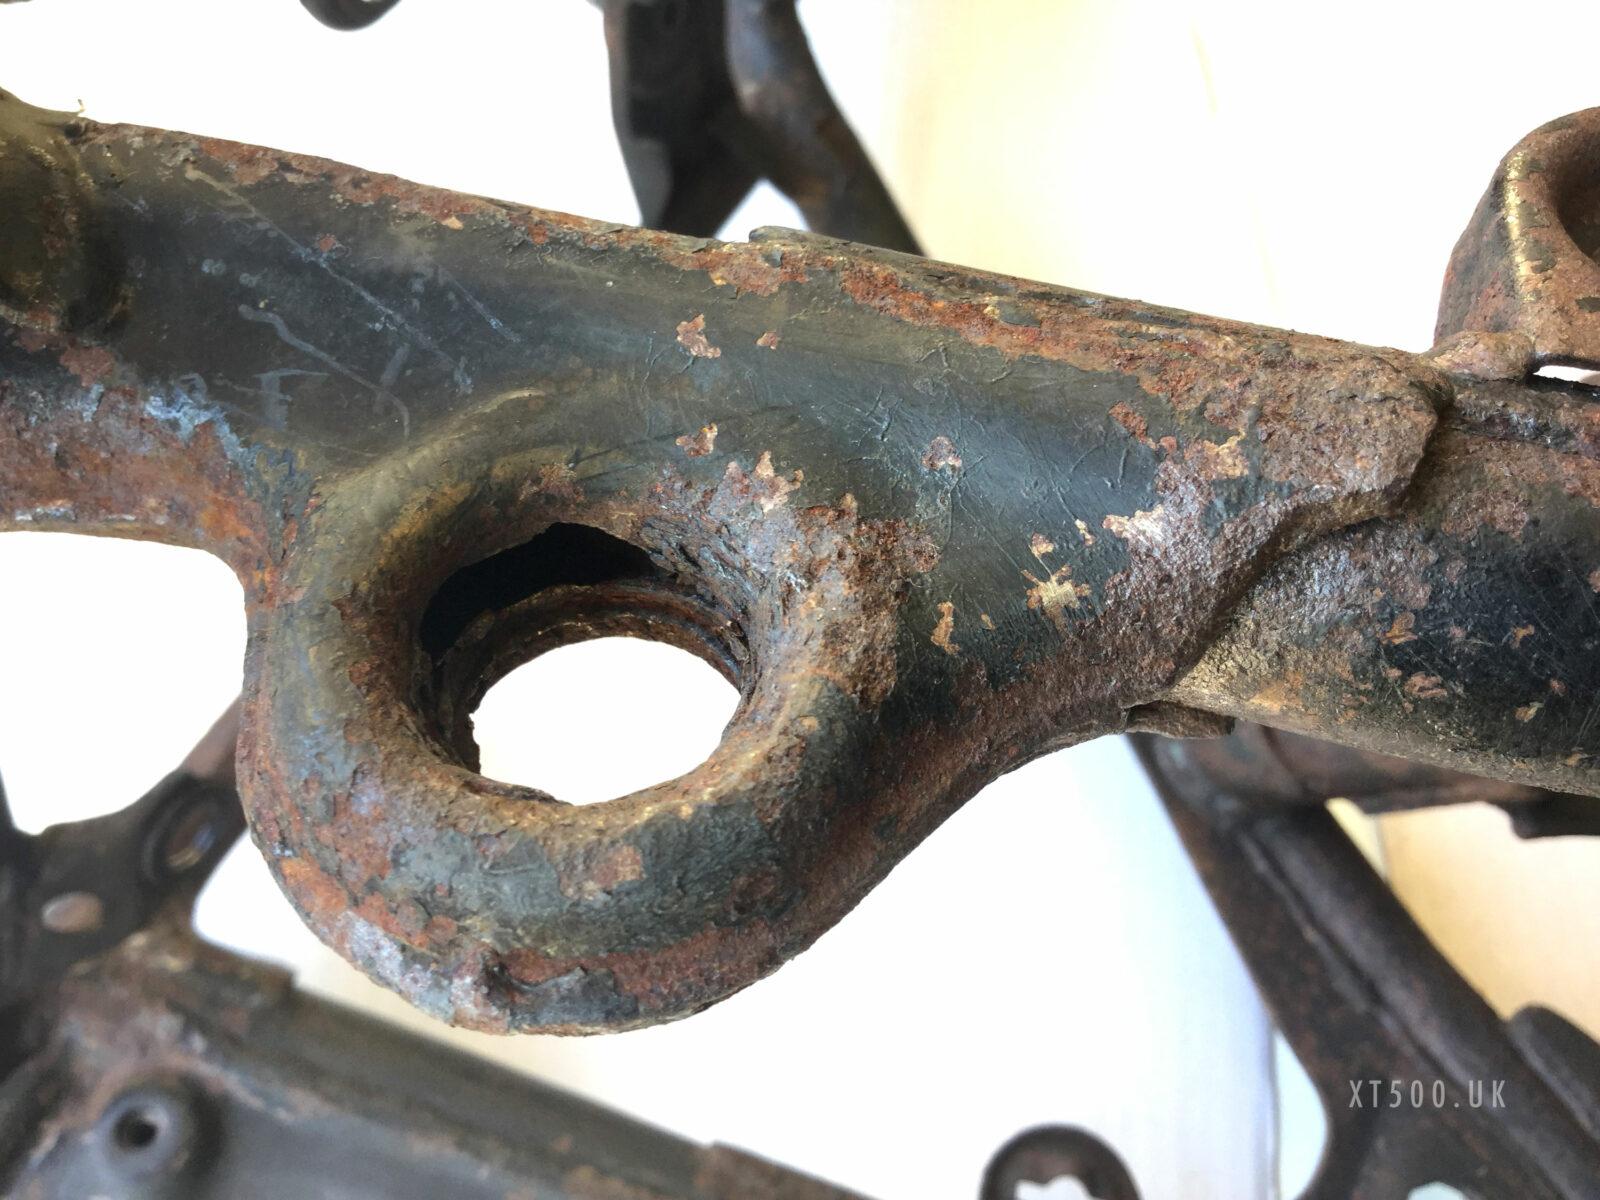
Once everything was stripped off the frame, it became more apparent how bad the corrosion was. So it was definitely best to media blast it to get down to the base metal before painting. It was my preference to use powder coating too. More than 20 years before I’d had the swing arm done in this way and it held up until now.
A quick visit to the local petrol station to use their jet wash, then dried it out in the hot sun ready for closer inspection.
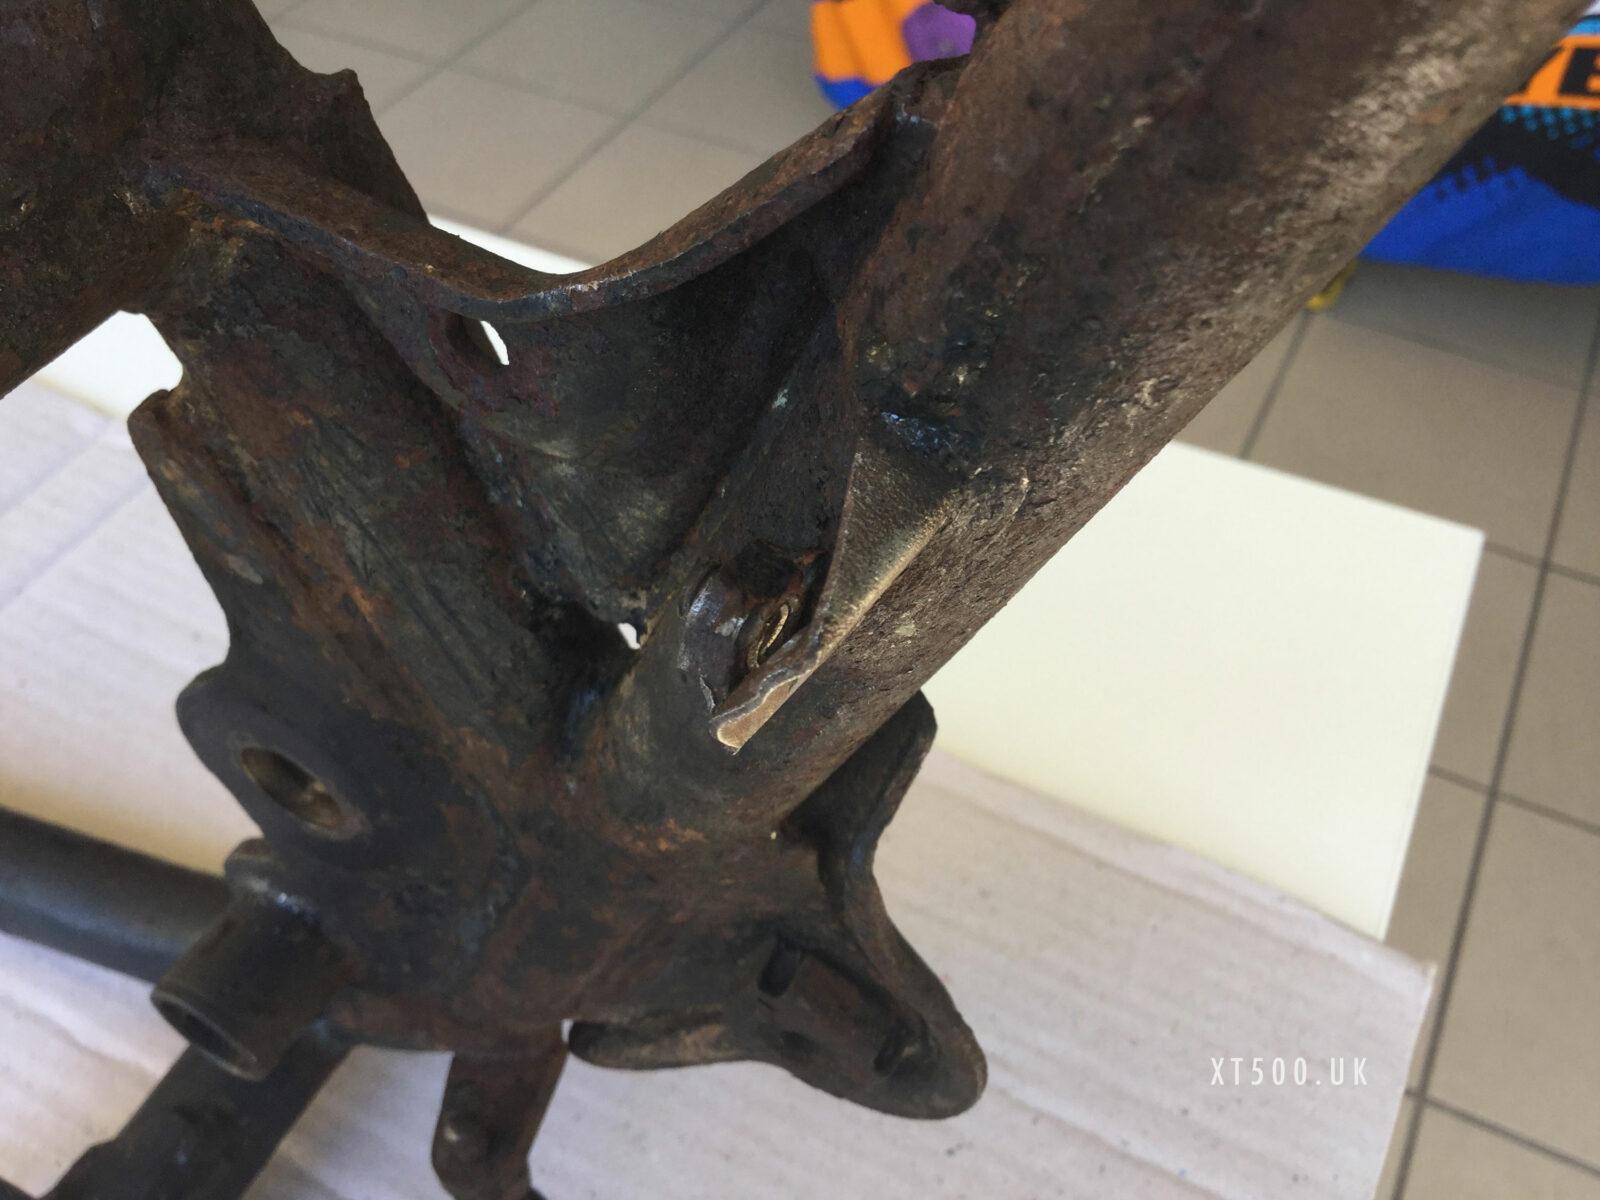
The steering lock had to come out. Ground off the top of the steel rivet head then drilled the rest out. Didn’t do a great job here and ended up making the hole a tad lopsided.
Drilled out the two rivets holding on the manufactures label as that needed to be safe from blasting and painting.
Before blasting and powder coating, some welding was needed
The mounting bracket for the original exhaust had rotted out with rust. I hadn’t actual used it as my exhausts have never been the OEM original and so it has been redundant. However, I had (for some reason) always left the damper in there. I could have cut the bracket off completely and tidied up the frame down tube but, just in case I do use an OEM exhaust system in the future, it was better to repair it.
The lower right-hand side mount, for the inner mudguard, broke as I tried drilling out a snapped bolt. Basically the weld to the ‘nut’ had cracked and needed welding back. As the bolt was still in there, it was better to cut off the nut and weld on a new one instead.
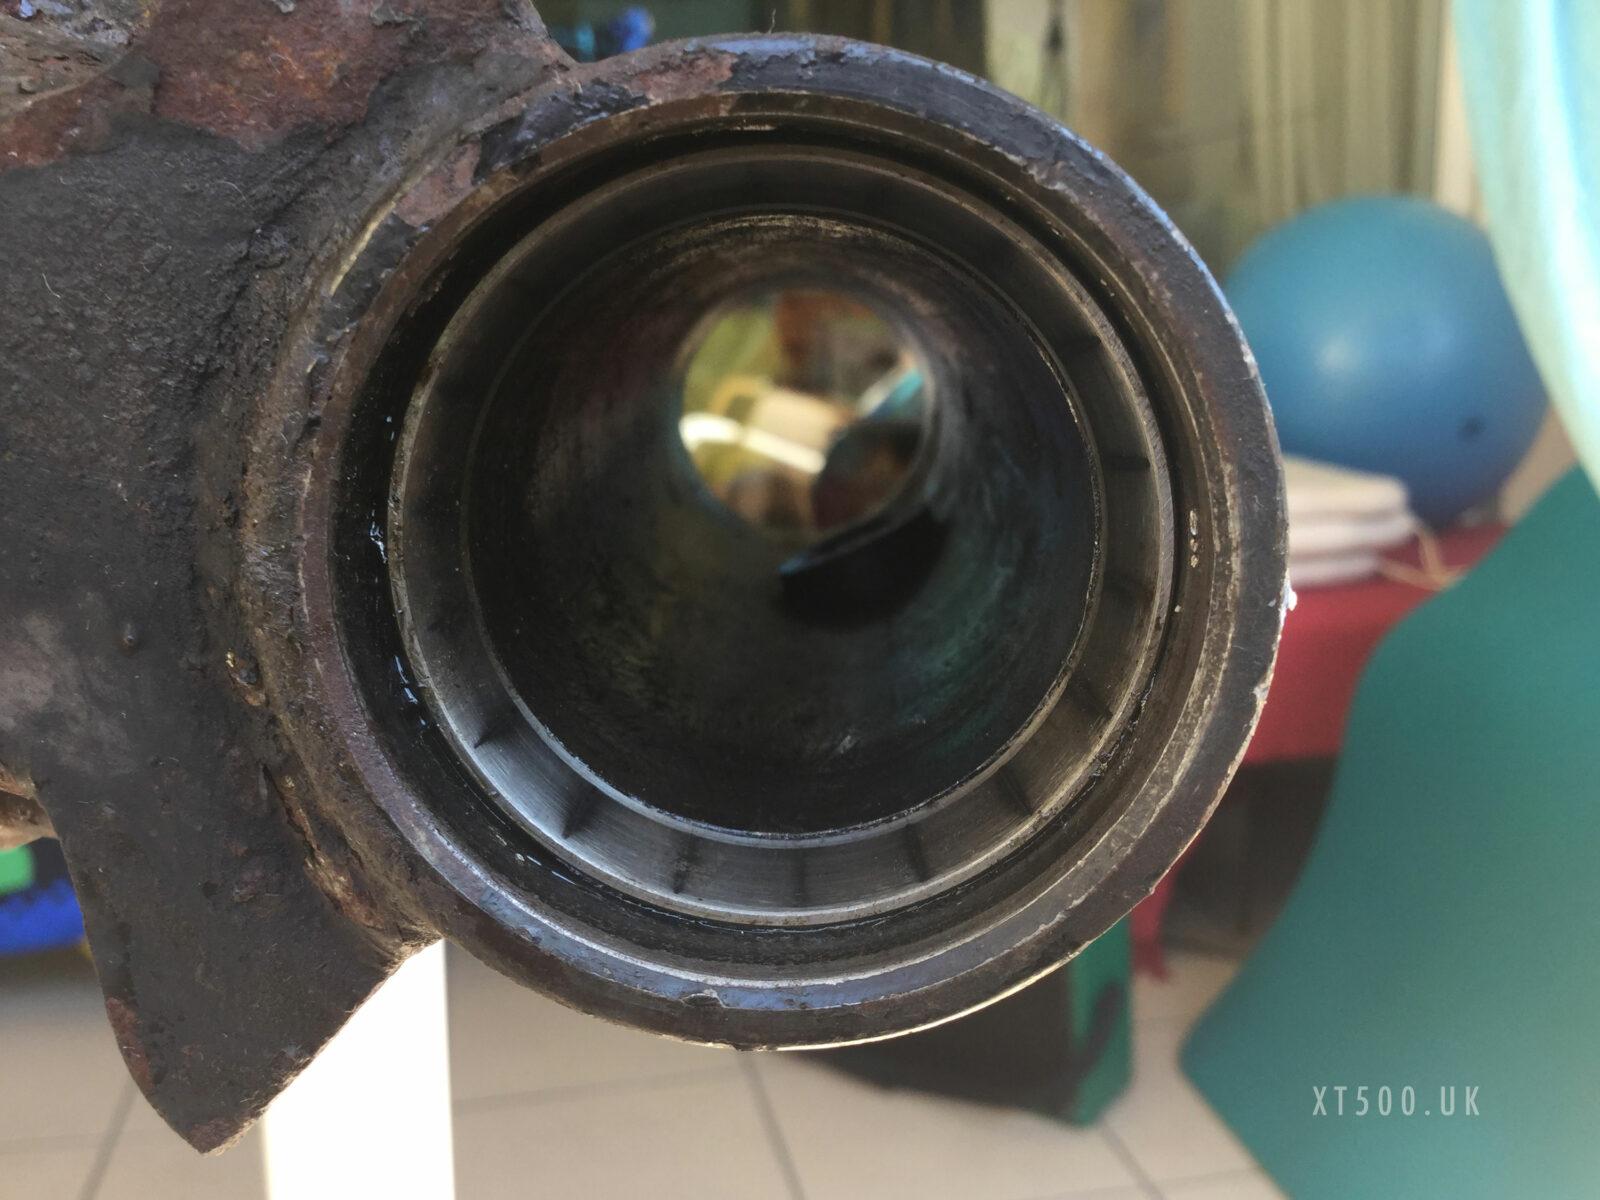
At the bottom of the head stock I couldn’t remove the roller bearing seat as there wasn’t any lip standing proud for a drift to latch onto. Original bearings were ball and race type but I prefer the roller bearings. The bearing itself was also stuck fast to the steering column base. This also needed serious heat and a spot weld to get it off.
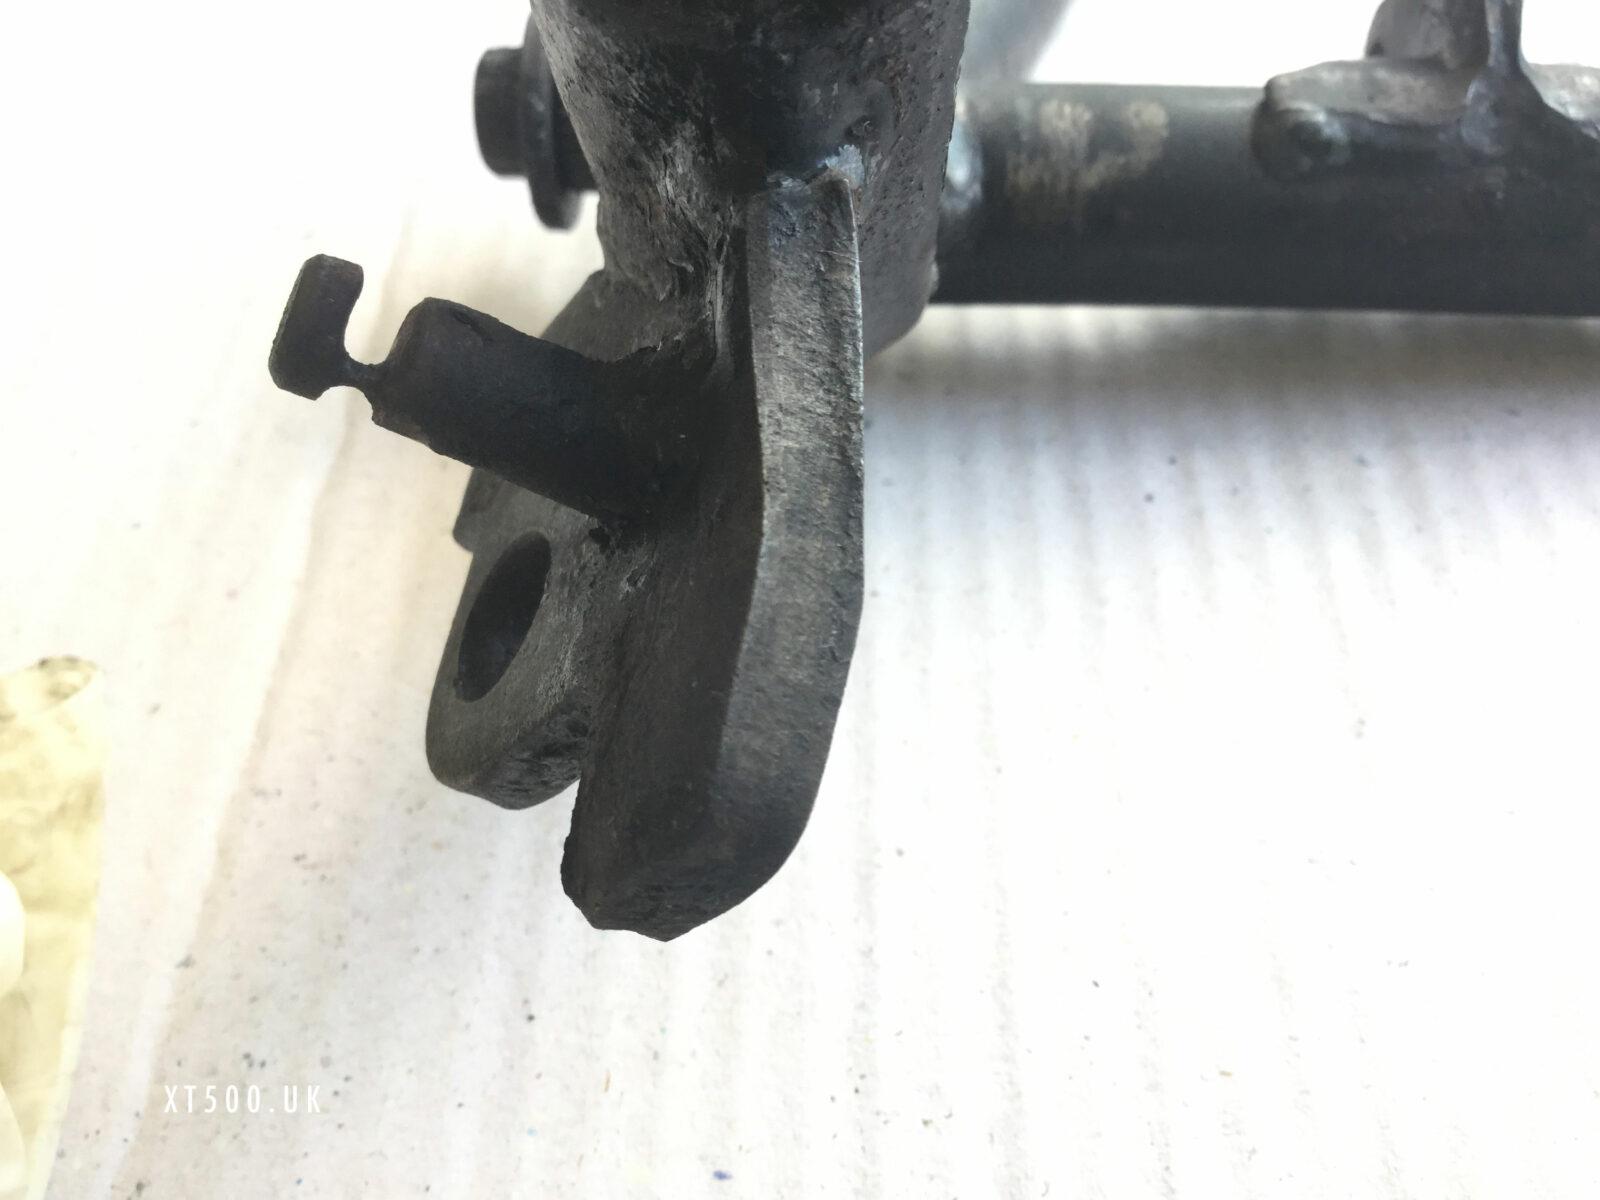
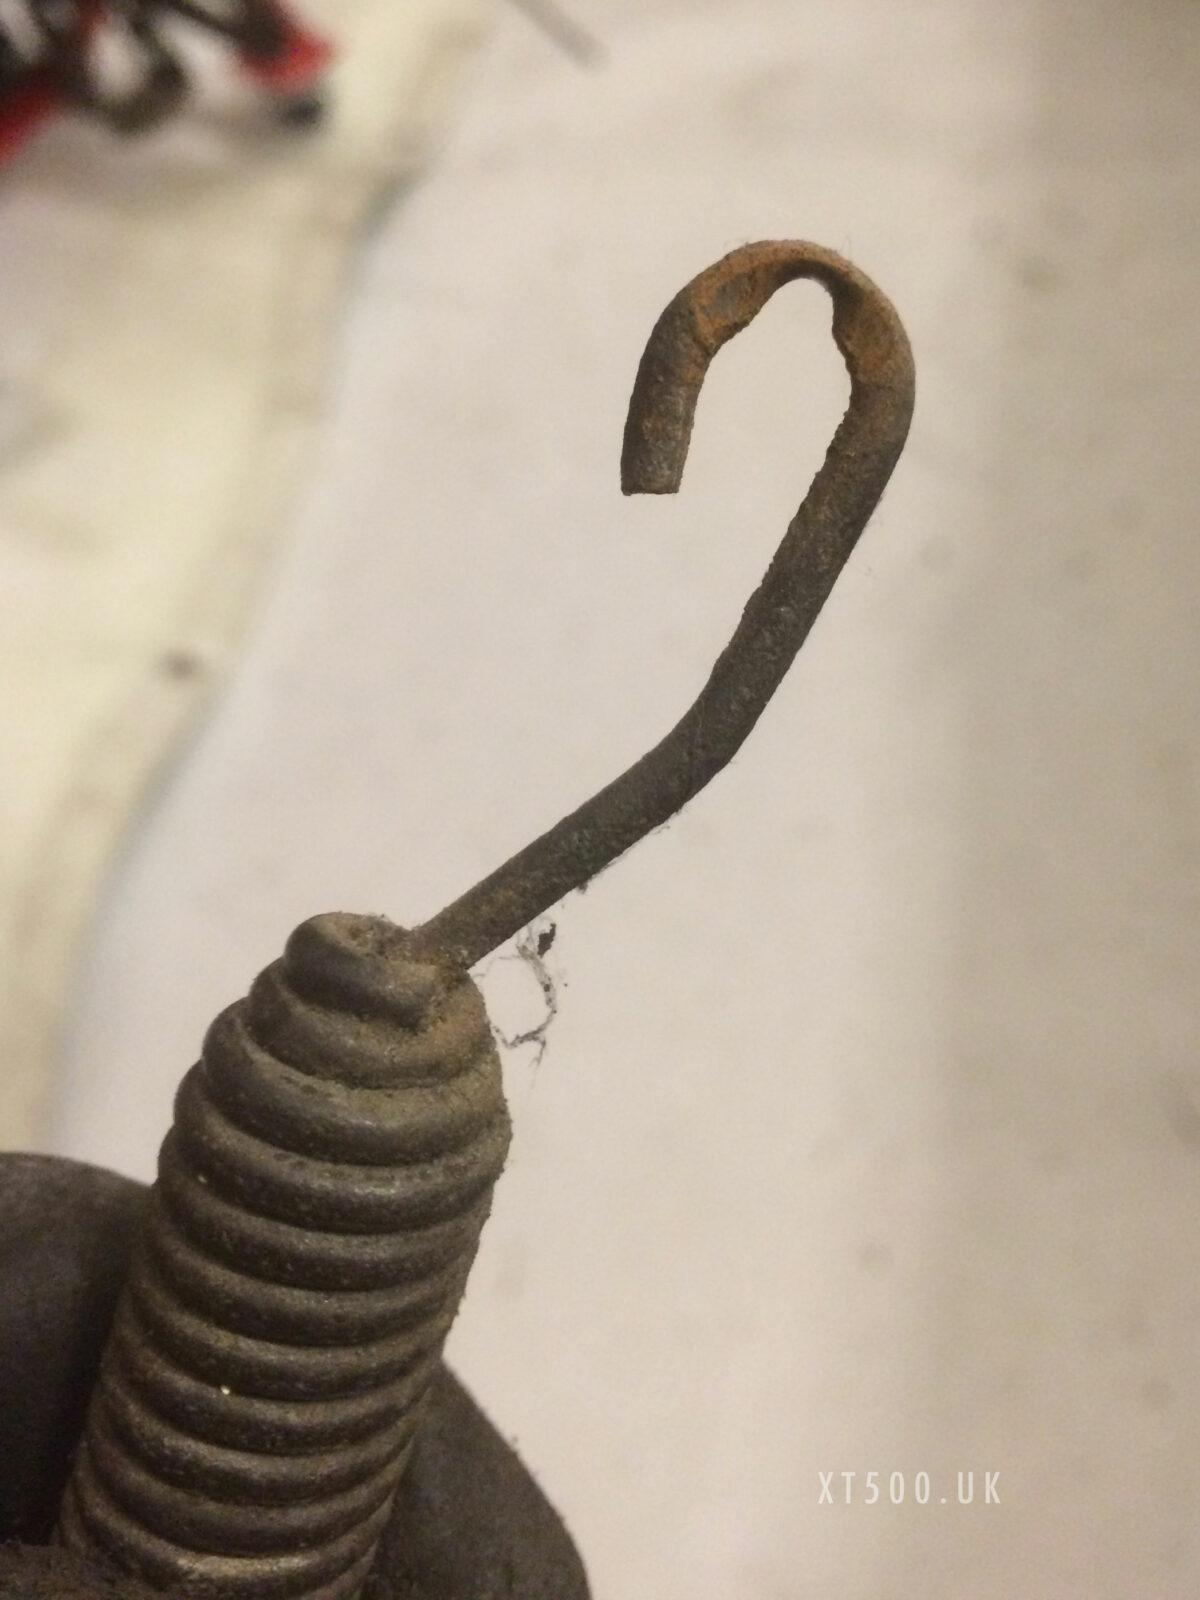
The side stand pivot on the XT and TT is considered one of the few ‘weak’ points. It wears out as the spring moves on it. It has to be said though, that this is 40 years old so it has held up well. Mine was worn almost all the way through, which could be considered dangerous, you wouldn’t want the stand stand to be down when you’re entering a left-hand bend.
The spring was also worn too much and had to be replaced.
OOPS… one I missed
There was one thing that I missed which only became apparent once I started reassembling the bike again. It was also related to the side stand.
Over time it wears at the top where it rests against the frame stop, or the frame wears, or both. I had about 2-3 mm of wear, part on the frame and part on the stand. It doesn’t sound much but when the stand is up it hits the passenger foot peg.
To resolve this means putting some weld on the stand to fill the gap, rather than on the frame since it’s been powder coated. Blasting and powder coating the stand again isn’t such a big deal. I used the donor bike’s stand as it had less wear than the original.
Where it should be
Where it was
Preparing the frame for blasting
With all the welding work noted, I then began protecting all threads, splines and internal areas from blasting and powder coating.
I did this using old bolts, threaded bar, nuts and washers, garden hose pipe and pipe clips. Make sure you don’t leave any bolt showing on both sides of a fixing or the powder coat will prevent you removing it later.
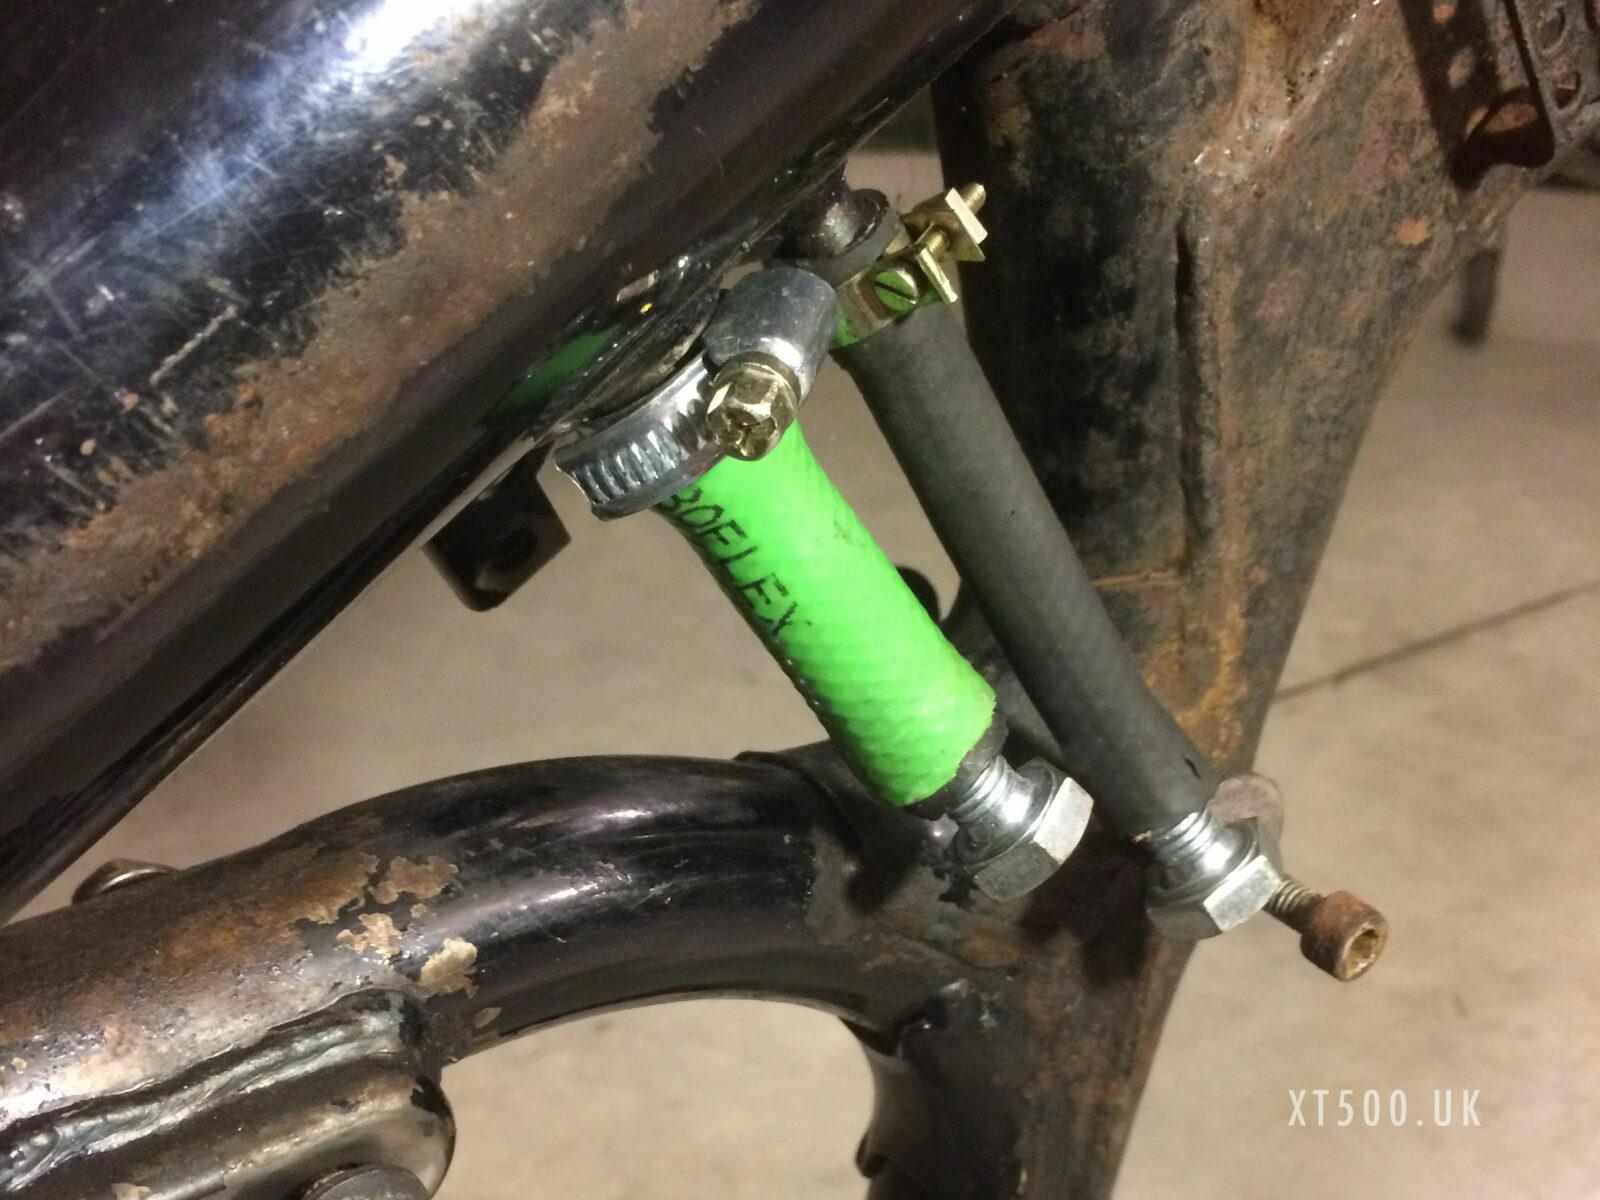
Since part of this frame is also the oil tank, it’s advisable to clean out the frame of all oil deposits. This is because to cure the powder coating the frame is put in an oven with a temperature of above 200 degrees C. In this case the frame was first sent to be chemically dipped which removed oil, grime, and 95% of paint from inside and out.
Had the frame not been so rusty this may well have been enough before painting, but it still needed some blasting. The media used was fine ceramic beads, not as aggressive as sand grit, so also good for etching for paint to key to without the need for a thick layer of powder.
Out-sourcing
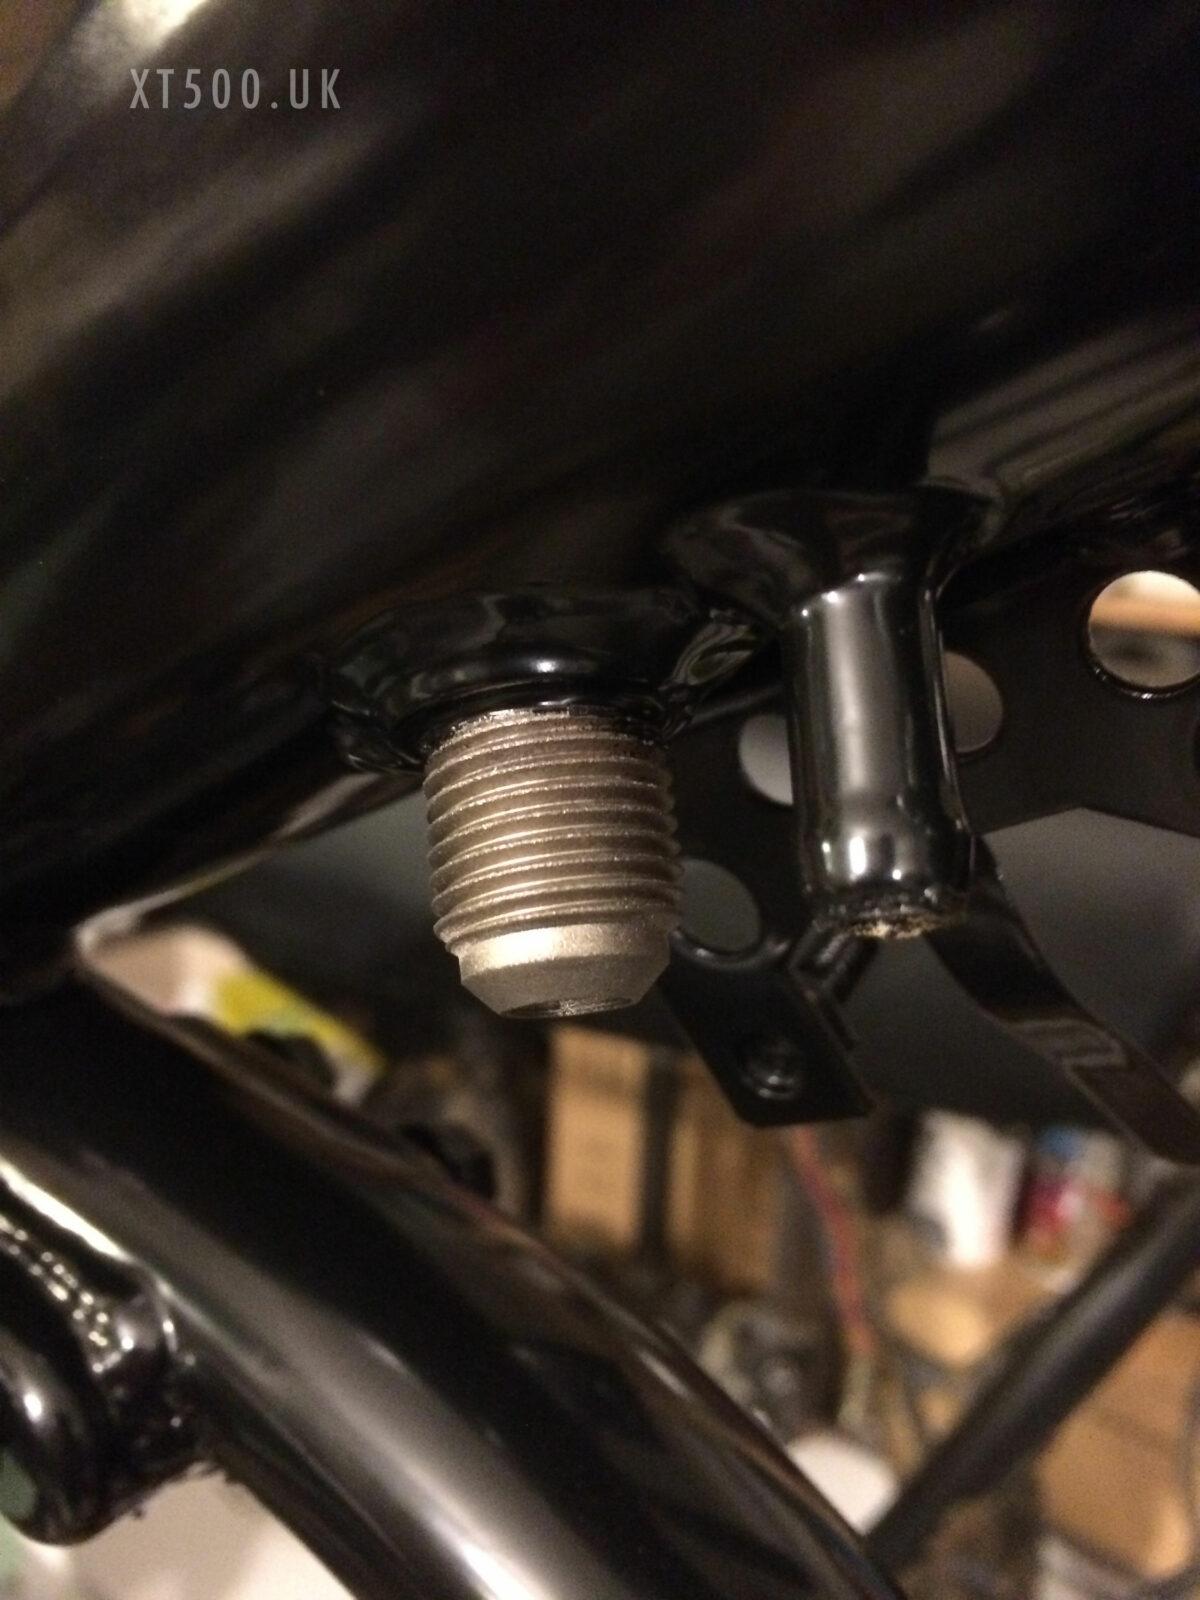
I was very happy with the guys who did the work, DISTEP in Trento (Italy). They specialise in restoring wheels but have a winter sideline of blasting and powder coating bike parts. There was only one misunderstanding. They rightly removed all my protective measures so that the chemical cleaning could do it’s job. But they didn’t put some of them back until after blasting and before powder coating.
This resulted in having the foot peg mount splines, and the thread for the oil return pipe getting bead blasted. Happily though this was a fine etch and they weren’t also powder coated. I treated the splines and threads with rust converter to help prevent corrosion to the bare metal.
Even if all the protection had been in place, to keep out 100% of blasting material is virtually impossible. Therefore after getting back the frame, the first thing to do is clean out the oil tank so that not one bead is left in there. It doesn’t take much to wreck a newly restored engine.
How to clean out an XT500 frame oil tank
A large plastic sheet on the ground caught any spillage. It was in a well ventilated garage but even better would be do it outdoors if you can.
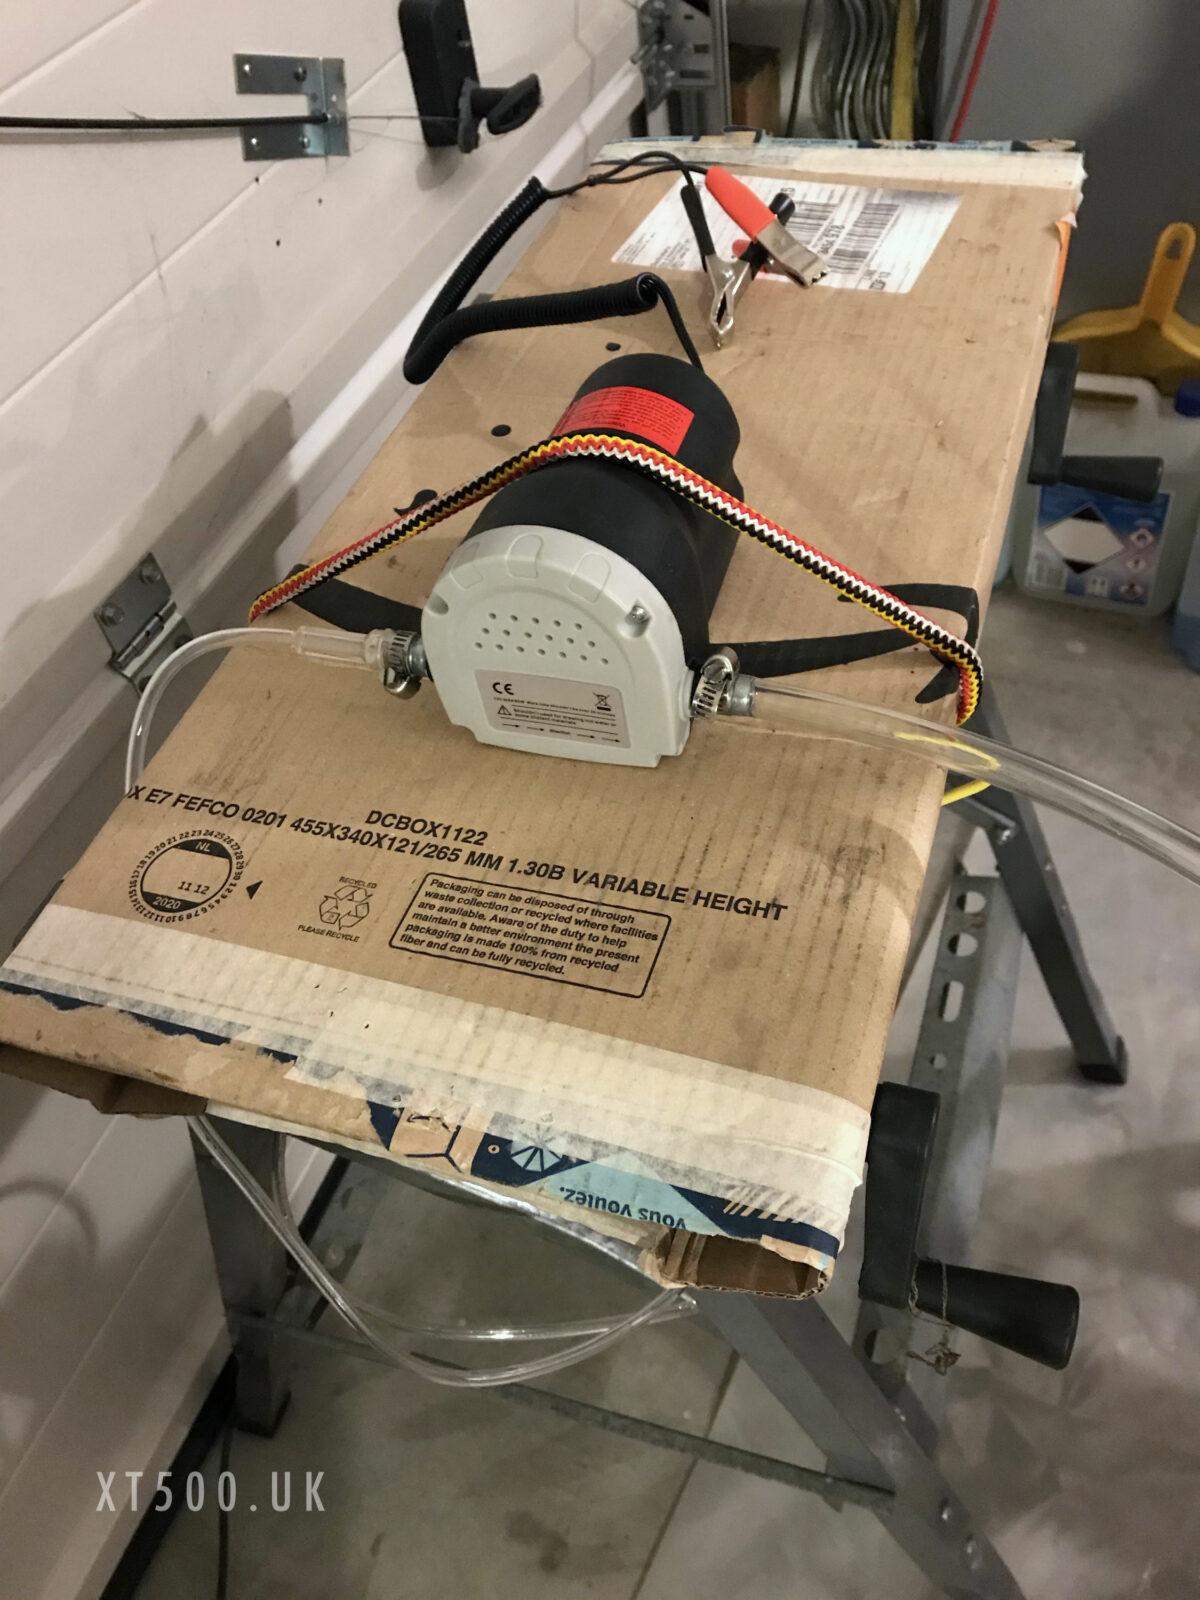
I cleaned out the frame oil tank using a method described by Motorang on the XT500 TT500 Forum. A small pump designed to suck engine oil out of a car engine or diesel from a tank. It’s a 12v model so I used my car battery for power, strapped the frame down on a stand, so that it was on an incline leaning forward.
Using a bucket with about three litres of fresh diesel for the suction tube of the pump I fed the other tube into the frame tank as far as it would go. A large funnel was fixed under the bottom of the frame front tube with the sieve/filter removed. I tried large coffee filters at first but this reduced the flow too much so I used basic kitchen roll tissue instead.
Within the first 20 seconds of running the pump, a lot of bits came out including ceramic beads from the blasting. It was mostly material probably loosened by the chemical dipping. The beads must have entered when they (wrongly) blasted the oil return thread and breather.
Patience required
A good two hours was spent doing this with the diesel, a messy business and a lot of cleaning up to do. With each minute re-positioning the tube in the tank. Ideally it would be good to use one of those bottle cleaning brushes if I could find one with a long and flexible enough handle.
At first I noticed that the plastic tube was getting scratched against the metal edge of the frame. The ‘shavings’ adding to the rest of the bits that I was trying to get rid of.
Eventually the diesel was no longer clear in colour with some bits which had inevitably escaped past the filters. To make sure that I wasn’t recycling the bits, I used some fresh diesel for a few minutes until the filters were clean.
The frame was repositioned upside down with the oil filler cap tightened. Poured a litre of fresh diesel in at the bottom of the frame and sloshed it around for 5 minutes. I did this because perhaps there was loose material stuck to the ‘roof’ of the tank and wouldn’t have been reached by the pump tube.
Sure enough more bits came out. Then once more with fresh diesel to be sure. Super paranoia.
My heightened paranoia comes from the many horror stories of wrecked engines after rebuilds… some on the XT500 forum. So I have heeded all the advice as much as possible. Anxiety sets in when starting the engine following a rebuild.
Perhaps though we ought to be more confident in the oil filtration of the XT… I remember the story of a friend who had to rebuild part of his engine in a doorless garage in a Moroccan or Algerian desert… so much sand. Together with his XT500 he still made it to Australia.
Final rinse
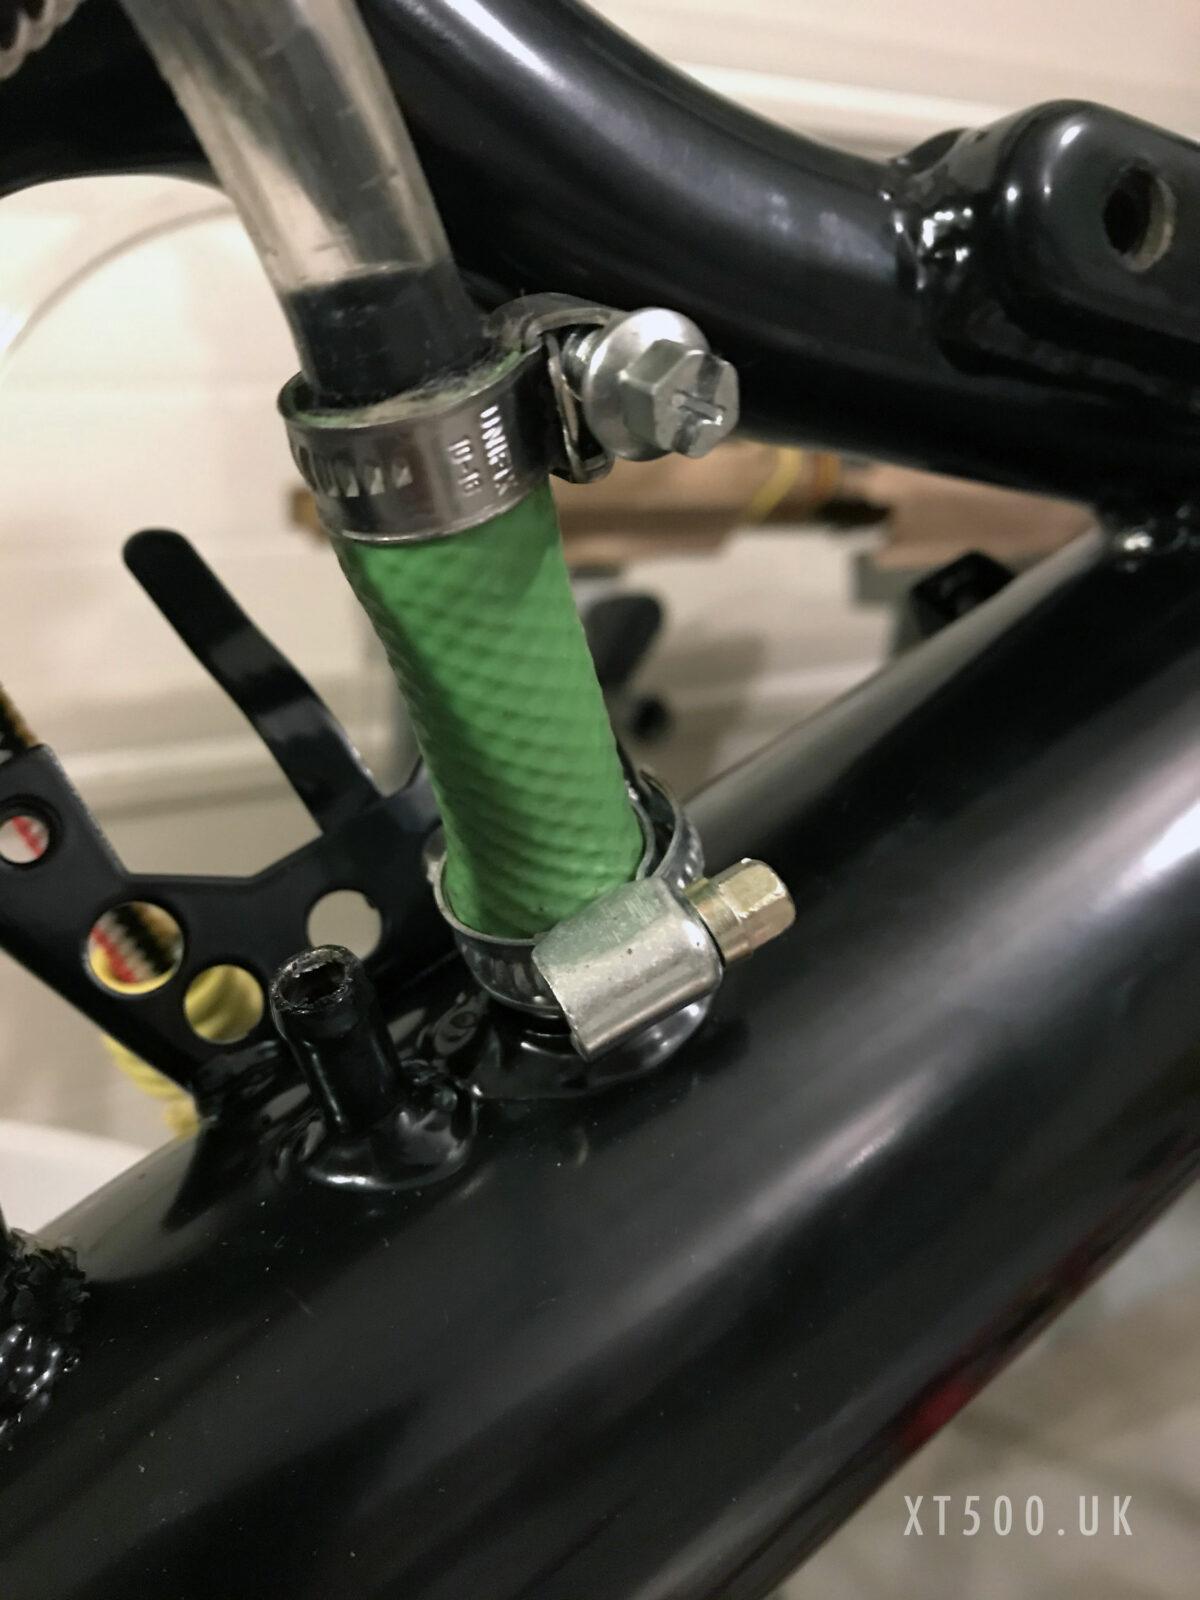
Days later, I made a final swill out of the frame oil tank. There wasn’t much more crap in there but worth doing, especially through the oil return feed and breather. I placed the frame only upside down this time, inclined so that the filler cap was at the lowest point. Using a piece of garden hose and jubilee clips to connect to the pump exit tube. Strong kitchen roll were effective as filters inside and on the bottom of a funnel positioned under the oil filler.
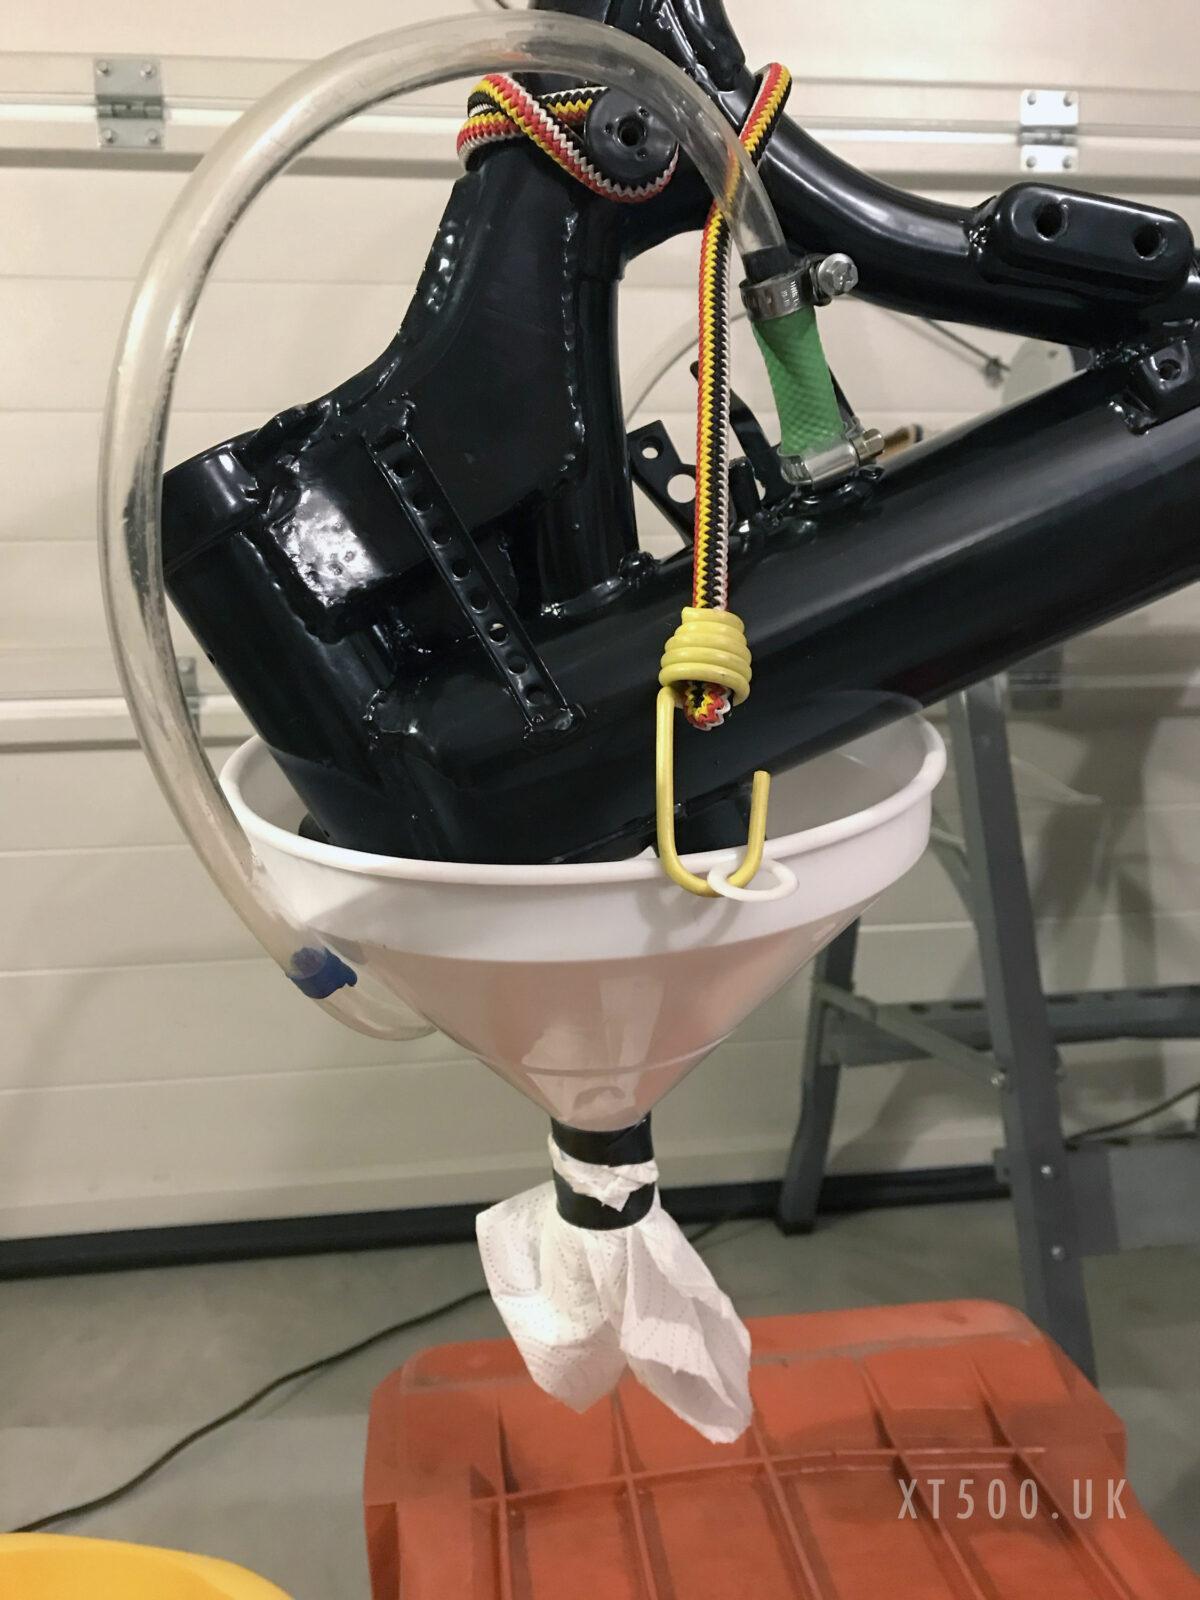
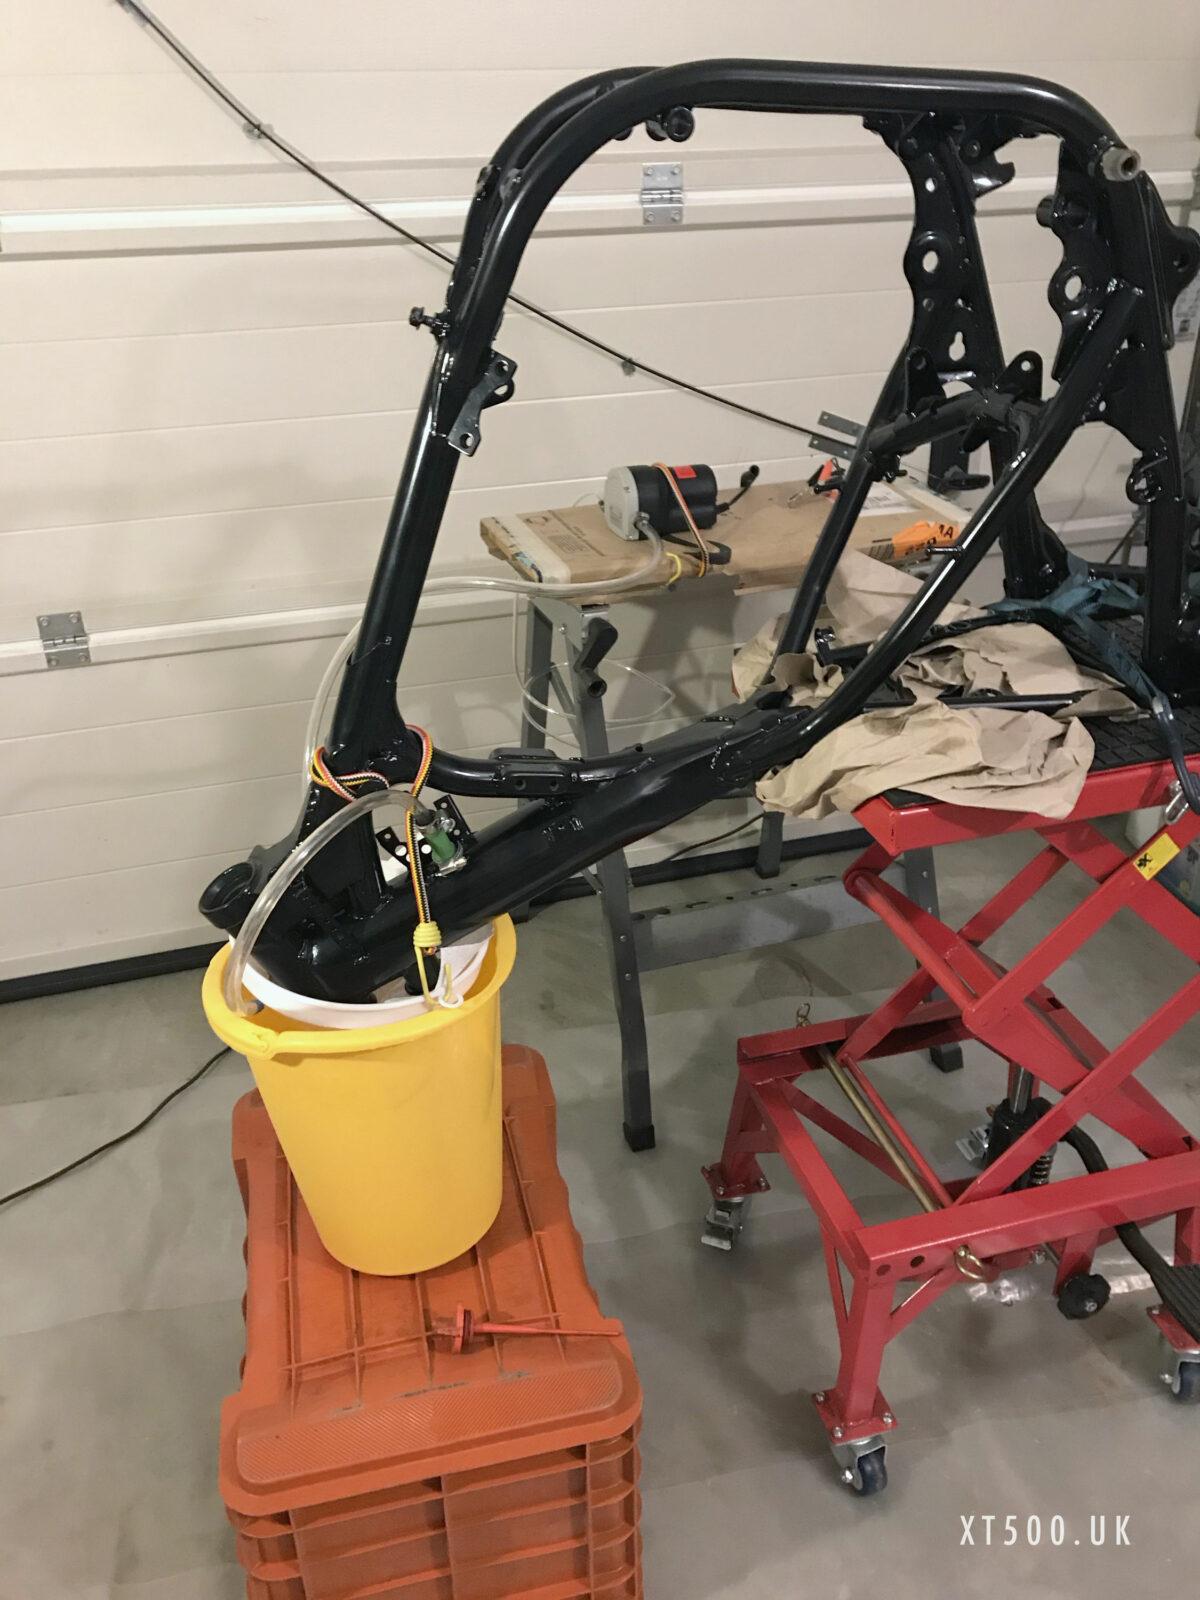
To connect to the car battery, the leads weren’t long enough so I had to secure the pump to the bench to prevent it being pulled off under tension.
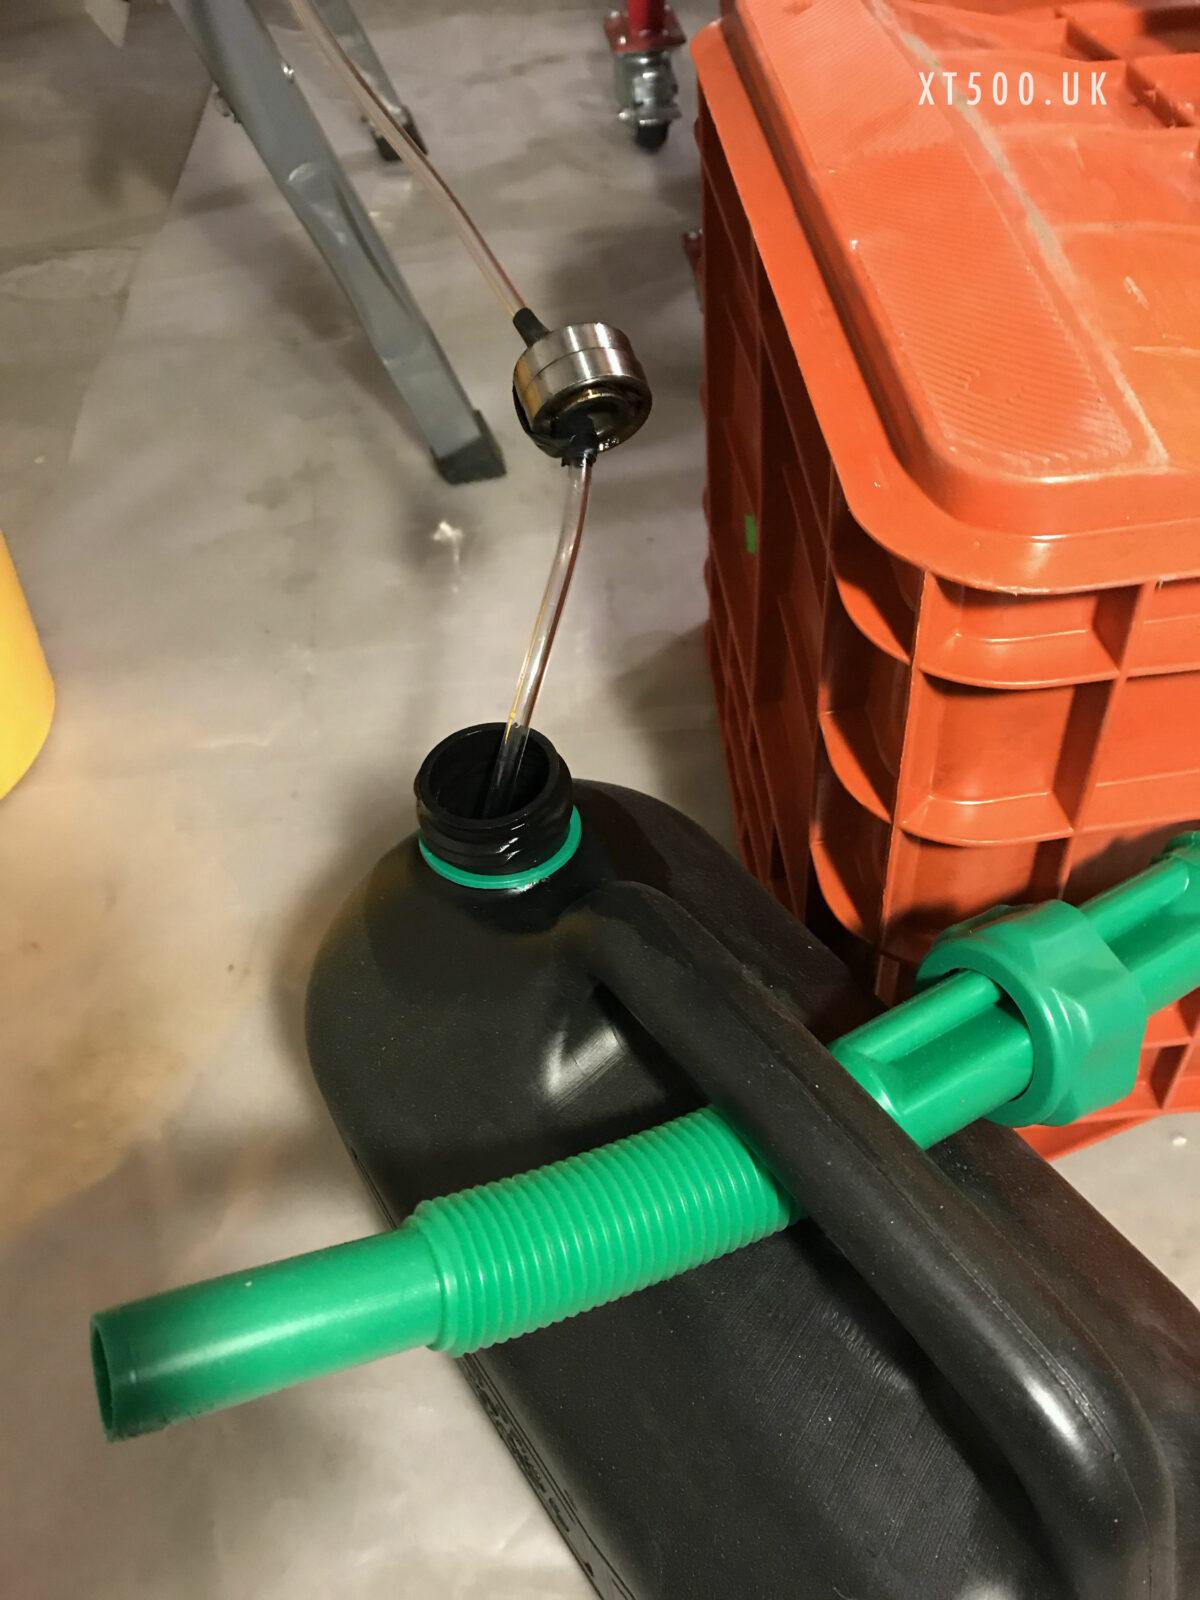
I didn’t recycle the diesel but just sucked direct out of the jerry can and collected it in a bucket. The weight of a couple of old bearings on the pump line prevented it popping out.
After doing the oil feed pipe, I used a section of sheath/tubing from an old clutch cable to connect to the vent pipe.
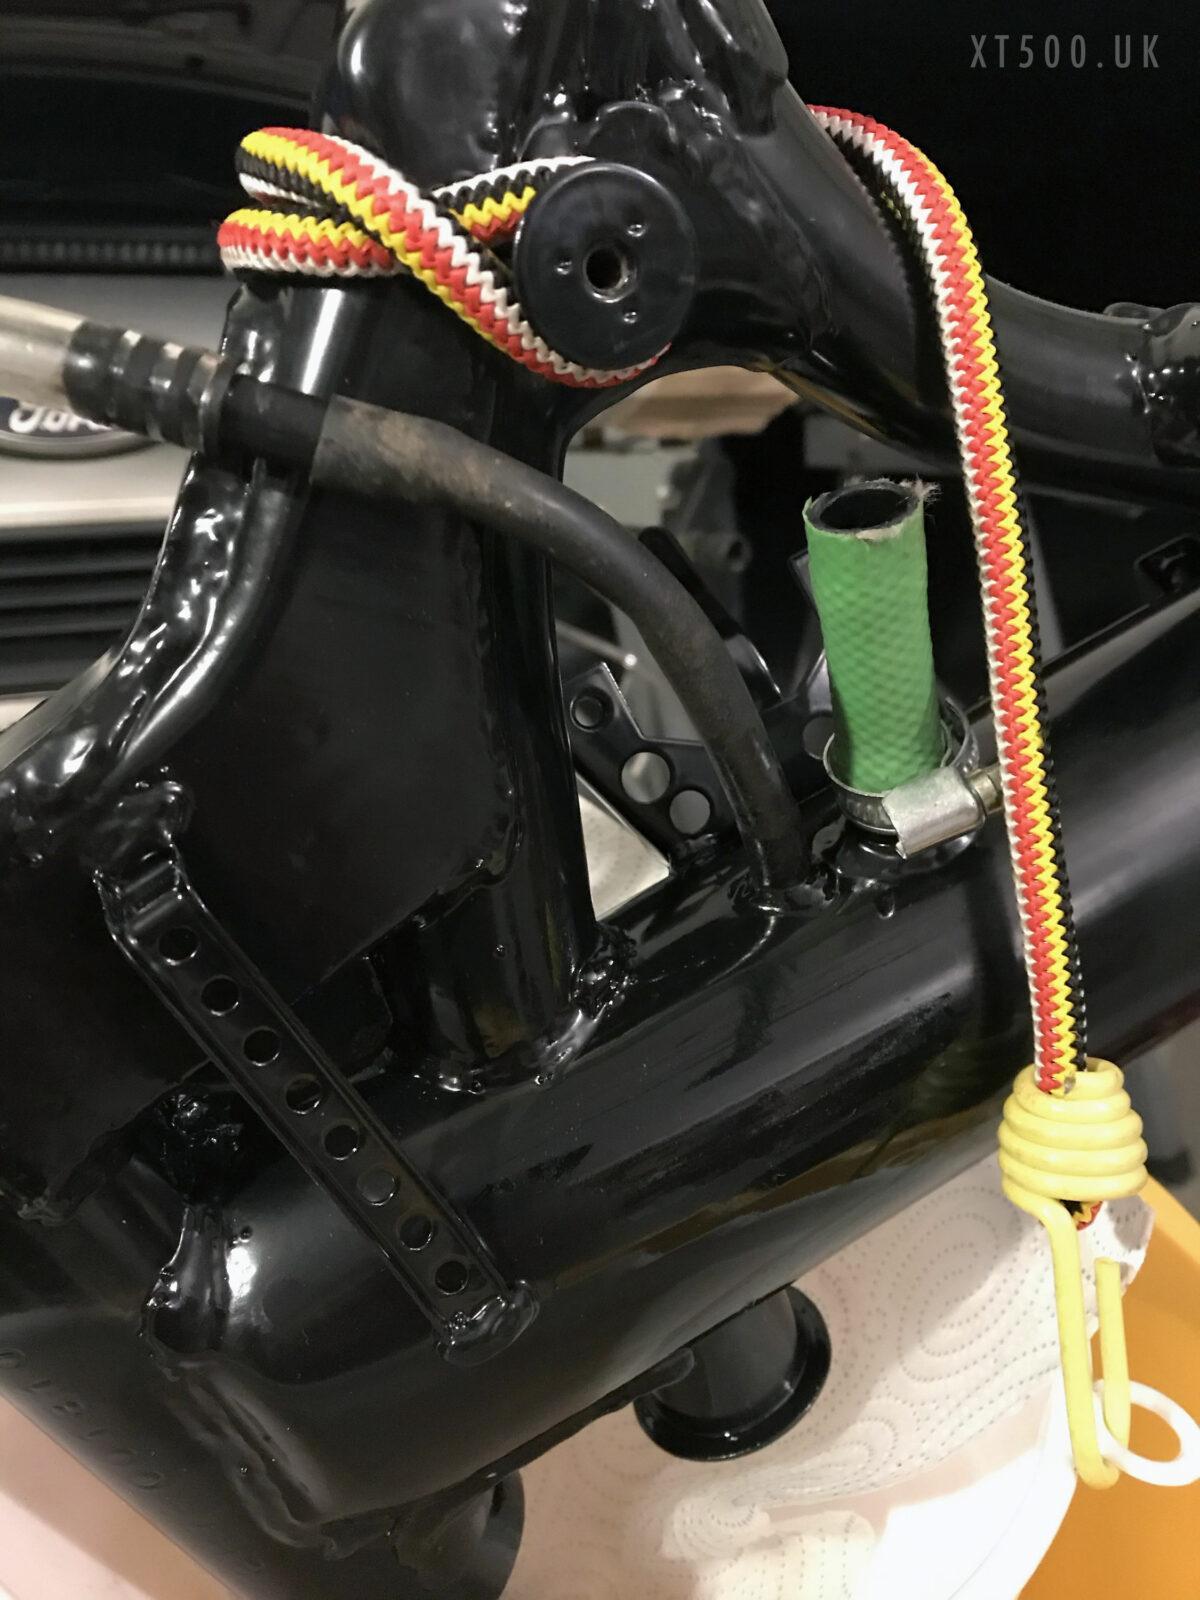
Followed by pumping into the bottom of the frame tube for a short rinse.
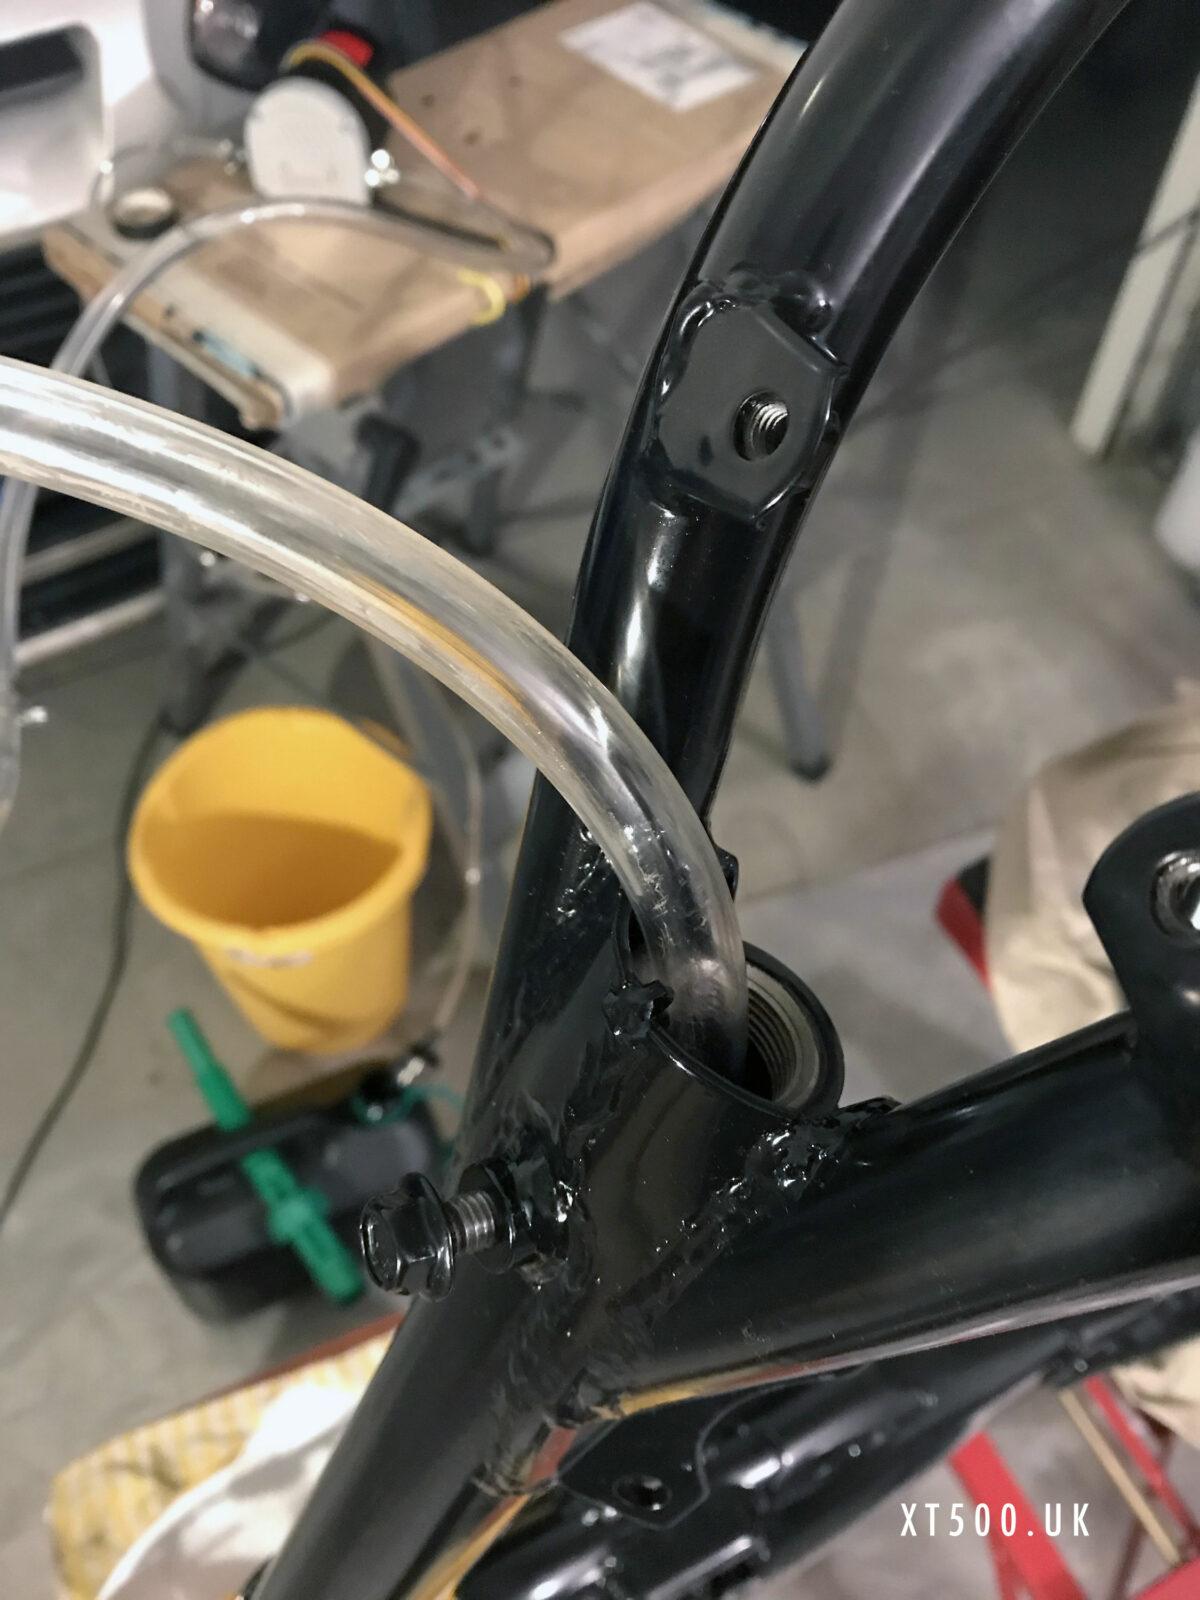
The filler cap was screwed back in and about 1 litre of diesel poured was poured in and sloshed around. Taking out the filler cap after this can be a bit tricky without splashing fuel everywhere.
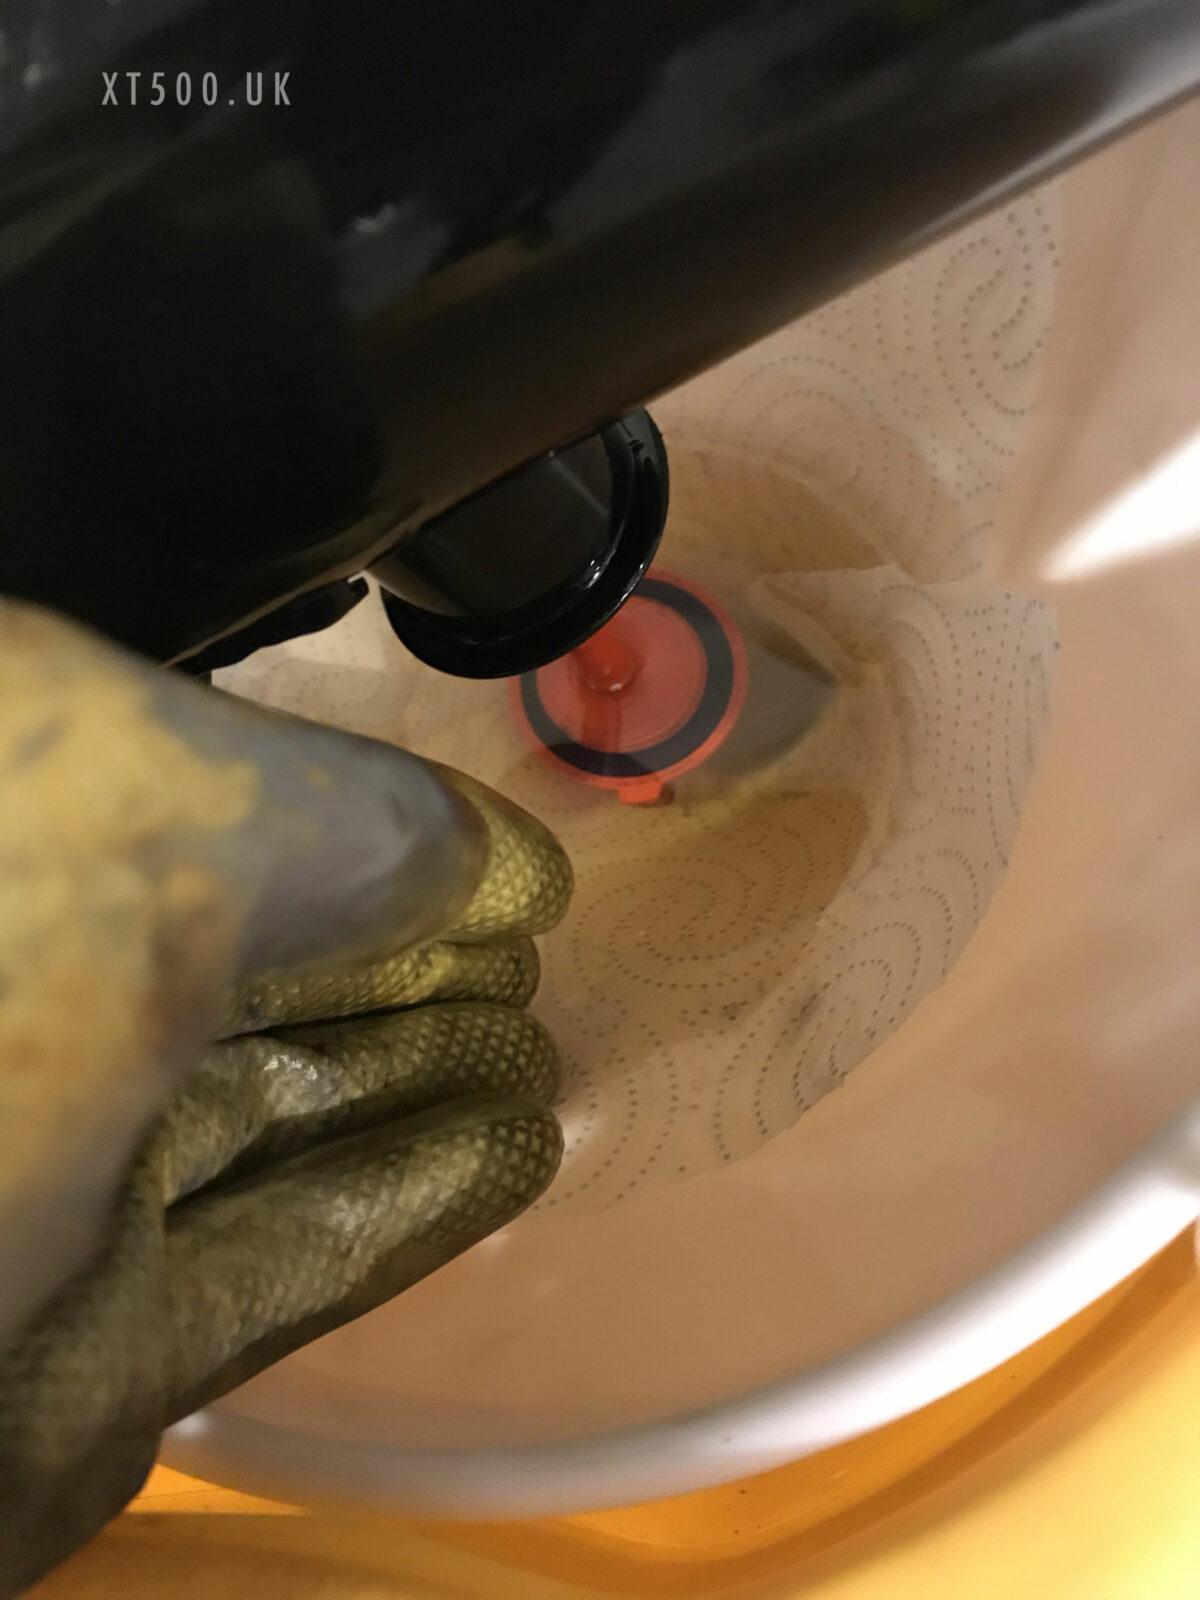
A warning on pumps and solvents
Choosing petrol to swill out the tanks may have been a better cleaner and ‘drier’ than diesel. However, make sure that your pump is suitable. The one I used categorically stated in big red letters DO NOT USE PETROL the pump will overheat. It uses whatever solvent/fuel is pumped through it as a lubricant and coolant, petrol and some other liquids will not offer enough lubrication. After several minutes of recycling the (filtered) diesel I noticed it was getting warm. I wouldn’t say it was steaming but in a cold winter garage I could see vapour rising.
You could say that it’s a good idea to just use some petrol at the end, poured into the tank and shaken to remove oily deposits from the diesel. Whereas I just went with the fact that it’s going to be filled with oil anyway and by then the diesel will have evaporated.
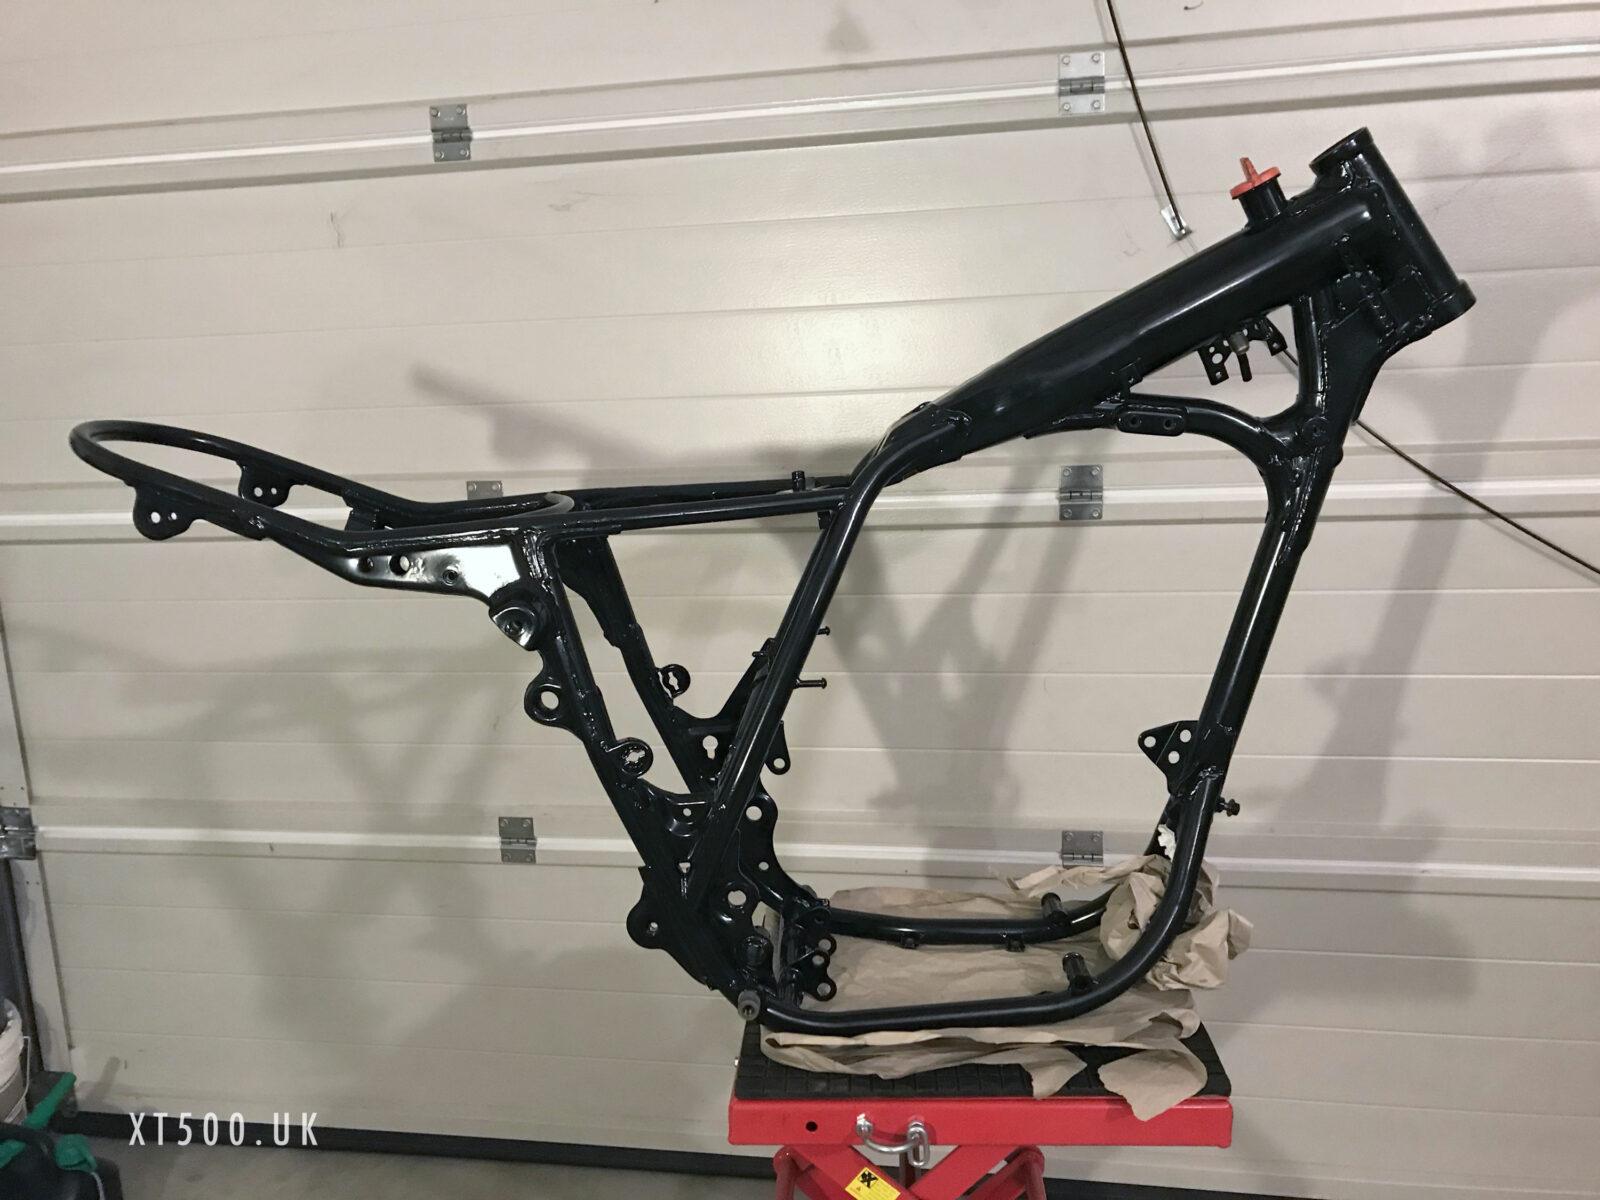
Shopping List
- 3mm punch and a center punch
- Drill bits 3.3 mm, 3.5 mm, 4 mm, 4,5 mm
- Tap and die kit
- 12V Oil/Diesel pump
- 5 Lt. diesel
- New rivet for sterring lock cover
- Rivets for manufacturers label

