The XT500 engine is a 499 cc (30.5 cu in) 4-stroke single SOHC, with a bore / stroke of 87 mm × 84 mm (3.4 in × 3.3 in). Compression ratio of 9.0:1 and 5-speed gearbox.
27 May 2020
Before dismantling the XT500, I needed to fire her up and get the engine oil hot to drain it properly. I also wanted to see that the electrics worked and hoped there wouldn’t be a need to replace the loom.
The tank and carb were drained of old petrol several years ago.
Spark plug didn’t look great so cleaned it with wire brush.
Decent white spark, new fuel, good compression. No joy in firing using full choke.
Removed plug again and it was wet. Dried out the plug, and before inserting it again, with fuel petcock and main switch OFF, gave several kicks to clear the cylinder, even better with full throttle open and using decompression lever.
The spark plug looked a bit black, but not so dramatic. I used a new one (standard BP7ES) after checking it’s gap first.
If the spark plug is wet it’s a good sign, at least the fuel arrives where it should.
With the plug back in, fuel petcock ON, main switch ON, choke on (lever down), no throttle, piston at TDC and… nada.
I then checked the air filter in case air flow was being restricted or leaking effecting the mix. All good. Dirty rotten (standard) filter but no gaping holes.
I decided to check points and timing too. The points gap was over at 0.40 so I adjusted it back to 0.35. I aligned the flywheel to F with the crankcase marker, and the points were closed. So I wanted to adjust the points back plate until they started to open.
I couldn’t find my impact driver anywhere and without it I cannot unscrew the two bolts. Oh wait, it’s in Cornwall, 2000 kms away.
So it waited until shops opened next day and I had a beer instead.
05 June 2020
Didn’t actually get to the shops but I found an impact driver buried amongst other neglected tools (after ordering one online), so I was able to check the accuracy of the points opening. Those who have been following so far will know that I am coming across lots of stubborn or rusted screws, nuts and bolts. That included those fixing the points back plate.
I had to turn the plate in a clock-wise direction about 2mm so that the points just started opening with the flywheel lined up with ‘F’ against the marker on the casing.
She fired up on second kick. I only let her run for 10 seconds because I wanted to be sure about the oil level. The cam may well be without any so I put some in there before the next run.
There was nothing on the dip stick, but oil came out when I unscrewed the cover for the cam chain timing mark (just a couple of turns not all the way). So there was oil but either not enough or it was all sitting in the sump (most likely).
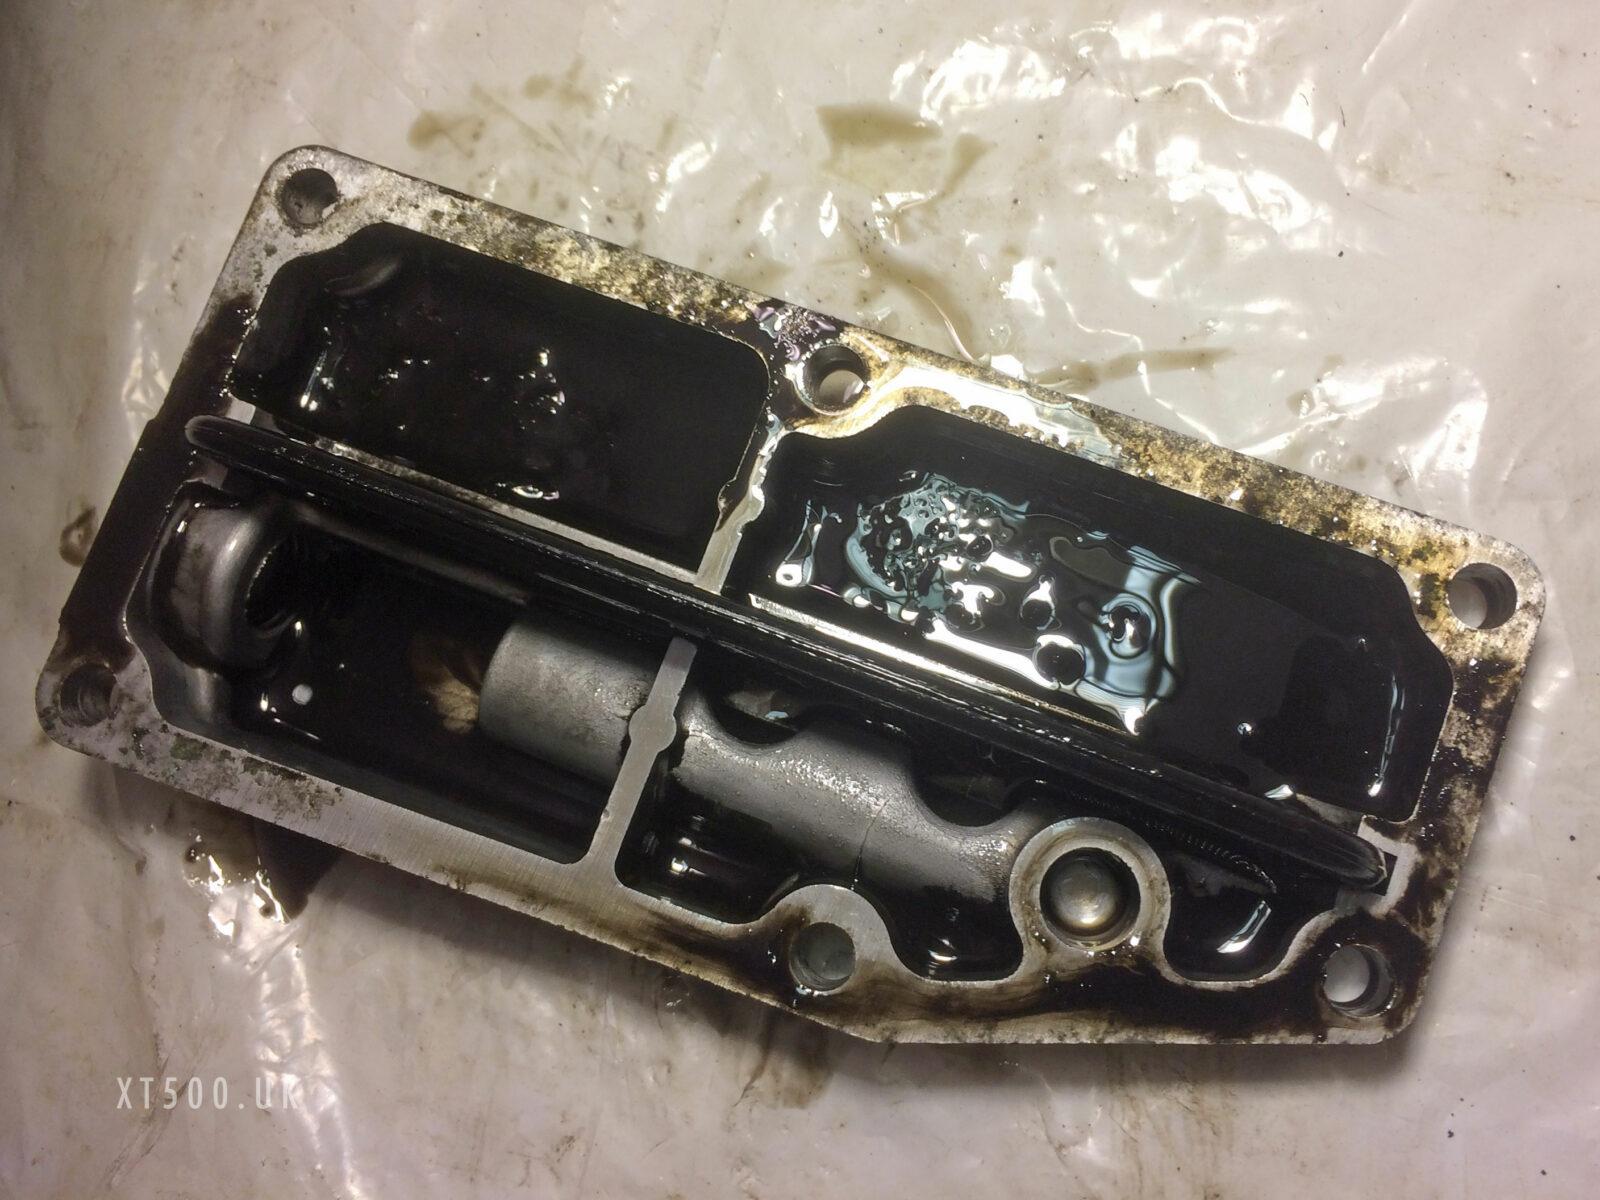
That could be because it had been sitting for so long or the oil return valve could be worn or stuck and no longer preventing the oil seeping back down from the tank. It can be found on the inside of the clutch crankcase cover. It consists of a seat, spring and ball bearing.
Happy that the engine fired up anyway, knowing that I could move forward big time with getting her back on the road.
12 June 2020
An update on engine oil level and getting her running.
I drained the oil with engine cold and put in fresh 10W40 as this was the only way I could be sure there was enough in there. I primed the rockers through the exhaust valve cover.
She fired up on full choke with one kick, without any throttle it revved to 3200 so I shut down the choke until it leveled at 1500. Once hot I tried shutting off the choke but it died. I couldn’t get it to run unless it I used at least some choke.
I reset the pilot screw to one and a quarter turns out, started on half choke and adjusted the idle to increase revs and reduced choke. I got close but the best I get is running at 1300 with a little choke.
I guessed that the carb needed looking into so while the engine and oil was hot I decided to drain it and began stripping the bike.
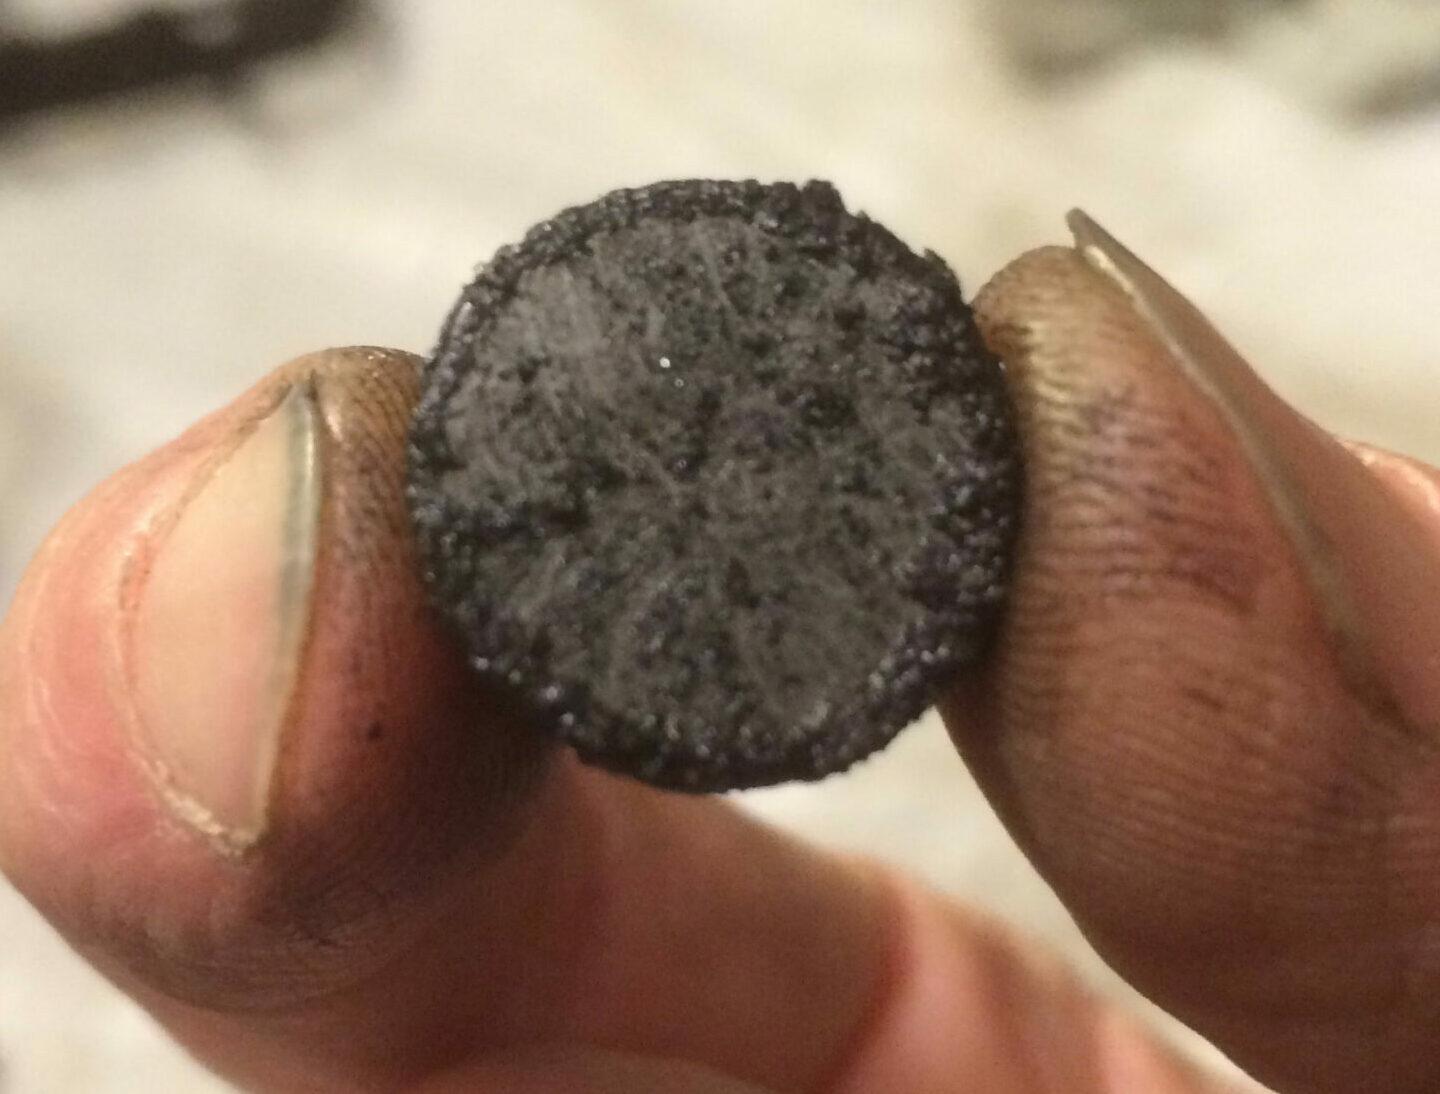
The oil in the sump had some fine gritty stuff which I collect with a strong magnet.

There were some bits of gasket sealant caught in the mesh but nothing on the other side. The main oil filter looked fine and other gauze filter in the front down tube of the frame was grim but nothing untoward lurking in there.

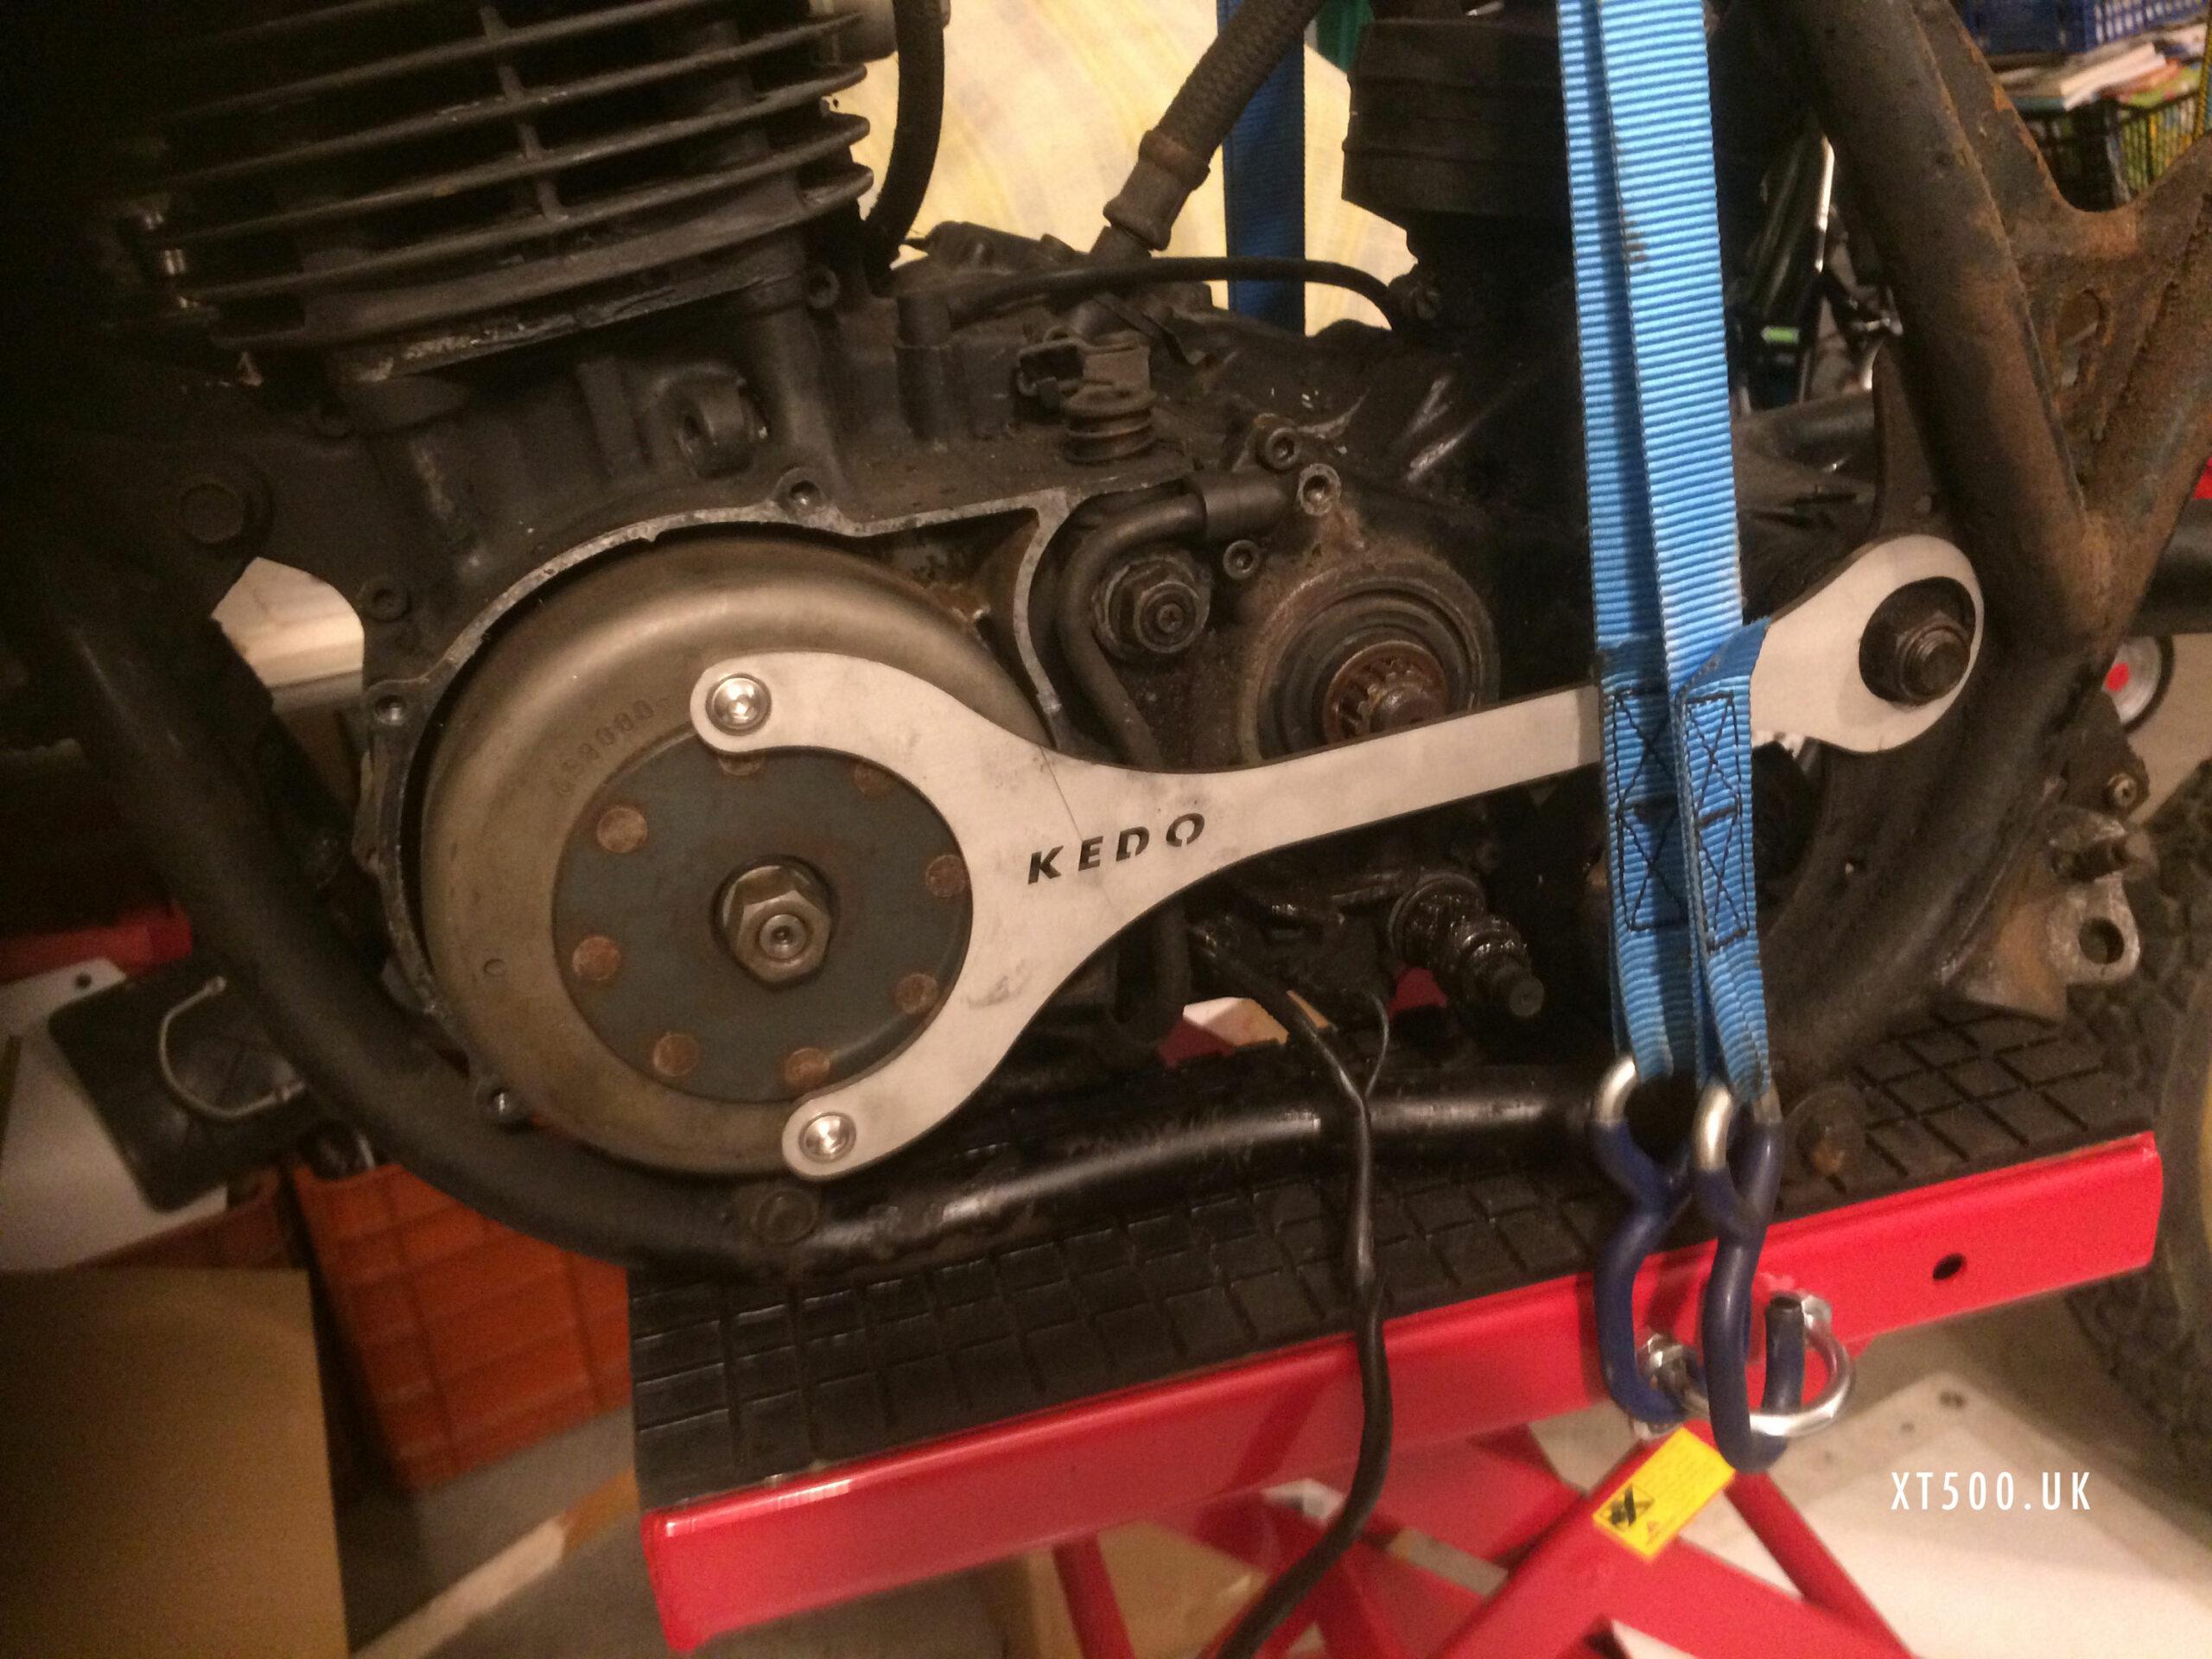
In order to take the engine out of the frame it is best to first loosen a few things on it. First the nut which fastens the fly wheel. To do this requires a tool to keep the flywheel from turning. With some metal working skills it is simple to fabricate one. However, my skills went as far as ordering one online.

More importantly you will need a flywheel puller. This is basically a large counter-thread bolt with a central bolt threaded through the center. Once the tool has been screwed into the flywheel as far as it goes (anti-clockwise) the central bolt is screwed in (clockwise) to meet the shaft, at that point apply pressure with continued turning. Eventually you should hear a snap as the flywheel comes away from the shaft. When pulling the flywheel off look for the woodruff key, a small metal wedge that aligns and locks the flywheel to the shaft. I always put this for safe keeping inside the flywheel. It is a magnet after all so it won’t drop out and get lost.
You may find that adding a longer tube to your wrench for added leverage is the only way to crack it. I used an electric impact driver to do this but on another engine it didn’t budge, so I had to use a long pipe.
Removing the flywheel at this point saves struggling later with the engine out on the bench and also takes off some weight when lifting the engine out of the frame.
Before removing the drive chain, it’s a good idea to loosen the nut (32mm) fastening the drive sprocket, after first bending down the locking tab. Get someone to sit on the bike and keep the brakes on. You could also leave it in gear.
The right-hand side side of the frame is the only side that the engine will come out of once all bolts removable brackets have been, er well, removed.
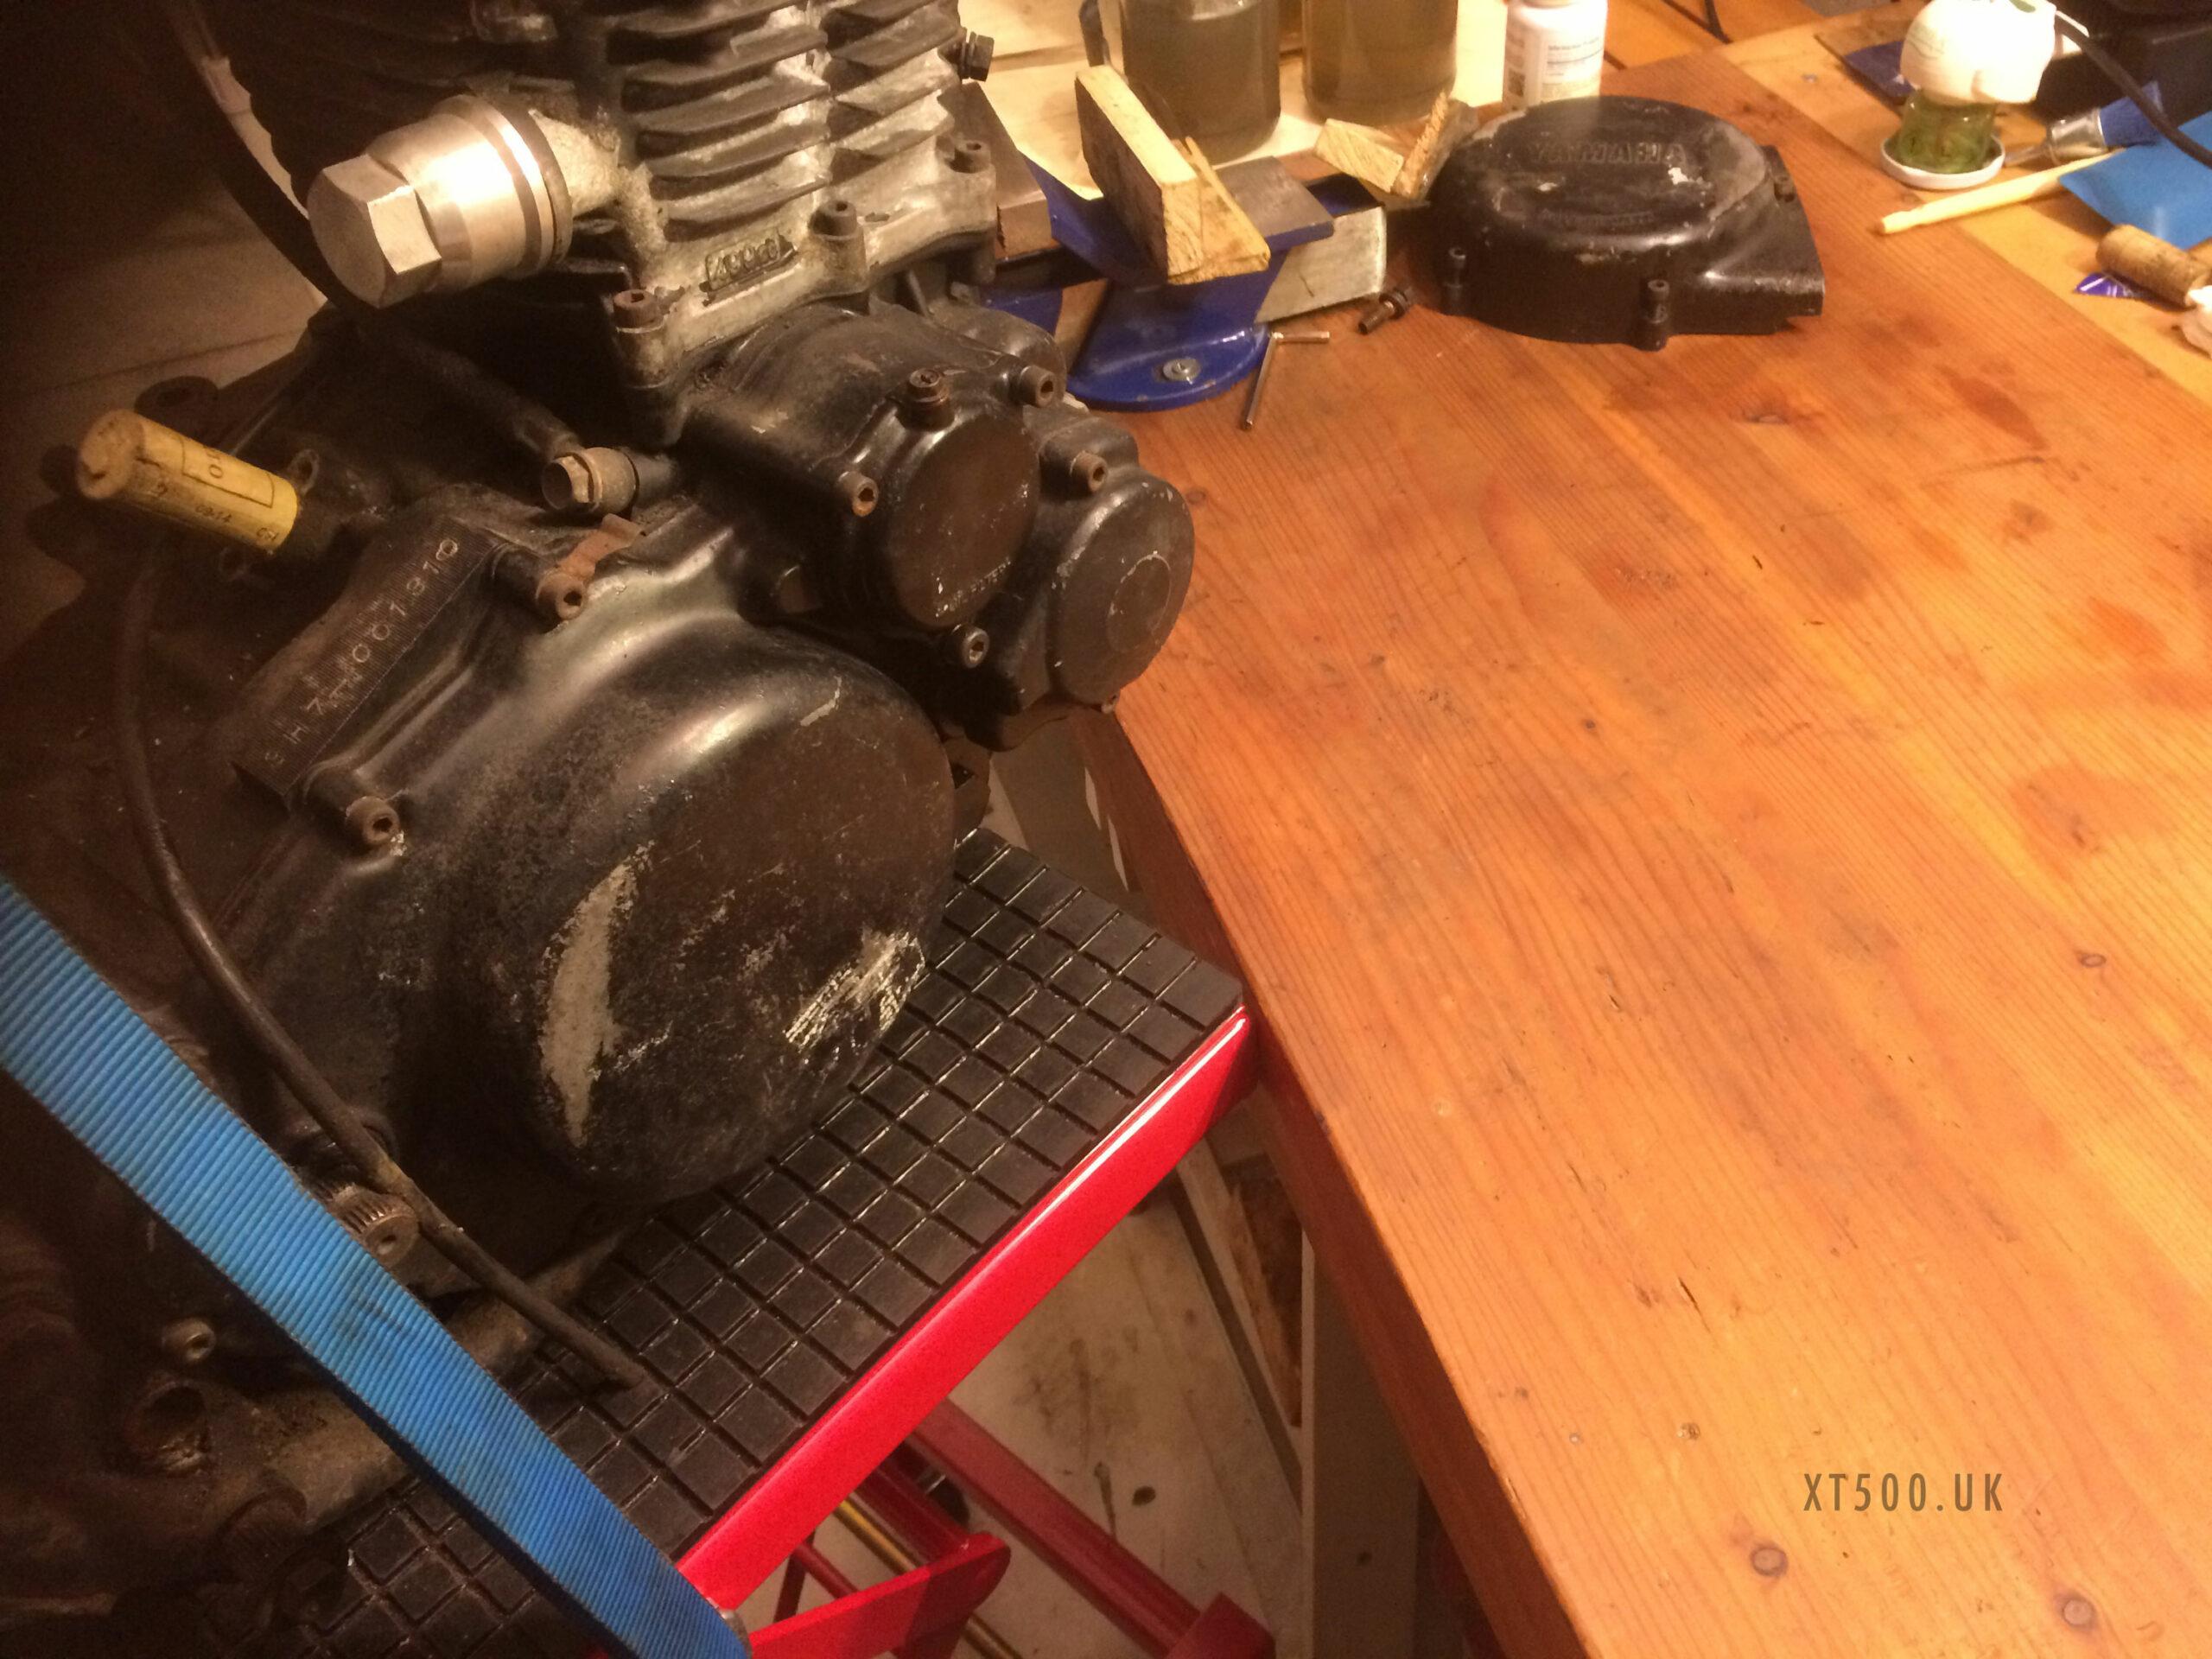
My scissor jack work stand meets the height of my bench at full height. This was very helpful for my back as I could get it along side and not have to bend down to lift it. At this point it was only the frame and engine on the jack.

Again, rather than struggle, I made life easier by ordering an engine stand online. With welding skills this is another thing that can be fabricated fairly easily. I can’t weld, though I’d like to learn.
Now I was ready to dismantle the top end.
Shopping list
- Motocross Hydraulic Scissor Lift Dolly
- Flywheel puller
- Flywheel locking tool
- Impact screwdriver
- Impact socket drill
- Rubber mallet
- 32 mm socket
- Engine work stand
- Clutch basket tool


