Cylinder head, valves and rockers got scrutinised before moving on to the cylinder and piston.
Removing the rocker cover, inspection of the rockers and tappets and cam shaft revealed some wear but I’ve seen rockers and tappets a lot worse than this but they still showed enough wear to warrant replacement. The cam shaft shows more wear than I’d hoped and even some flaking on the edge of one of the cams. This is an expensive part to replace new so before adding one to the shopping list, I decided to get the one from the donor engine out to see if it was useable.
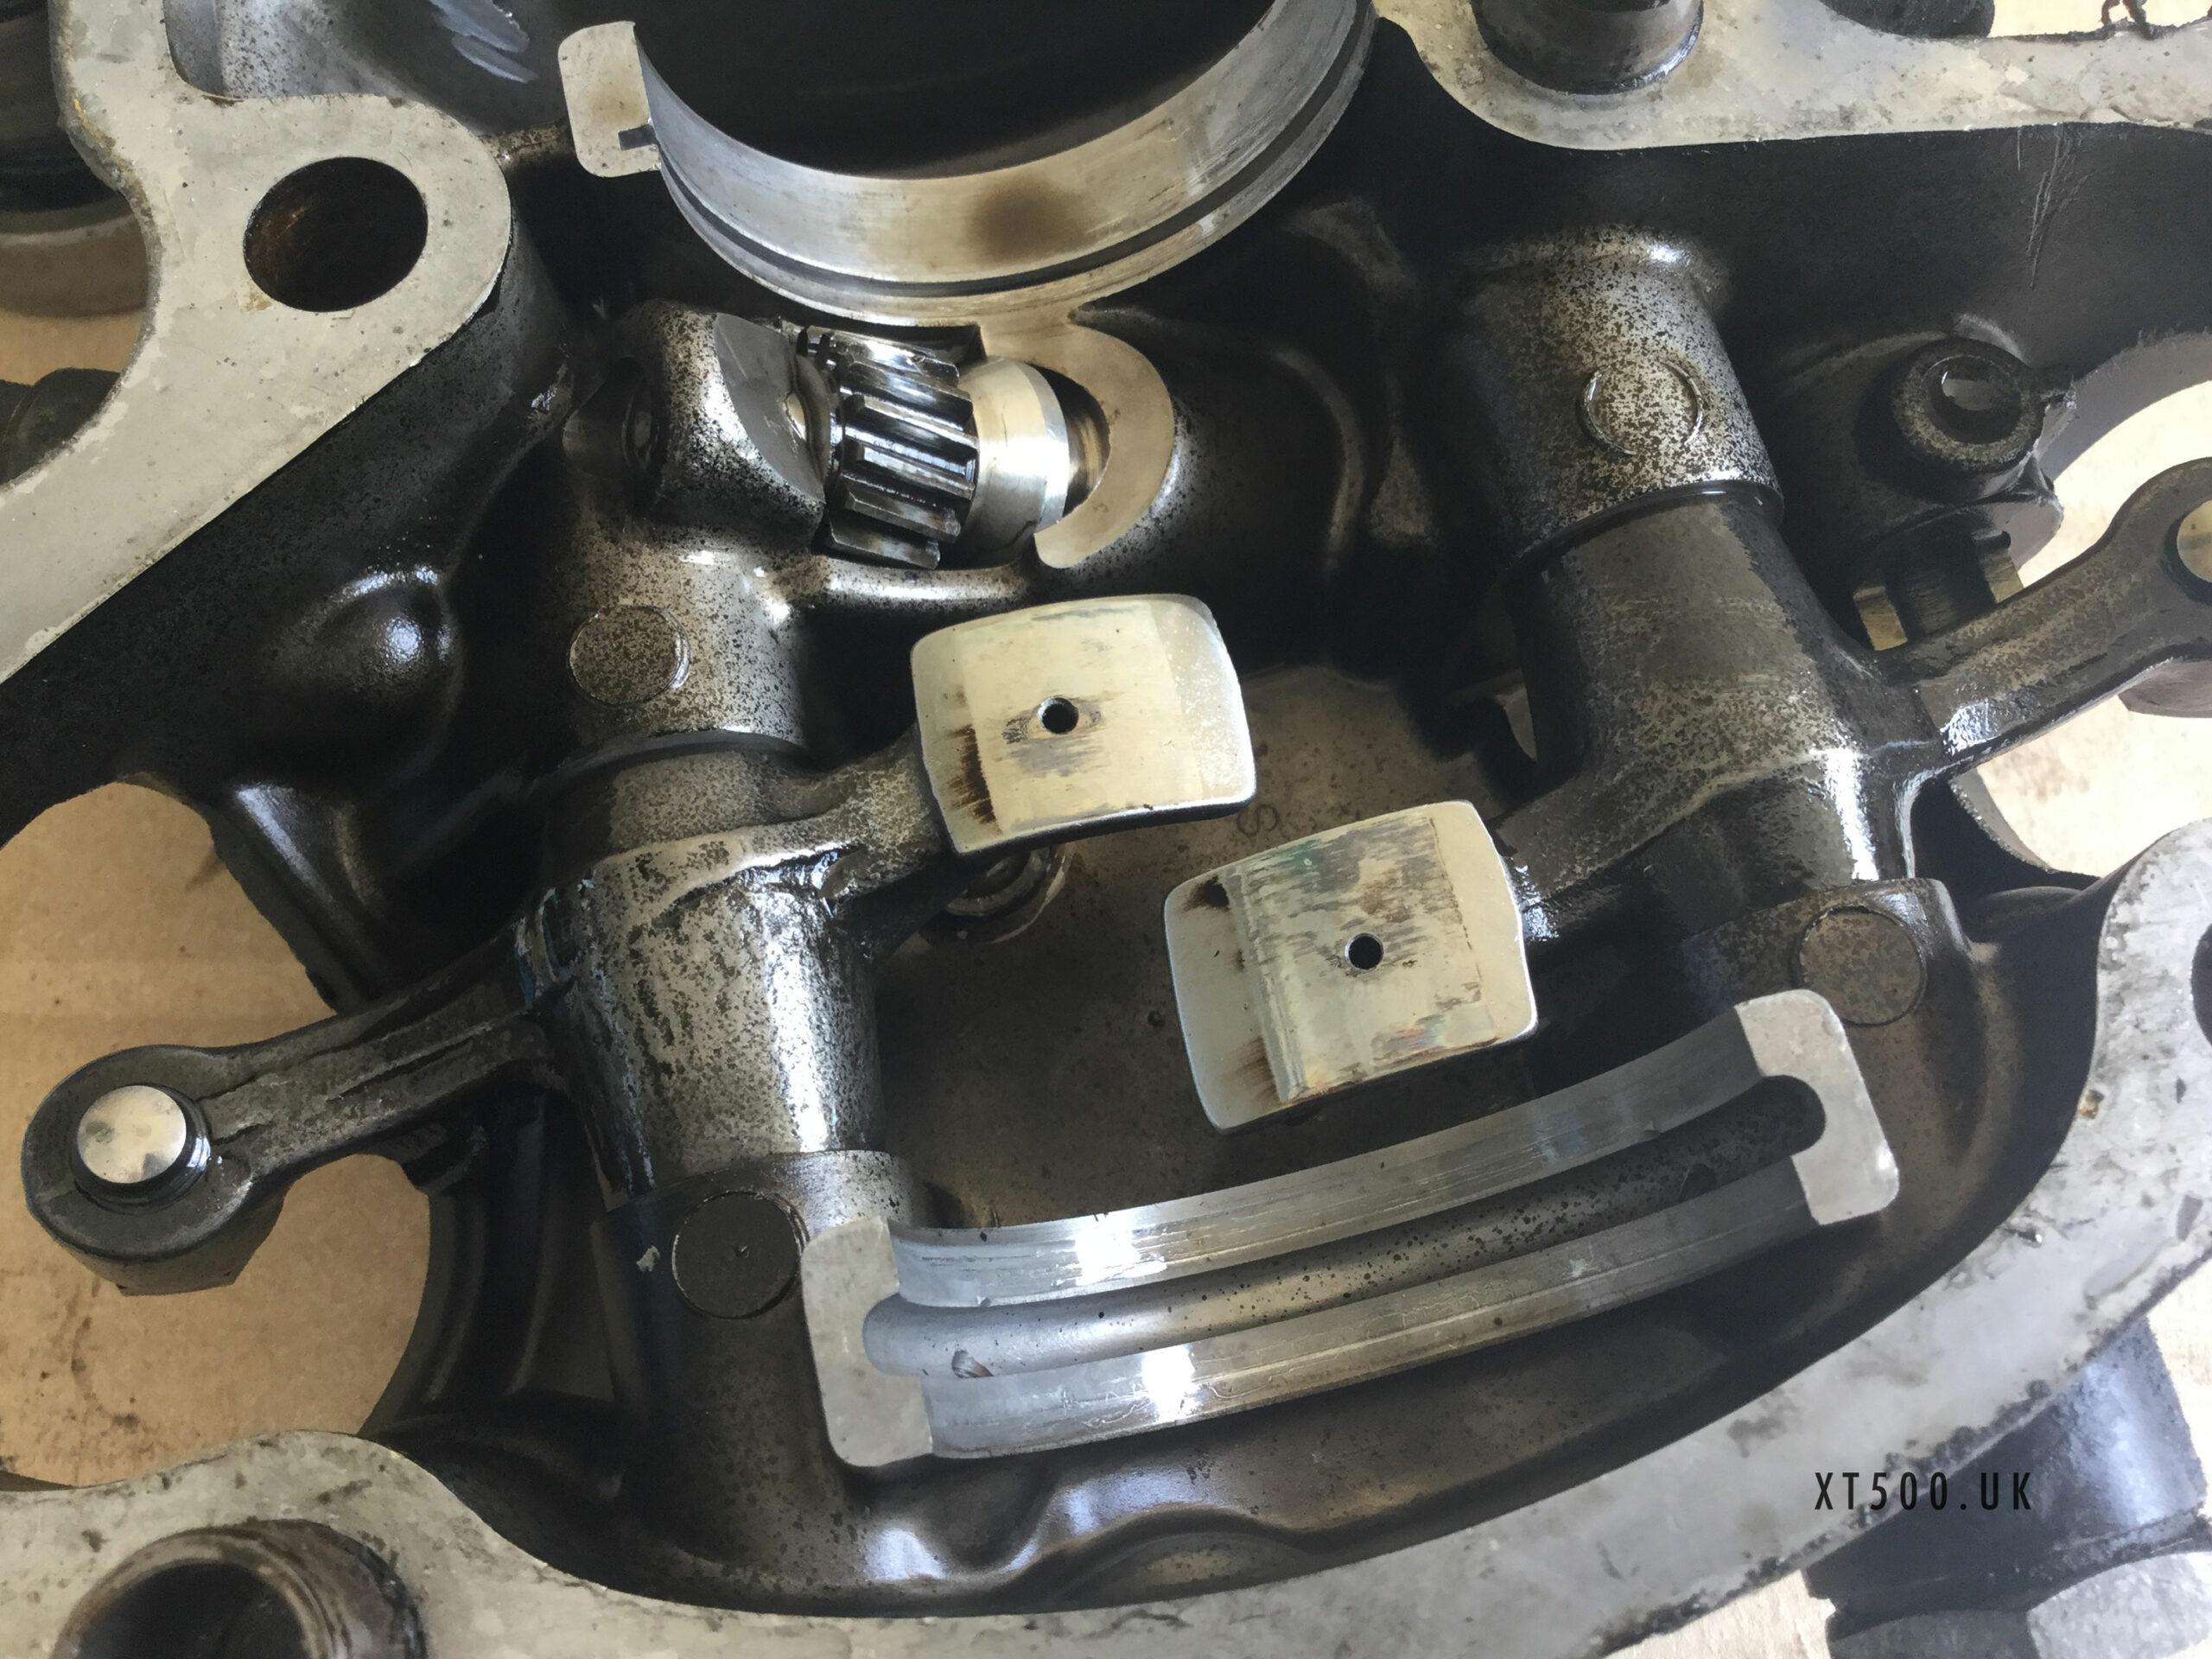
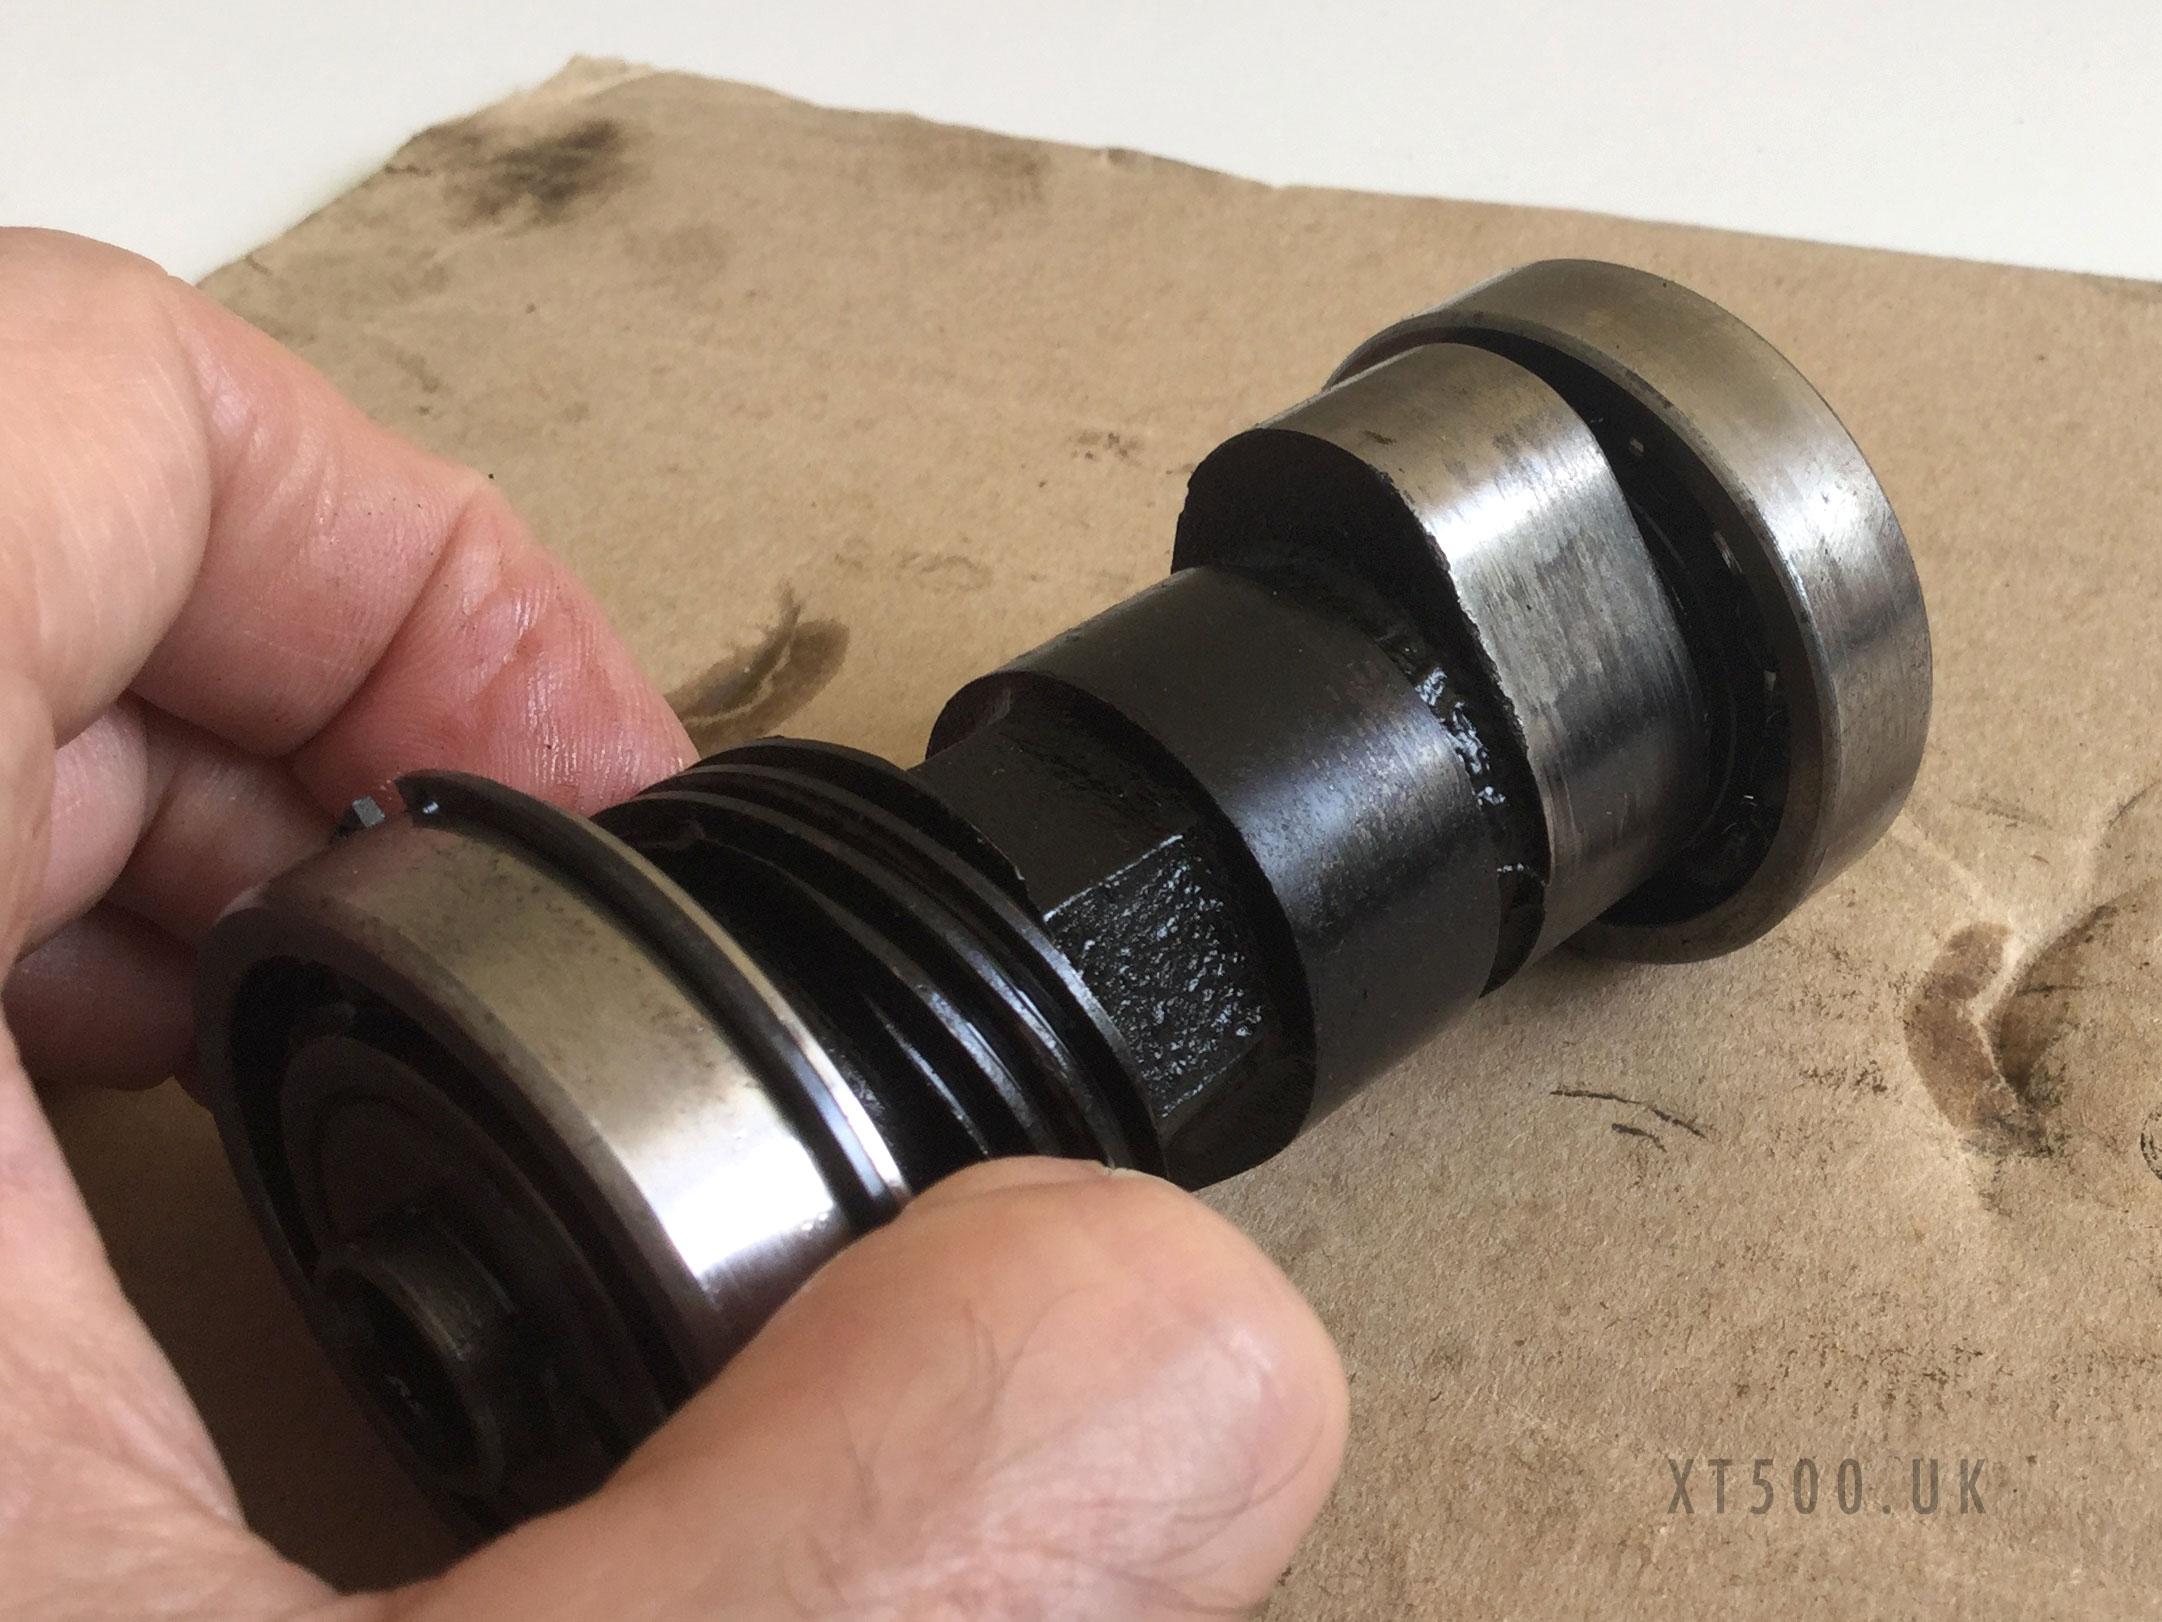
The camshaft bearings showed a little wear too so I added them to the shopping list. The alignment ring was reused. I also replaced the valves and the valve stem oil seals. Valve guides were assessed by the machinist to be OK, but new rocker arms (followers) were added to the shopping list.
A quick attempt at assessing the top end of the spares bike engine, which was still in the frame. I got as far as removing the bolts from the rocker cover and lifting it. But as there’s not enough clearance to remove it I was non the wiser, although I could just about peep inside and see a nice shiny and oily cam lobe. I did manage to see a black piston after removing the spark plug,
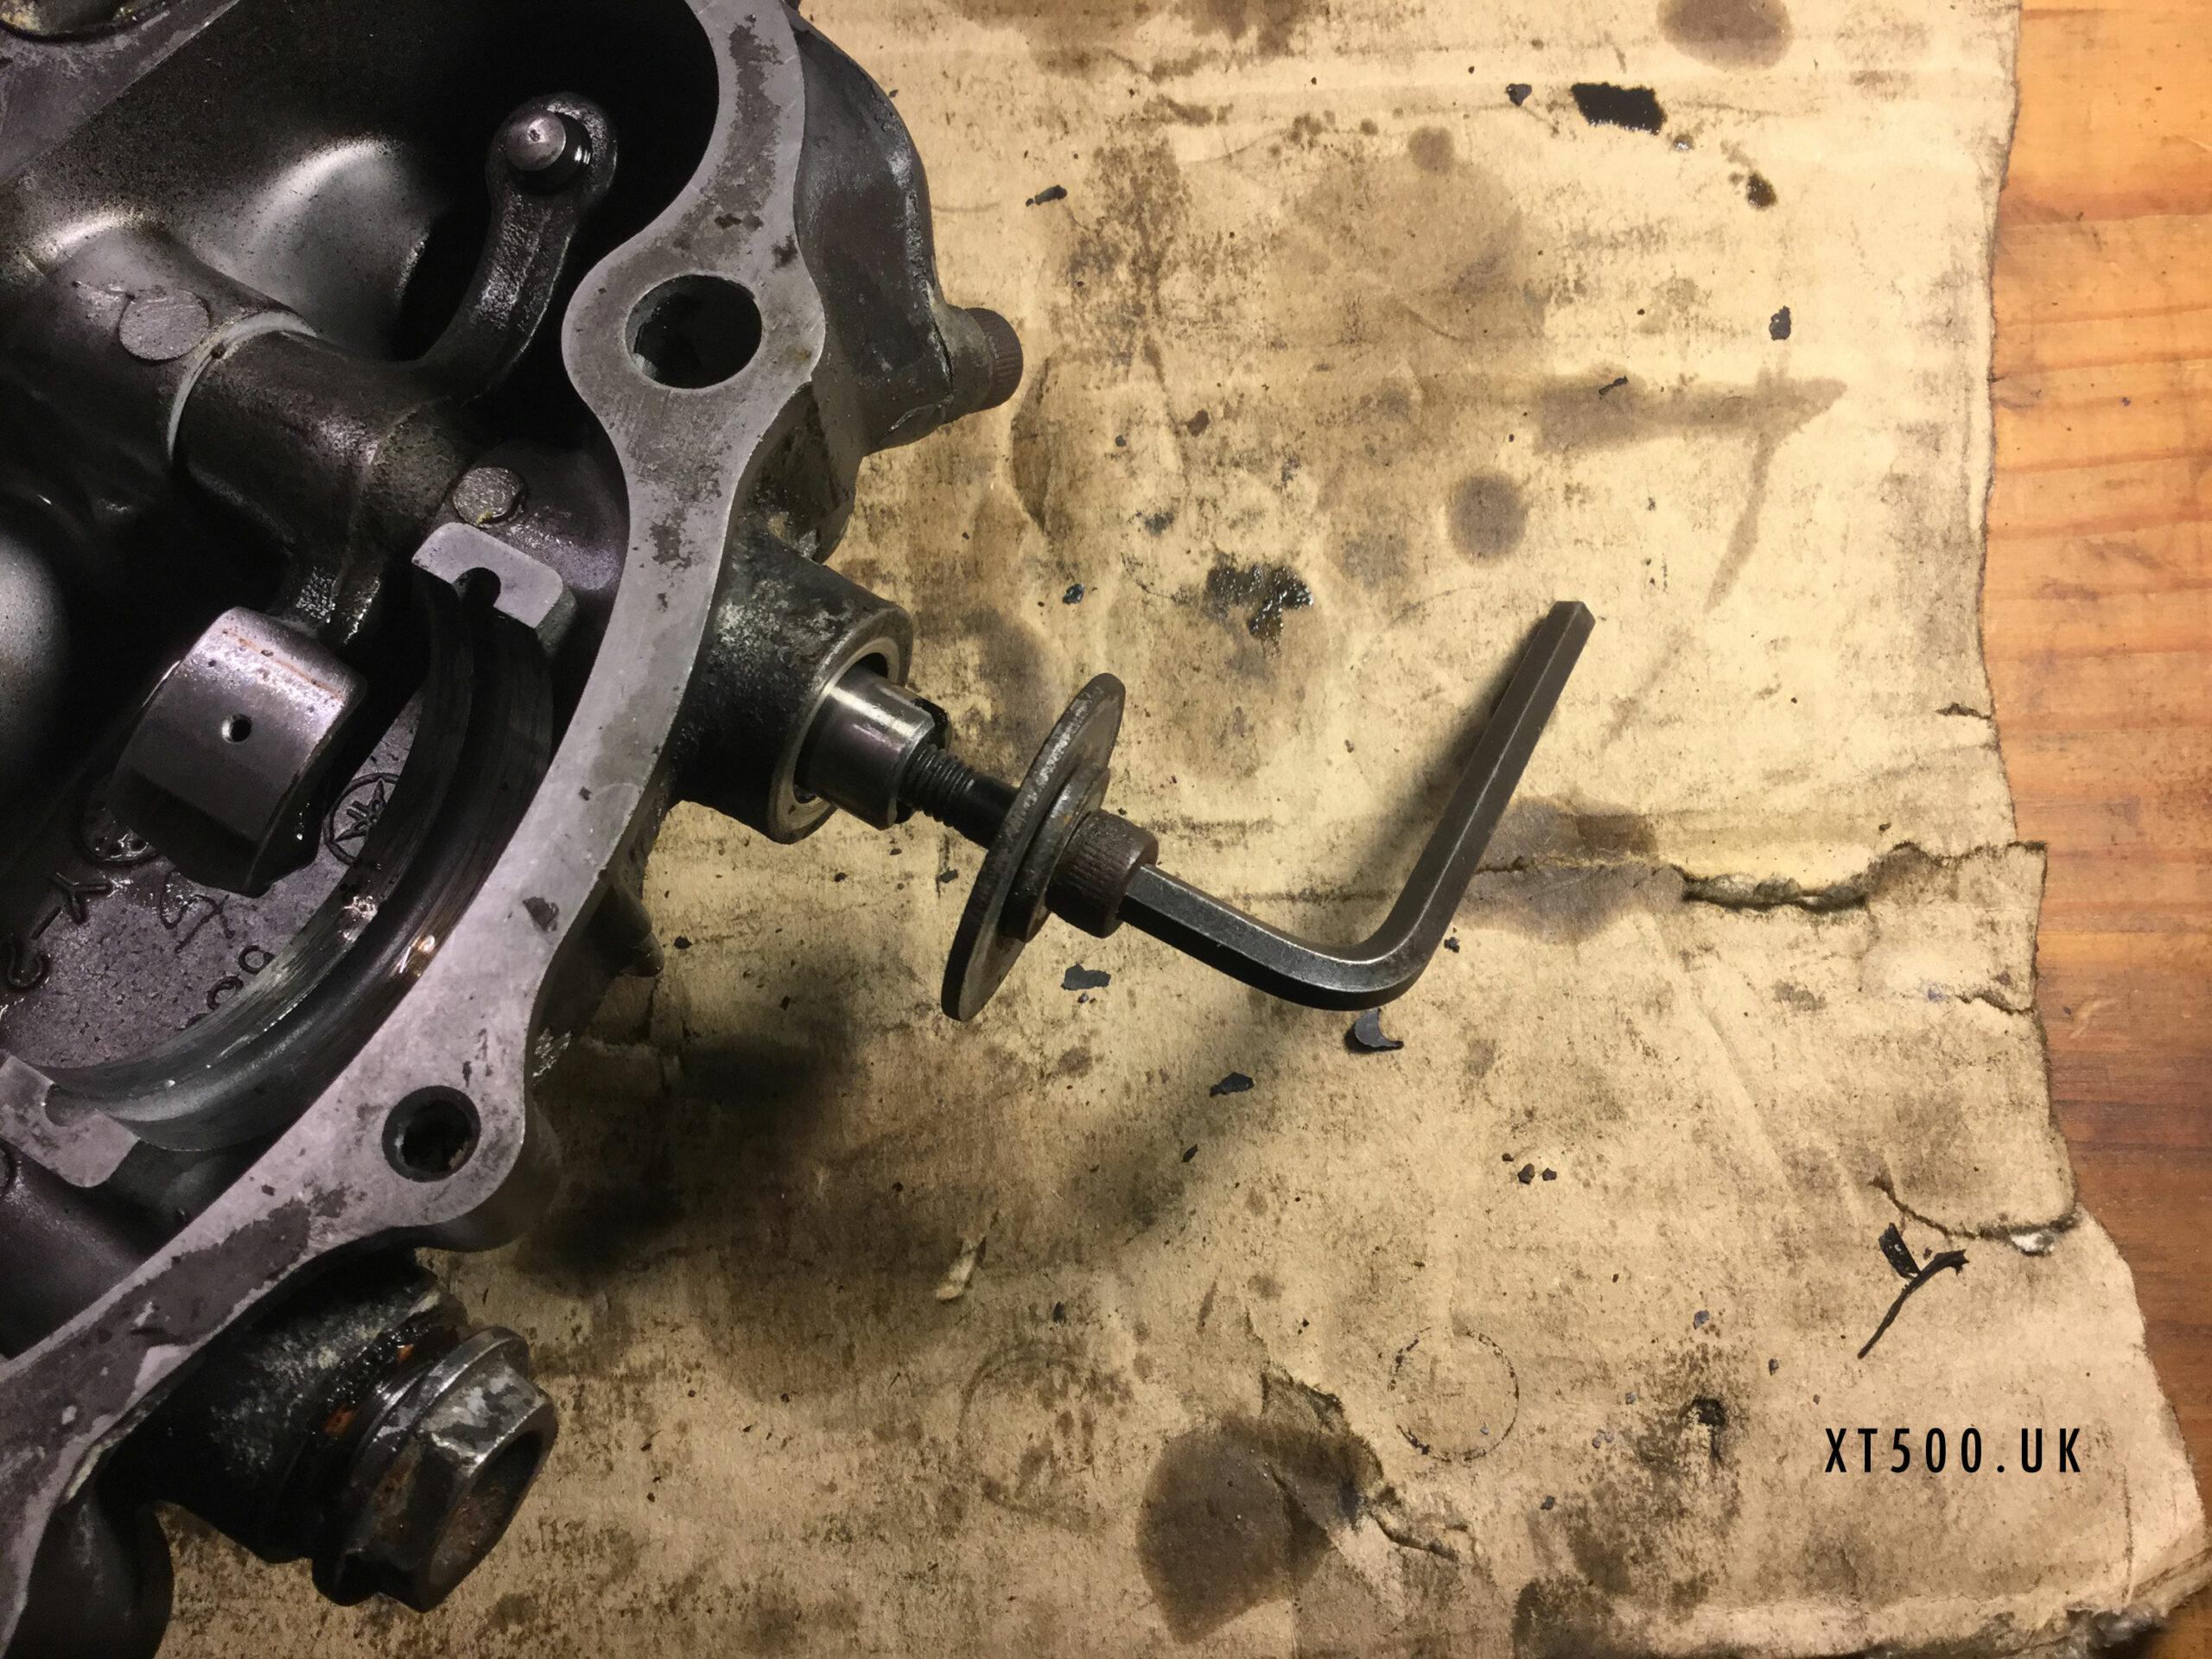
When removing the rockers from the spare cover, the shafts were very tight. This was a good sign as they shouldn’t move. No wear on the timing chain sprocket. The inlet follower shaft has no wear, fits snug. The exhaust rocker shaft was well stuck in there. The rocker moved freely but the shaft wouldn’t budge using just a 6mm bolt in the end. I tried to fee it with a screw driver by turning it, it was really stiff but turned. Using a large washer on a bolt, together with an allen key I was able to turn and pull at the same time. There wasn’t any wear from the rockers so I reused these shafts, and I also went with this cover. Usually it’s best to use the matching head and cover but in my case the originals didn’t match anyway.
Given that the engine ran a tad smokey before meant it was burning oil, this may well have been due to the valves or seals, or both. I did the leak test by putting the spark plug back in, placing the cylinder head upside down and level over a container, then pouring petrol or acetone in the ‘bowl’ so that it covered the valves. After a couple of hours half of the fuel had seeped through.
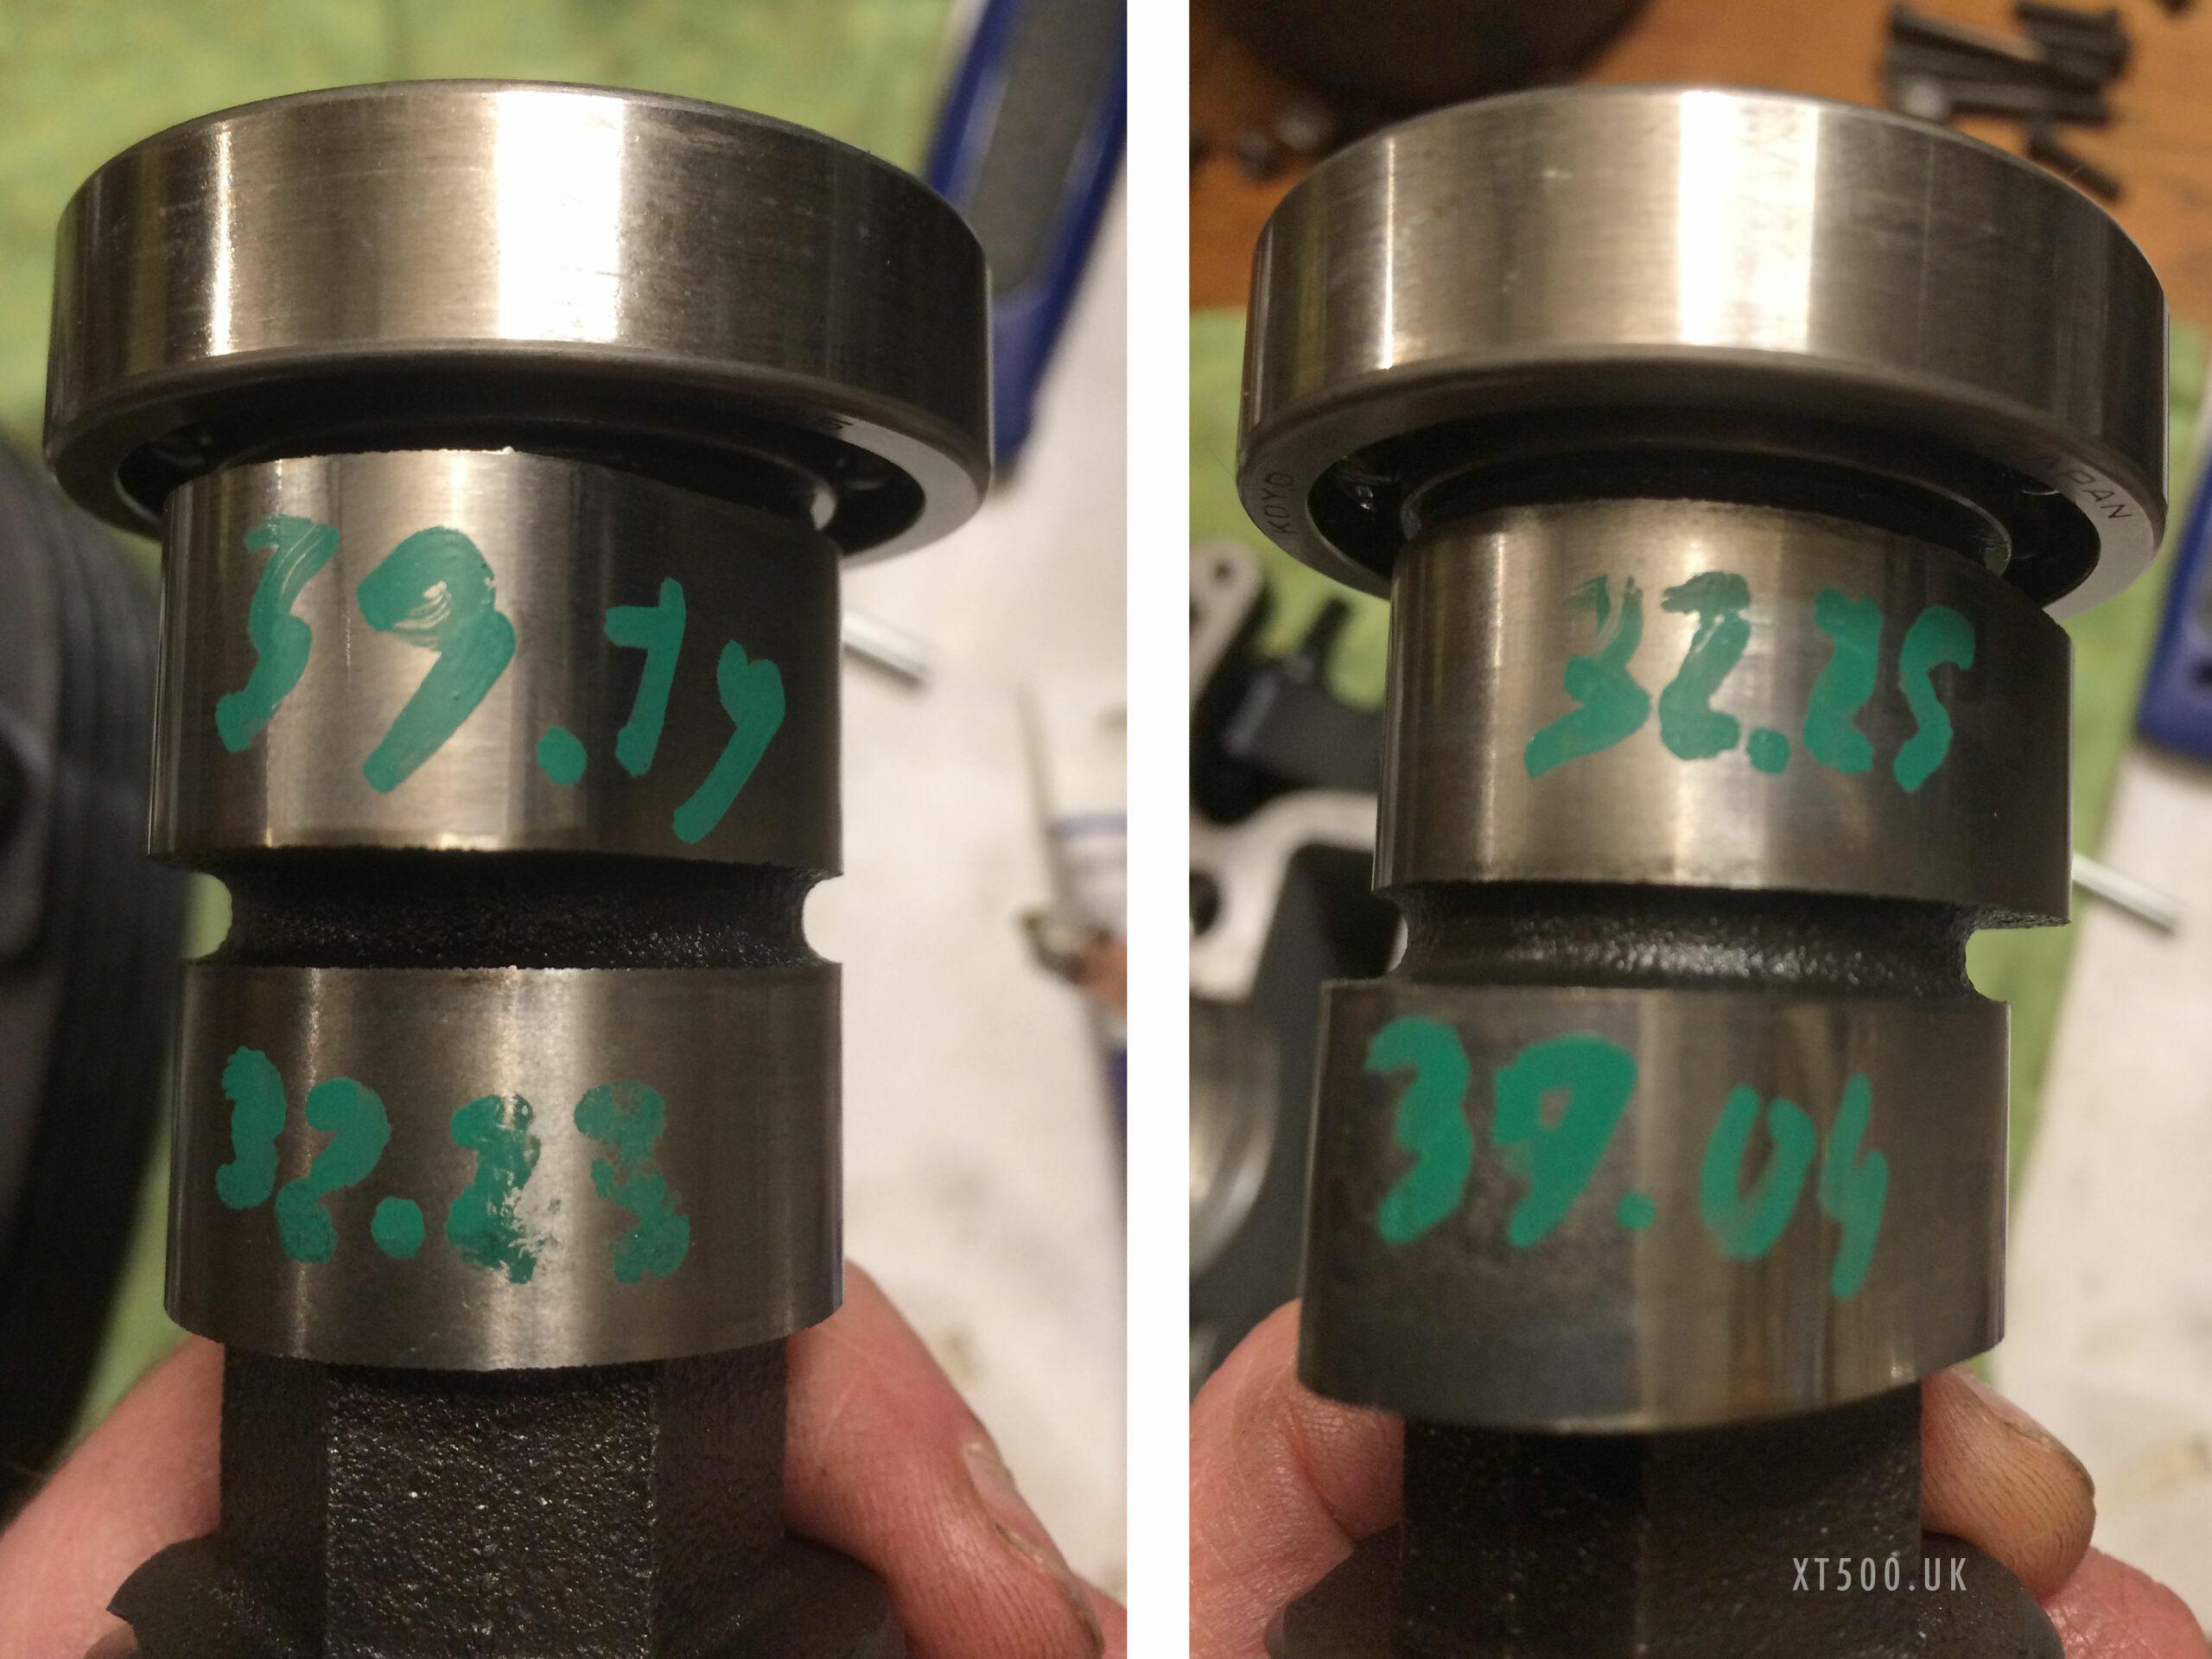
As I had stripped the spare engine to the same point, I decided to send the cylinder head from both engines to the machinist for ultra sonic cleaning. And after further investigation and measurements I had them work on the cylinder head from the original XT, re-cutting the valve seats. They measured the guides and found they did not need replacing. The two camshafts were measured and the spare one fell well within the tolerances so I used that one in the rebuild to avoid the expense of buying new.
I wasn’t that happy with the cutting of the seats. You could clearly see that they’d had chattering which produced the uneven surface. They should have noticed this when they were doing it. I’ll use someone else next time.
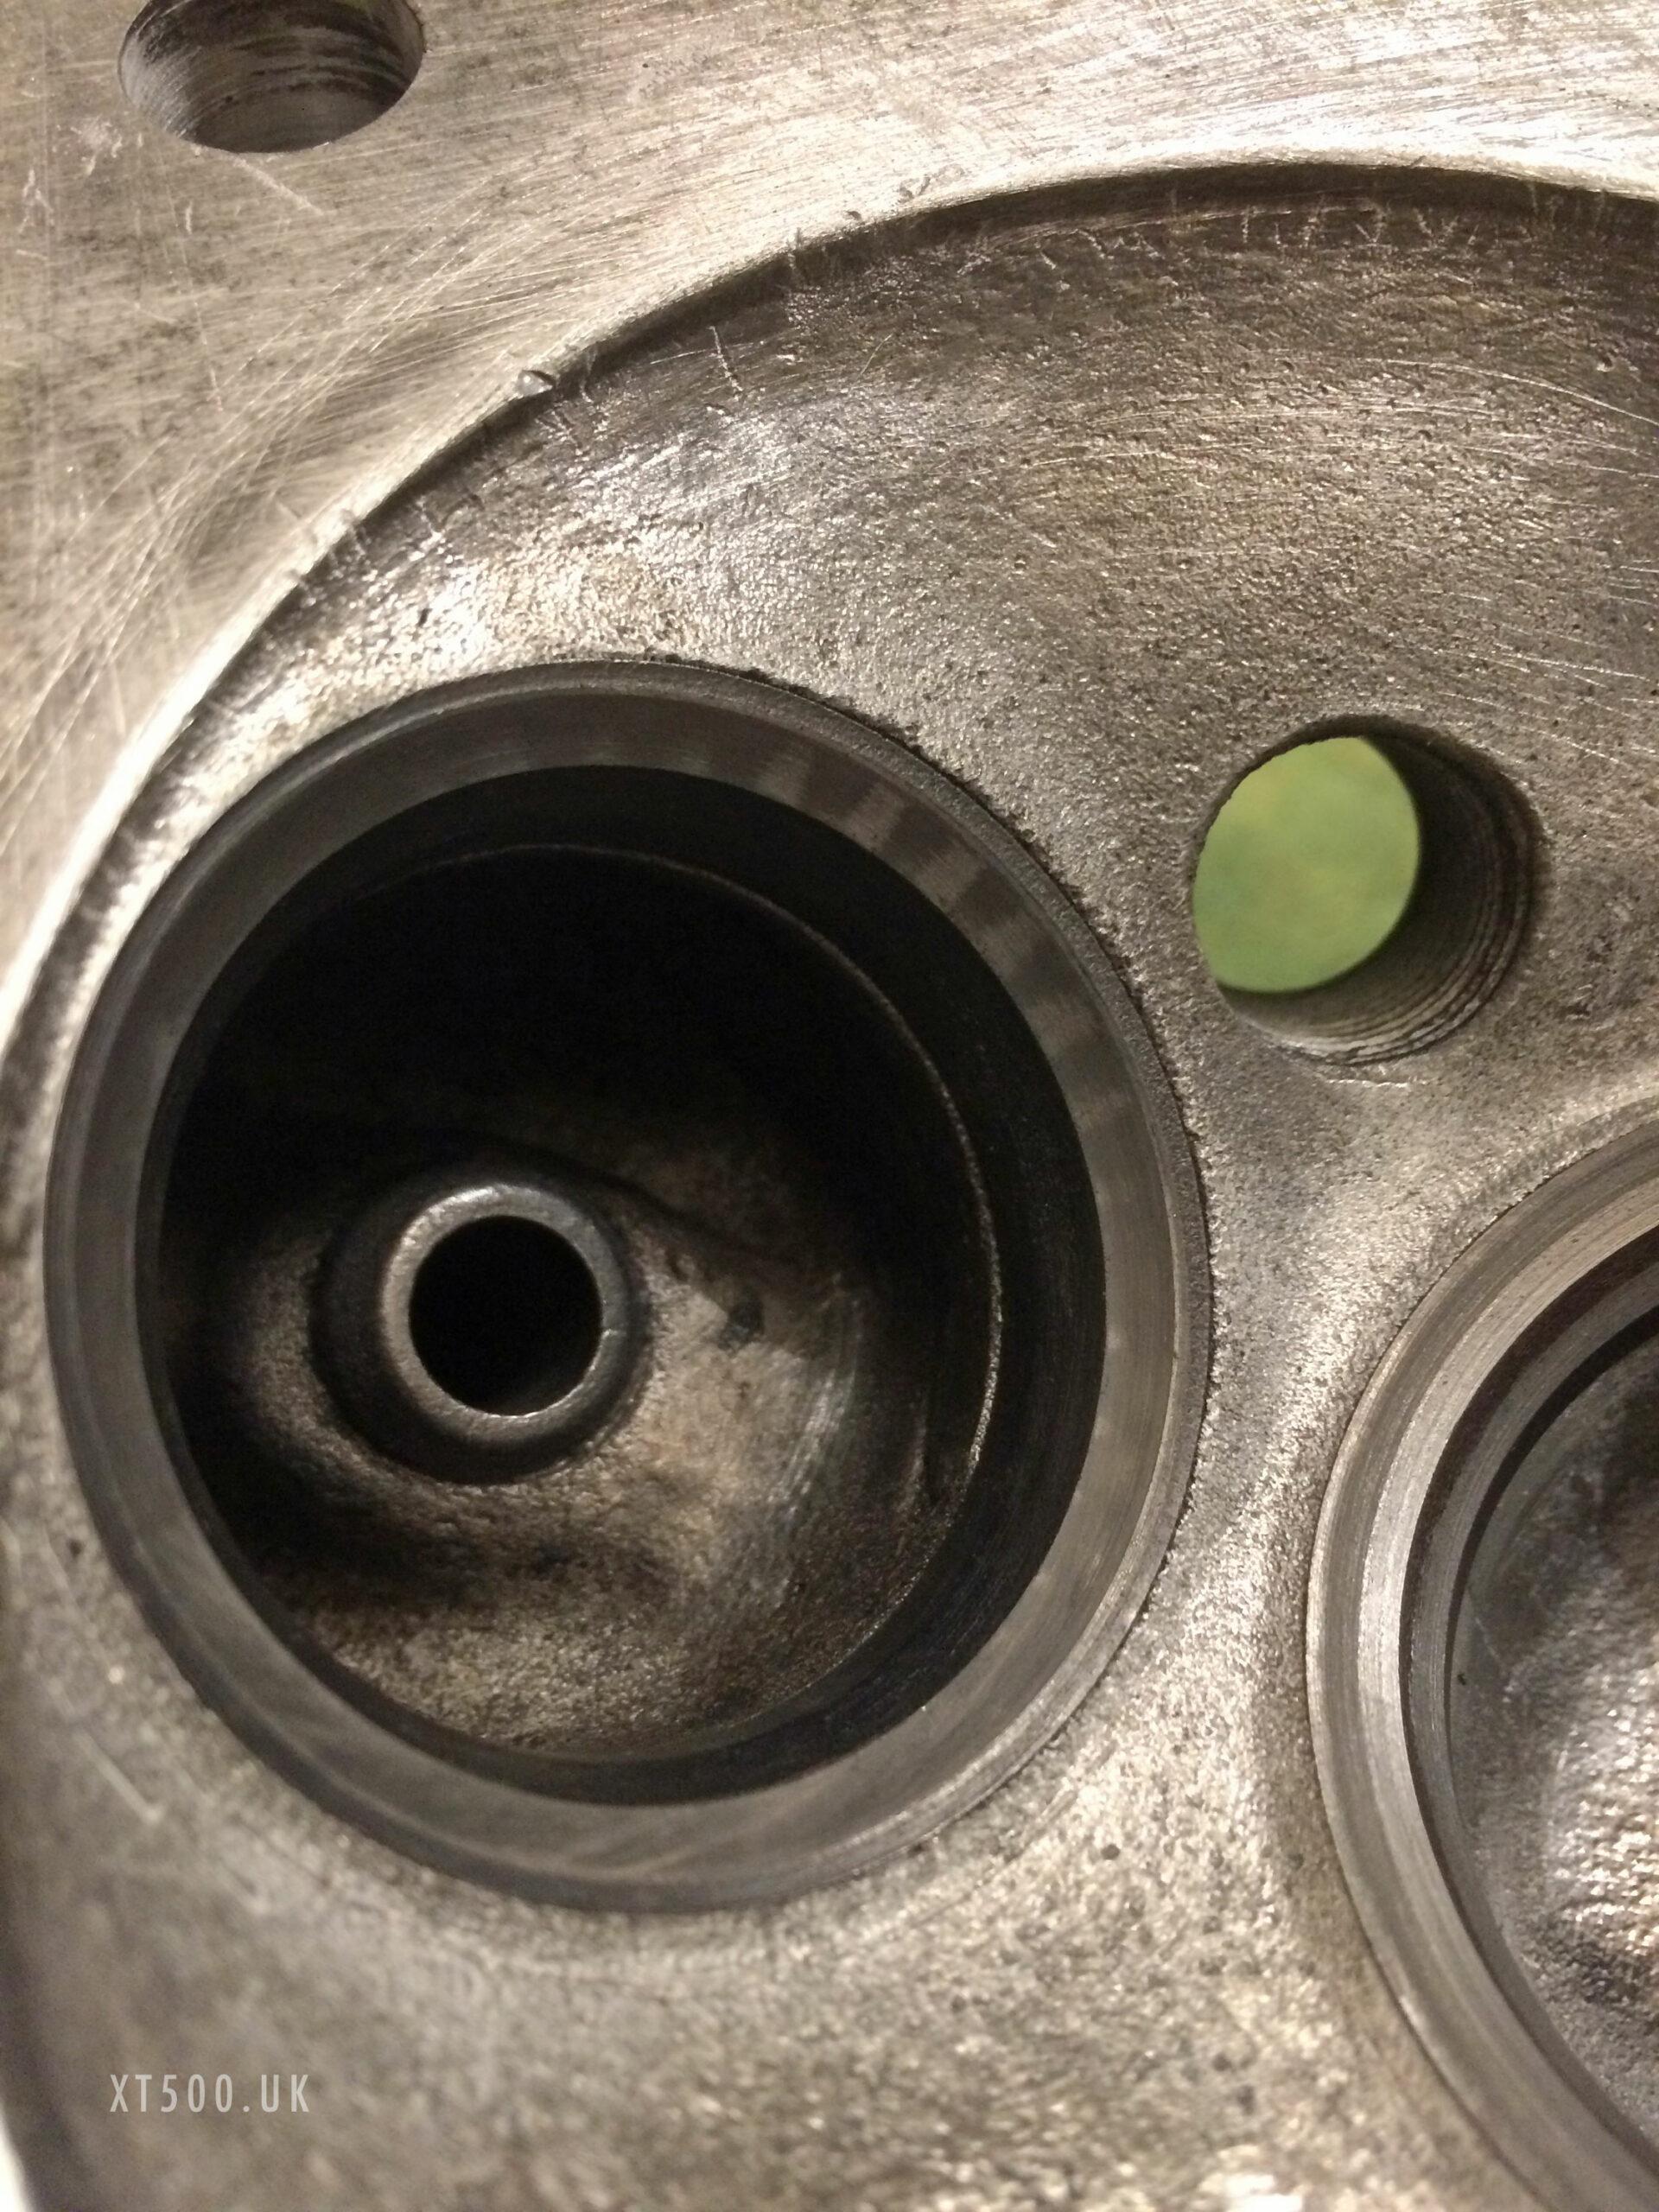
I spent perhaps 30 minutes on each seat using two grades of grinding paste to lap them. After which I gave the head and valves a thorough cleaning to remove all grit from the paste, then did the leak test as before and nothing seeped through.
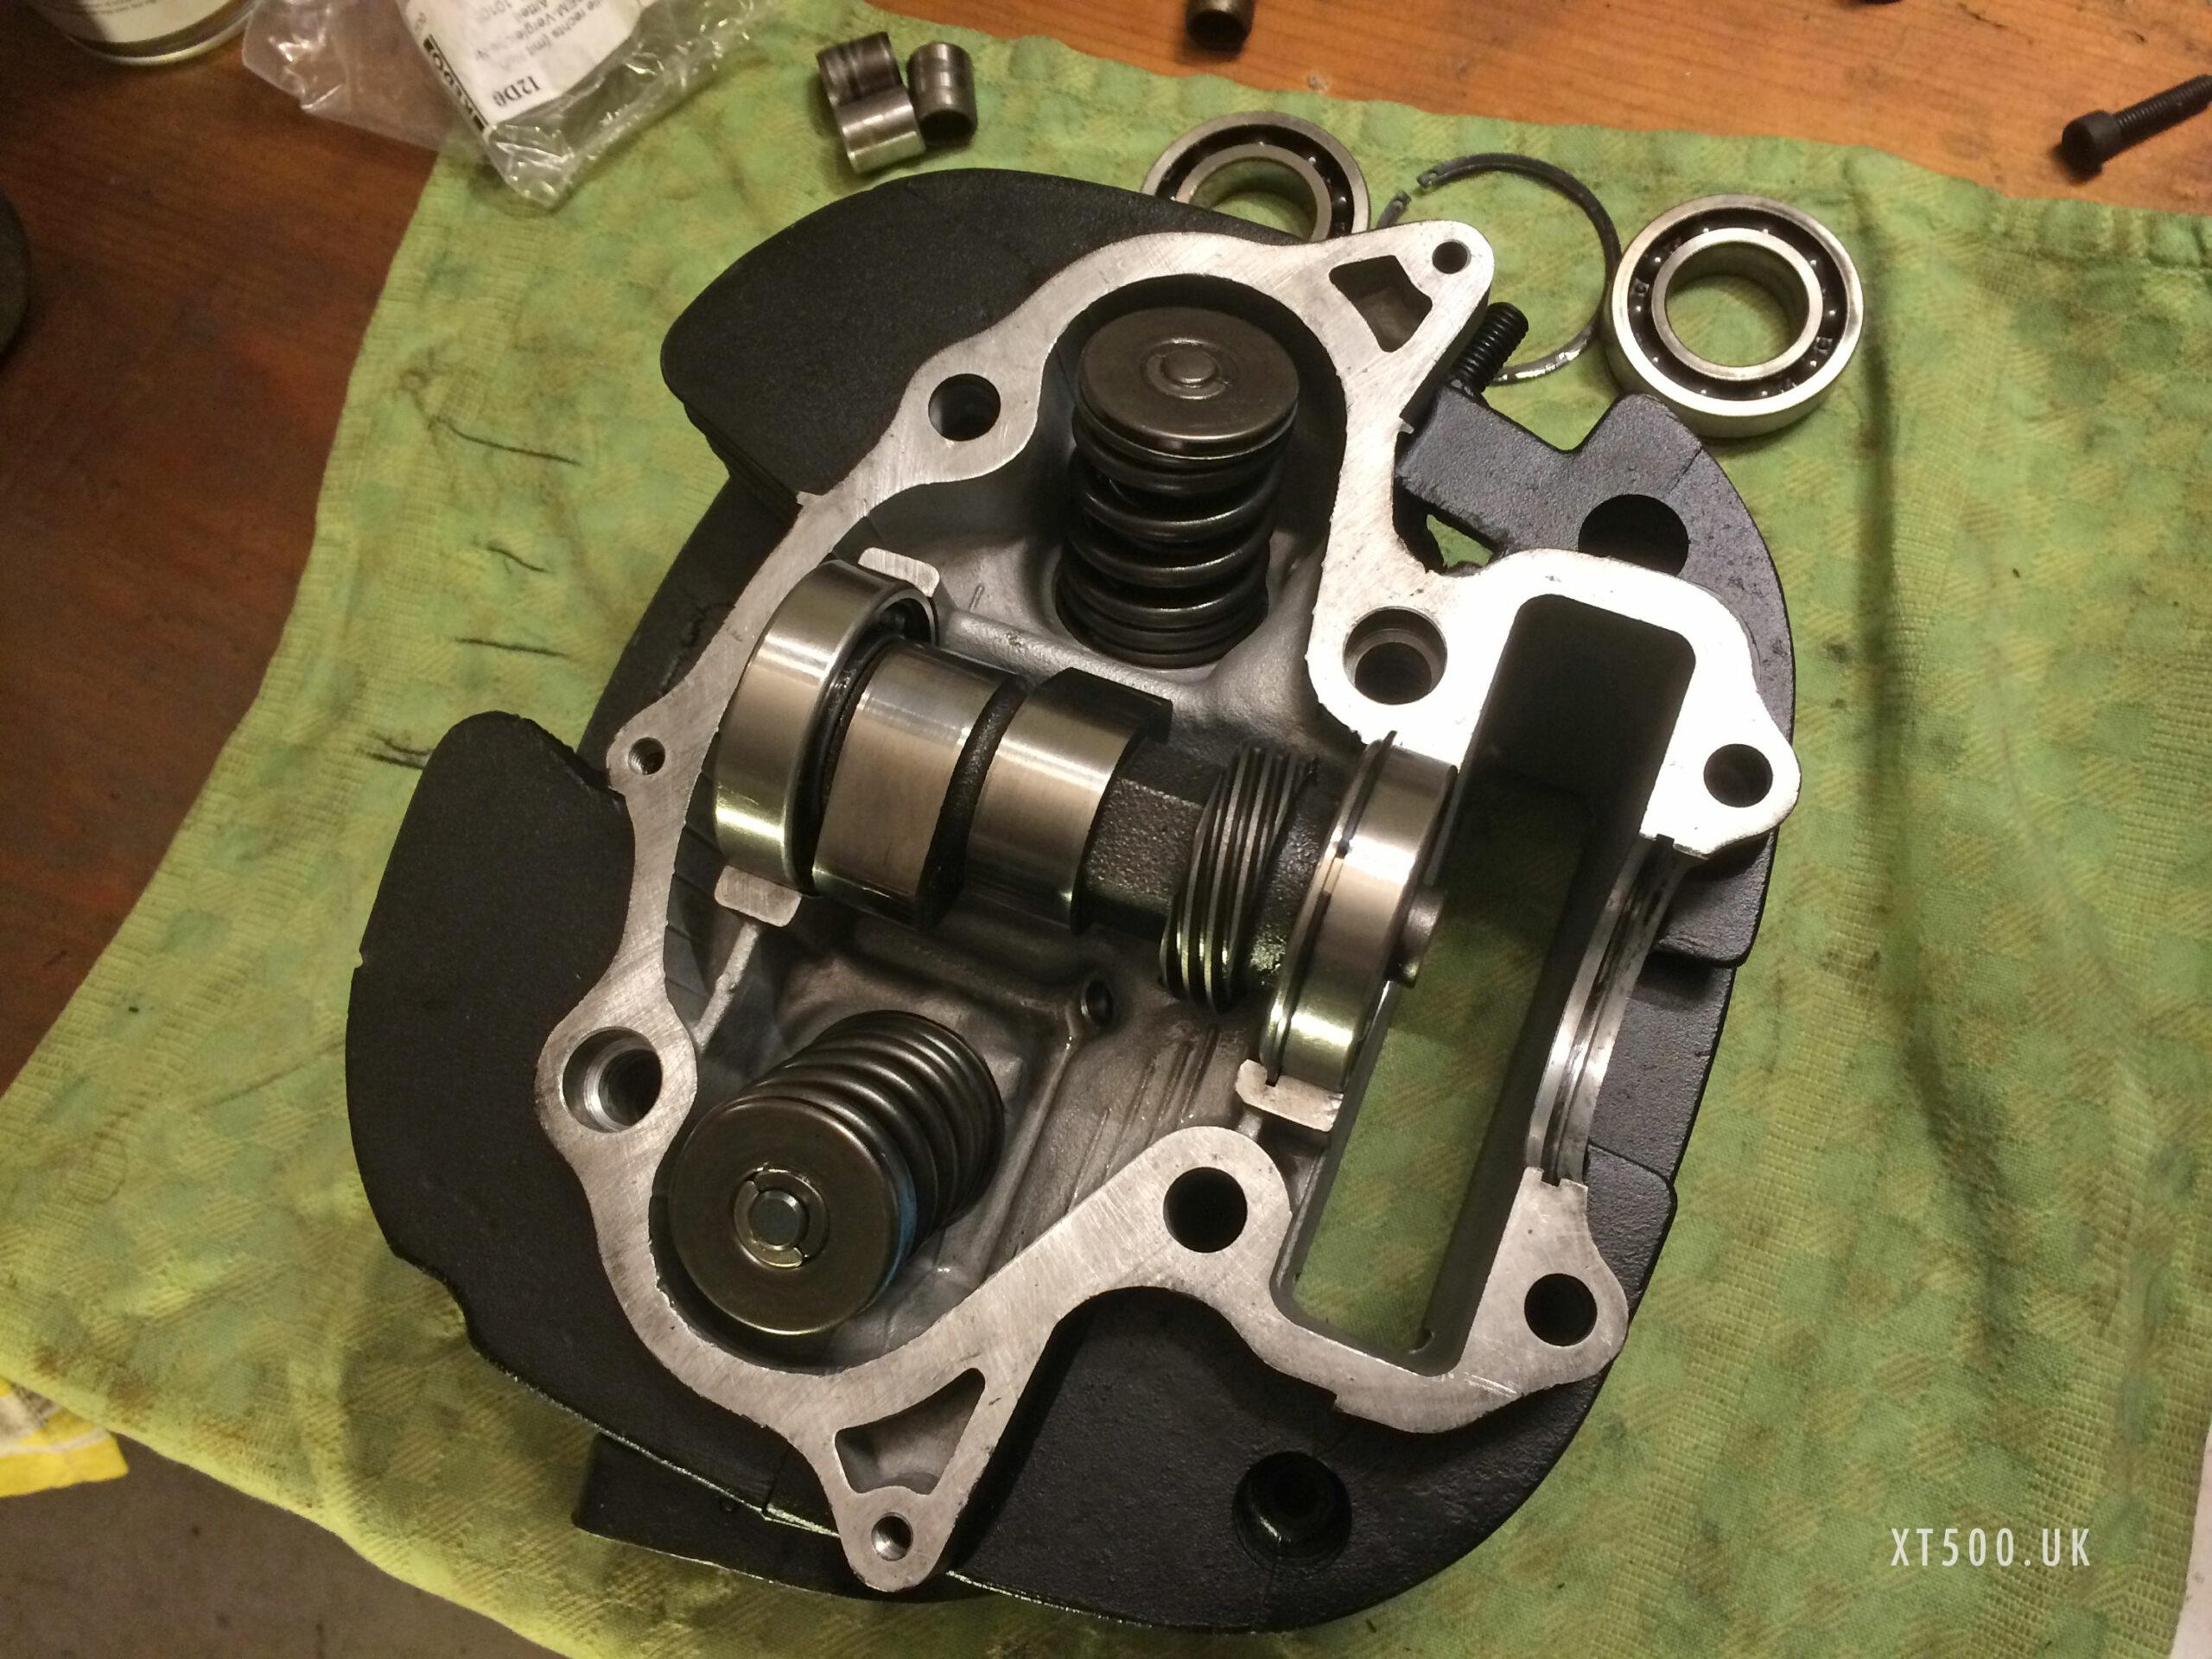
Video of the camshaft from my 1980 XT500 G
Video of the camshaft from the donor 1983 XT500
Next: XT500 Cylinder & Piston
Shopping list
- Valves
- Valve stem seals
- Rocker arms
- Camshaft bearings
- Tappets
- Lapping tool and grinding paste

