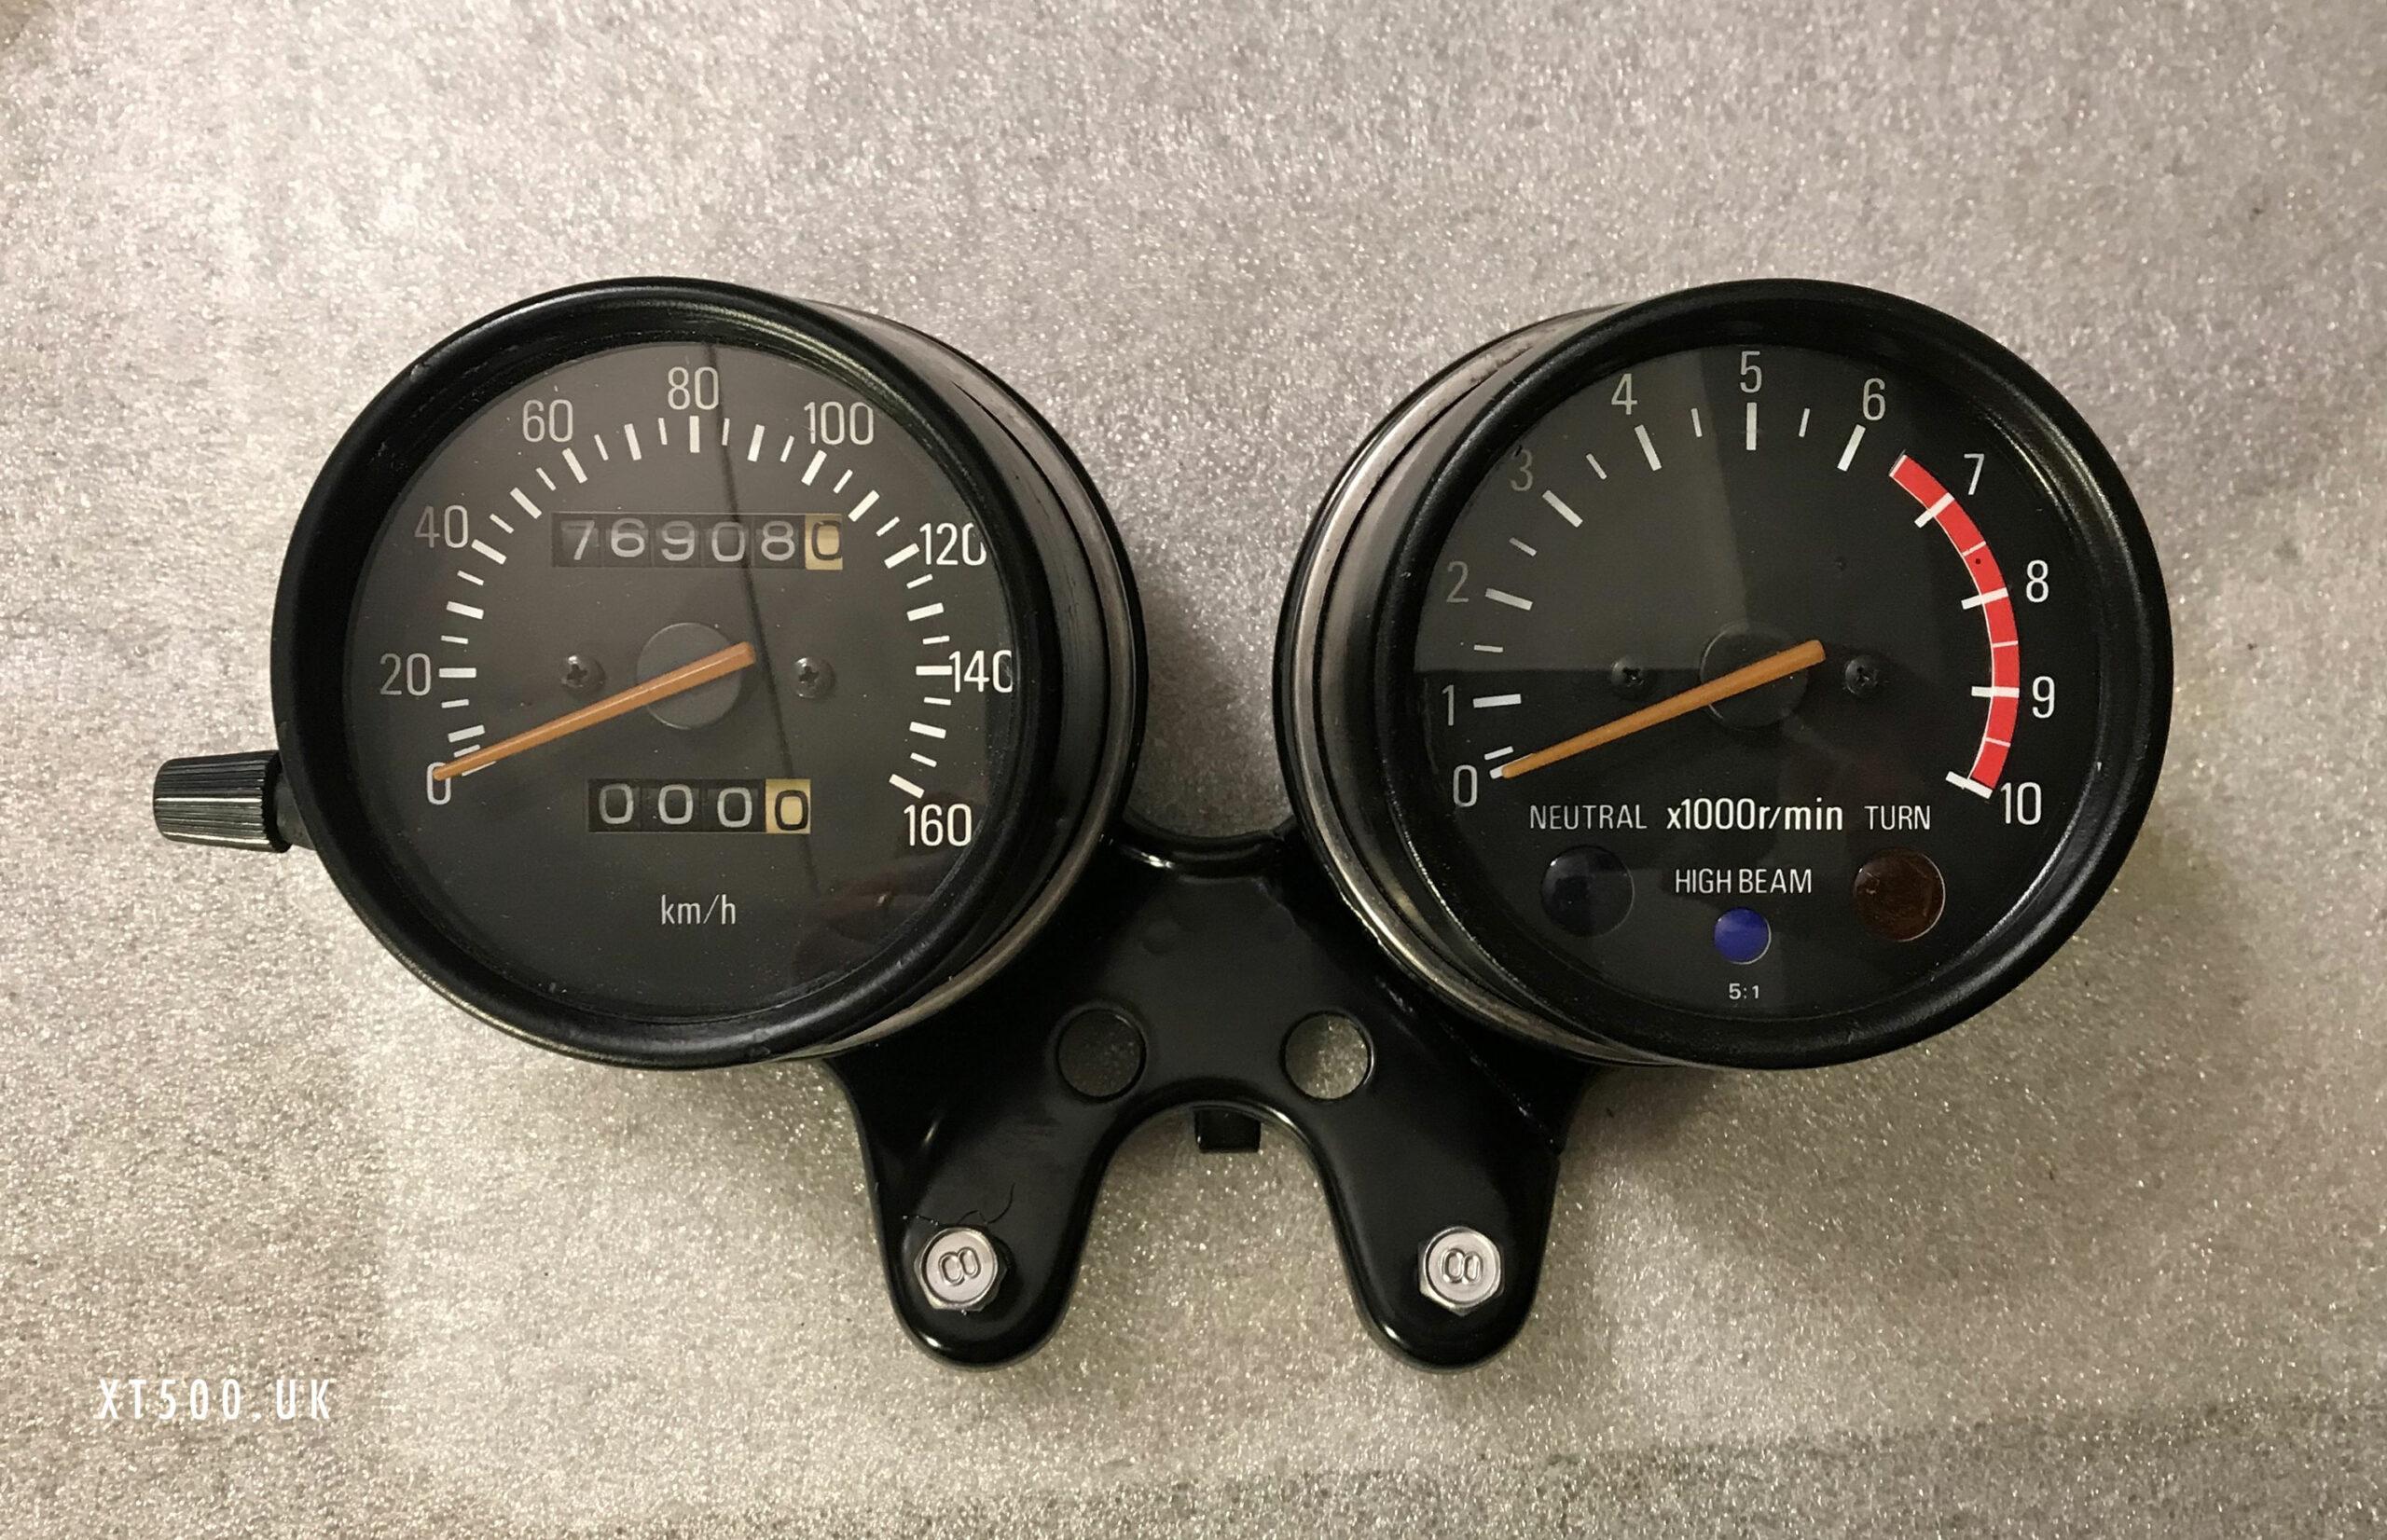
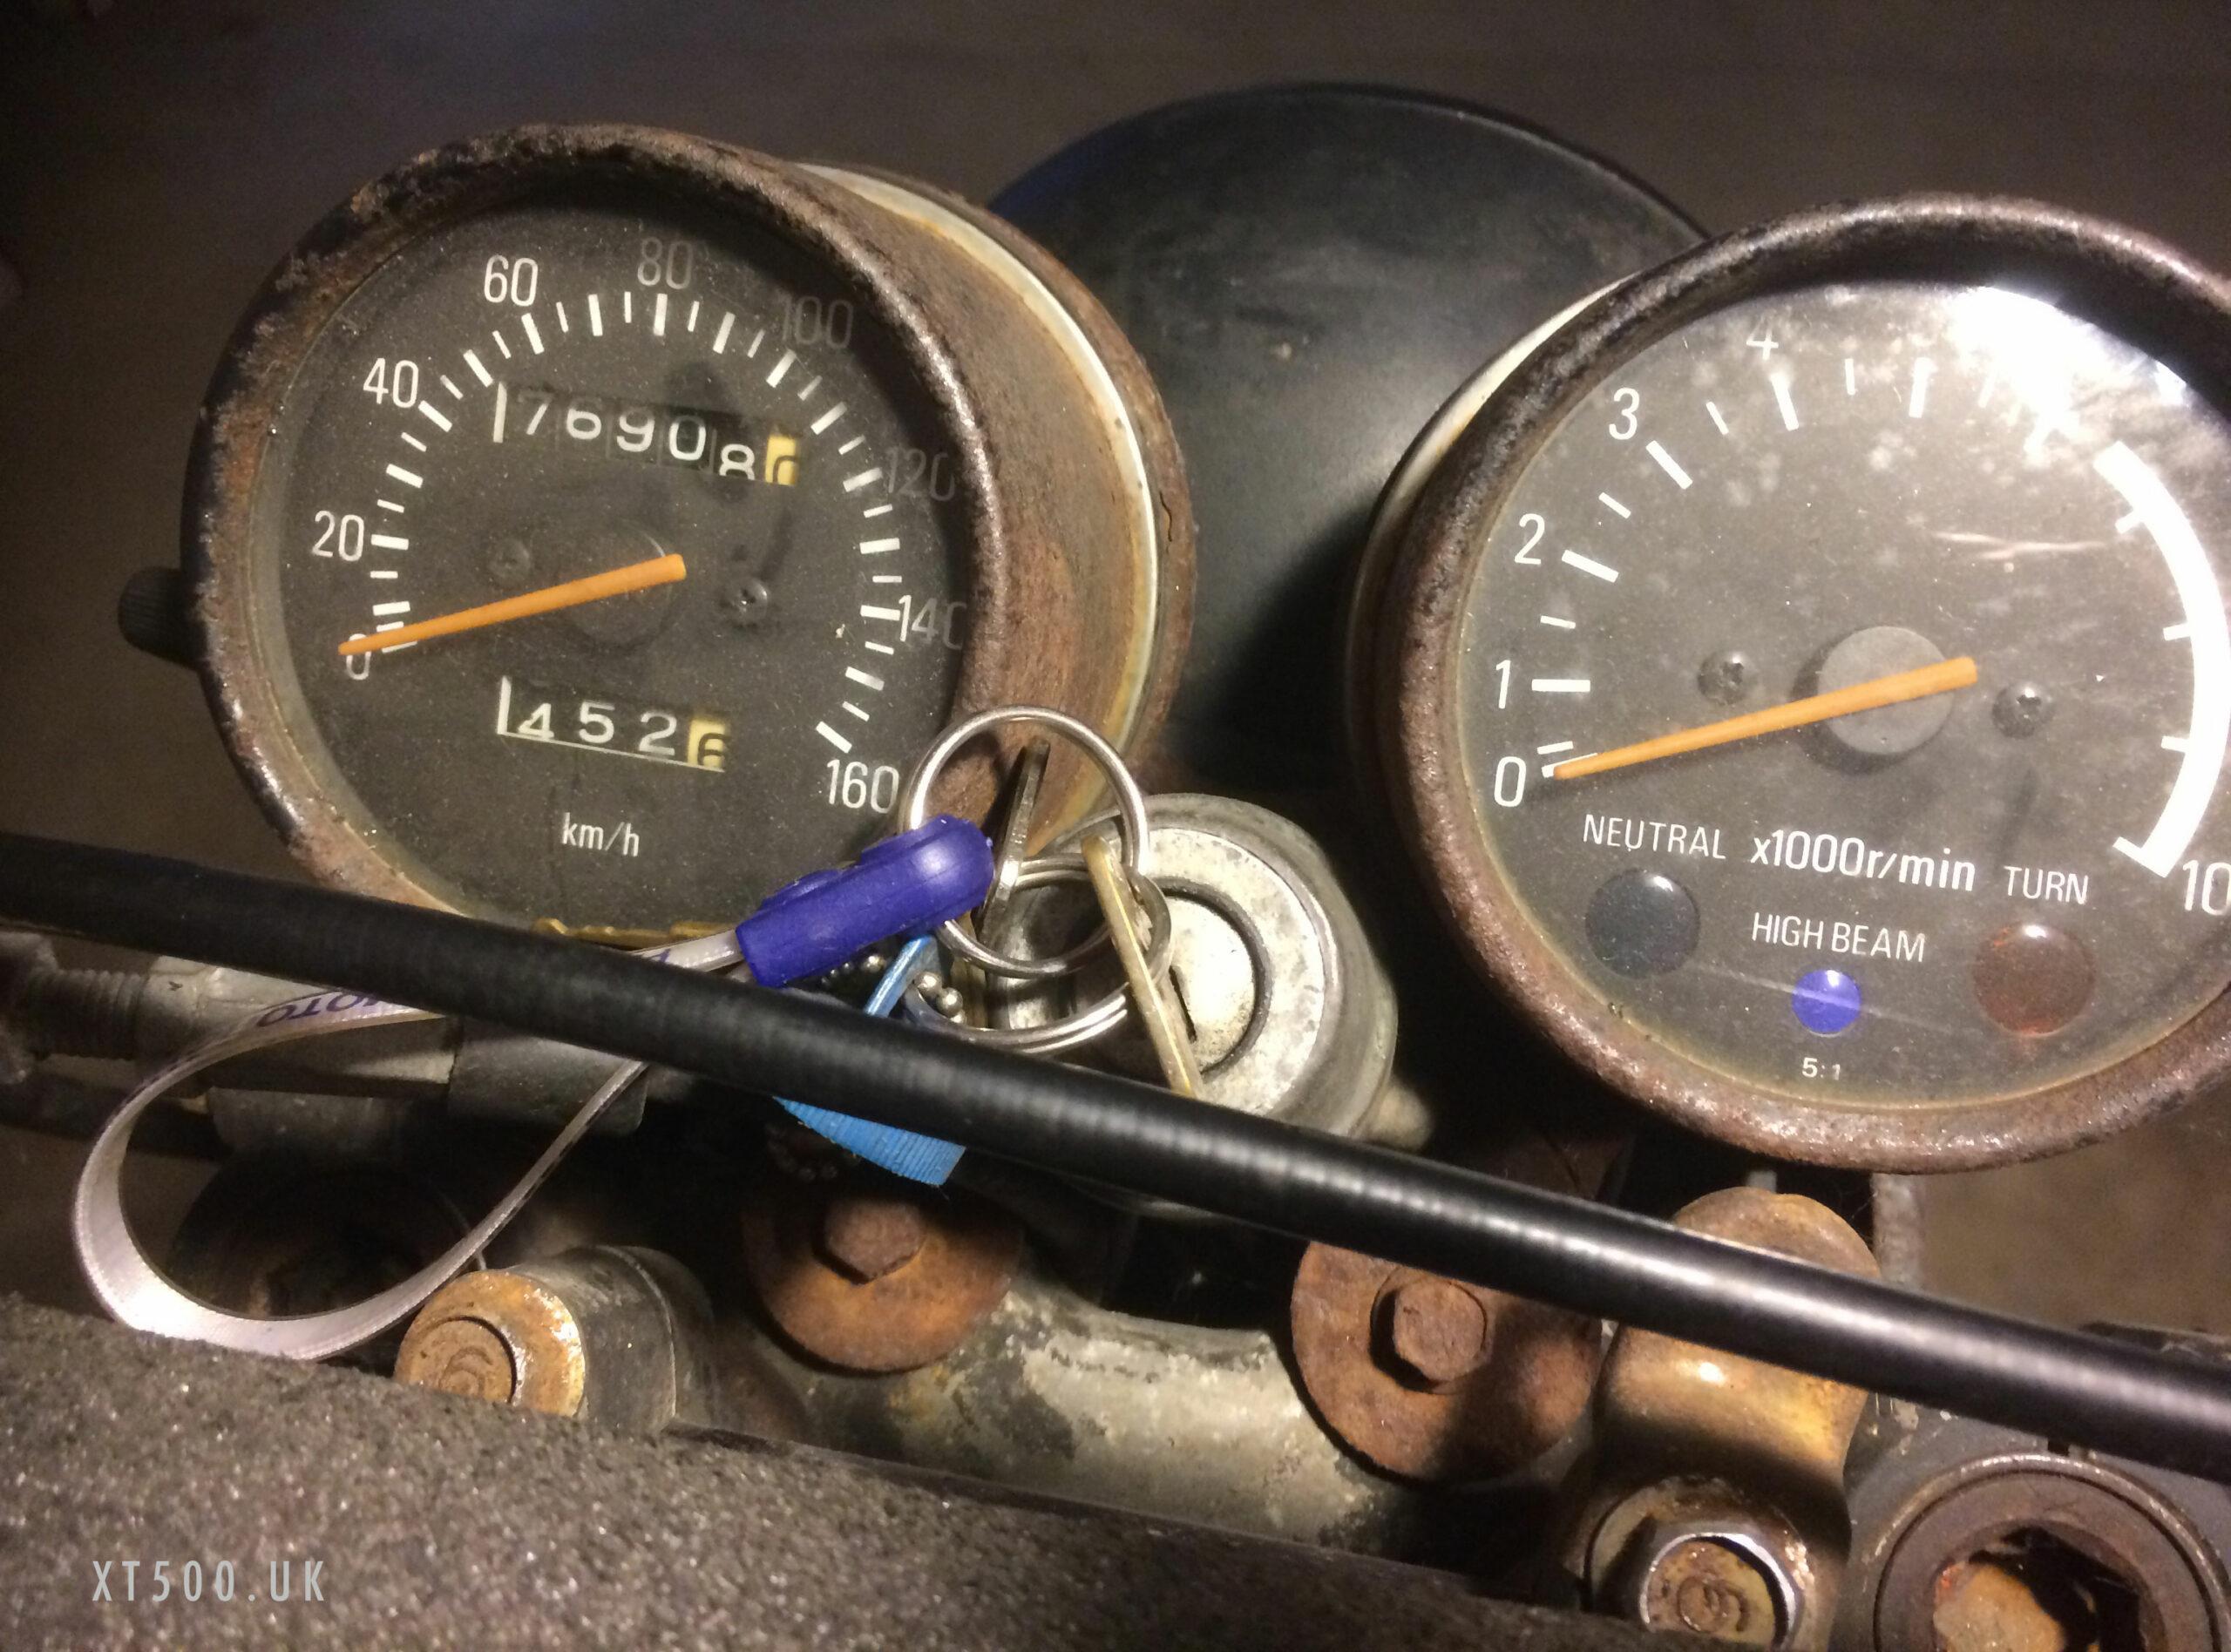
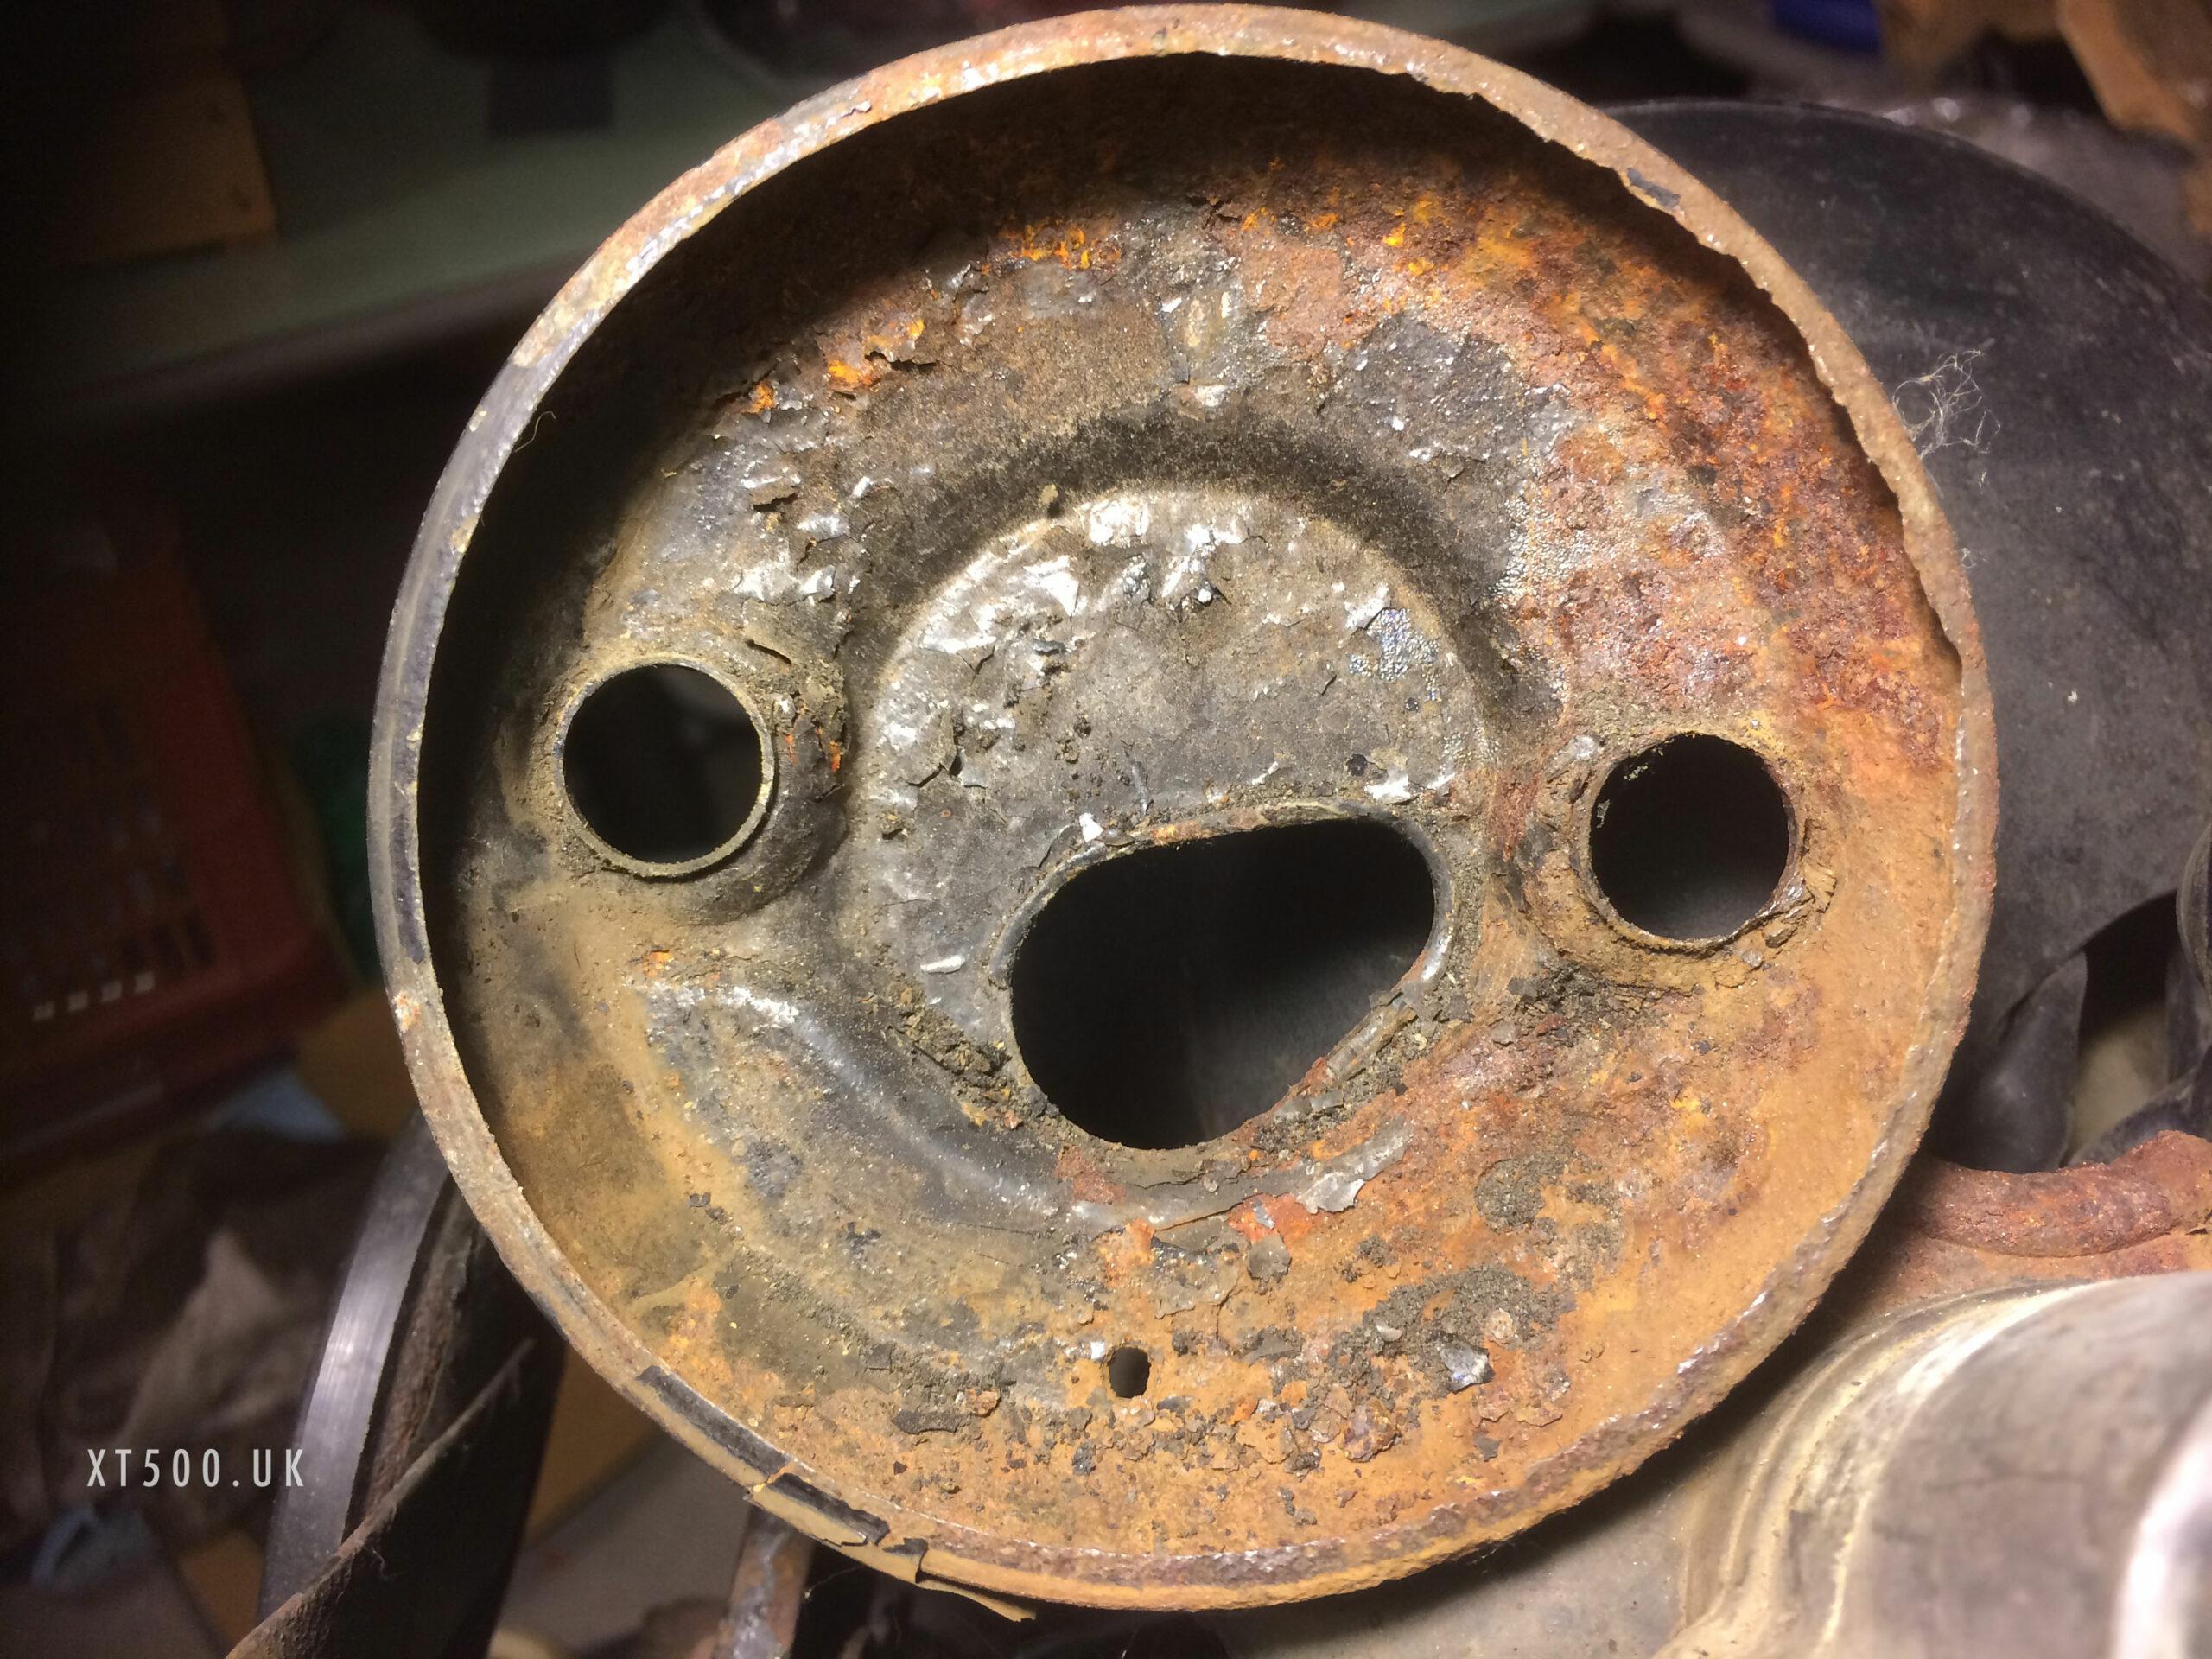
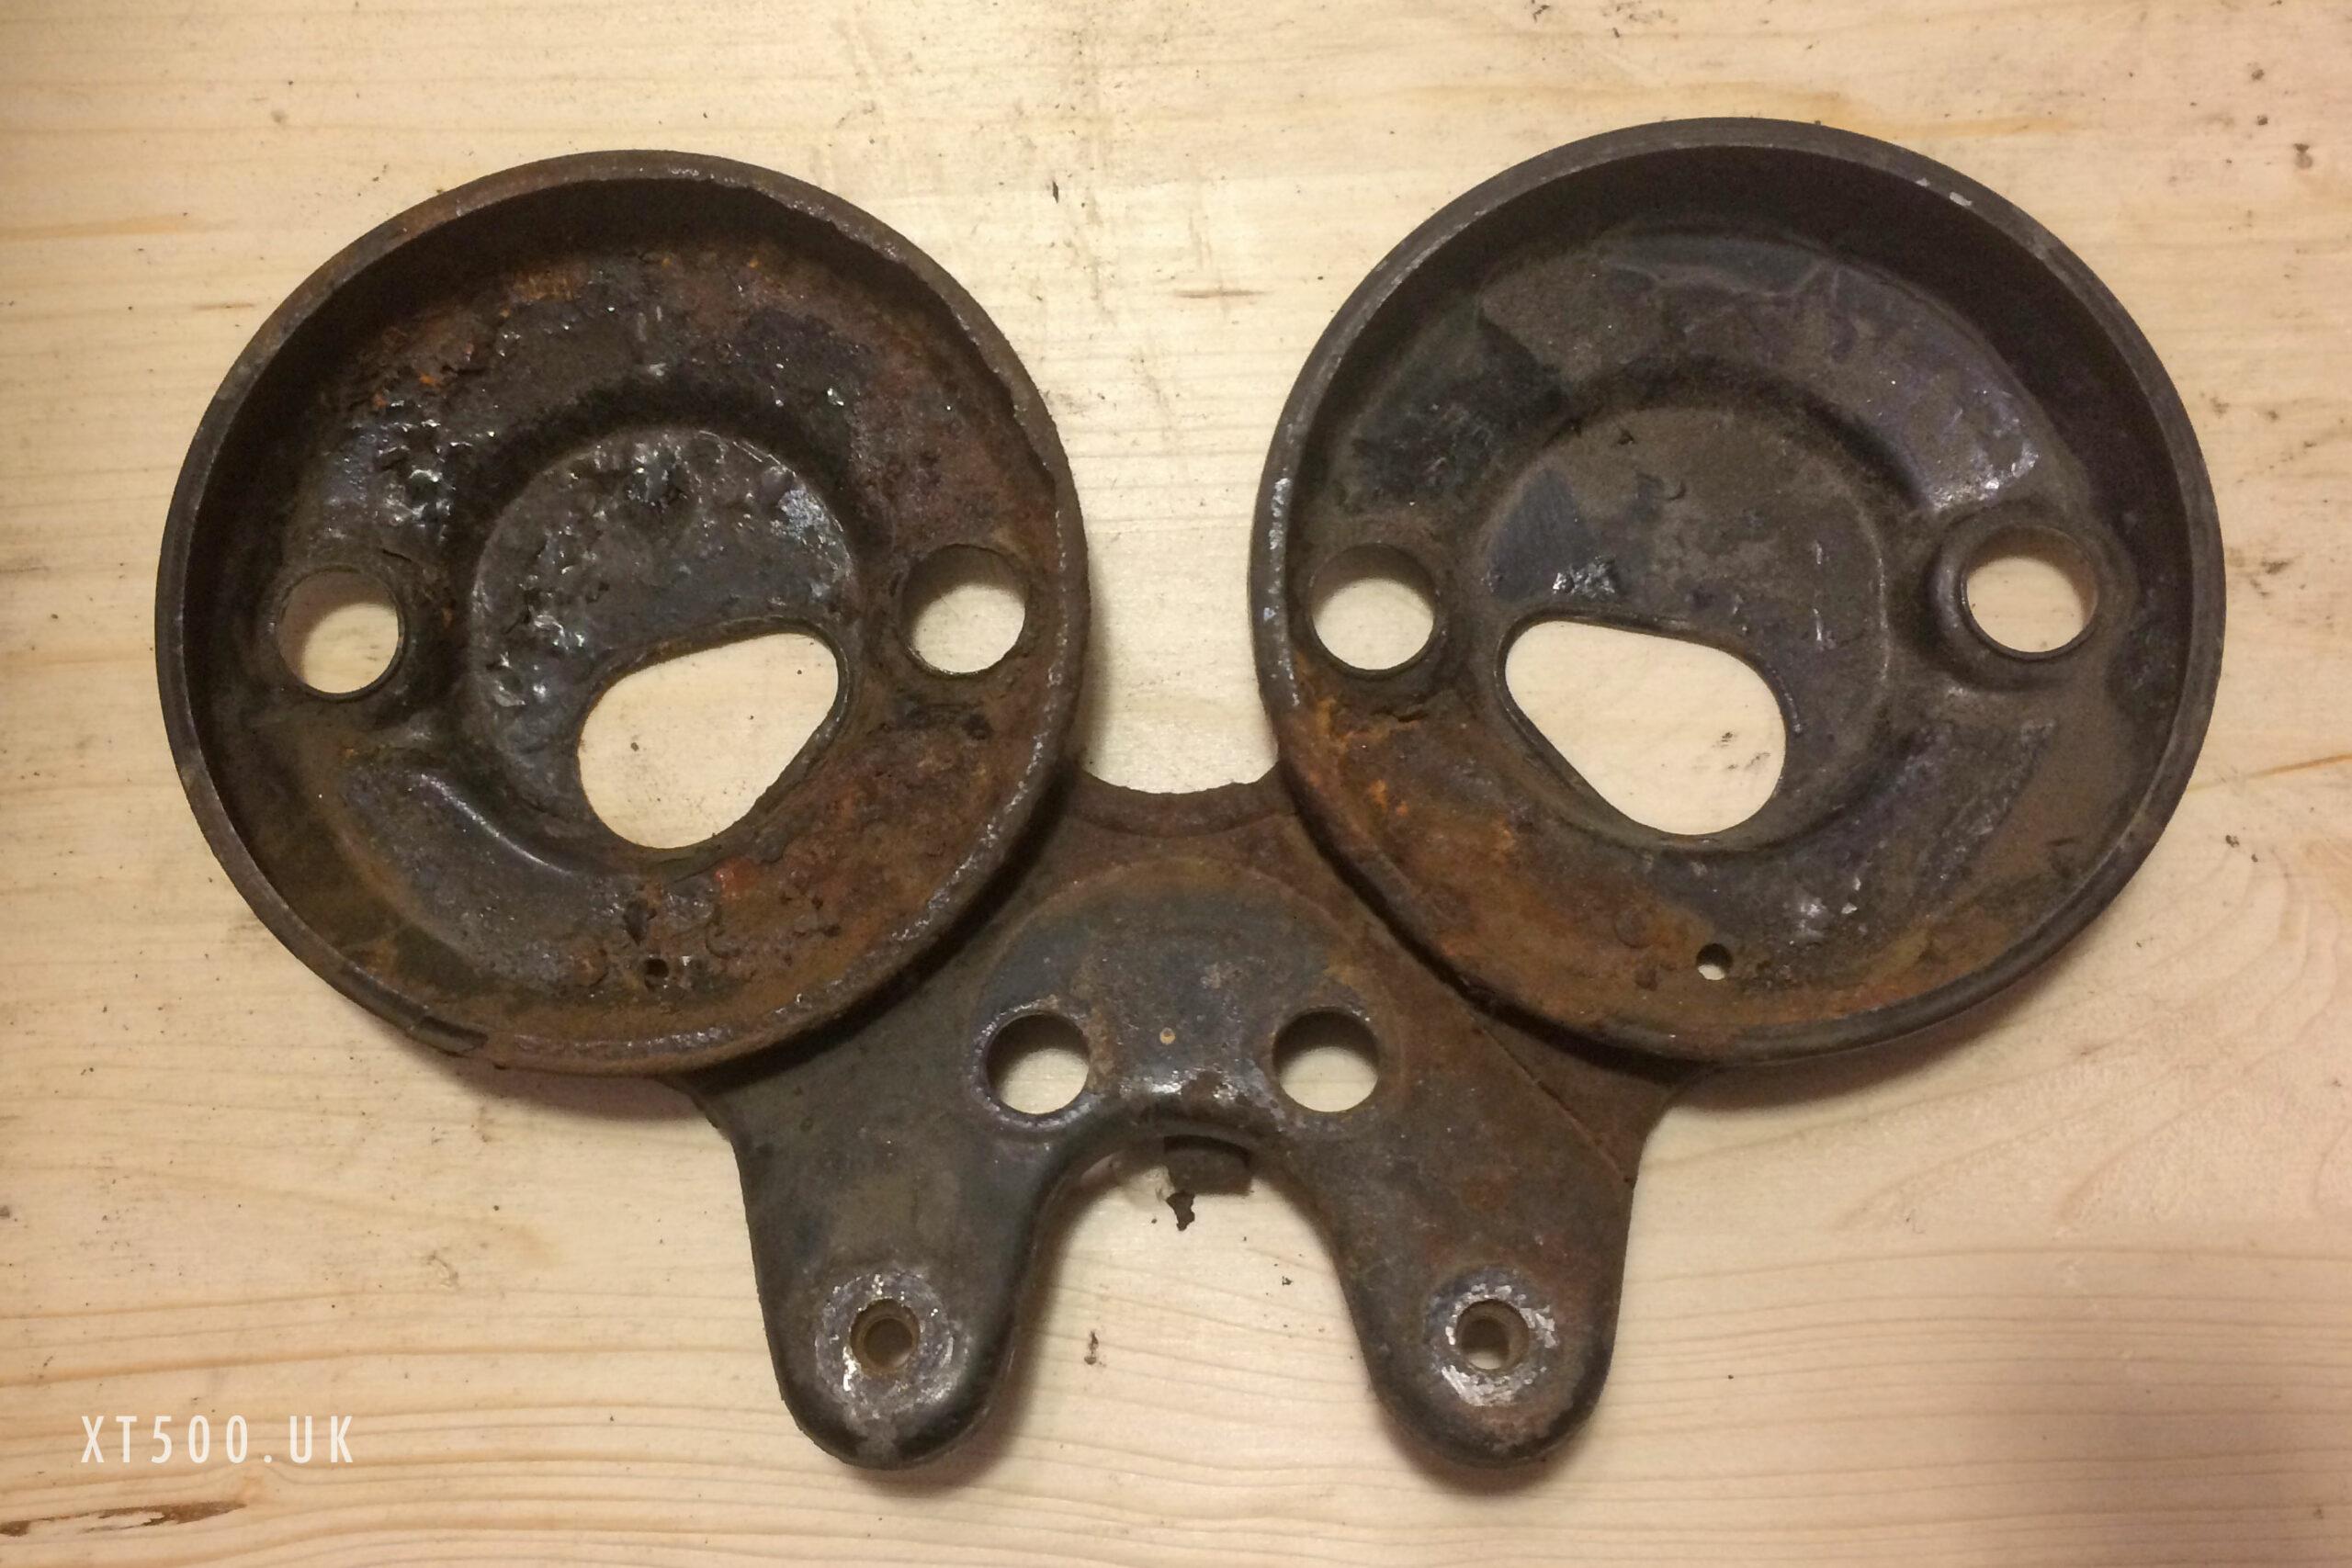
One of the first things I did was to remove the clocks to find out how much work they’d need. Quite a lot as it turned out. I knew that several members had written on the XT500 TT500 Forum about restoring these so I dug them out to read before I doing anything with mine.
02 June 2020
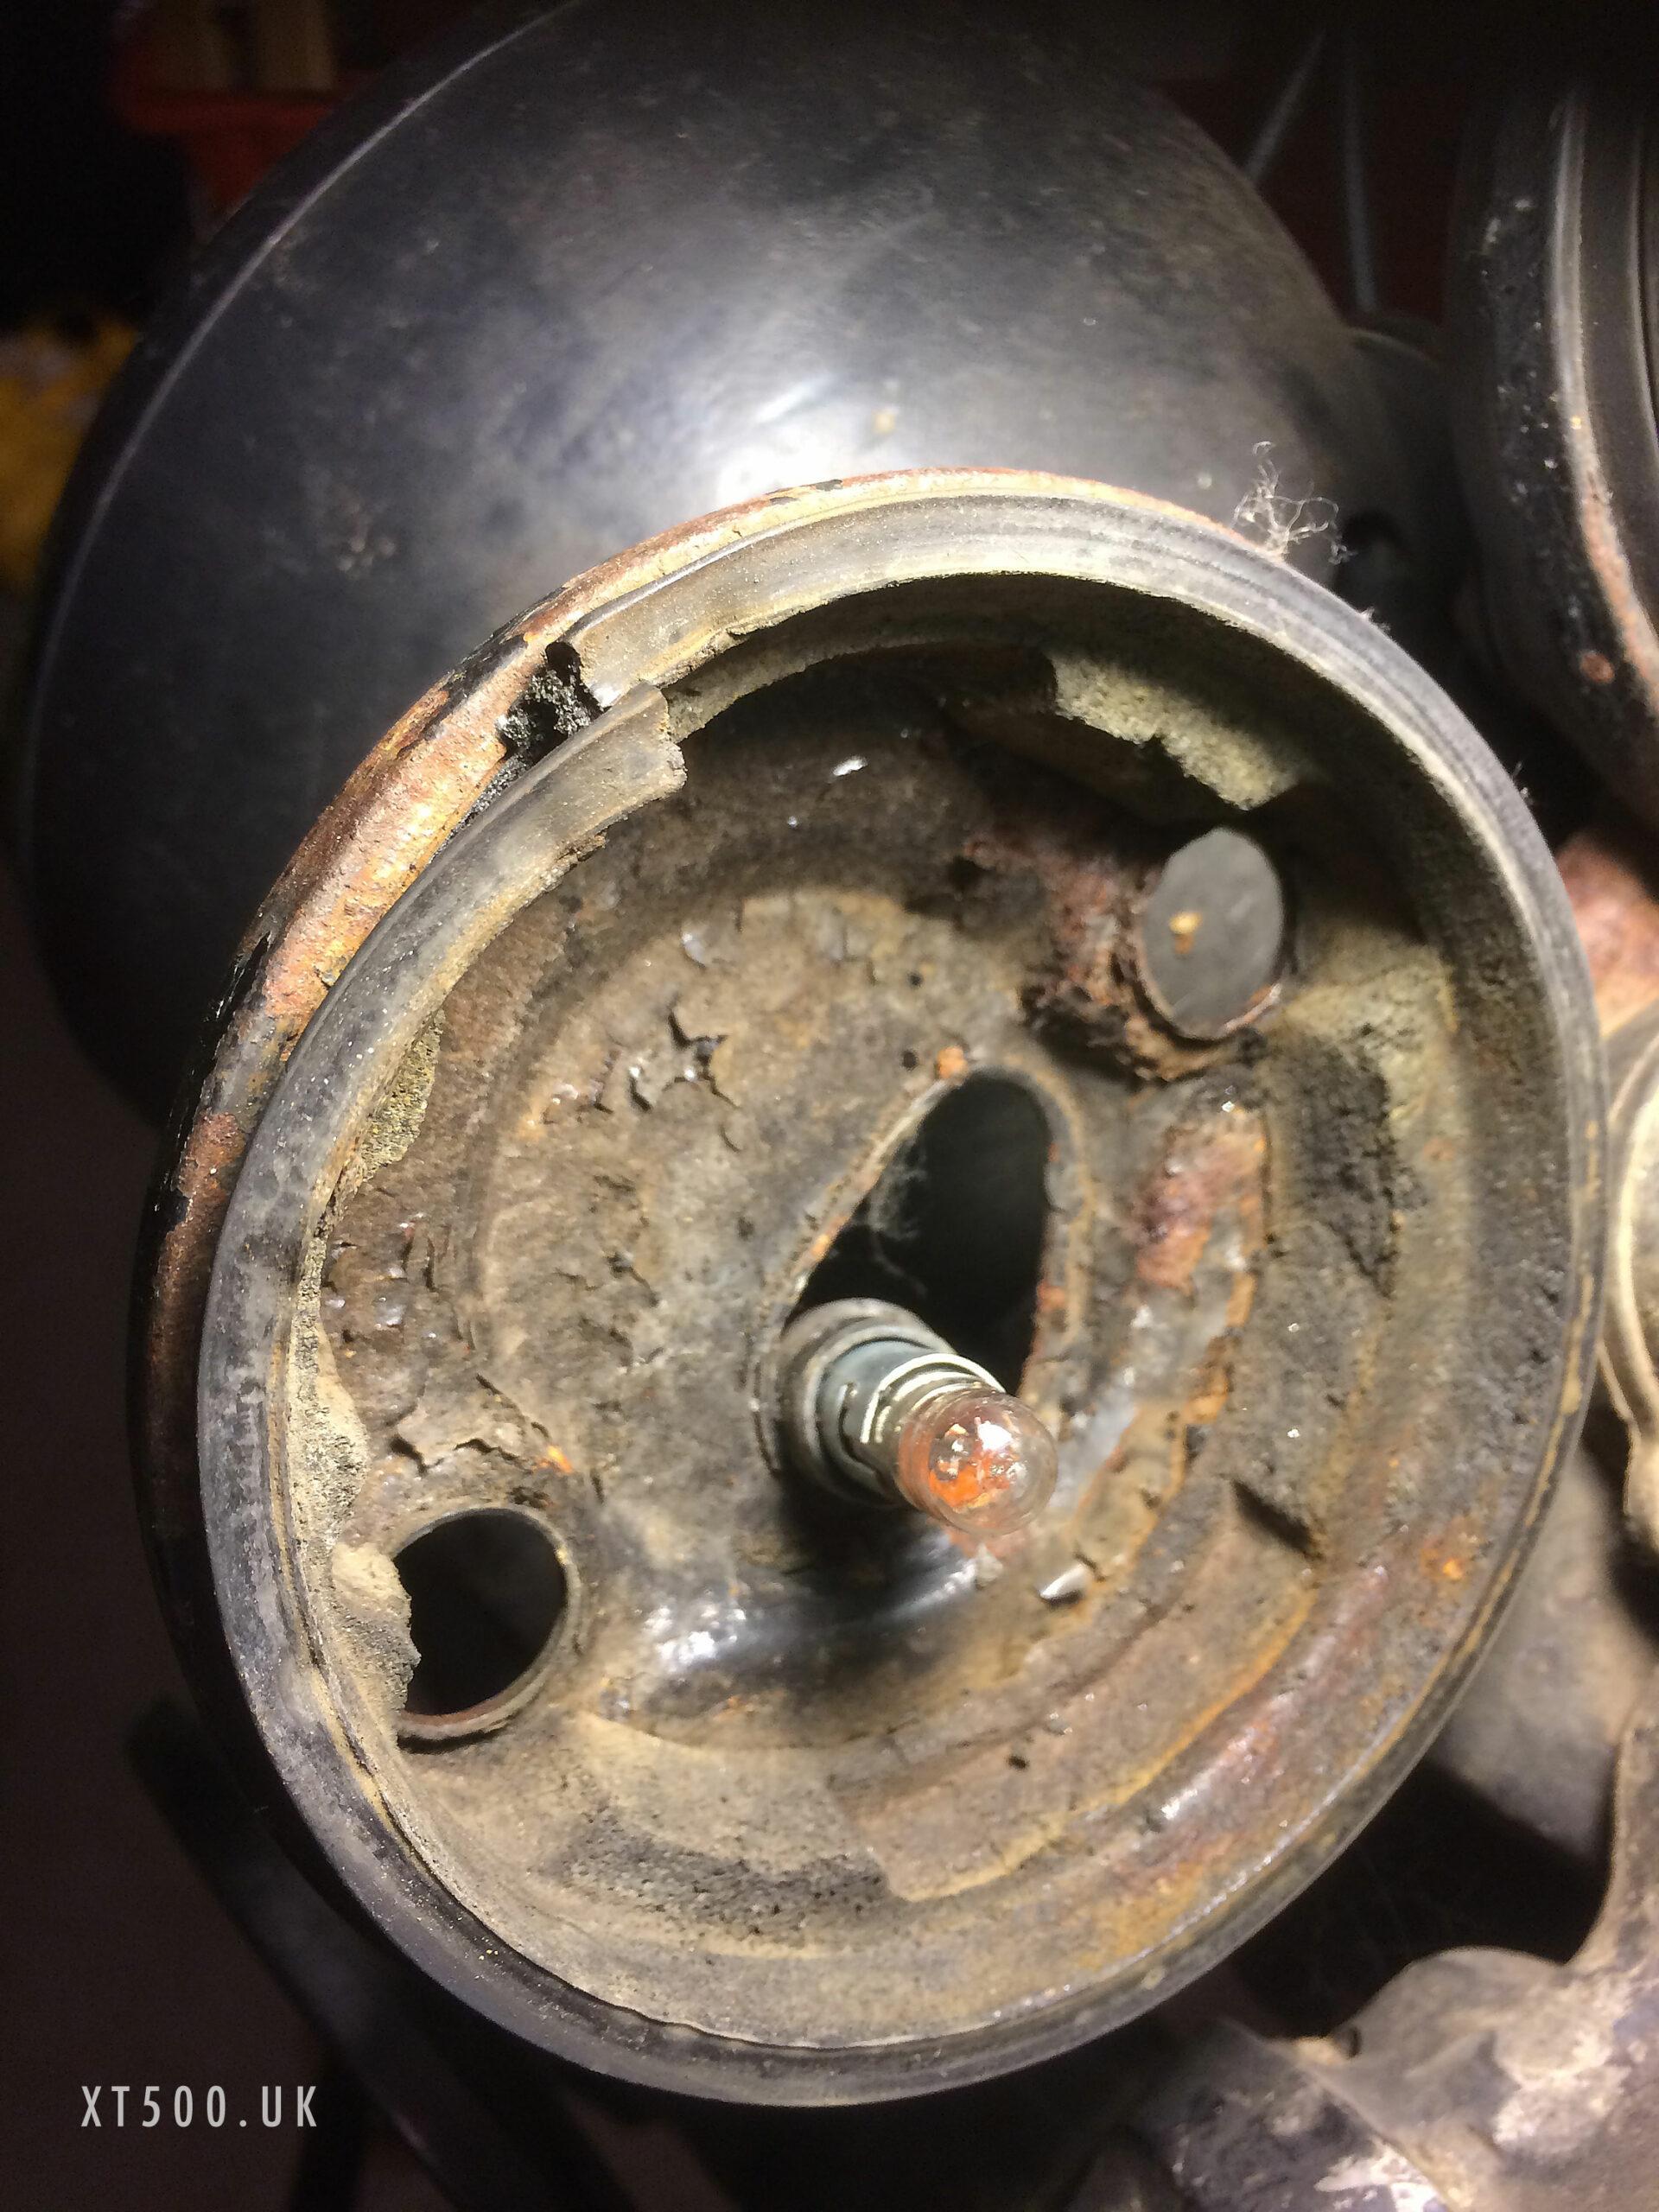
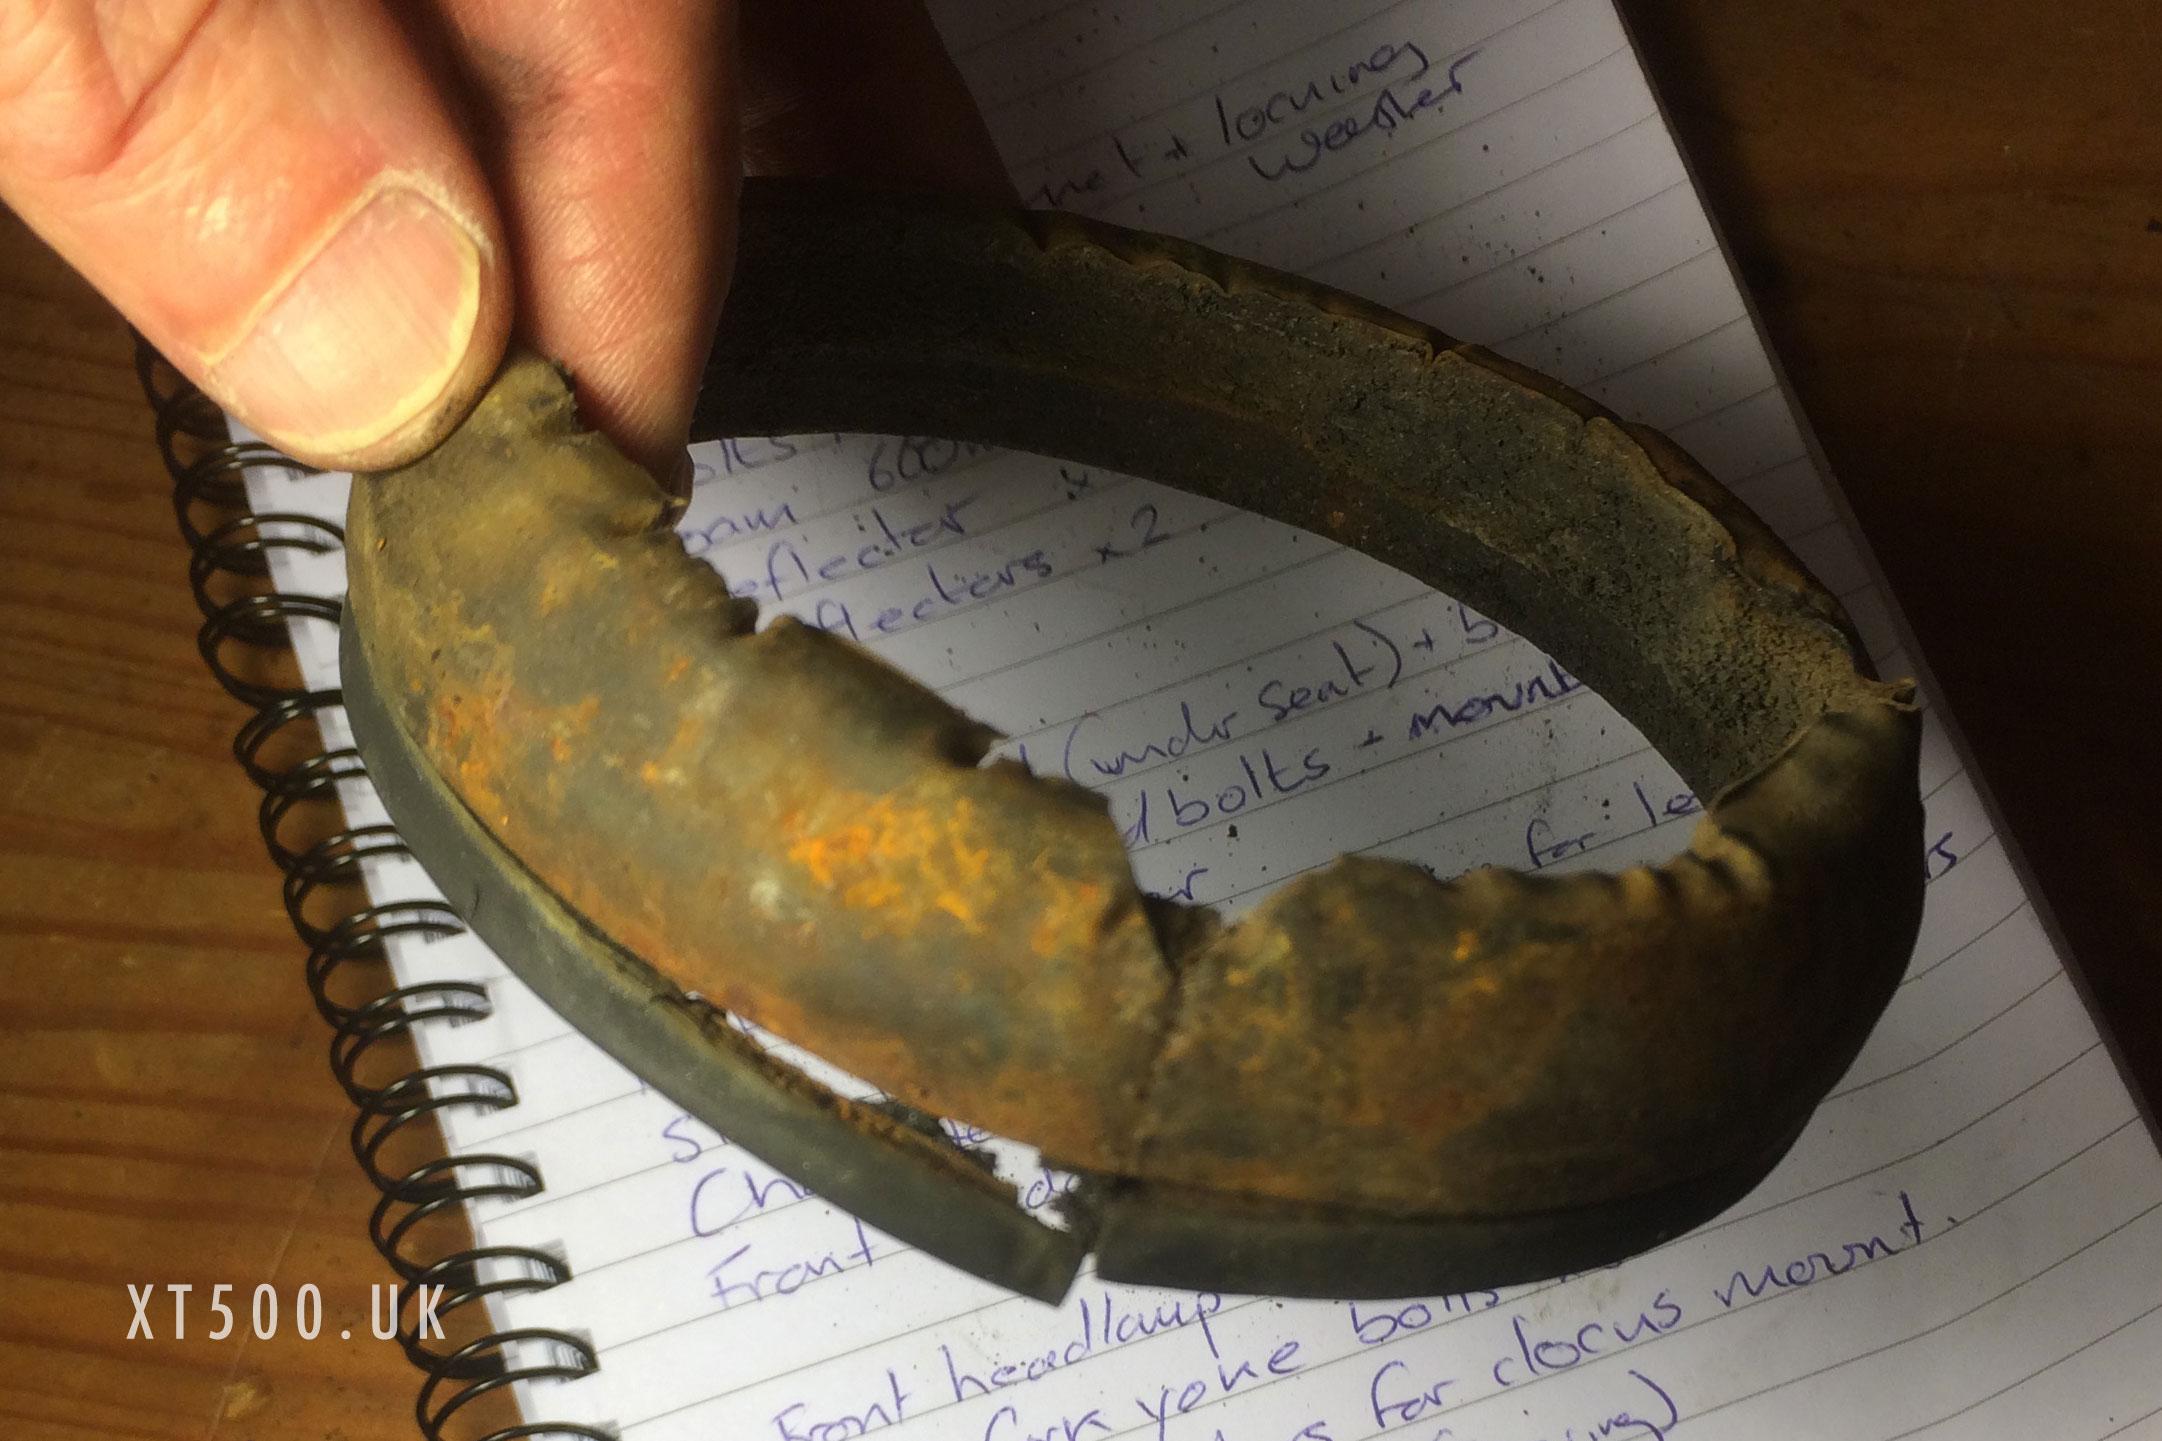
The large rubber seals, or dampers, were very dry and brittle and broken on one edge. Before finding out (again from the forum) that Yamaha still sold these as new parts I was hoping they would be salvageable. They weren’t really, so good news they were still available.
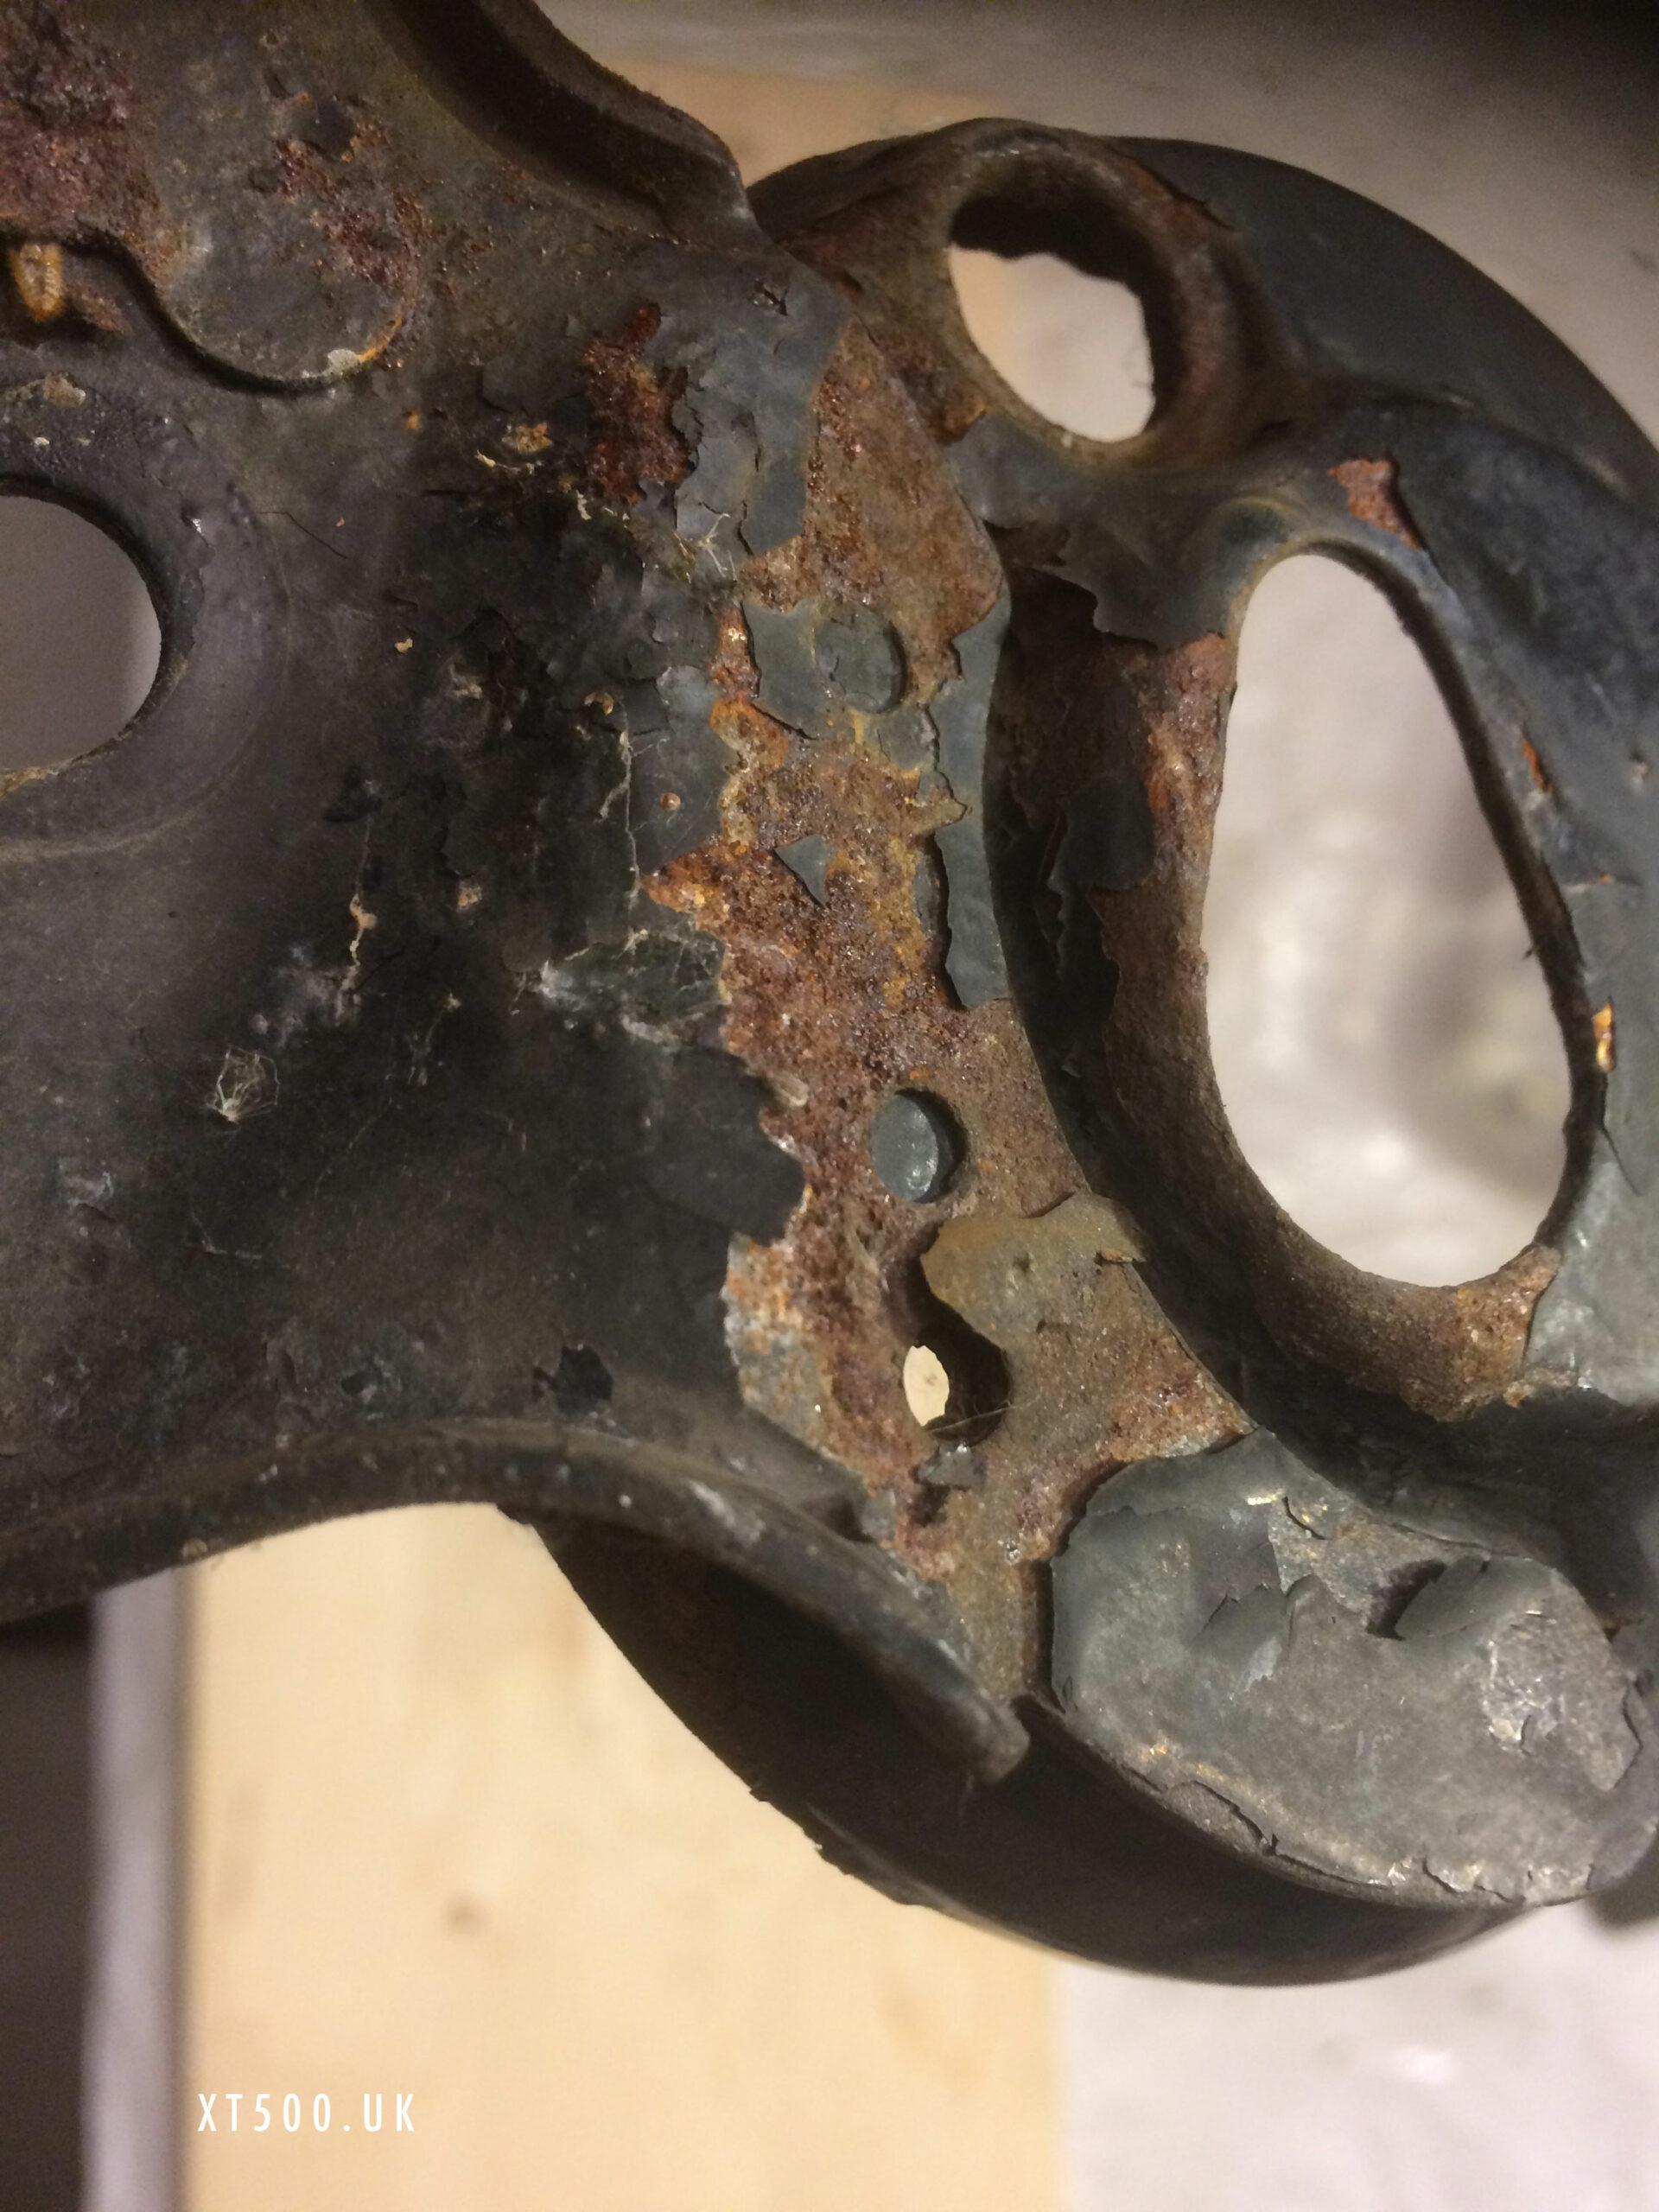
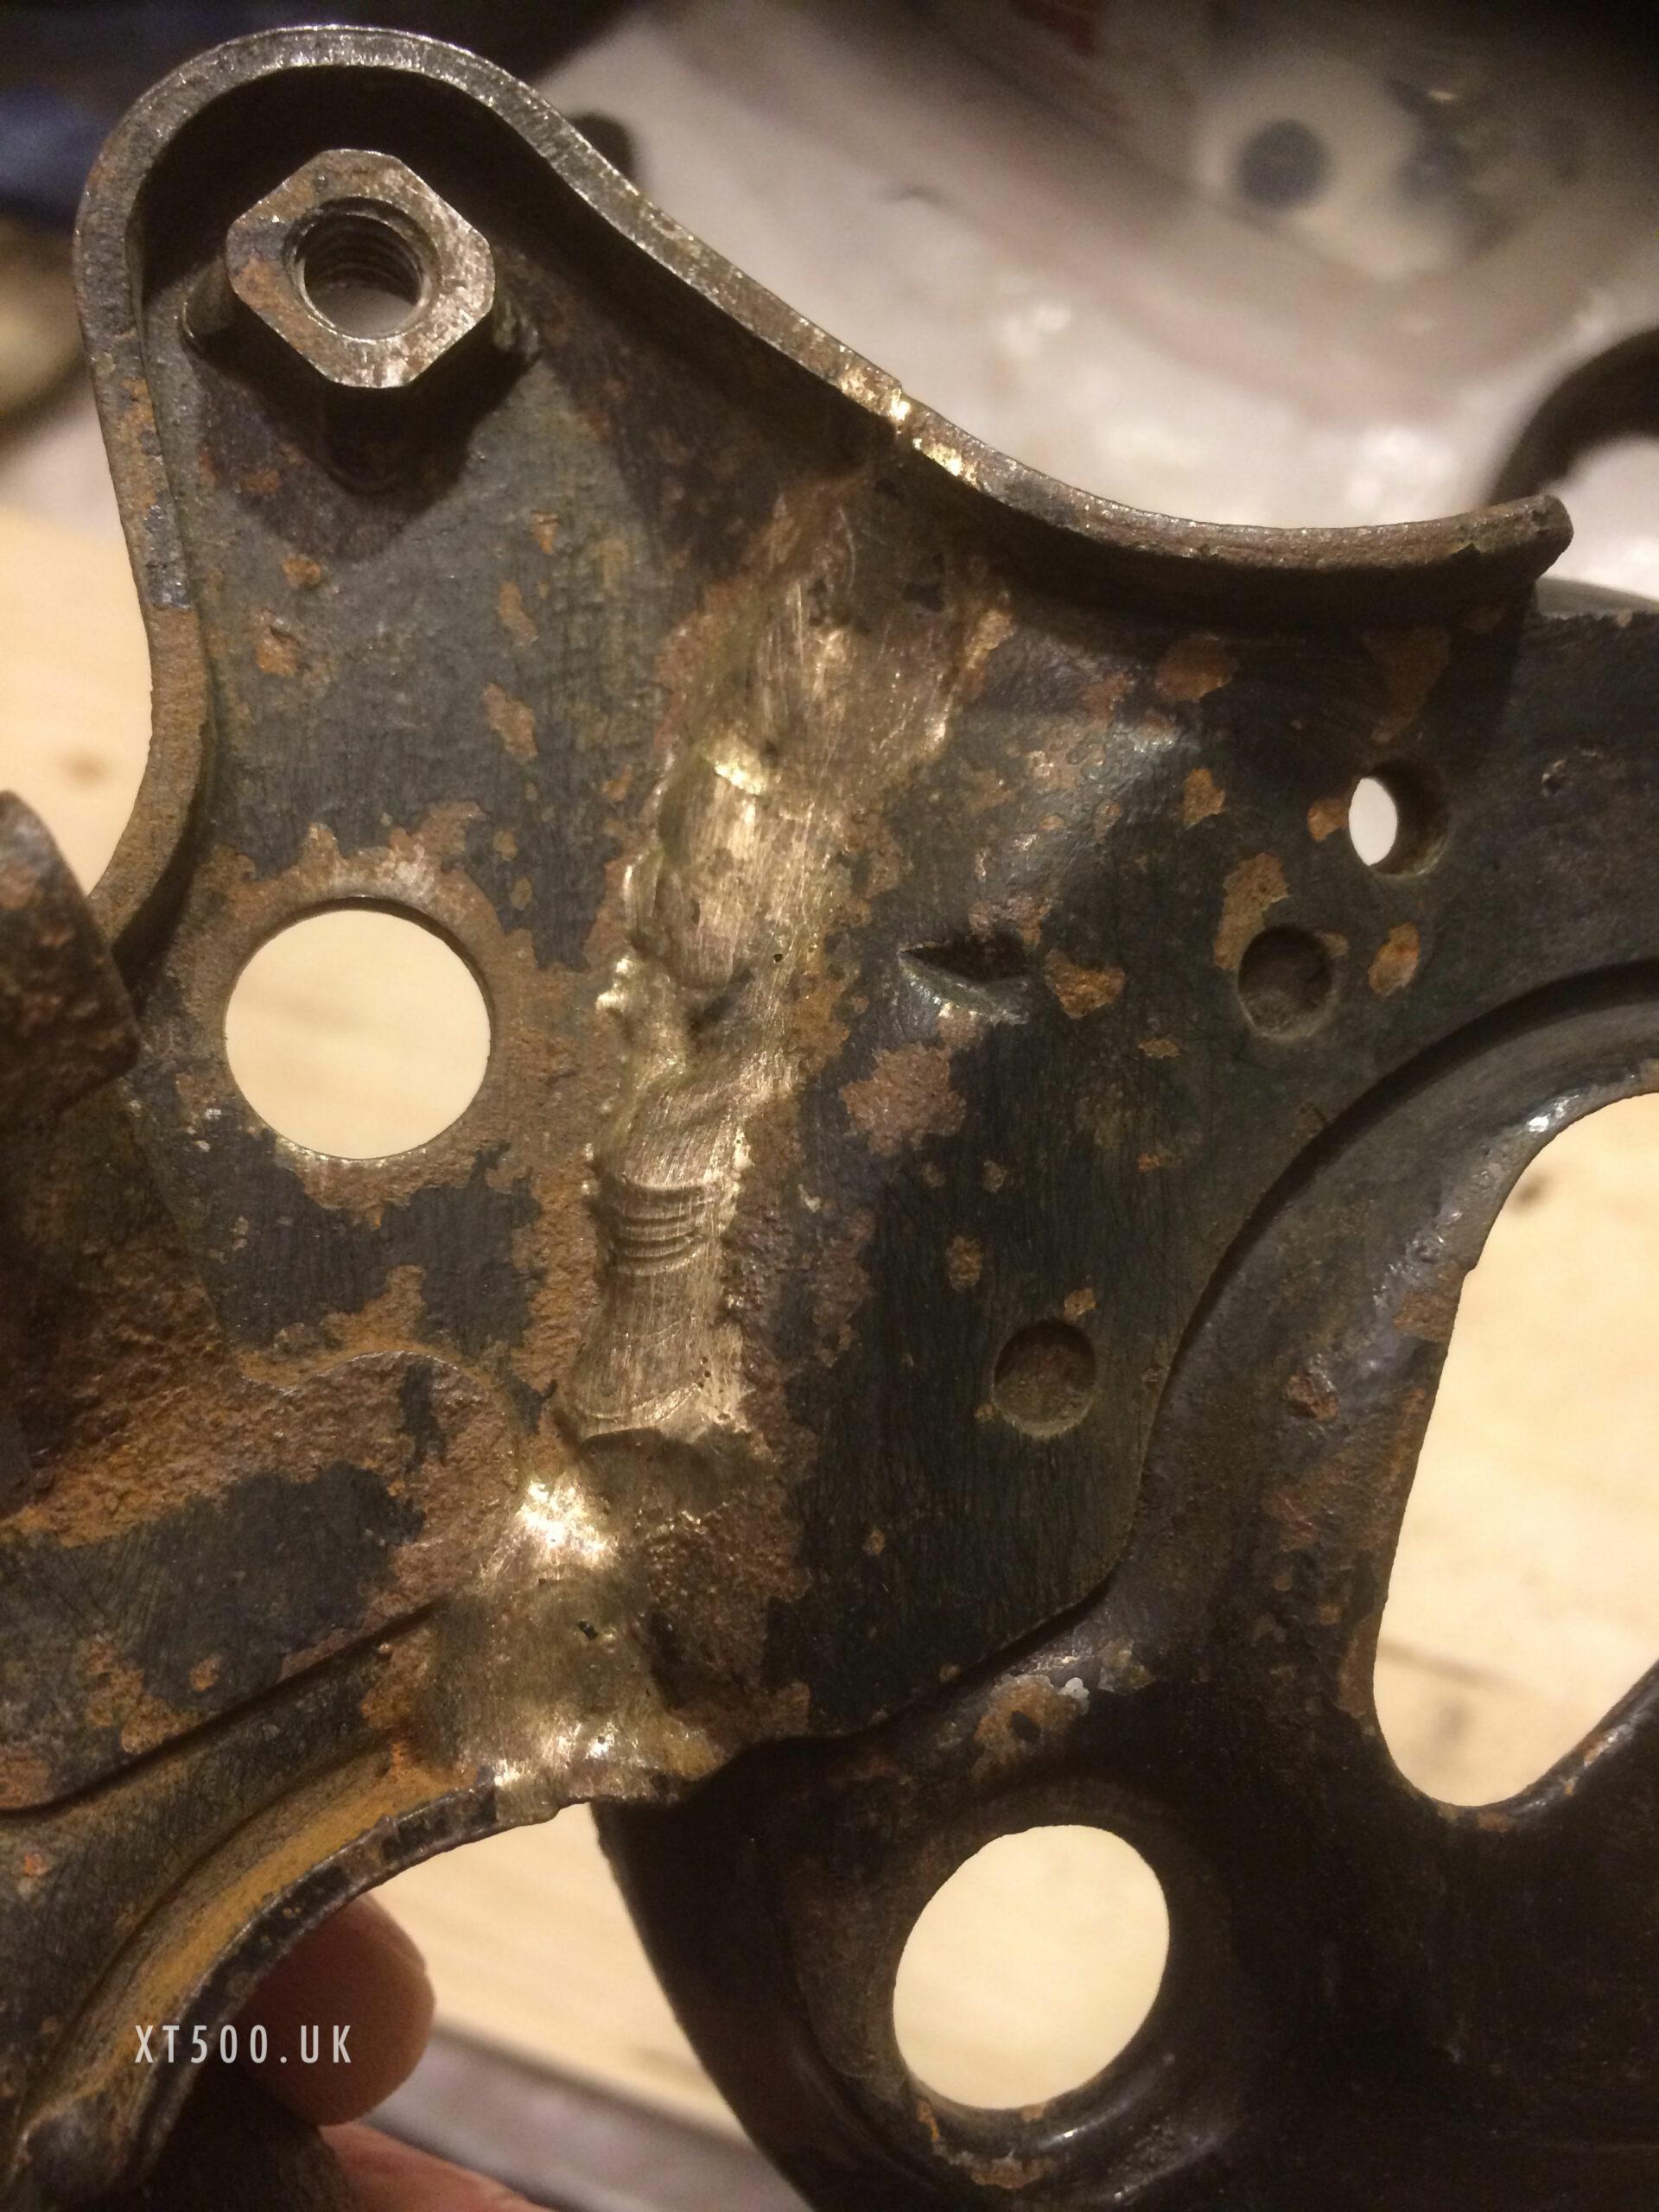
I used a wire brush on the clocks bracket to remove the loose rust and flaking paint and discovered that it has been welded in the past. It’s not the prettiest weld (braze – I stand corrected) I’ve seen, but it will remain hidden once it’s installed again.
The speedo cable looked rusty as hell but it’s always been well lubricated and so very usable.
There no way to restore the clocks without taking them apart first. Dismantling them is a tricky business, mainly due to the chrome retaining ring that holds the main case to the back plate. The rings on mine were not overly rusty and the chrome in pretty good condition considering the rest of the bike. So I was reluctant to damage them getting them off. They are not available as OEM parts and getting pattern ones is difficult so cutting them off should be avoided unless they are totally corroded.
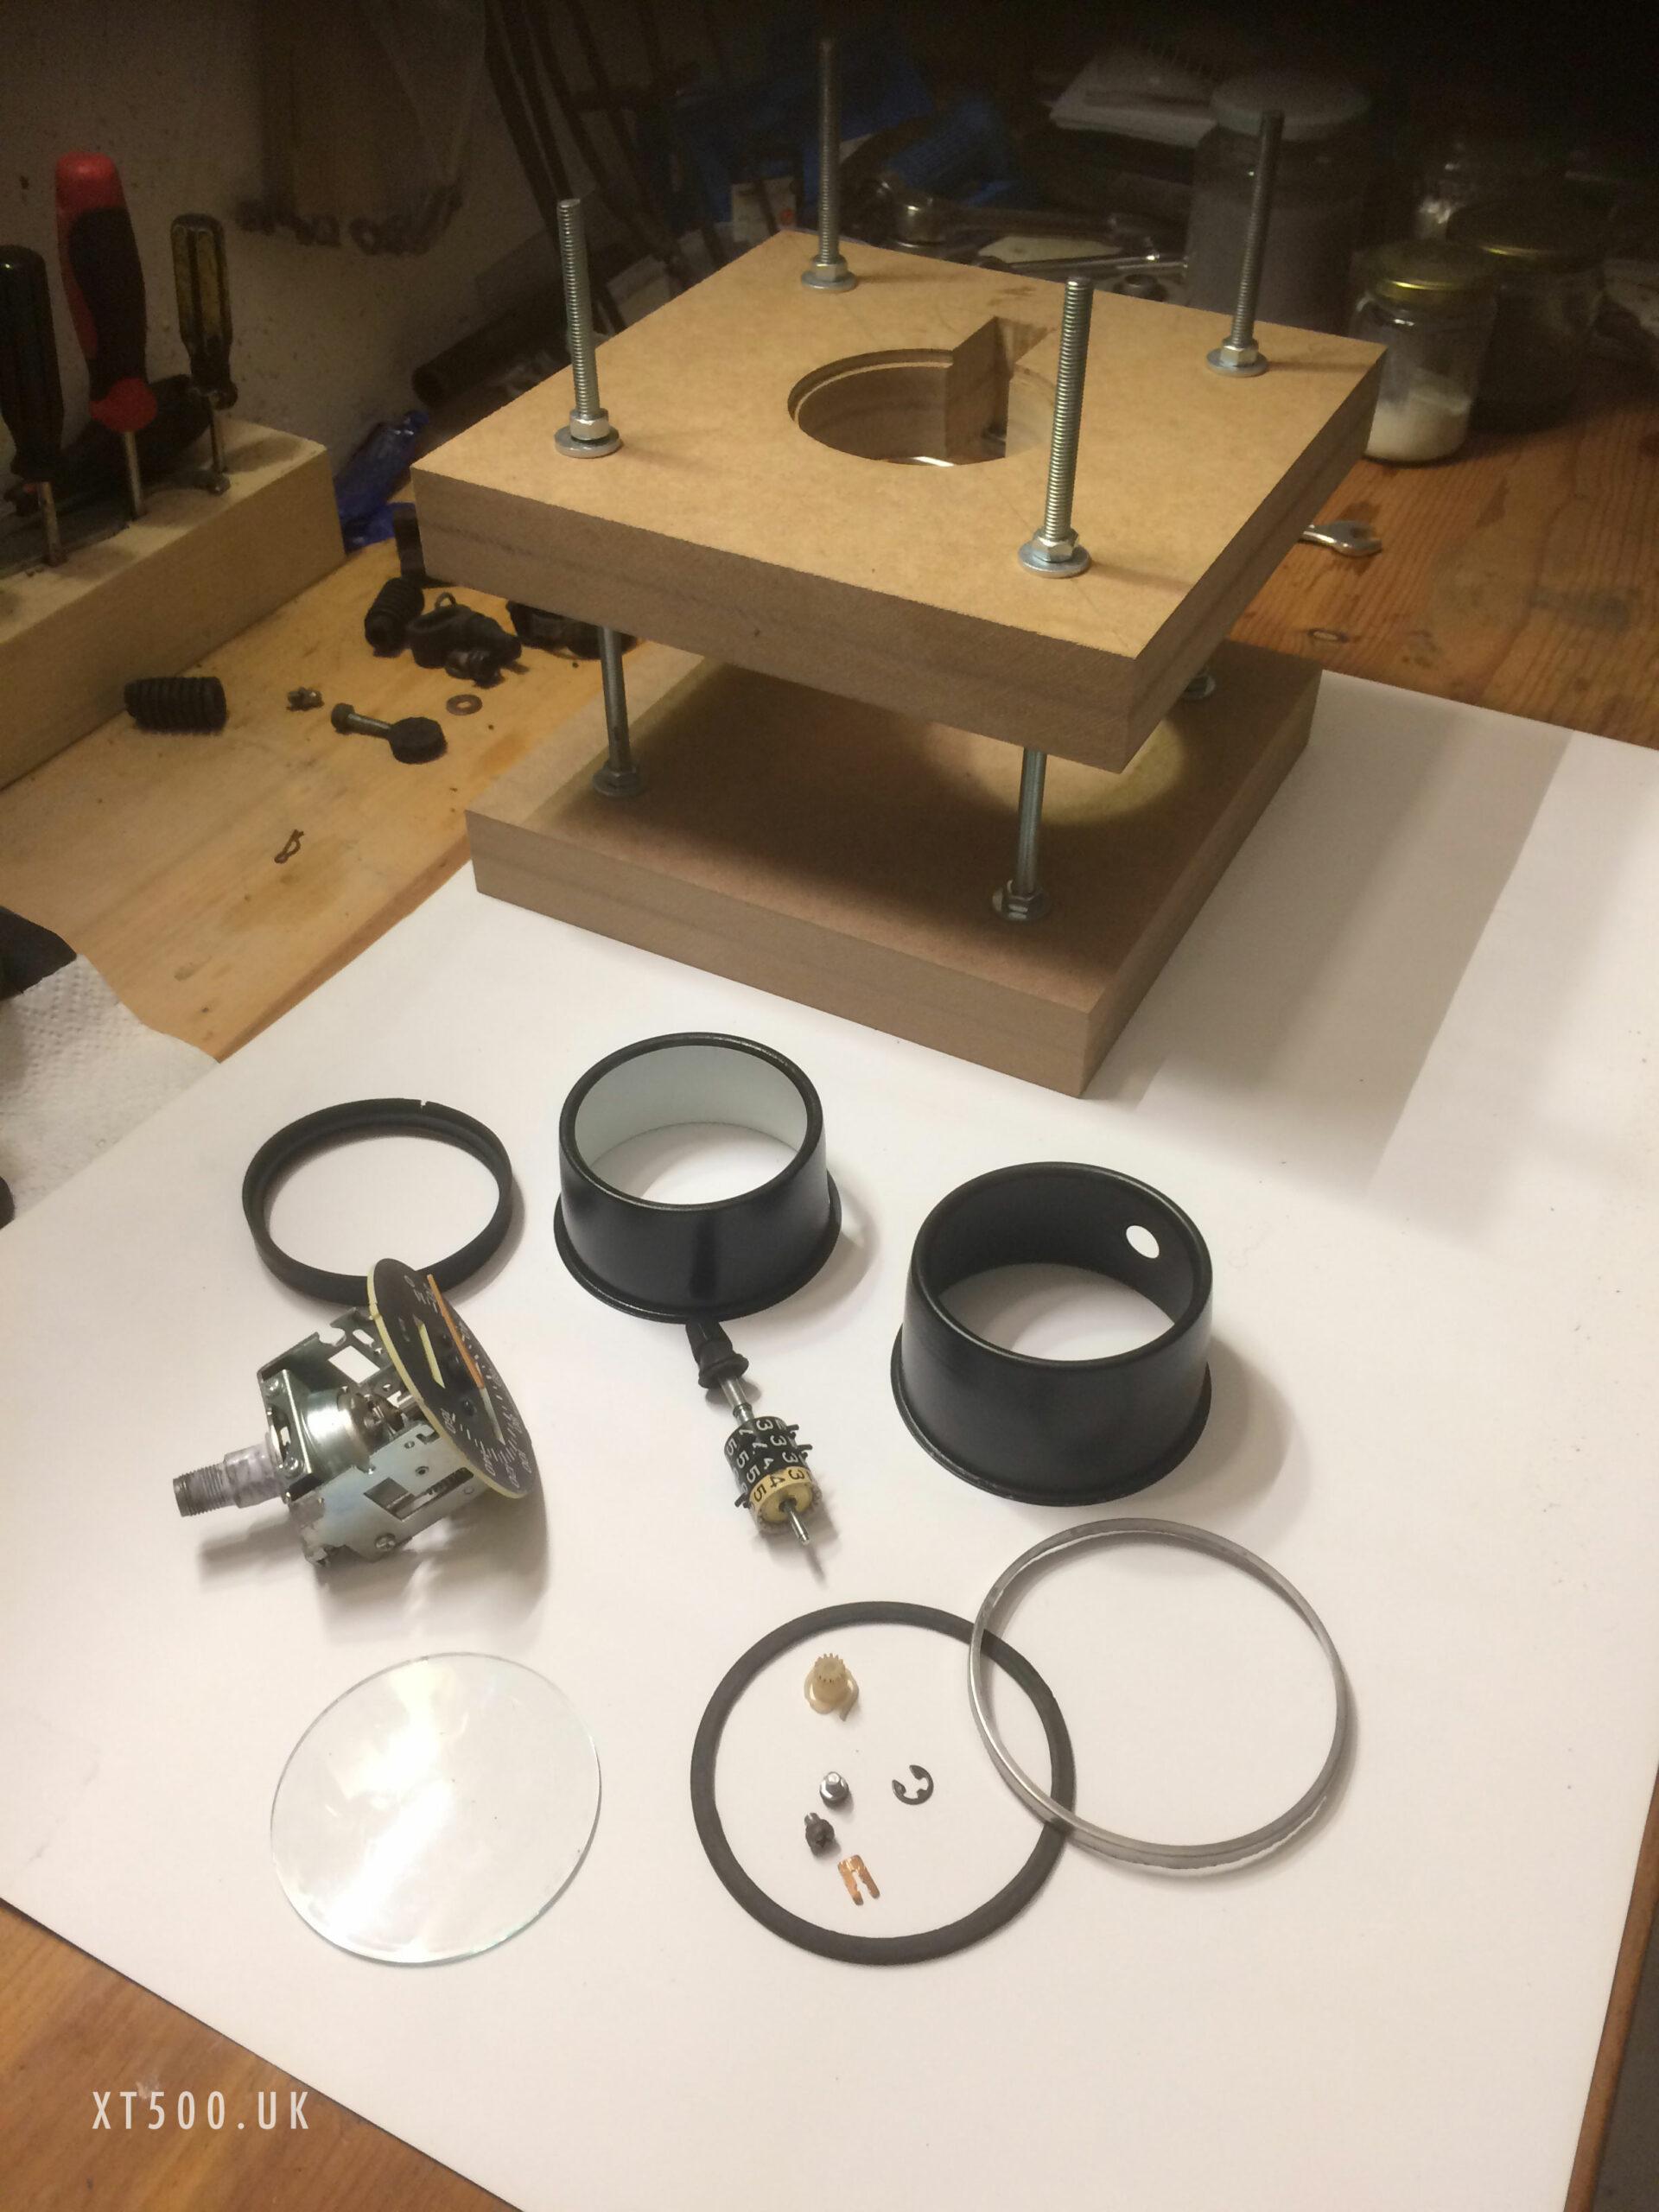
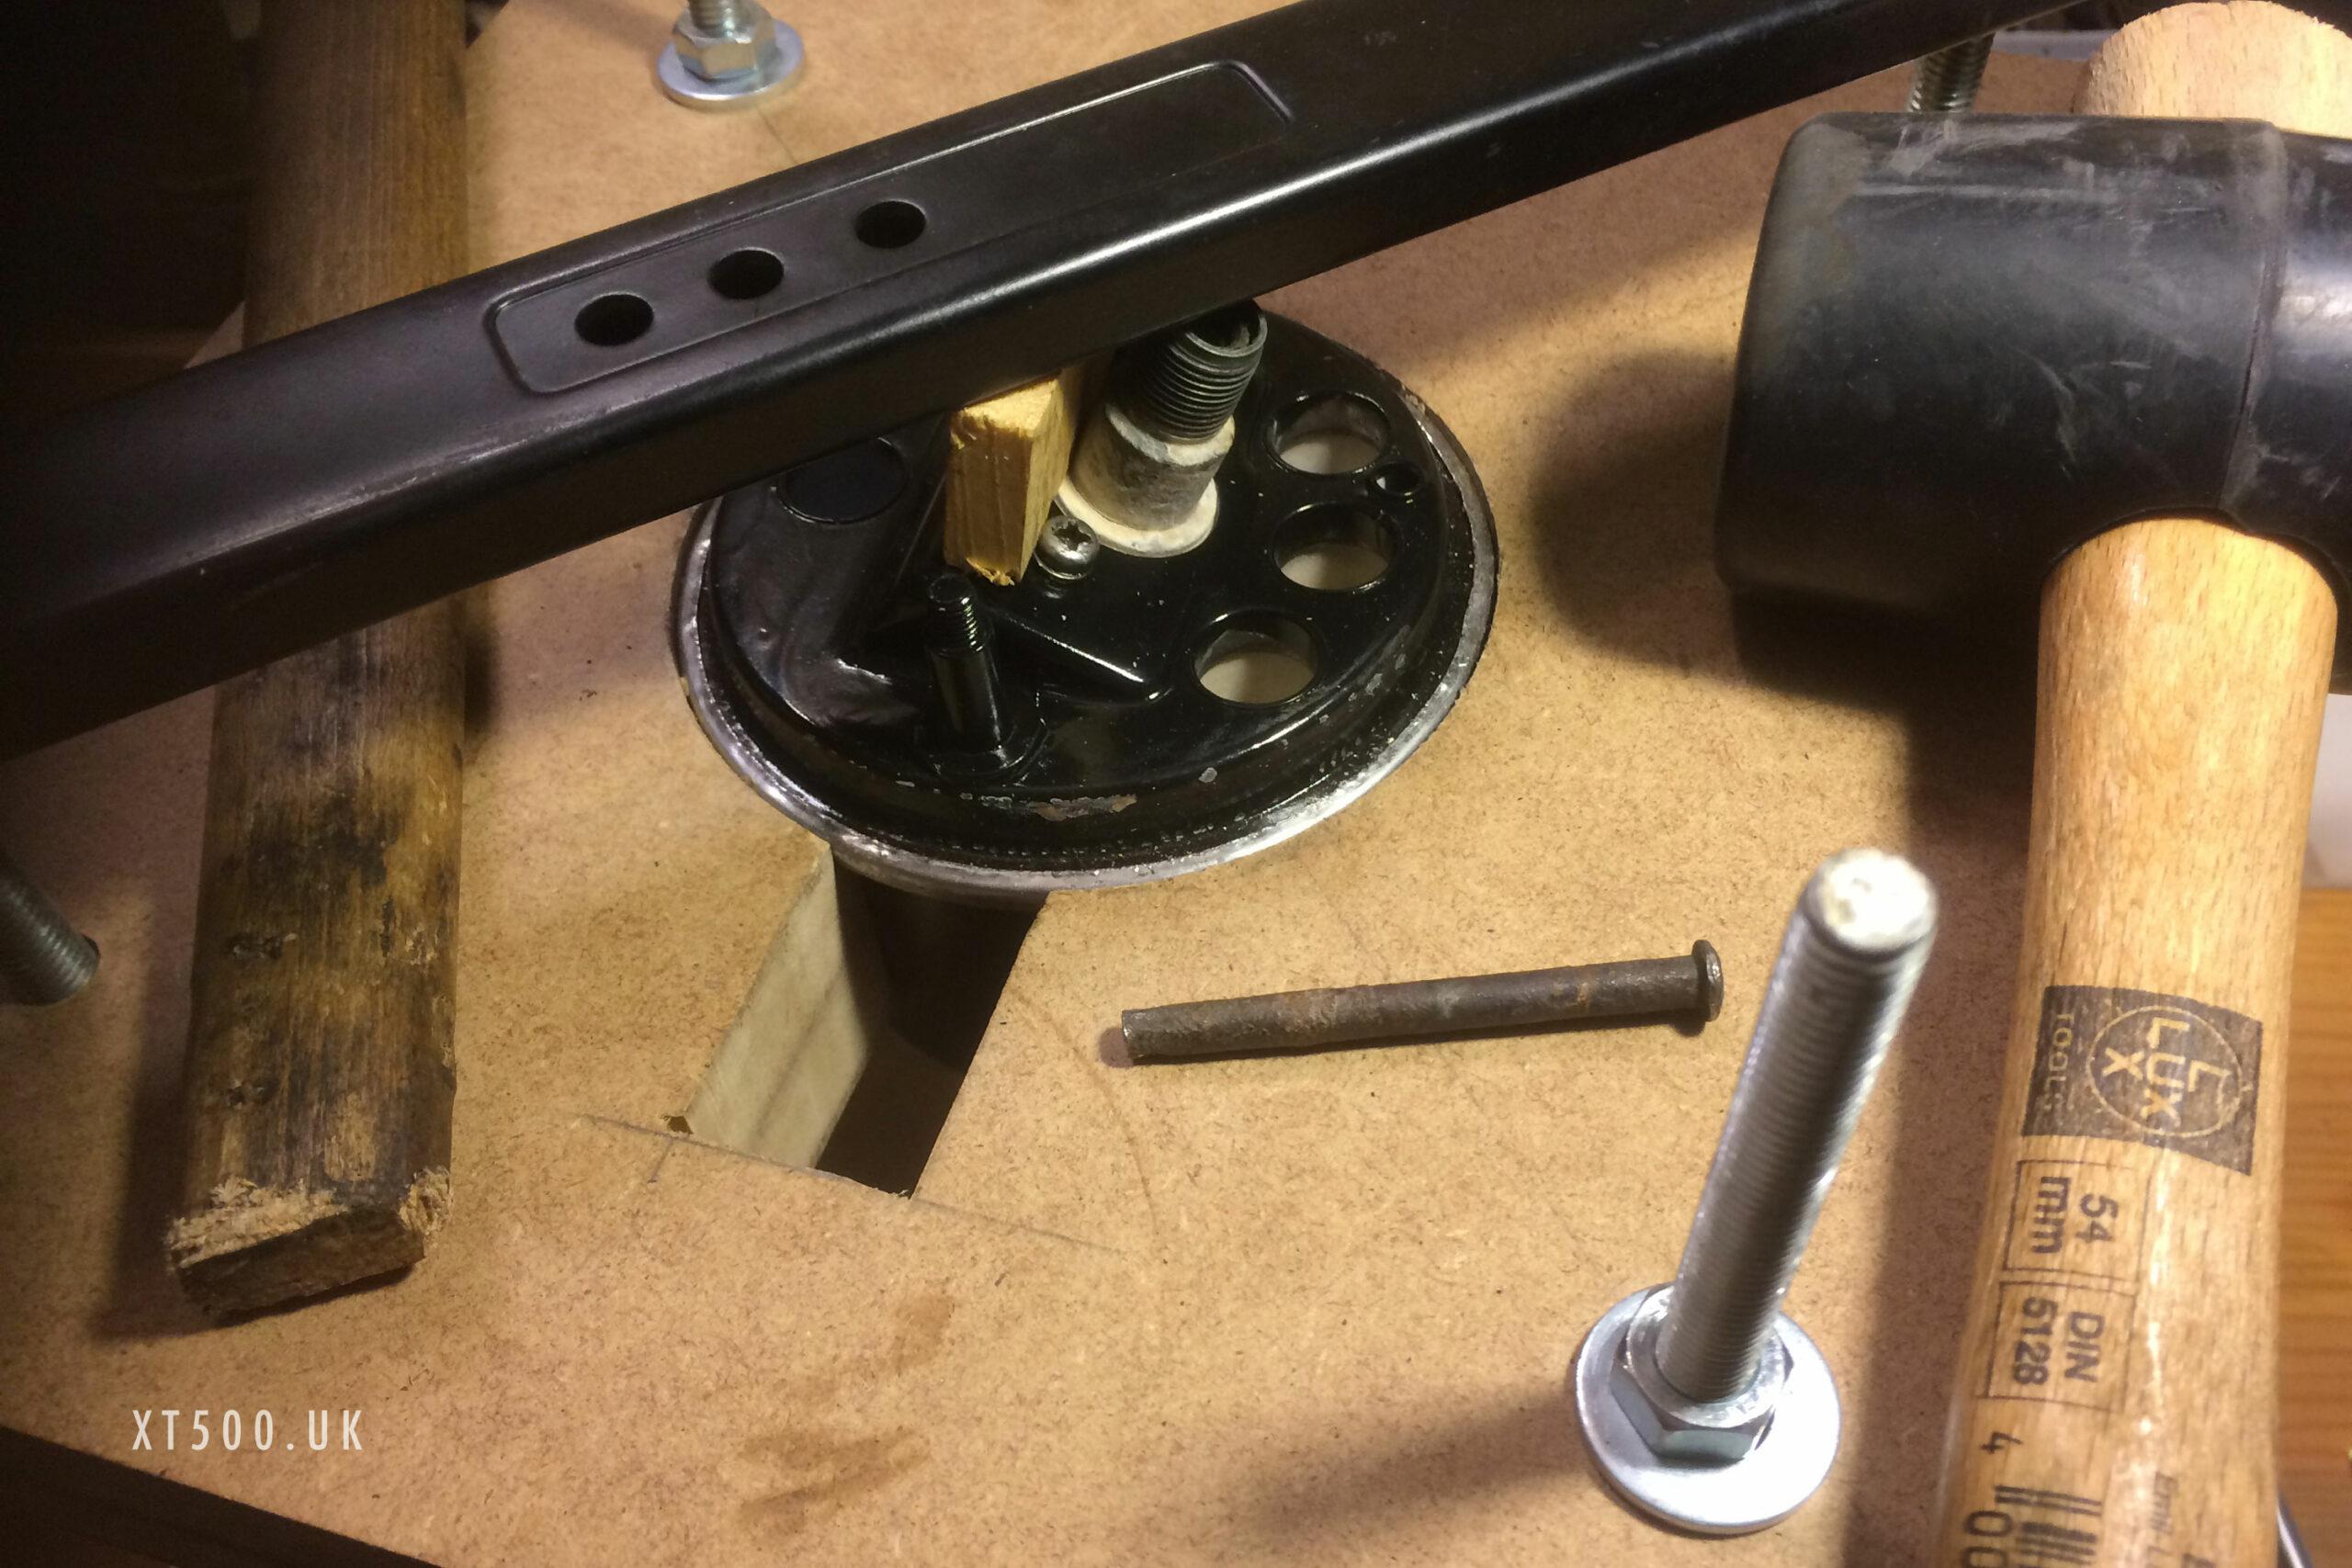
Inspired by @Tommy10Bikes and @BillBadger (XT500 Forum) I made a jig to aid removing and refitting the collars. I added a lip in the hole with a depth of 5mm. This made it easier to bend the collar along the crease.
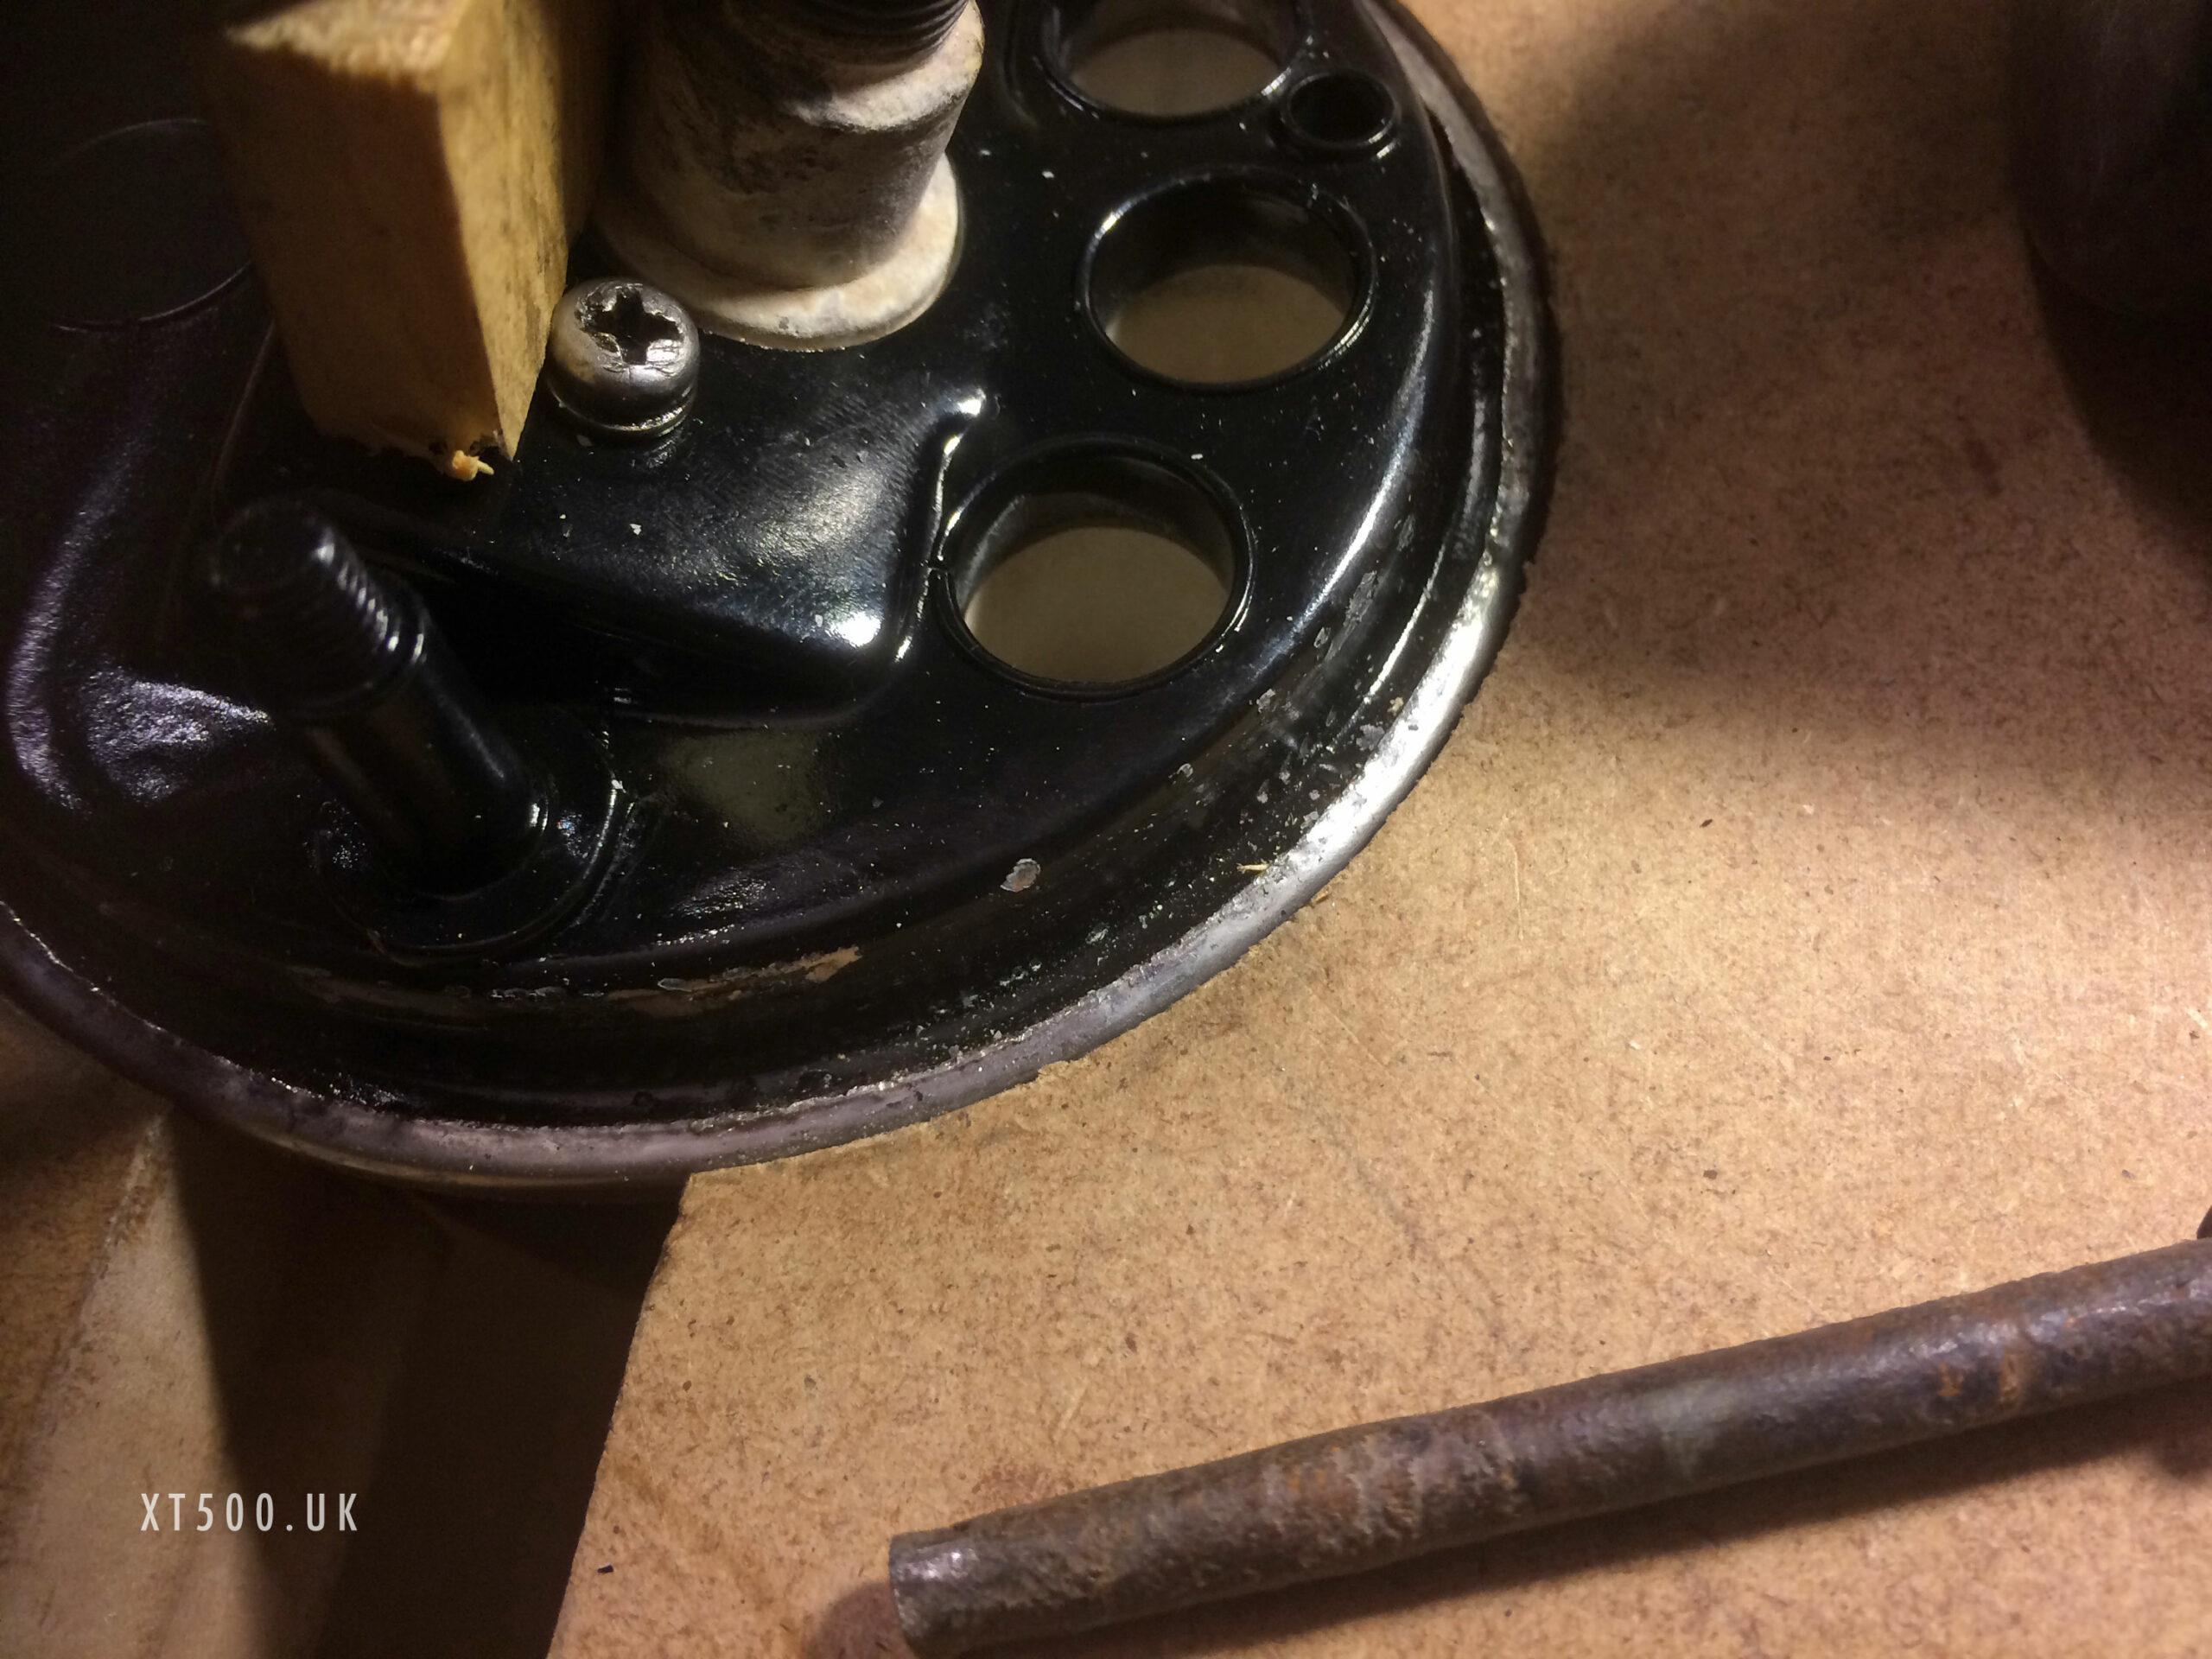
To get these off you need a very small flat screwdriver (or similar tool preferably with dulled edges) and a lot of patience. Life will be a lot easier and the process quicker if you use a similar jig to hold the clocks in place, although you could do it without one. It also helps in getting it back on with the folds in the right place. Best way to describe this is with photos.
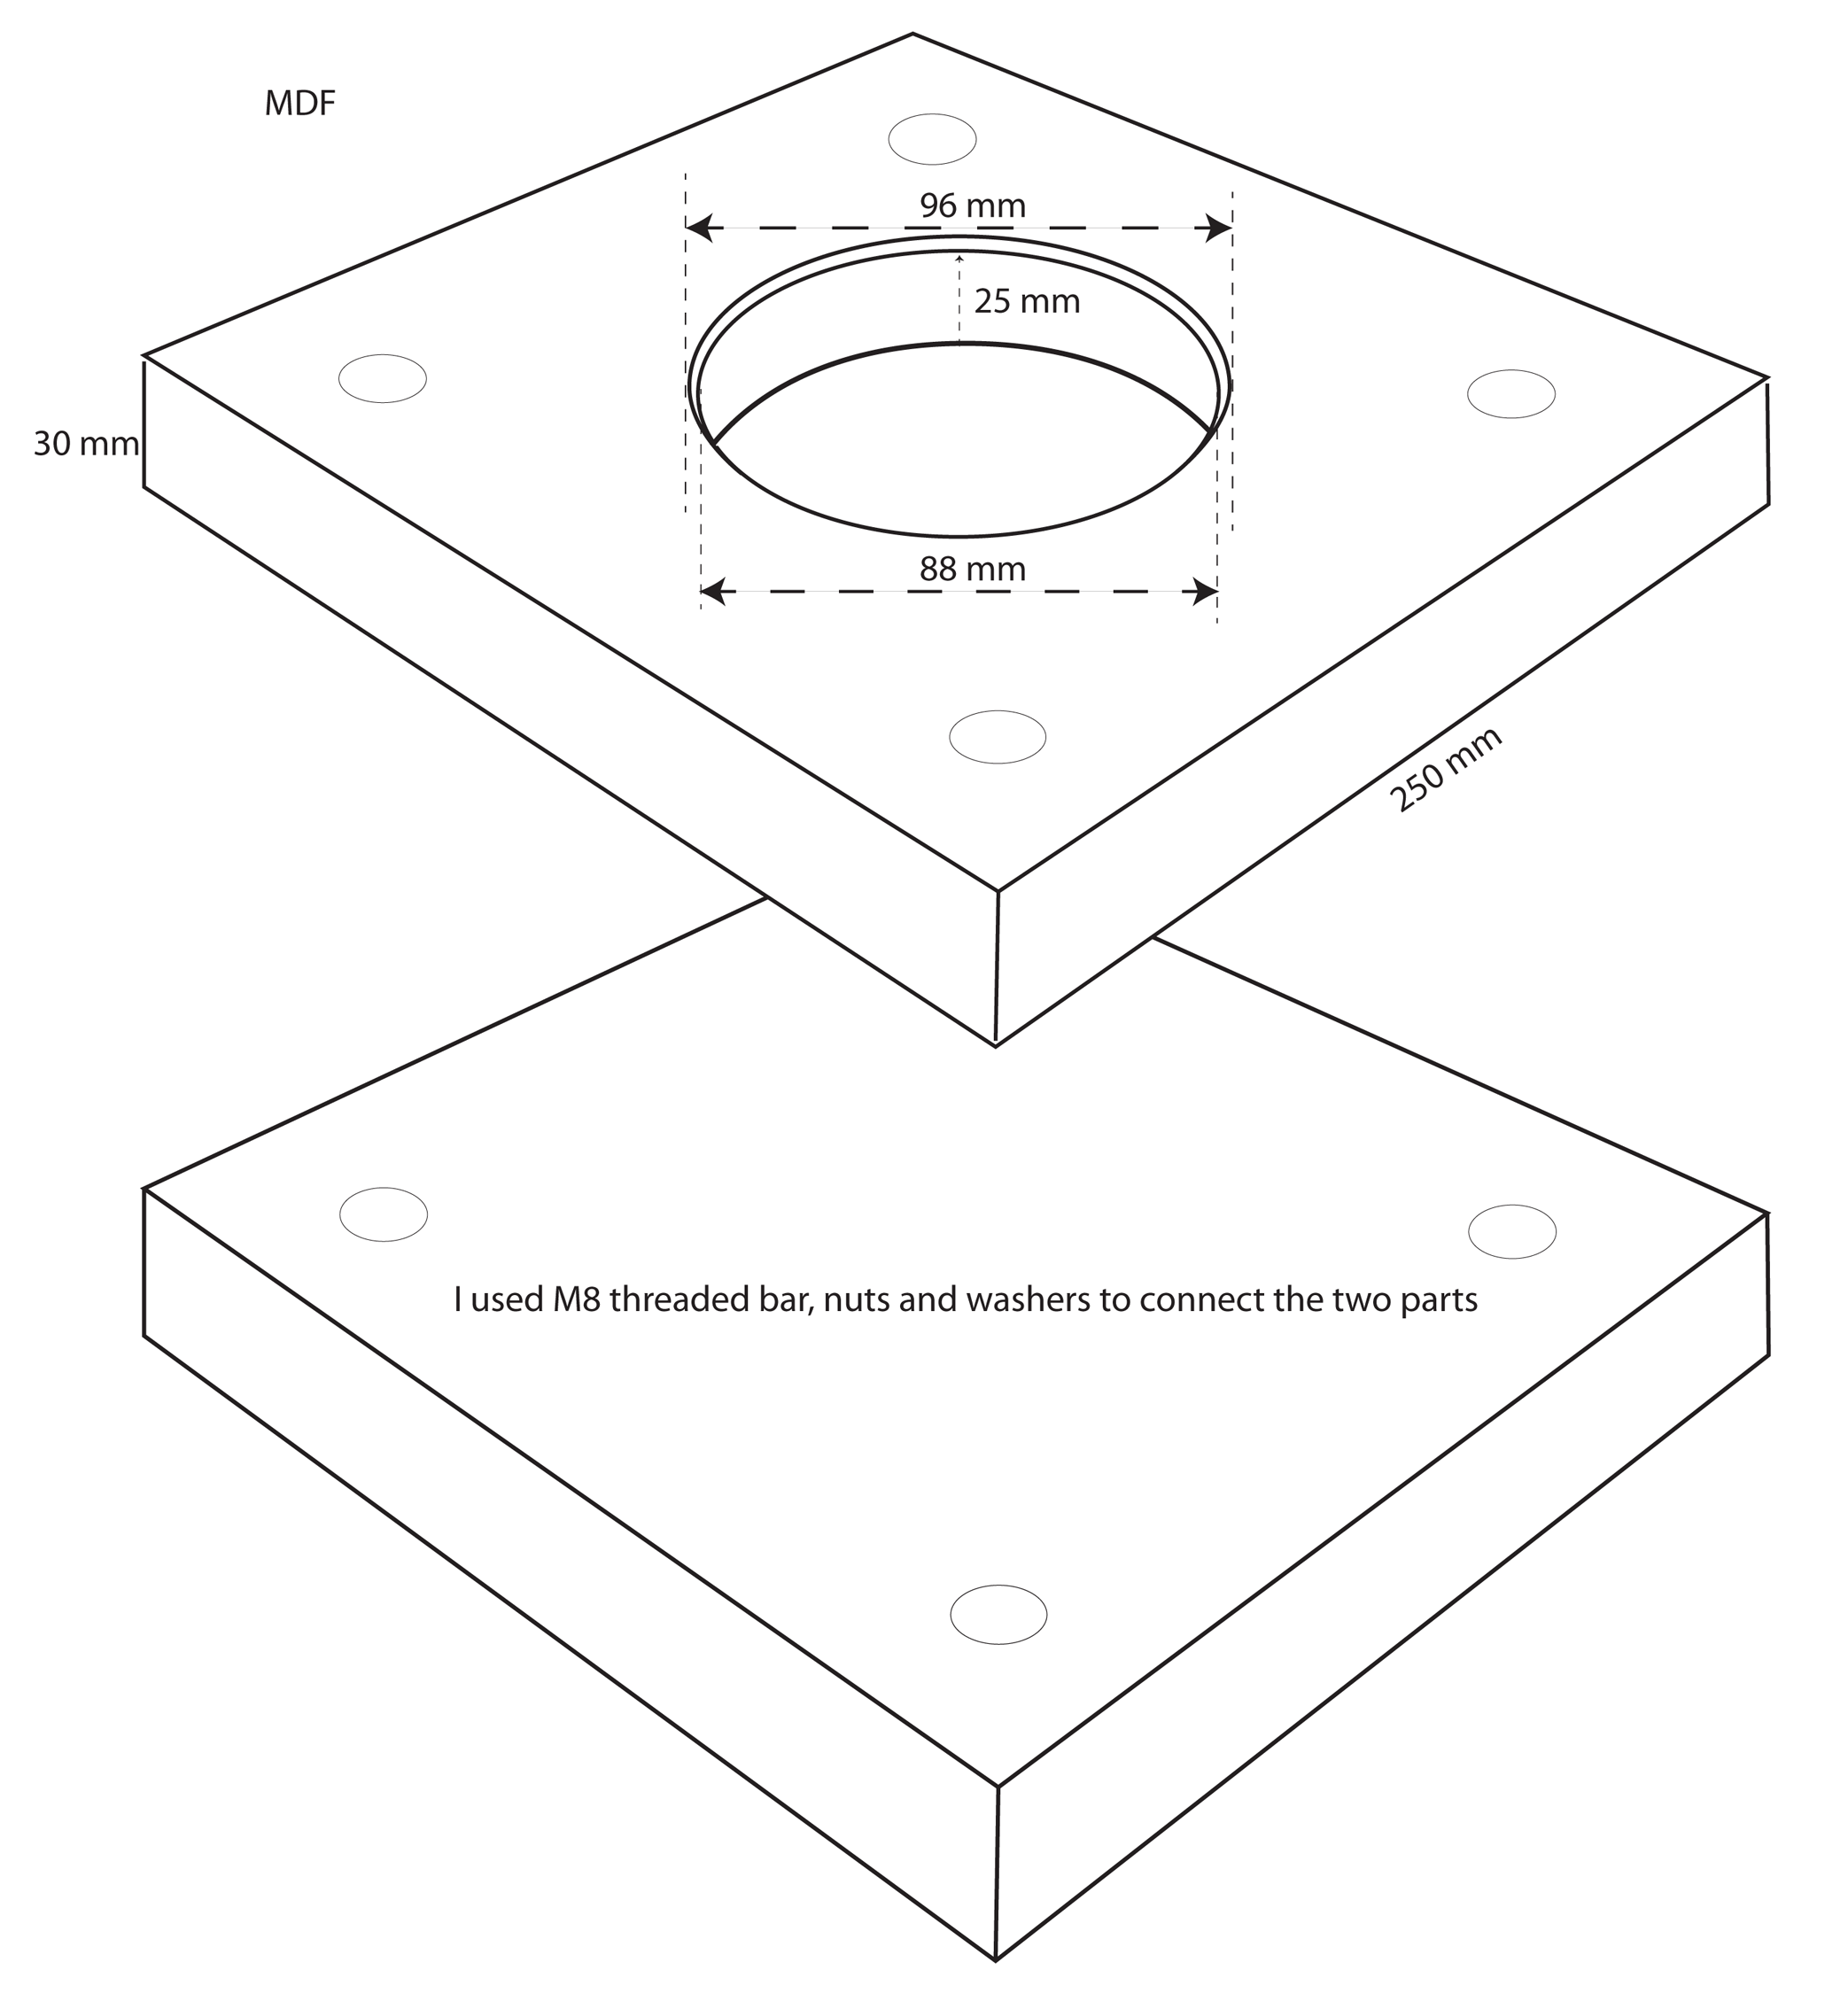
A slot needed cutting into one side for the trip switch to fit through. Actually I think I may have used 10mm threaded bar not 8mm, but either will do.
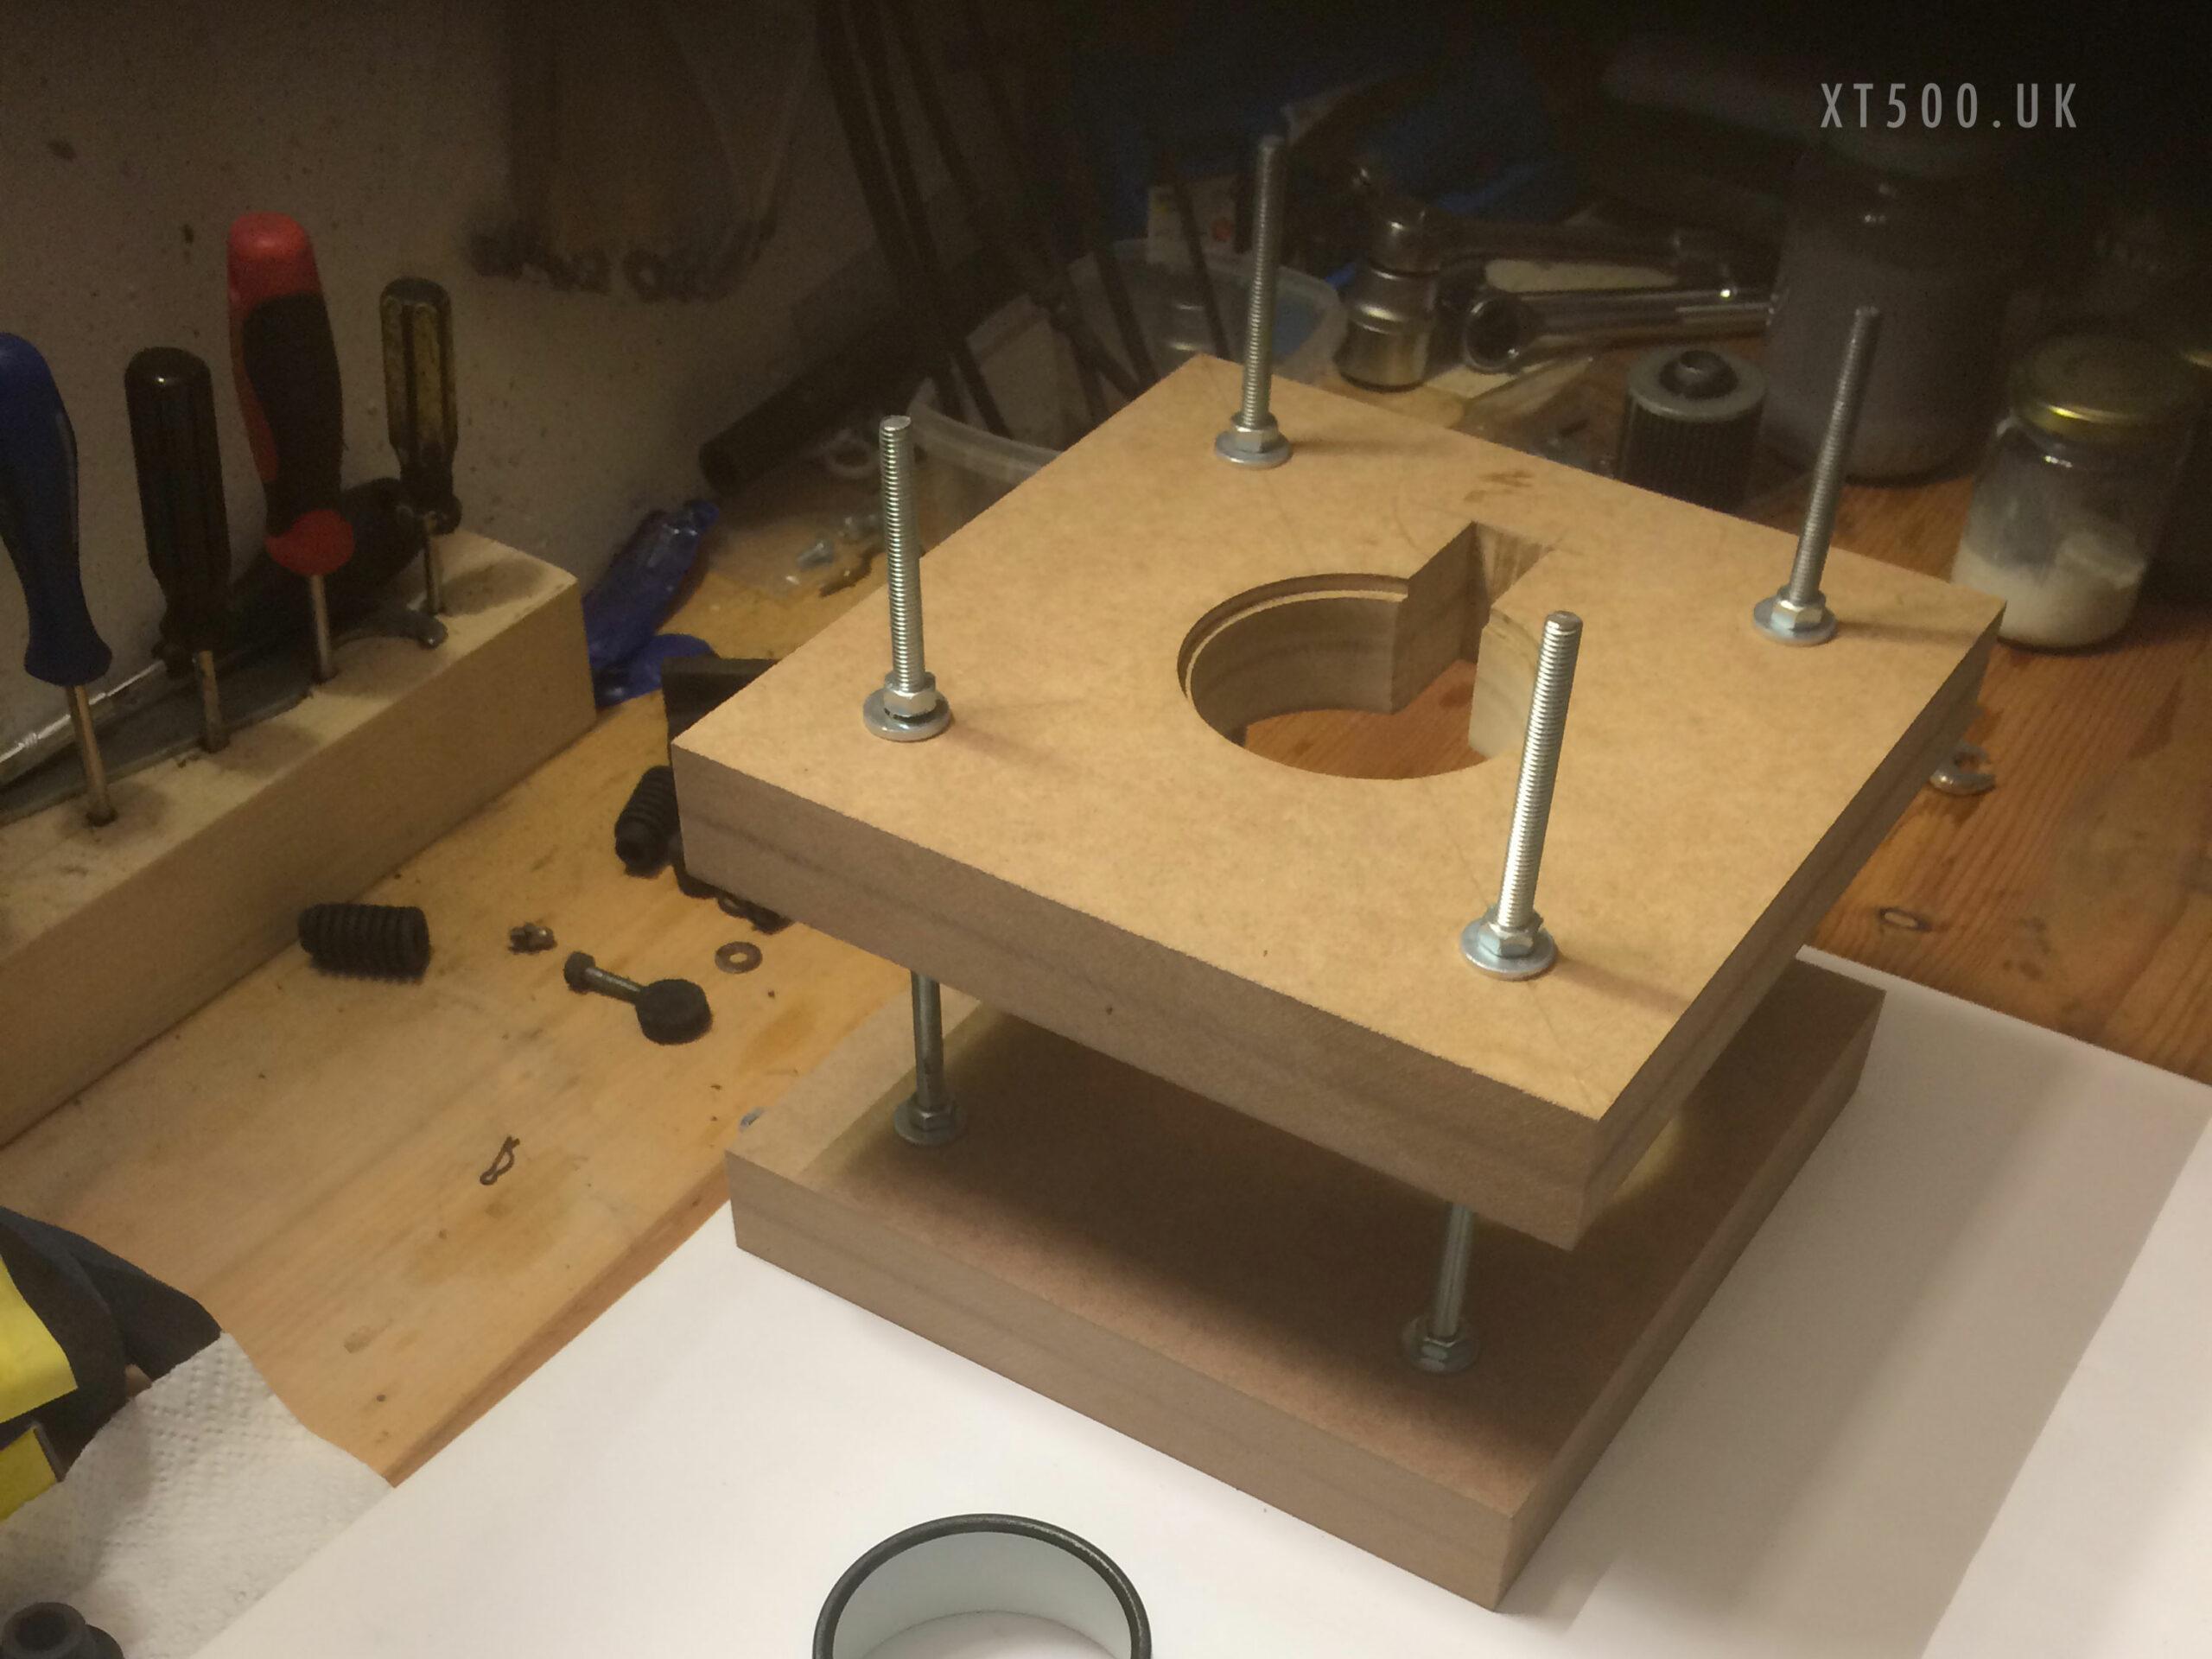
Use the screwdriver to lift an edge of the band. Not a lot, just enough to slide it under and move around the ring, By sliding it the ‘wedge’ of the screw driver blade will lift the edge a little more. Once you’ve gone around once, then go again but lifting a little more. If you try to lift too much at a time to speed up the process, you may well find you have ugly creases in the band and chewed edges.
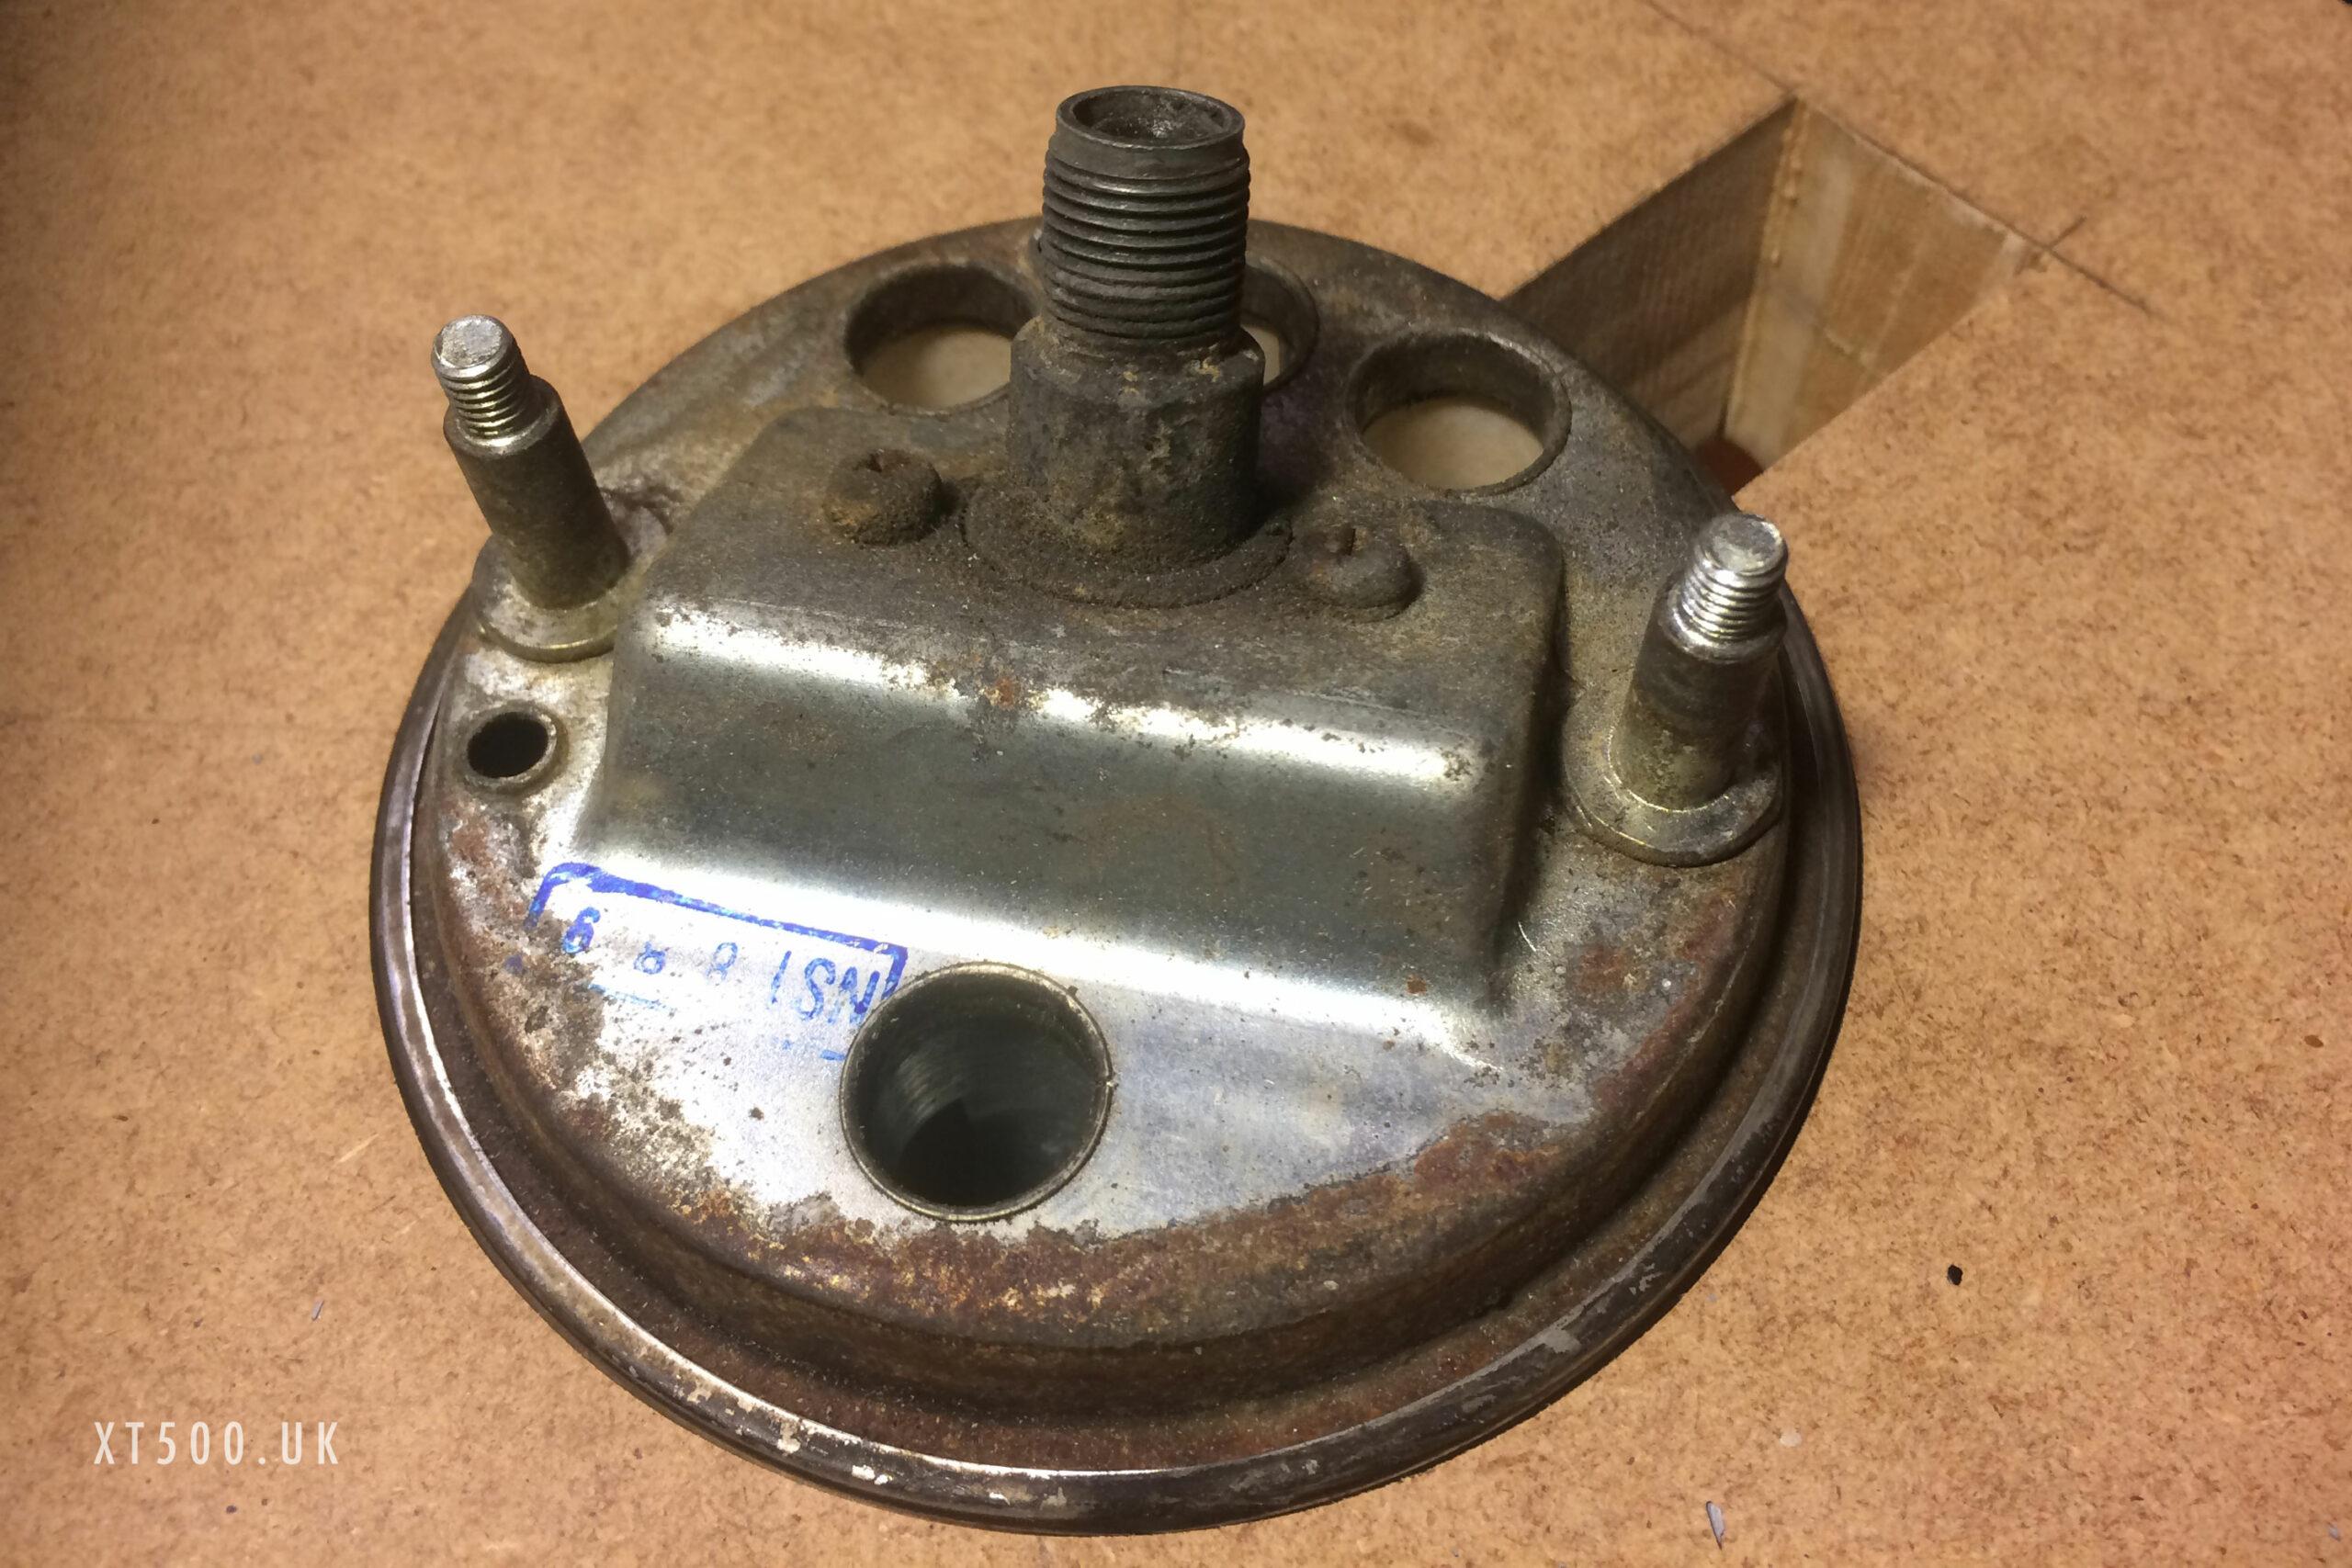
By doing this to the lower lip of the band any ugliness will be hidden once it is mounted back in the clock mount dampers.
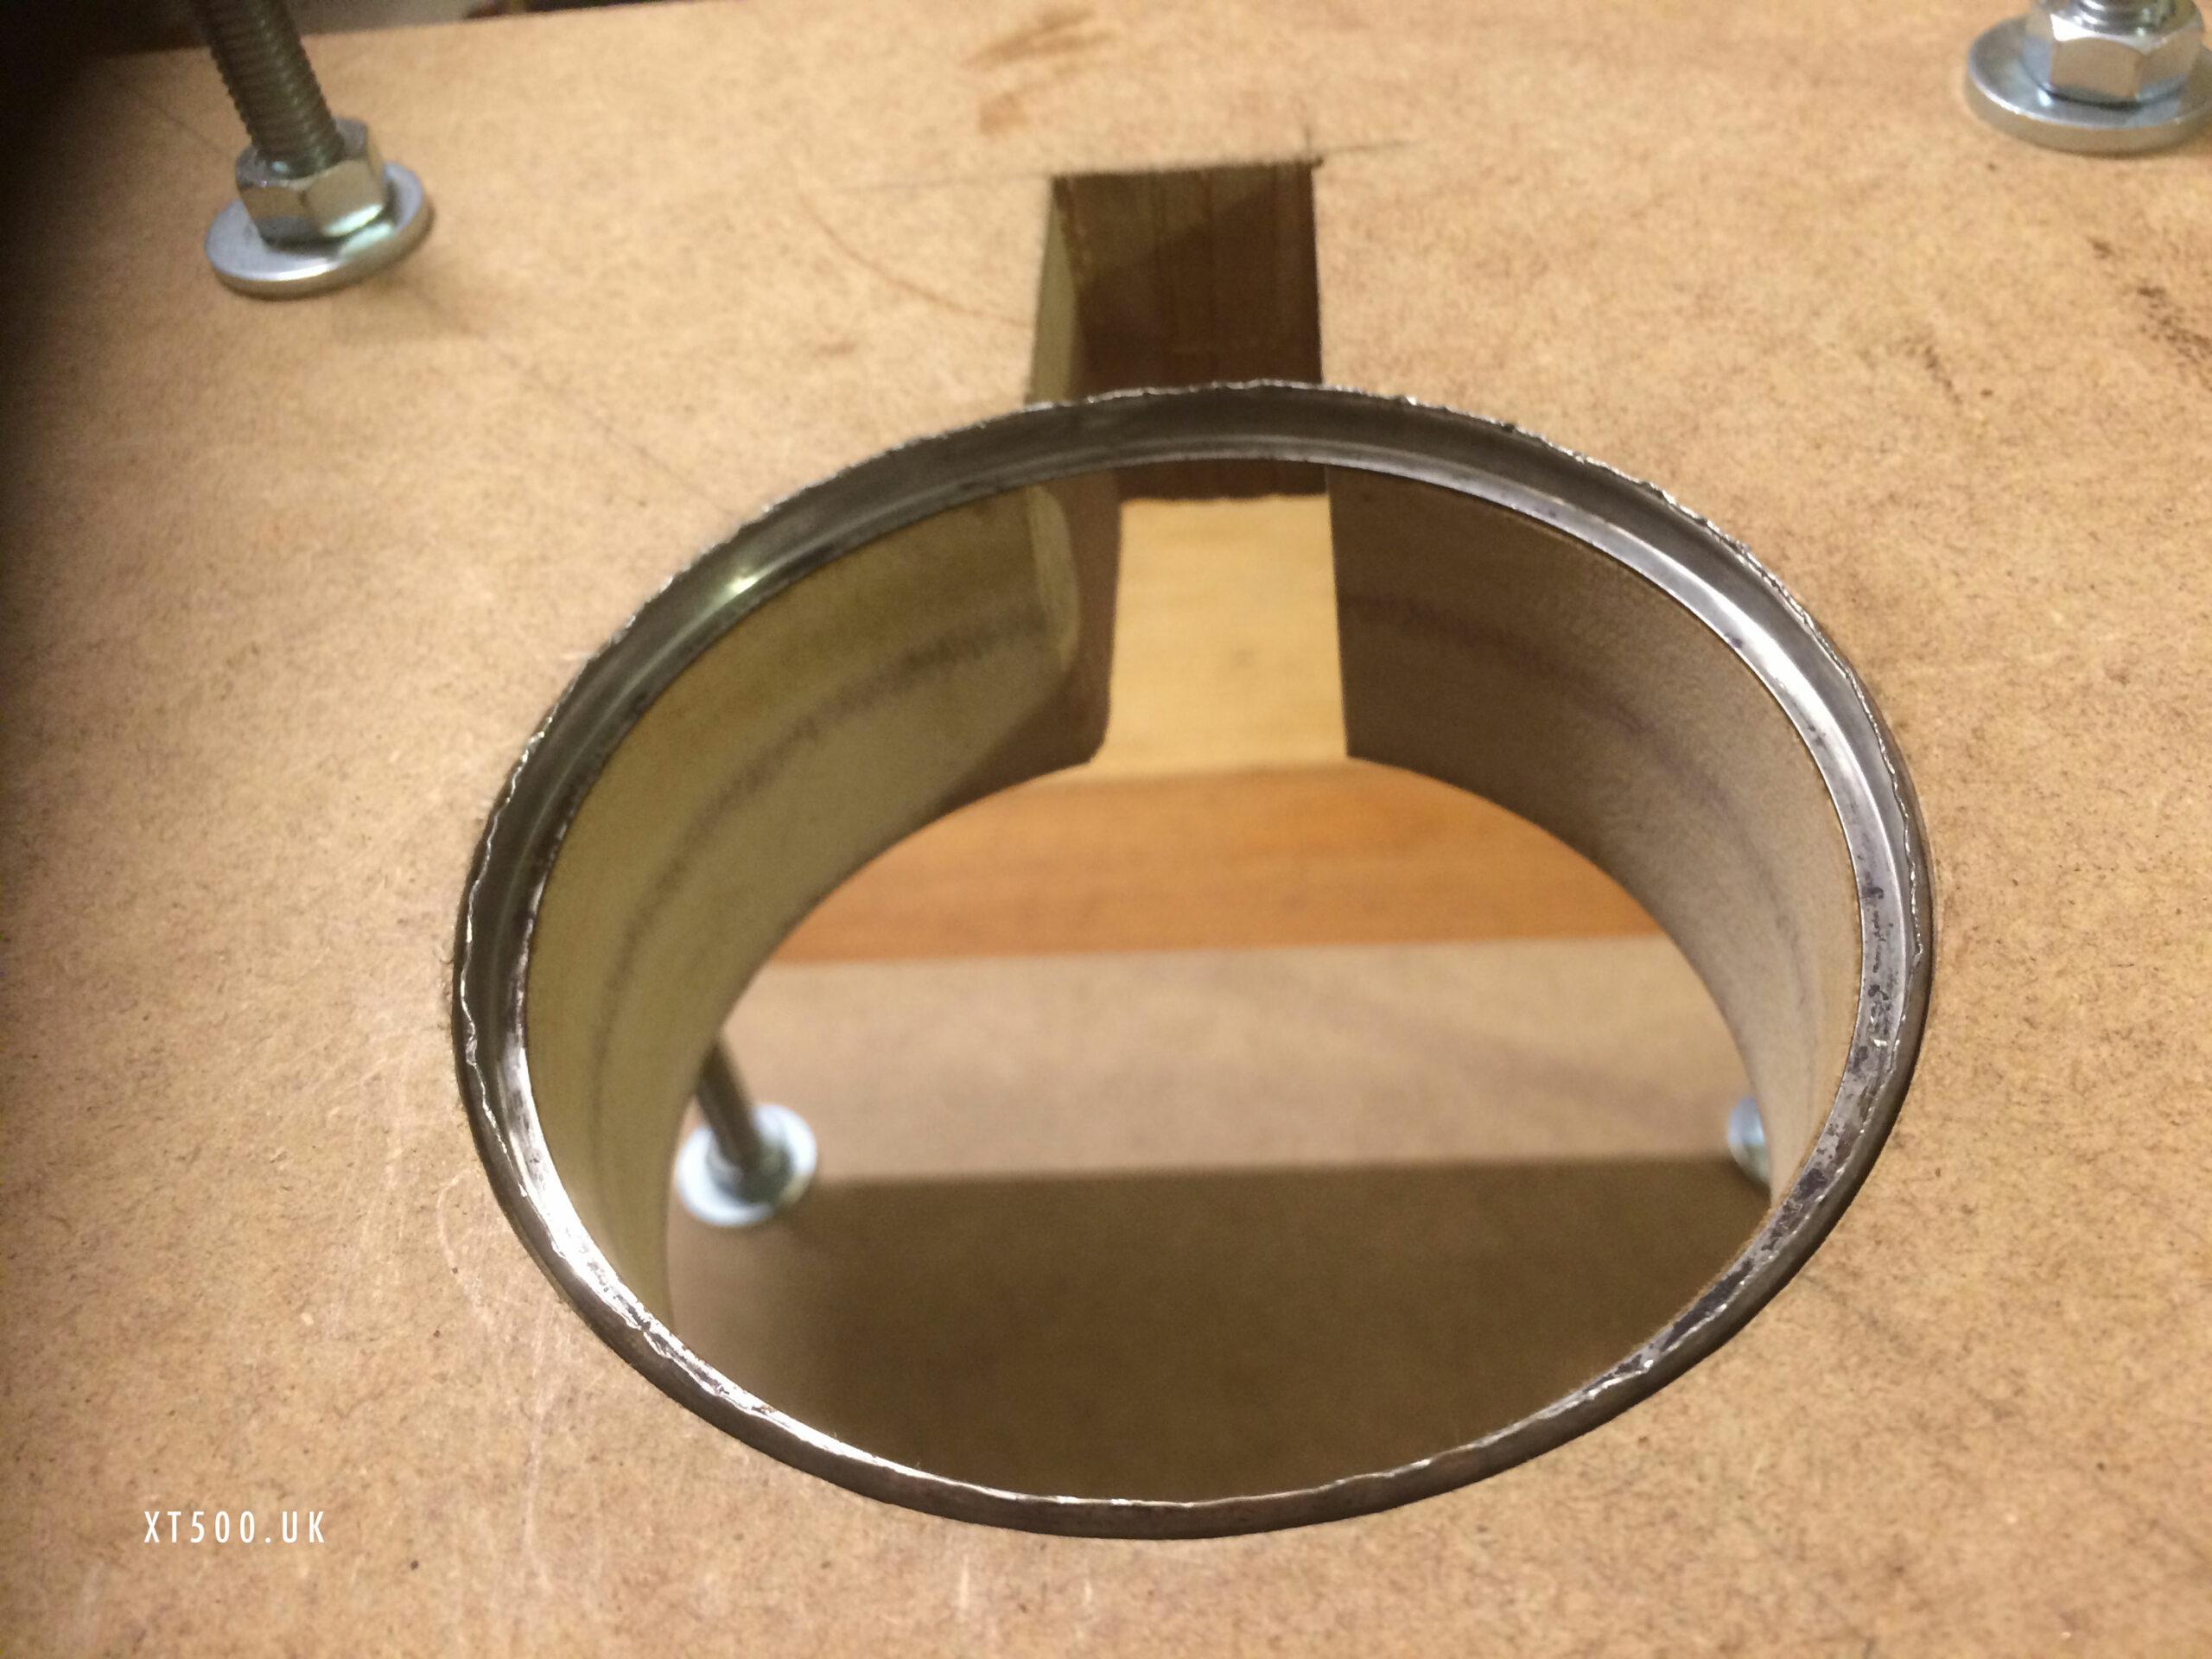
The clock mechanisms worked fine so I didn’t need to take those apart, just get them out of the housings along with the domed glass and fine rubber seals.
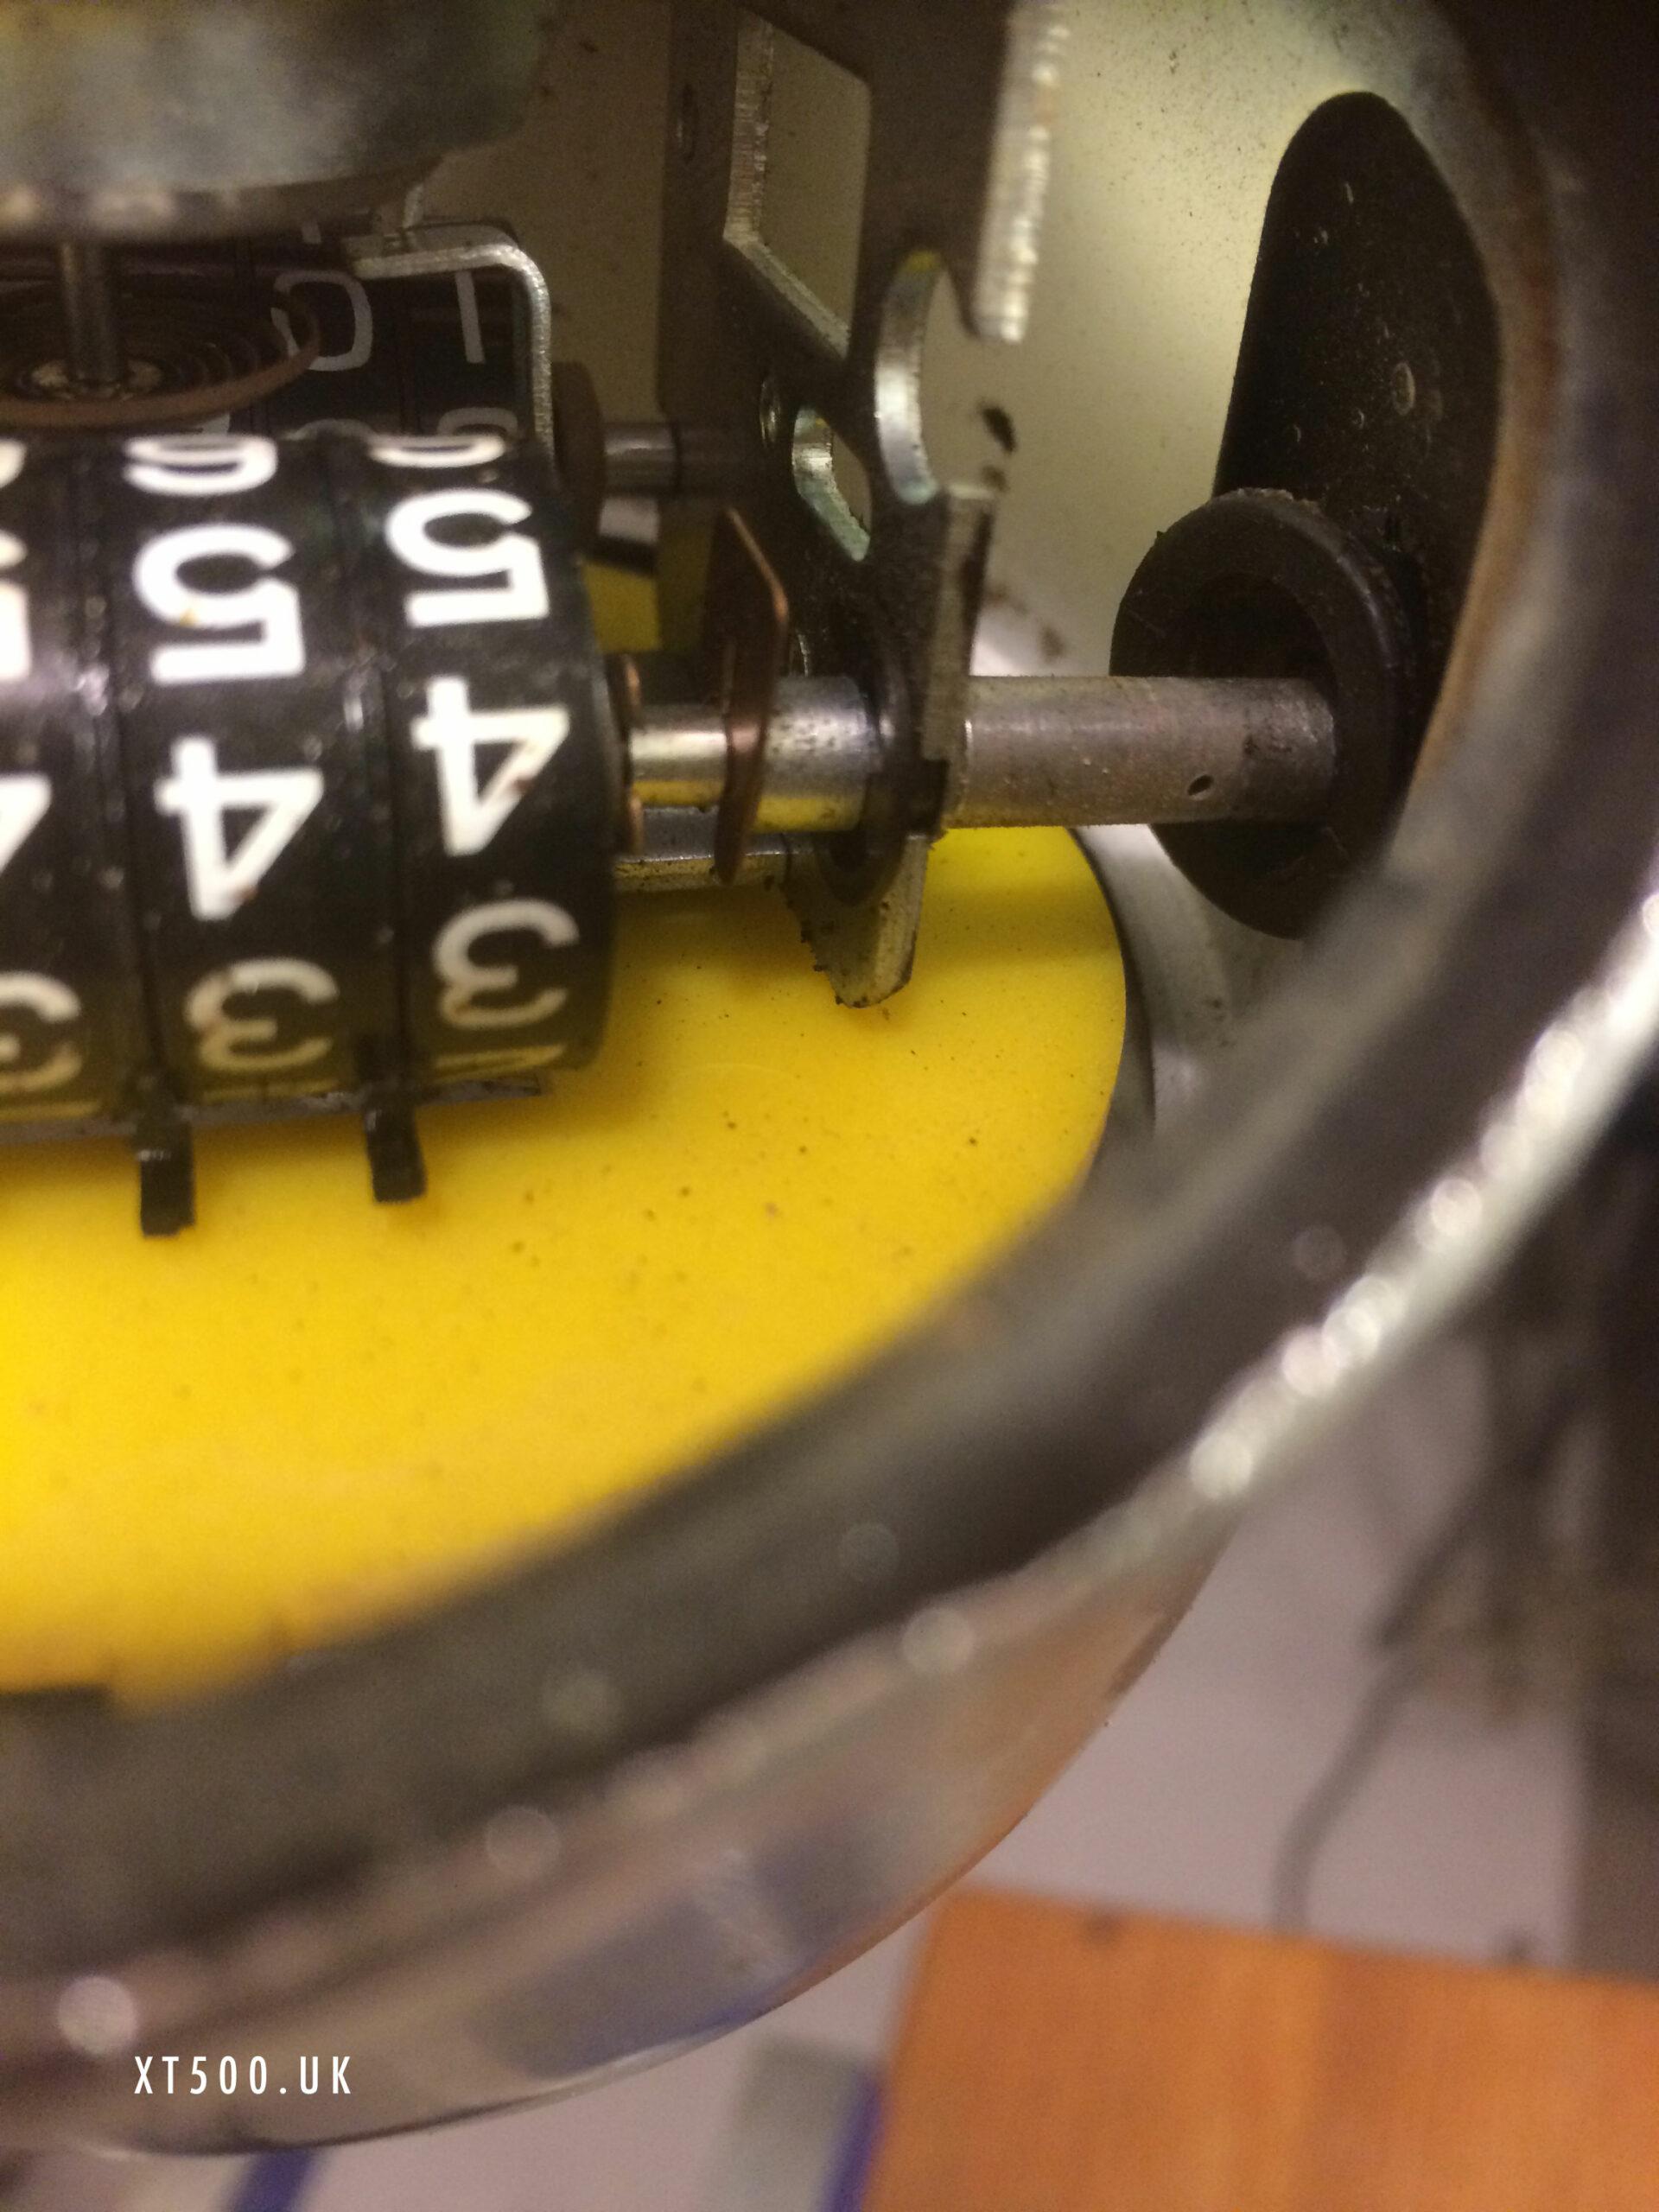
It was a bit tricky getting the trip switch arm out, especially as it was slightly bent. The black handle would not budge but by removing the two small copper rectangular tabs, the bar could be fiddled out. I was keen to get it finished asap before I forget how to put it back together 🙈
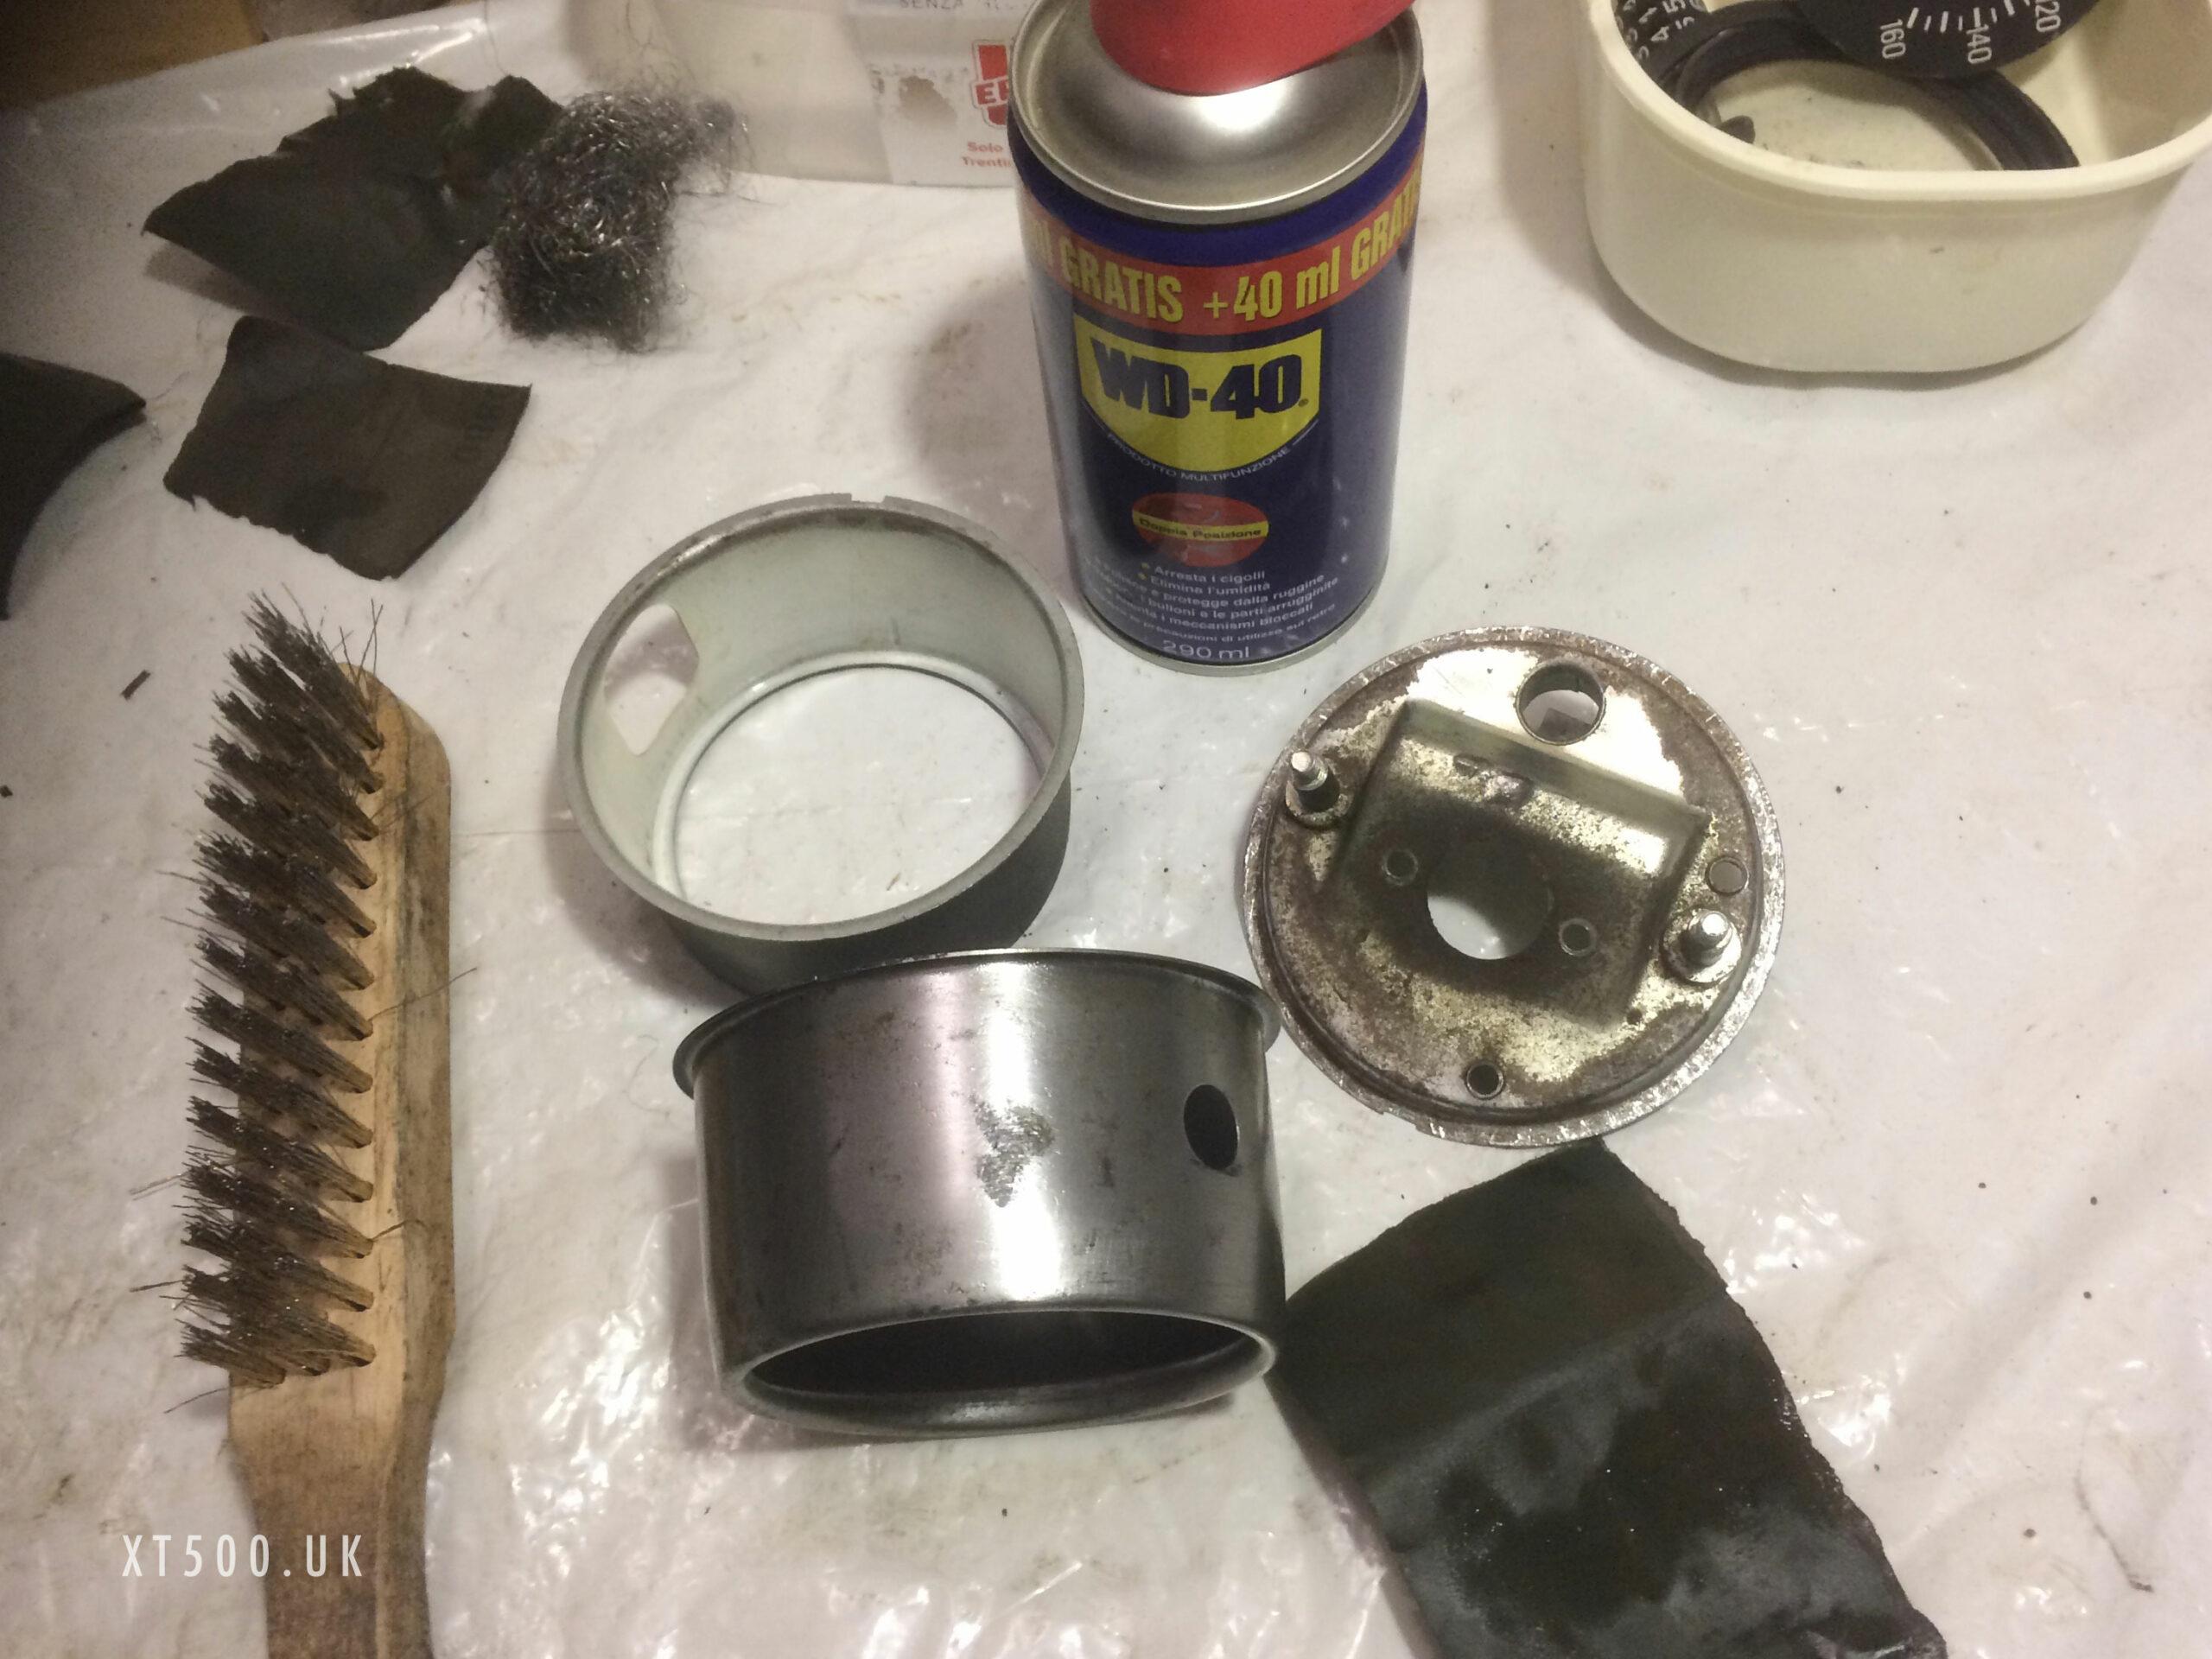
With all the parts separated I went to town on the housings and back plates. I used paint stripper then wet and dry with WD40 to finish but with some of the rust being quite deep I used rust convertor on those areas and then more wet and dry. There weren’t any dings or pitting so I didn’t use any filler. The back plates are originally plated but in this case I decided to treat with rust converter and paint them. Primarily to seal them from getting worse. Anyway these are hidden once in the mounting plate
I cleaned the three parts with acetone before first grey primer. The inner housing I then sprayed white which helps getting more even spread of light behind the face of the dials. The outer case was painted satin black. I always give two coats of each stage as soon as the previous has dried. I find I get better results when avoiding long times between coats.
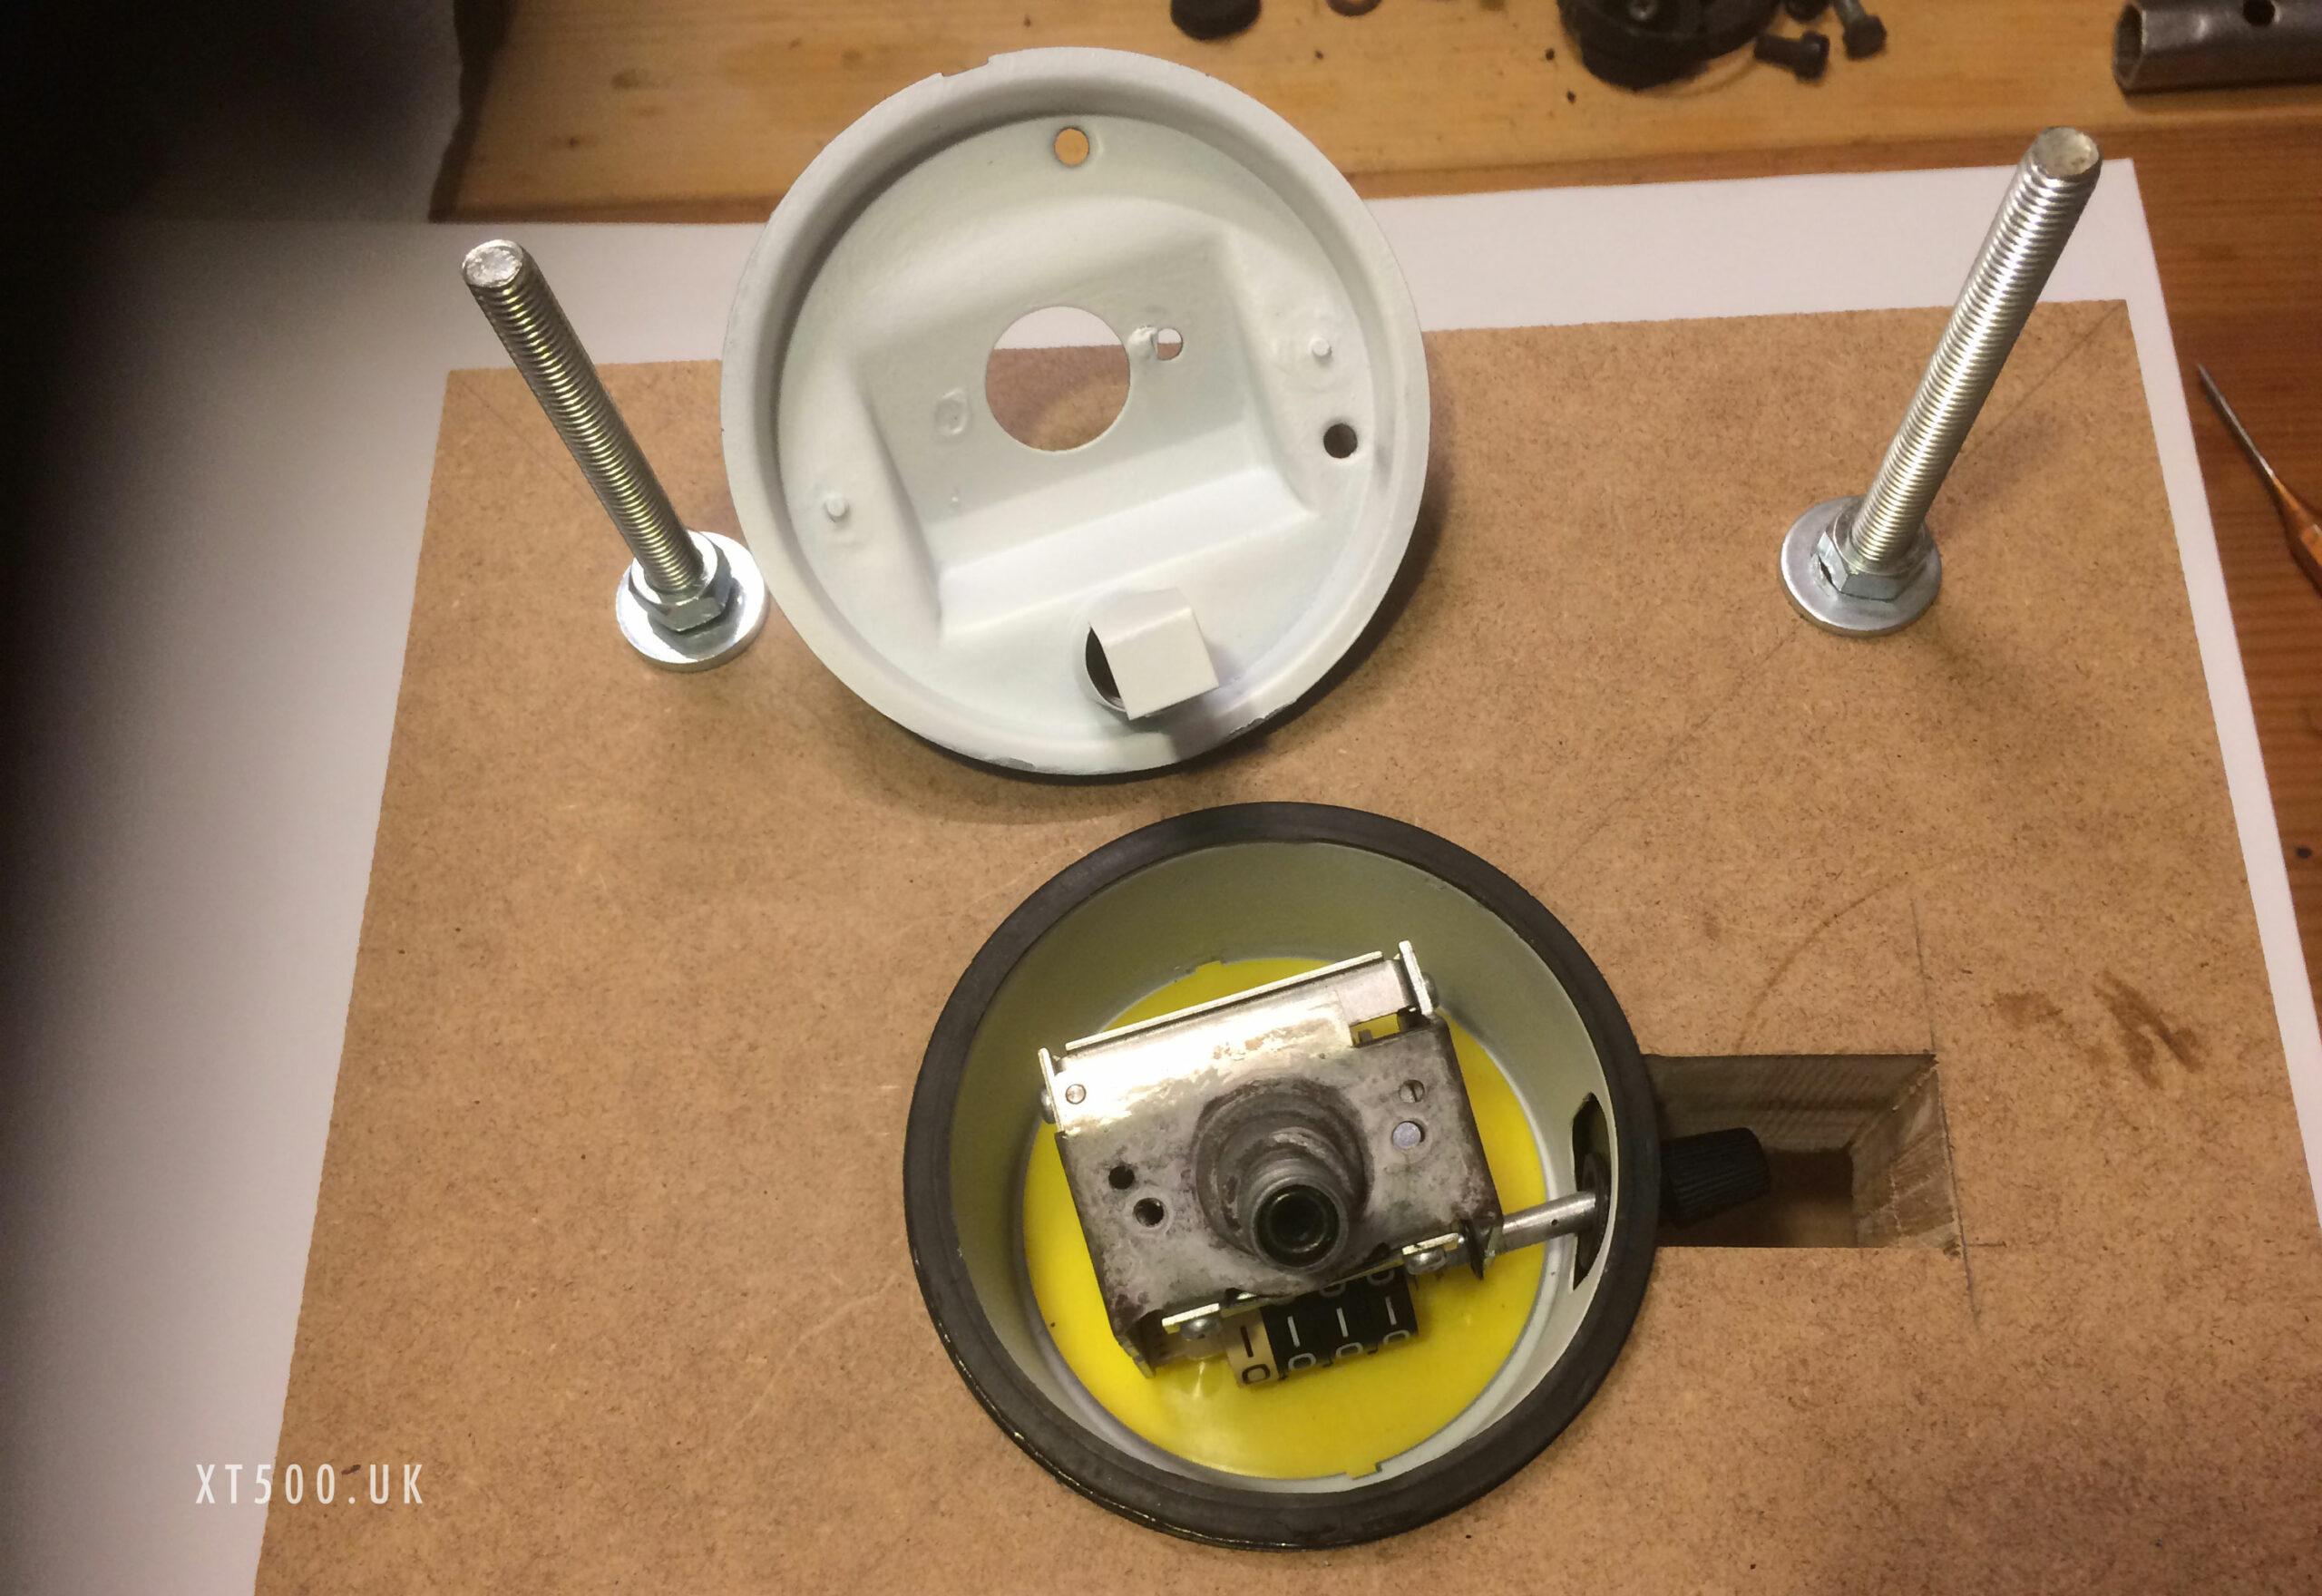
When refitting the chrome bands I first used the handle of a broken hammer to knock it most of the way to avoid scratching (using a rubber mallet), and then another make-shift tool to flatten it with some gentle tapping with a small hammer (you may recognise it if you’ve ever dismantled the spare spark plug box 😂).
I ordered new replica faces which online looked an absolute perfect match to my km version. It even had the 5:1 ratio at the bottom of the dial. I only really needed the rev counter face because the red had faded away but I could only buy the pair. It’s pretty damned close, although the fonts are correct, the weight and size isn’t exact on the lower characters. You can see this on the photo. Also the wording isn’t the same which I failed to notice before I ordered. It should be x1000r/min and not x1000rpm Not really a deal breaker but an anorak observation. A UK vs Australian version I guess.
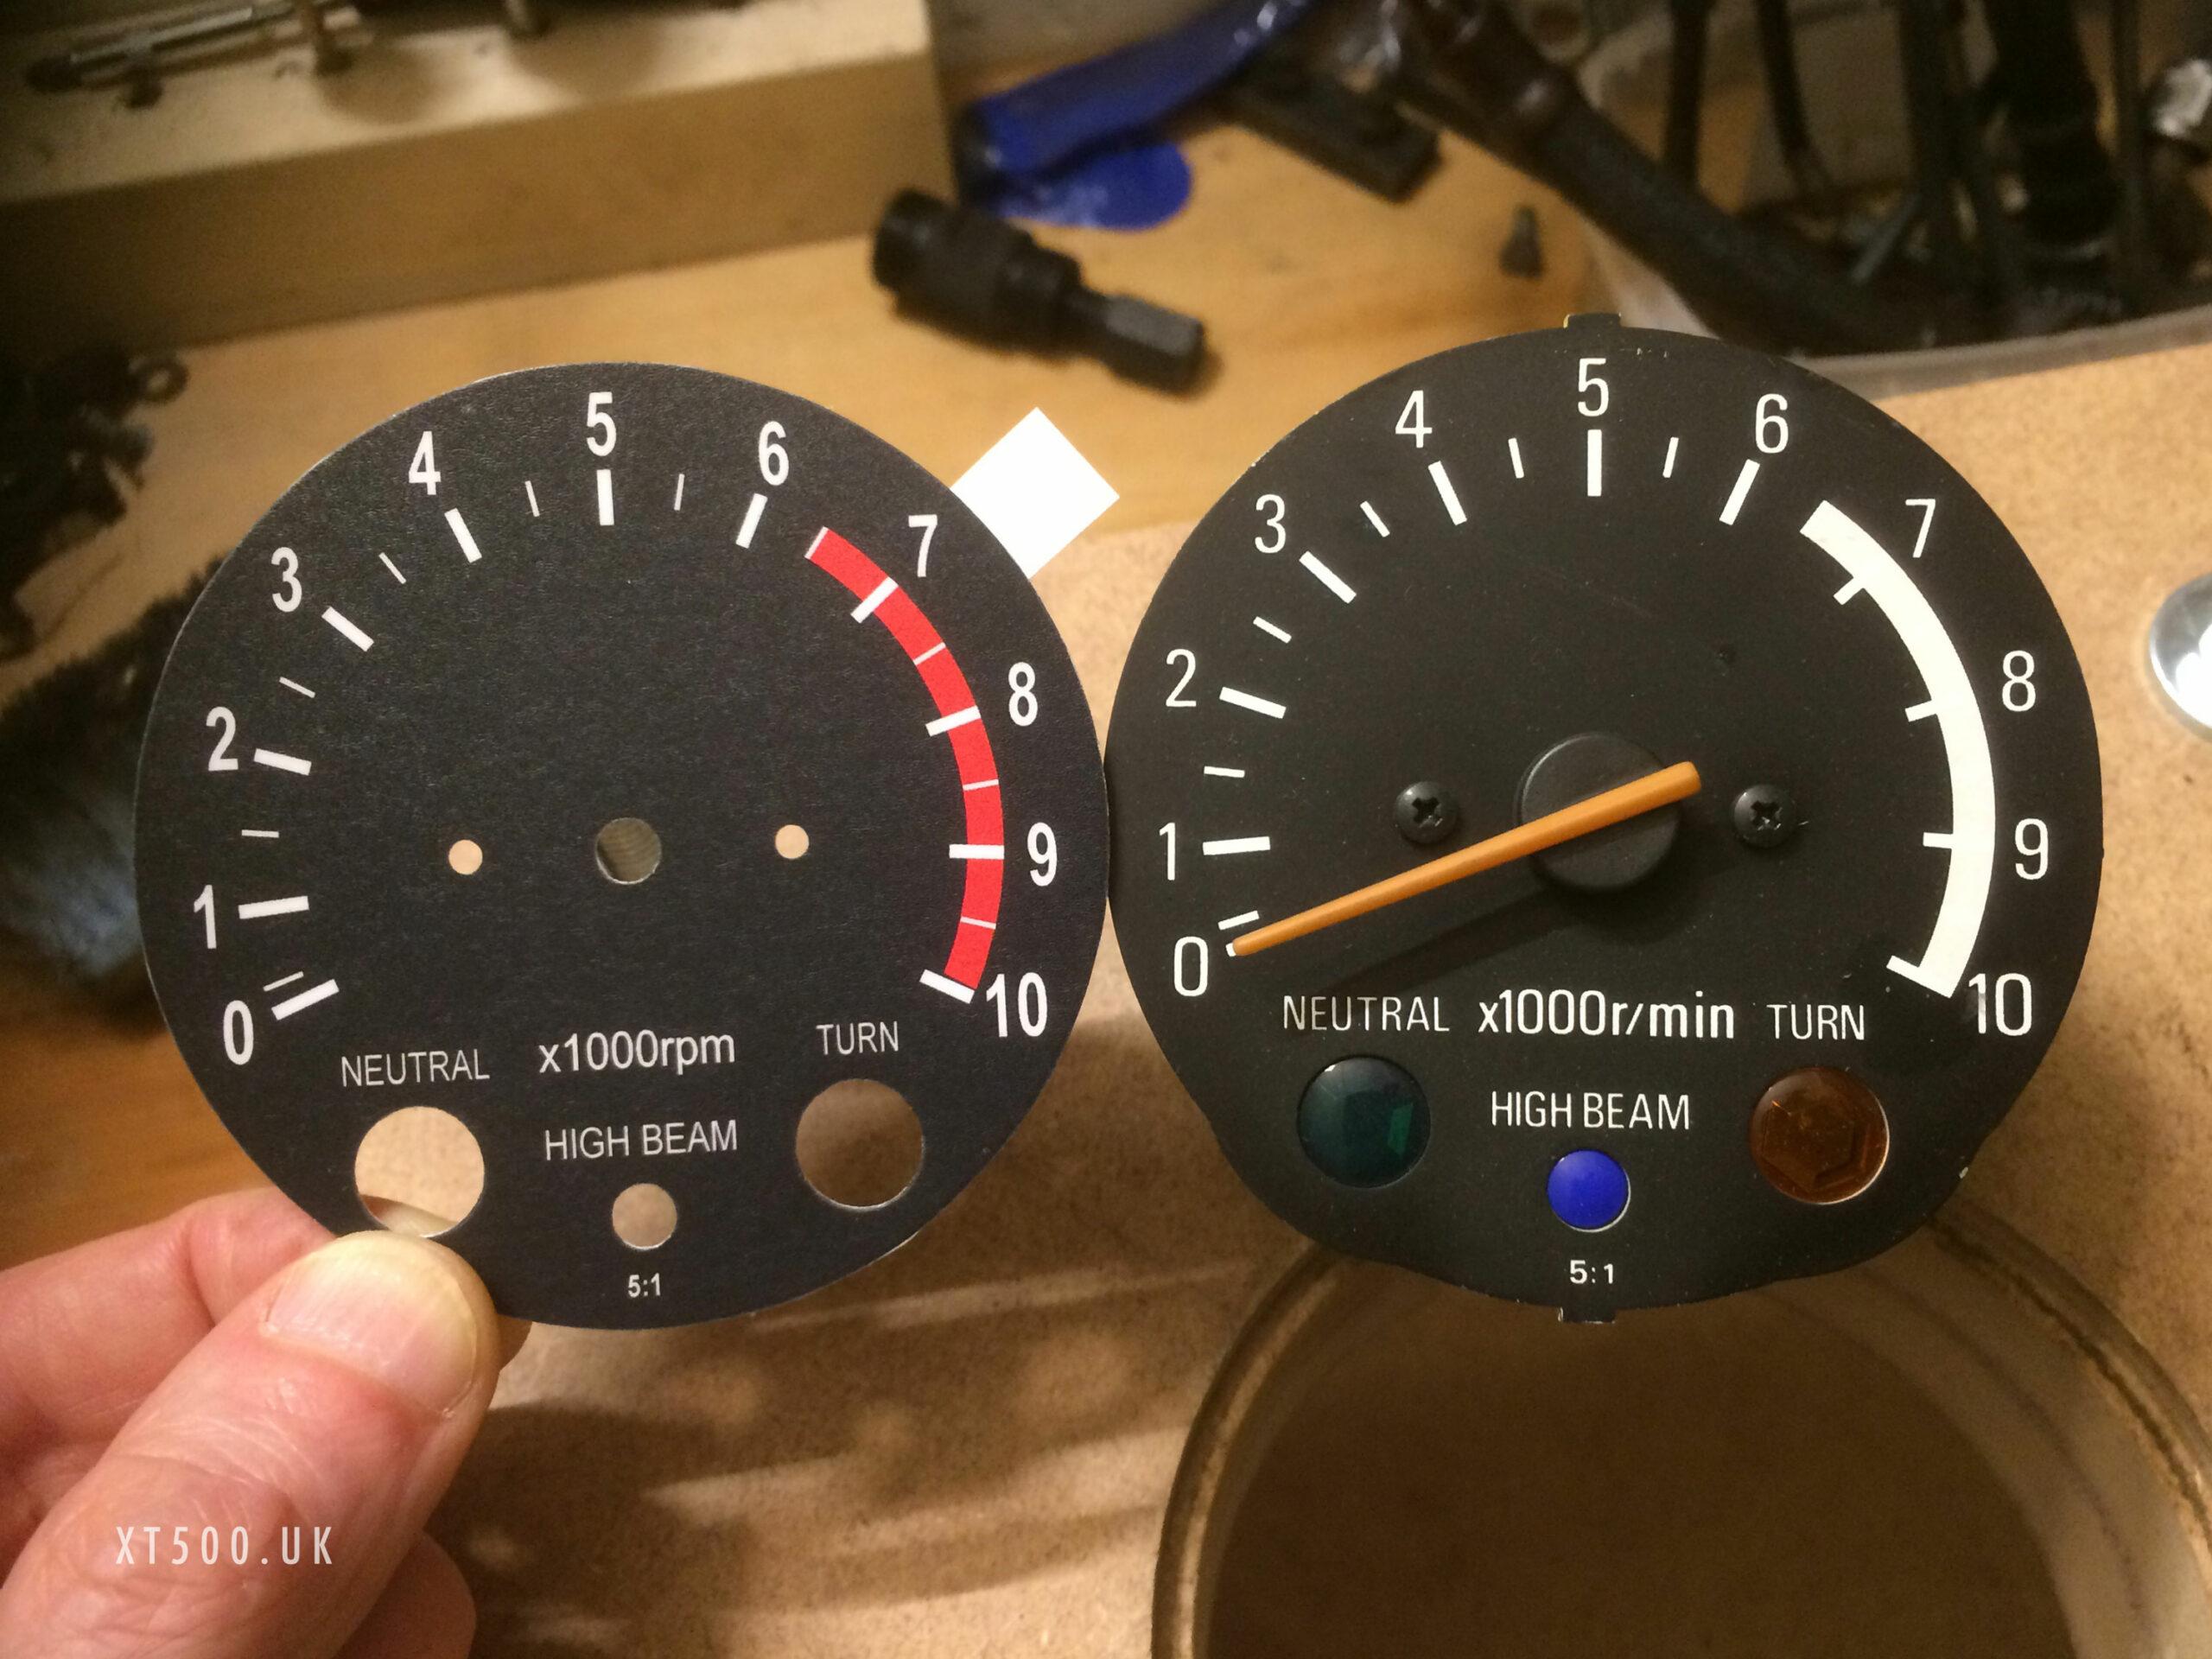
These faces do not come on the perspex backing plate so the original dial should be removed before sticking the new ones on. I felt that I was going to screw something up so decided to cut out the red line and stick that over the original. Had I gone to a print shop for them to make it in vinyl in the correct colour it would have cost about the same so nothing lost (except time maybe).
I’m chuffed to bits with the end result, especially when I consider their condition before.
